Tell us a Story
I think I can be too rigid with my photography; too limited sometimes.
I can get stuck trying to make every photo ‘Portfolio-worthy’, or at least ‘Instagram-worthy’, and I think that robs me of the other things photography can, and should, be.
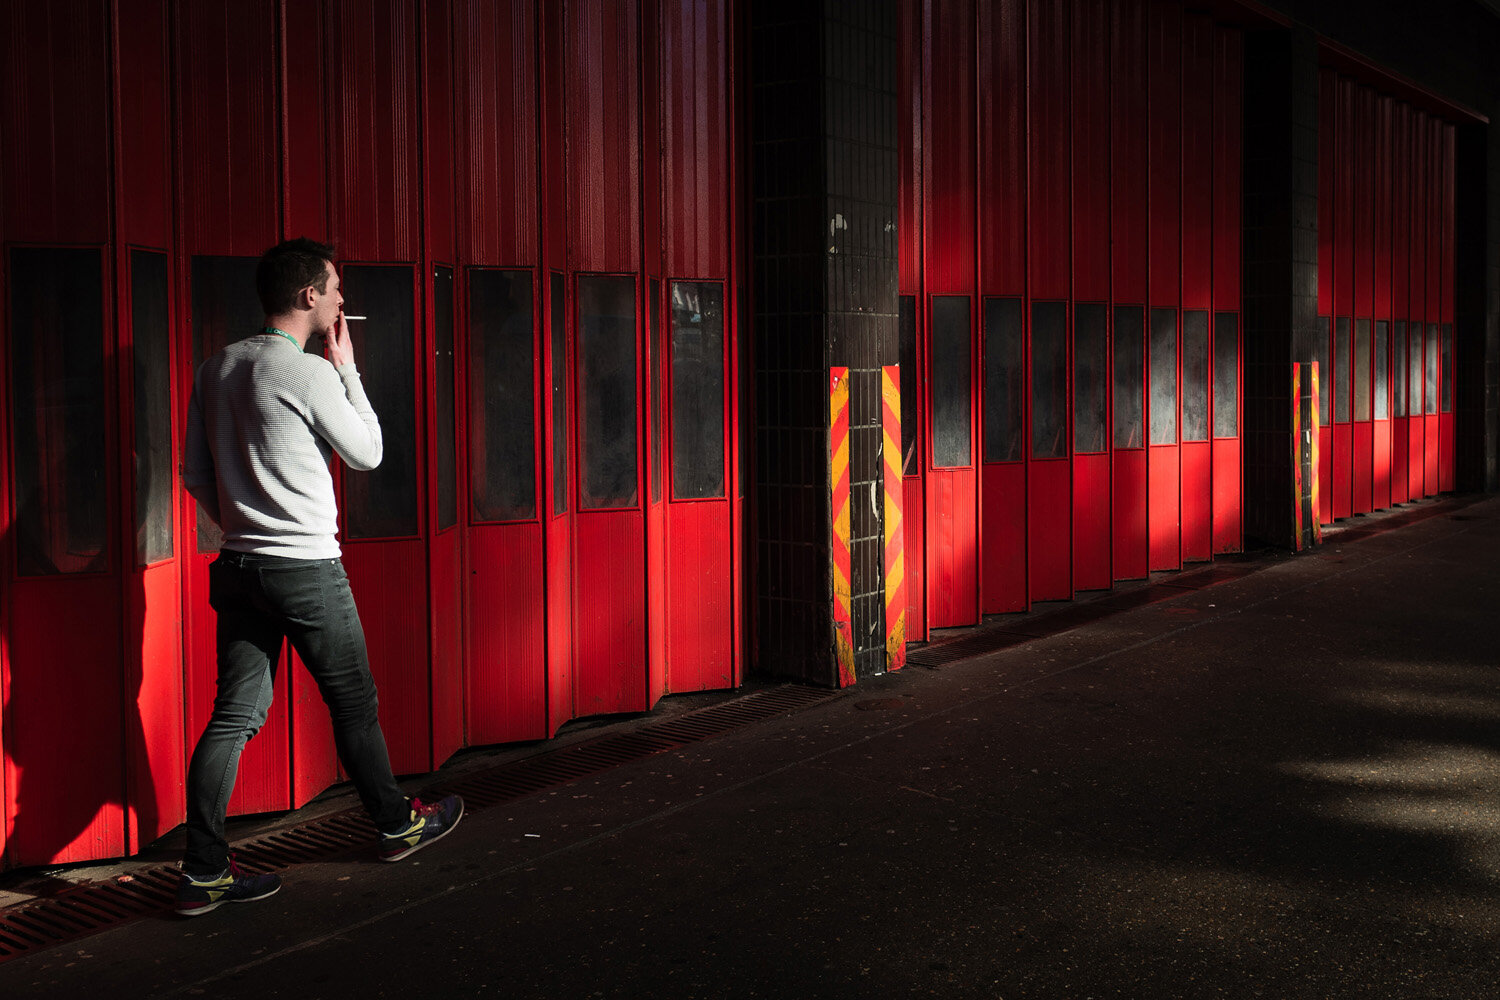

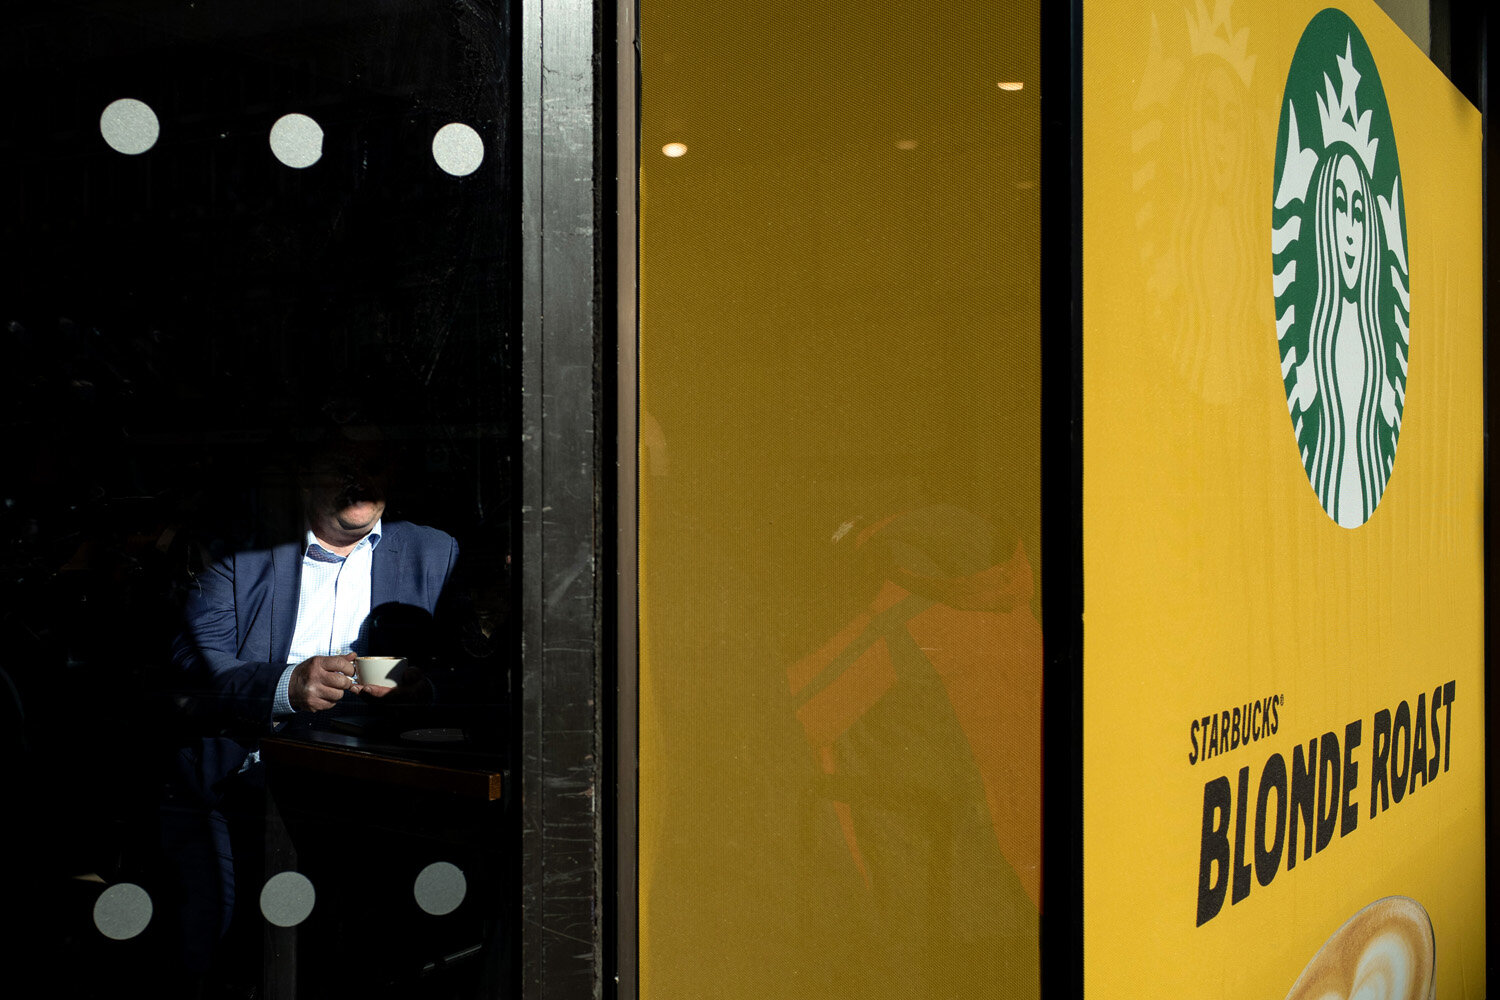

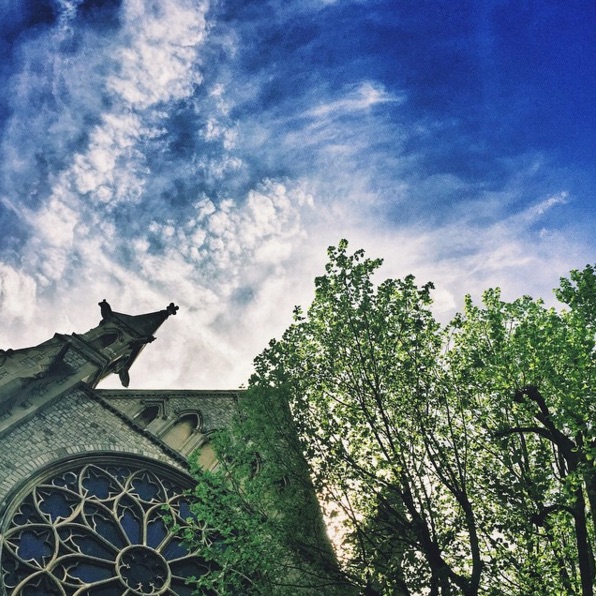
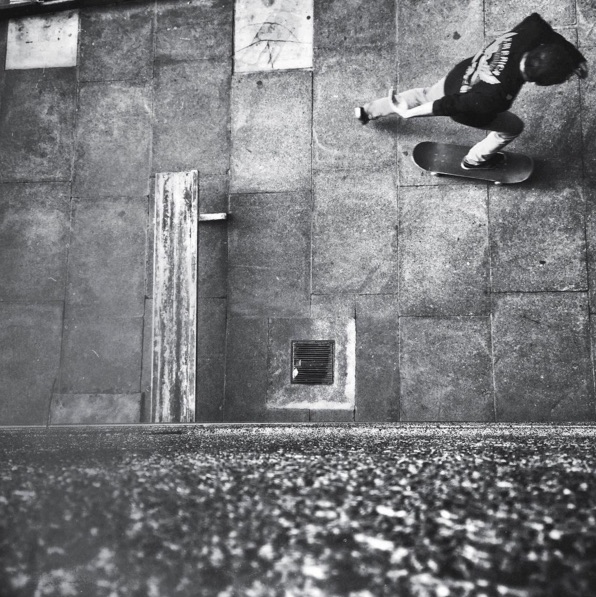
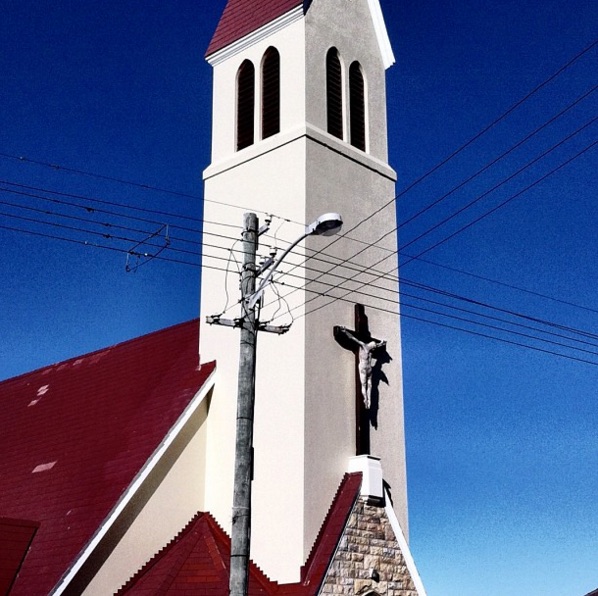
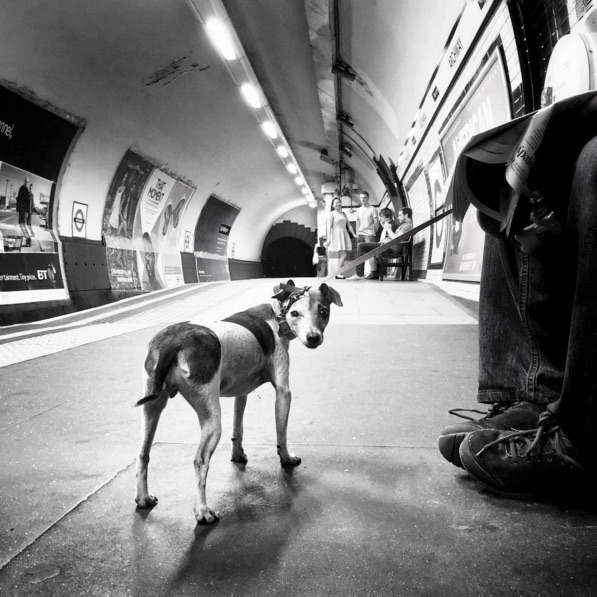
Don’t get me wrong, I am proud of images like these, but I also know that it takes hours of work and walking to find these situations and create images with enough visual punch and pop to go into my annual book or be sold as prints.
But what about photography’s ability to tell a story?
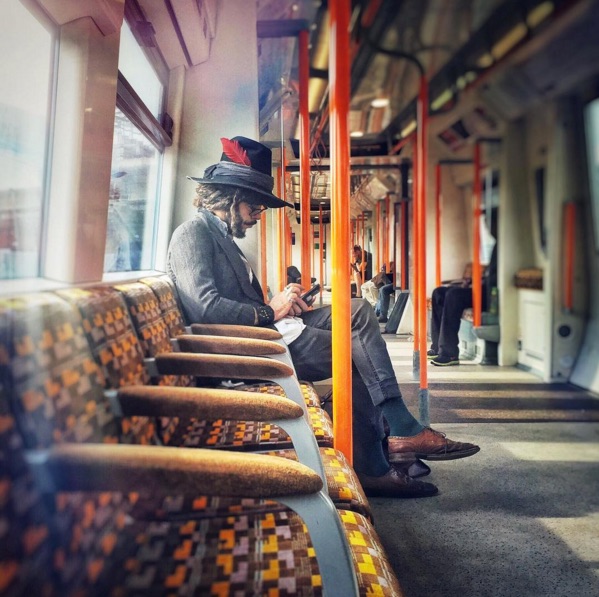
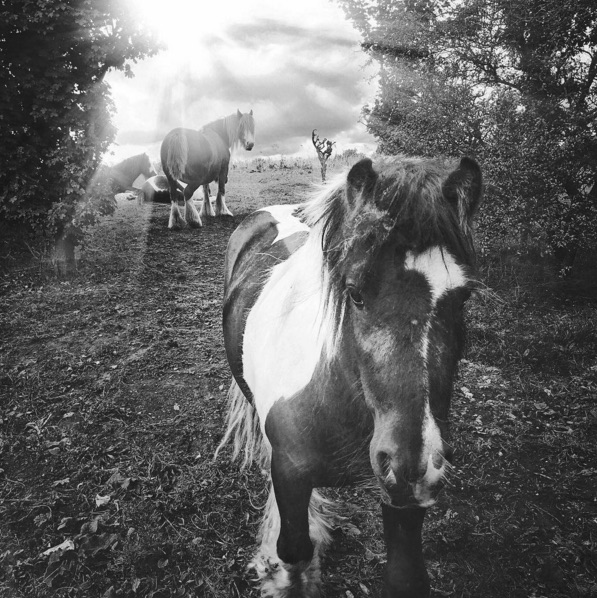
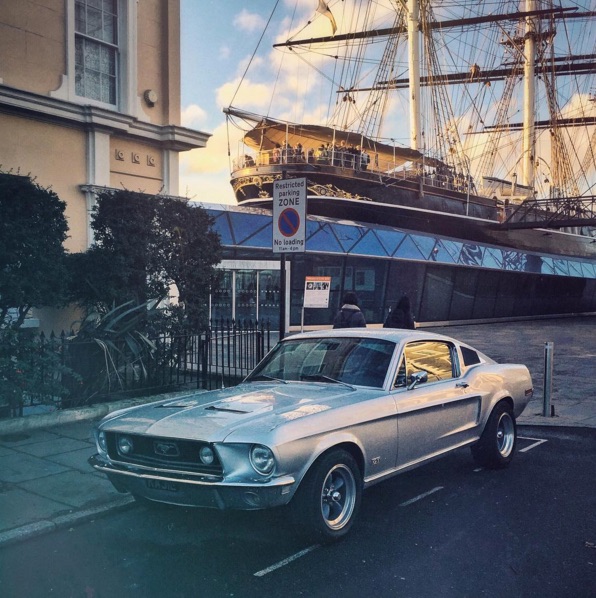
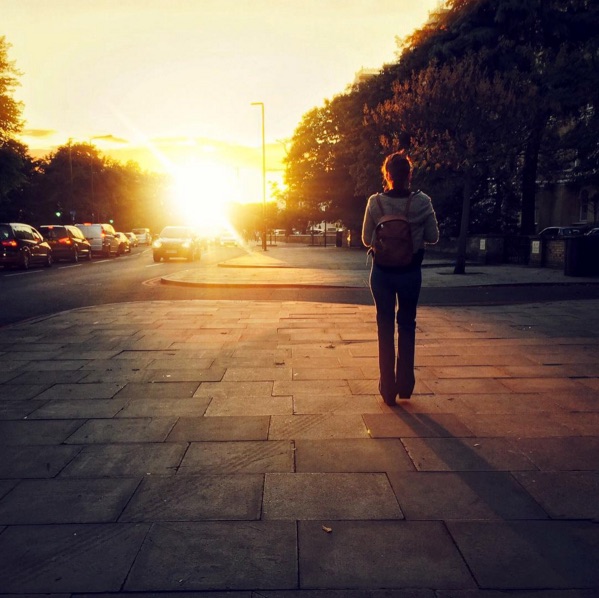
These images might tell ‘little stories’ in and of themselves, but they are often pretty abstract, and the subject is light and shadow itself with the human element often being incidental. I don’t look down on this sort of imagery. In fact it’s my bread and butter at the moment, but I do often think about shooting more photo stories.
If I’m very honest with myself I know the reluctance comes from the fact that if I head out to photograph a story, then I won’t have the control and space to create images like the stand-alone shots above, because you can’t rush them.
Shooting stories is something different. You’re not judging individual images any more. You are allowing the collection as a whole to tell you something.
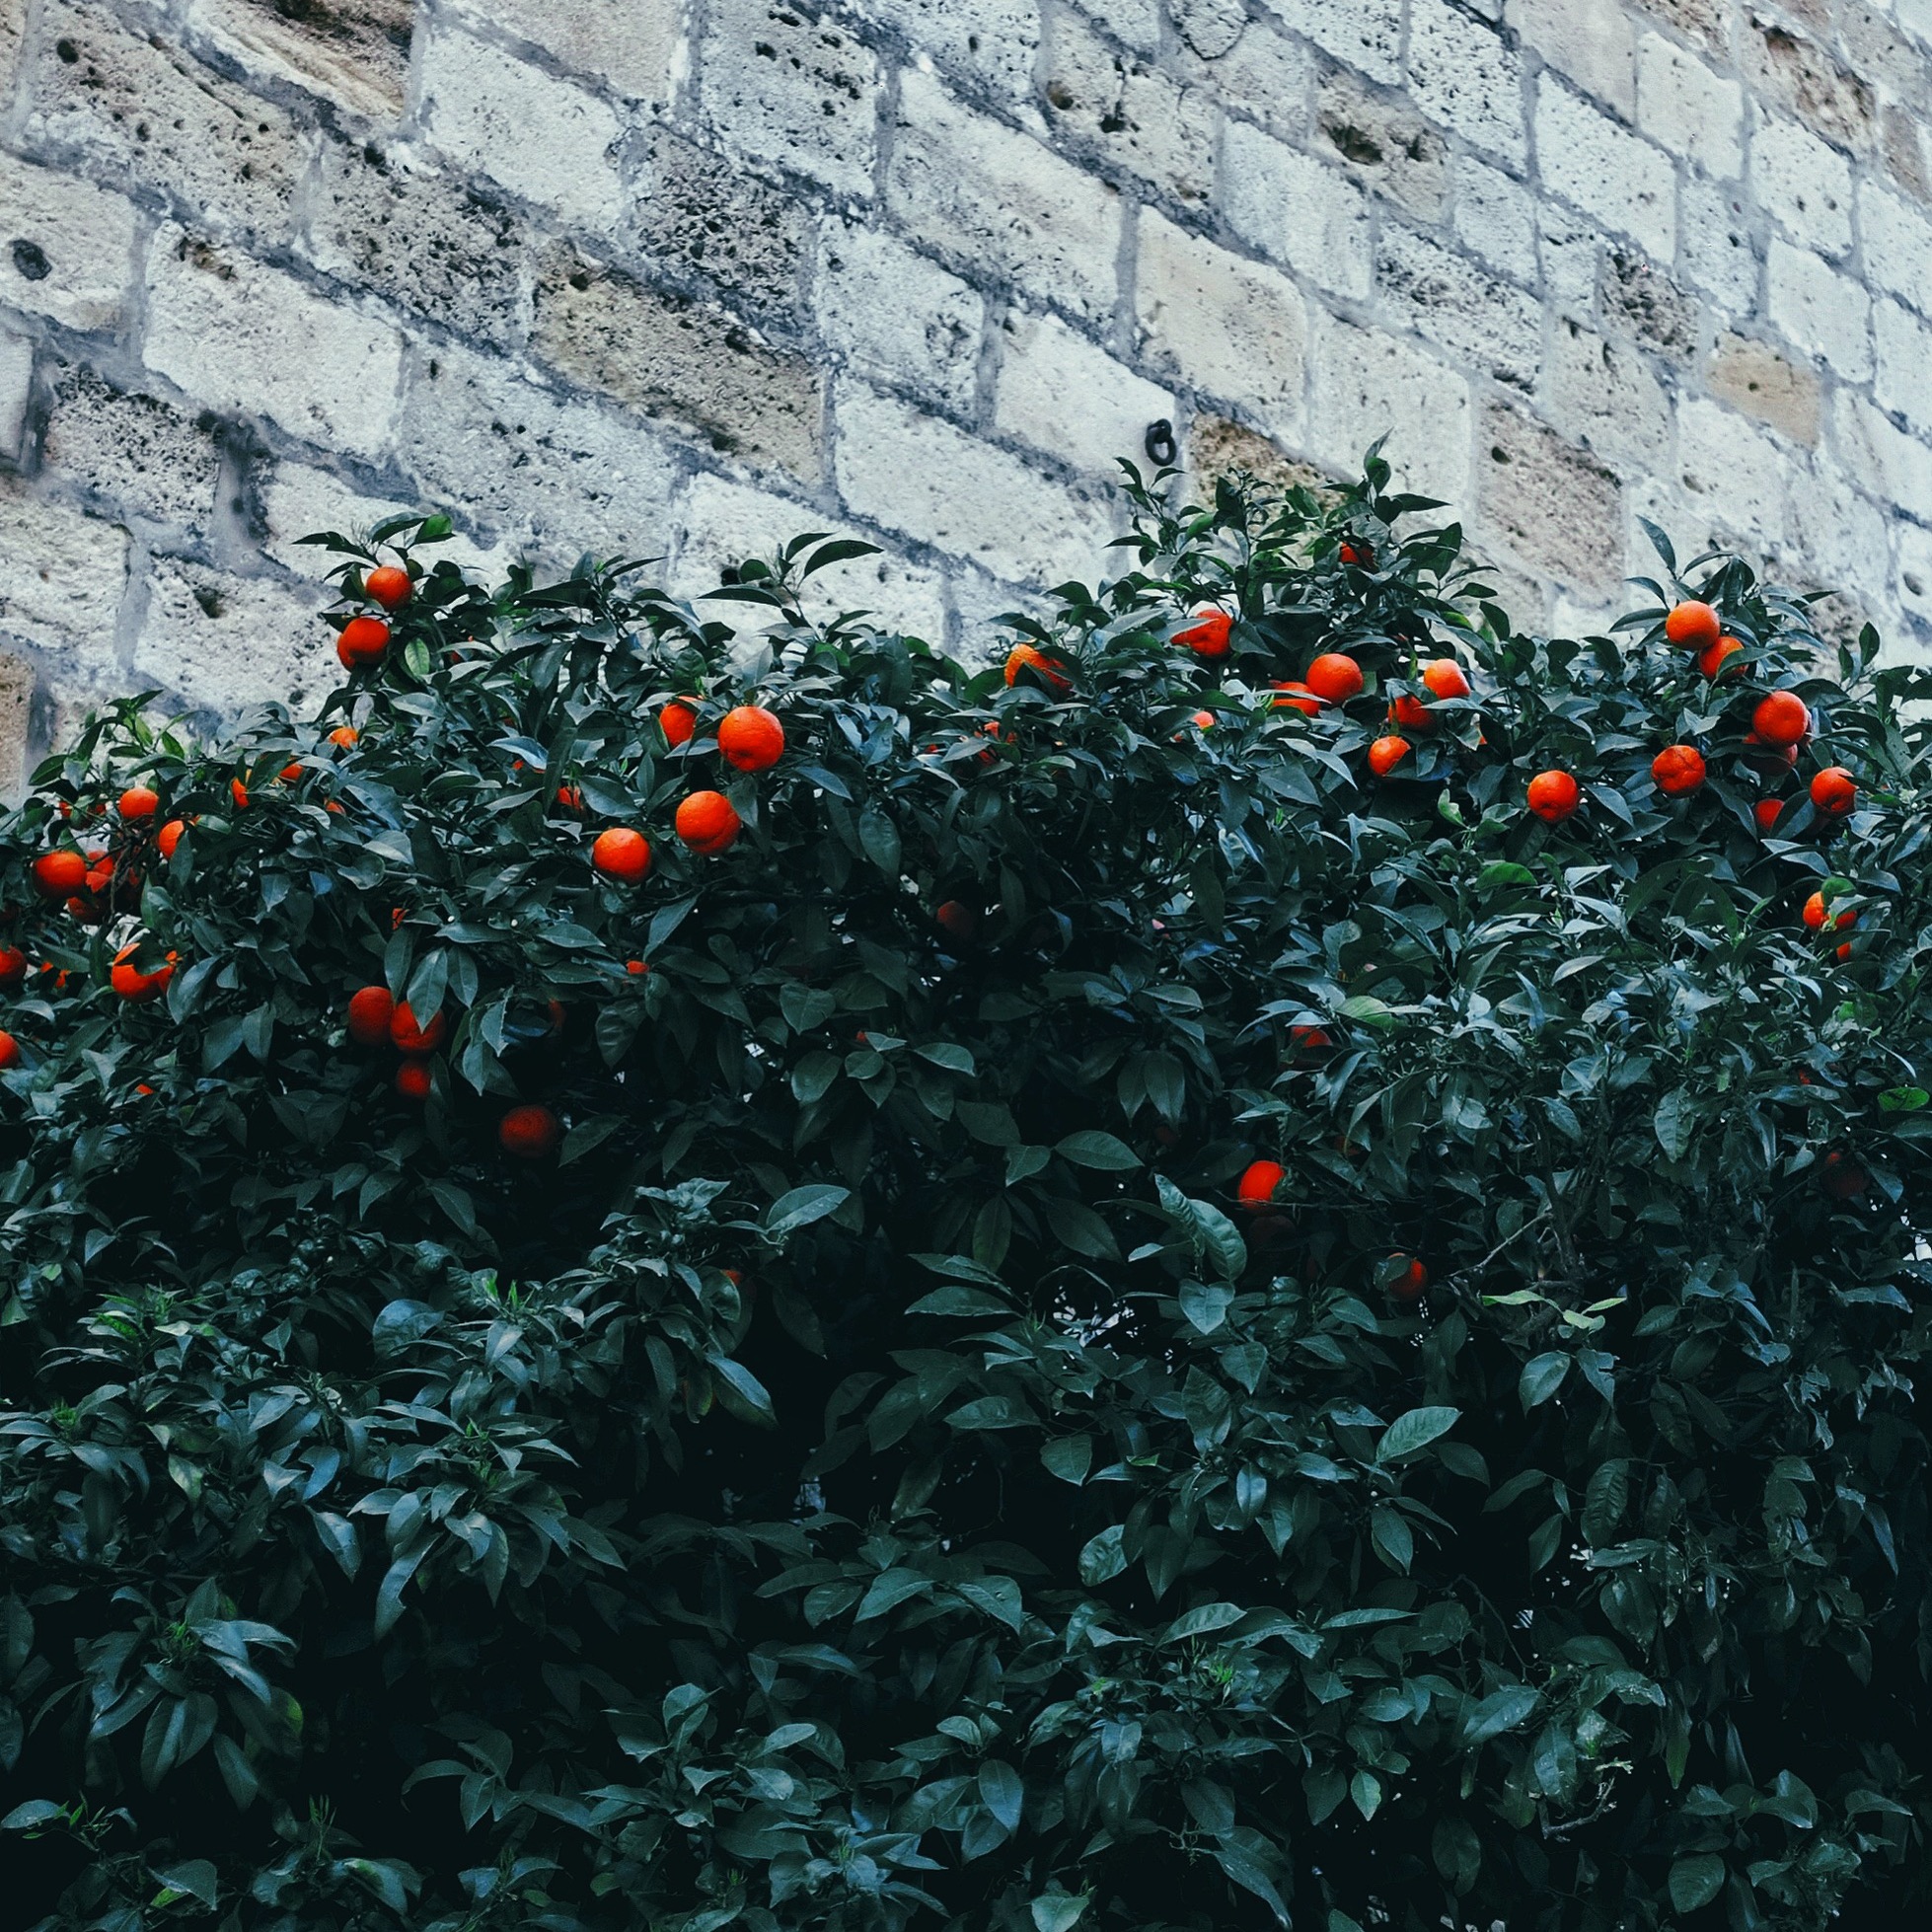
Today I went for a short walk around my neighbourhood.
Any of you who freelance will know that if you work from home it’s really important to push yourself to get outside regularly to ward off the inevitable cabin fever which sets in.
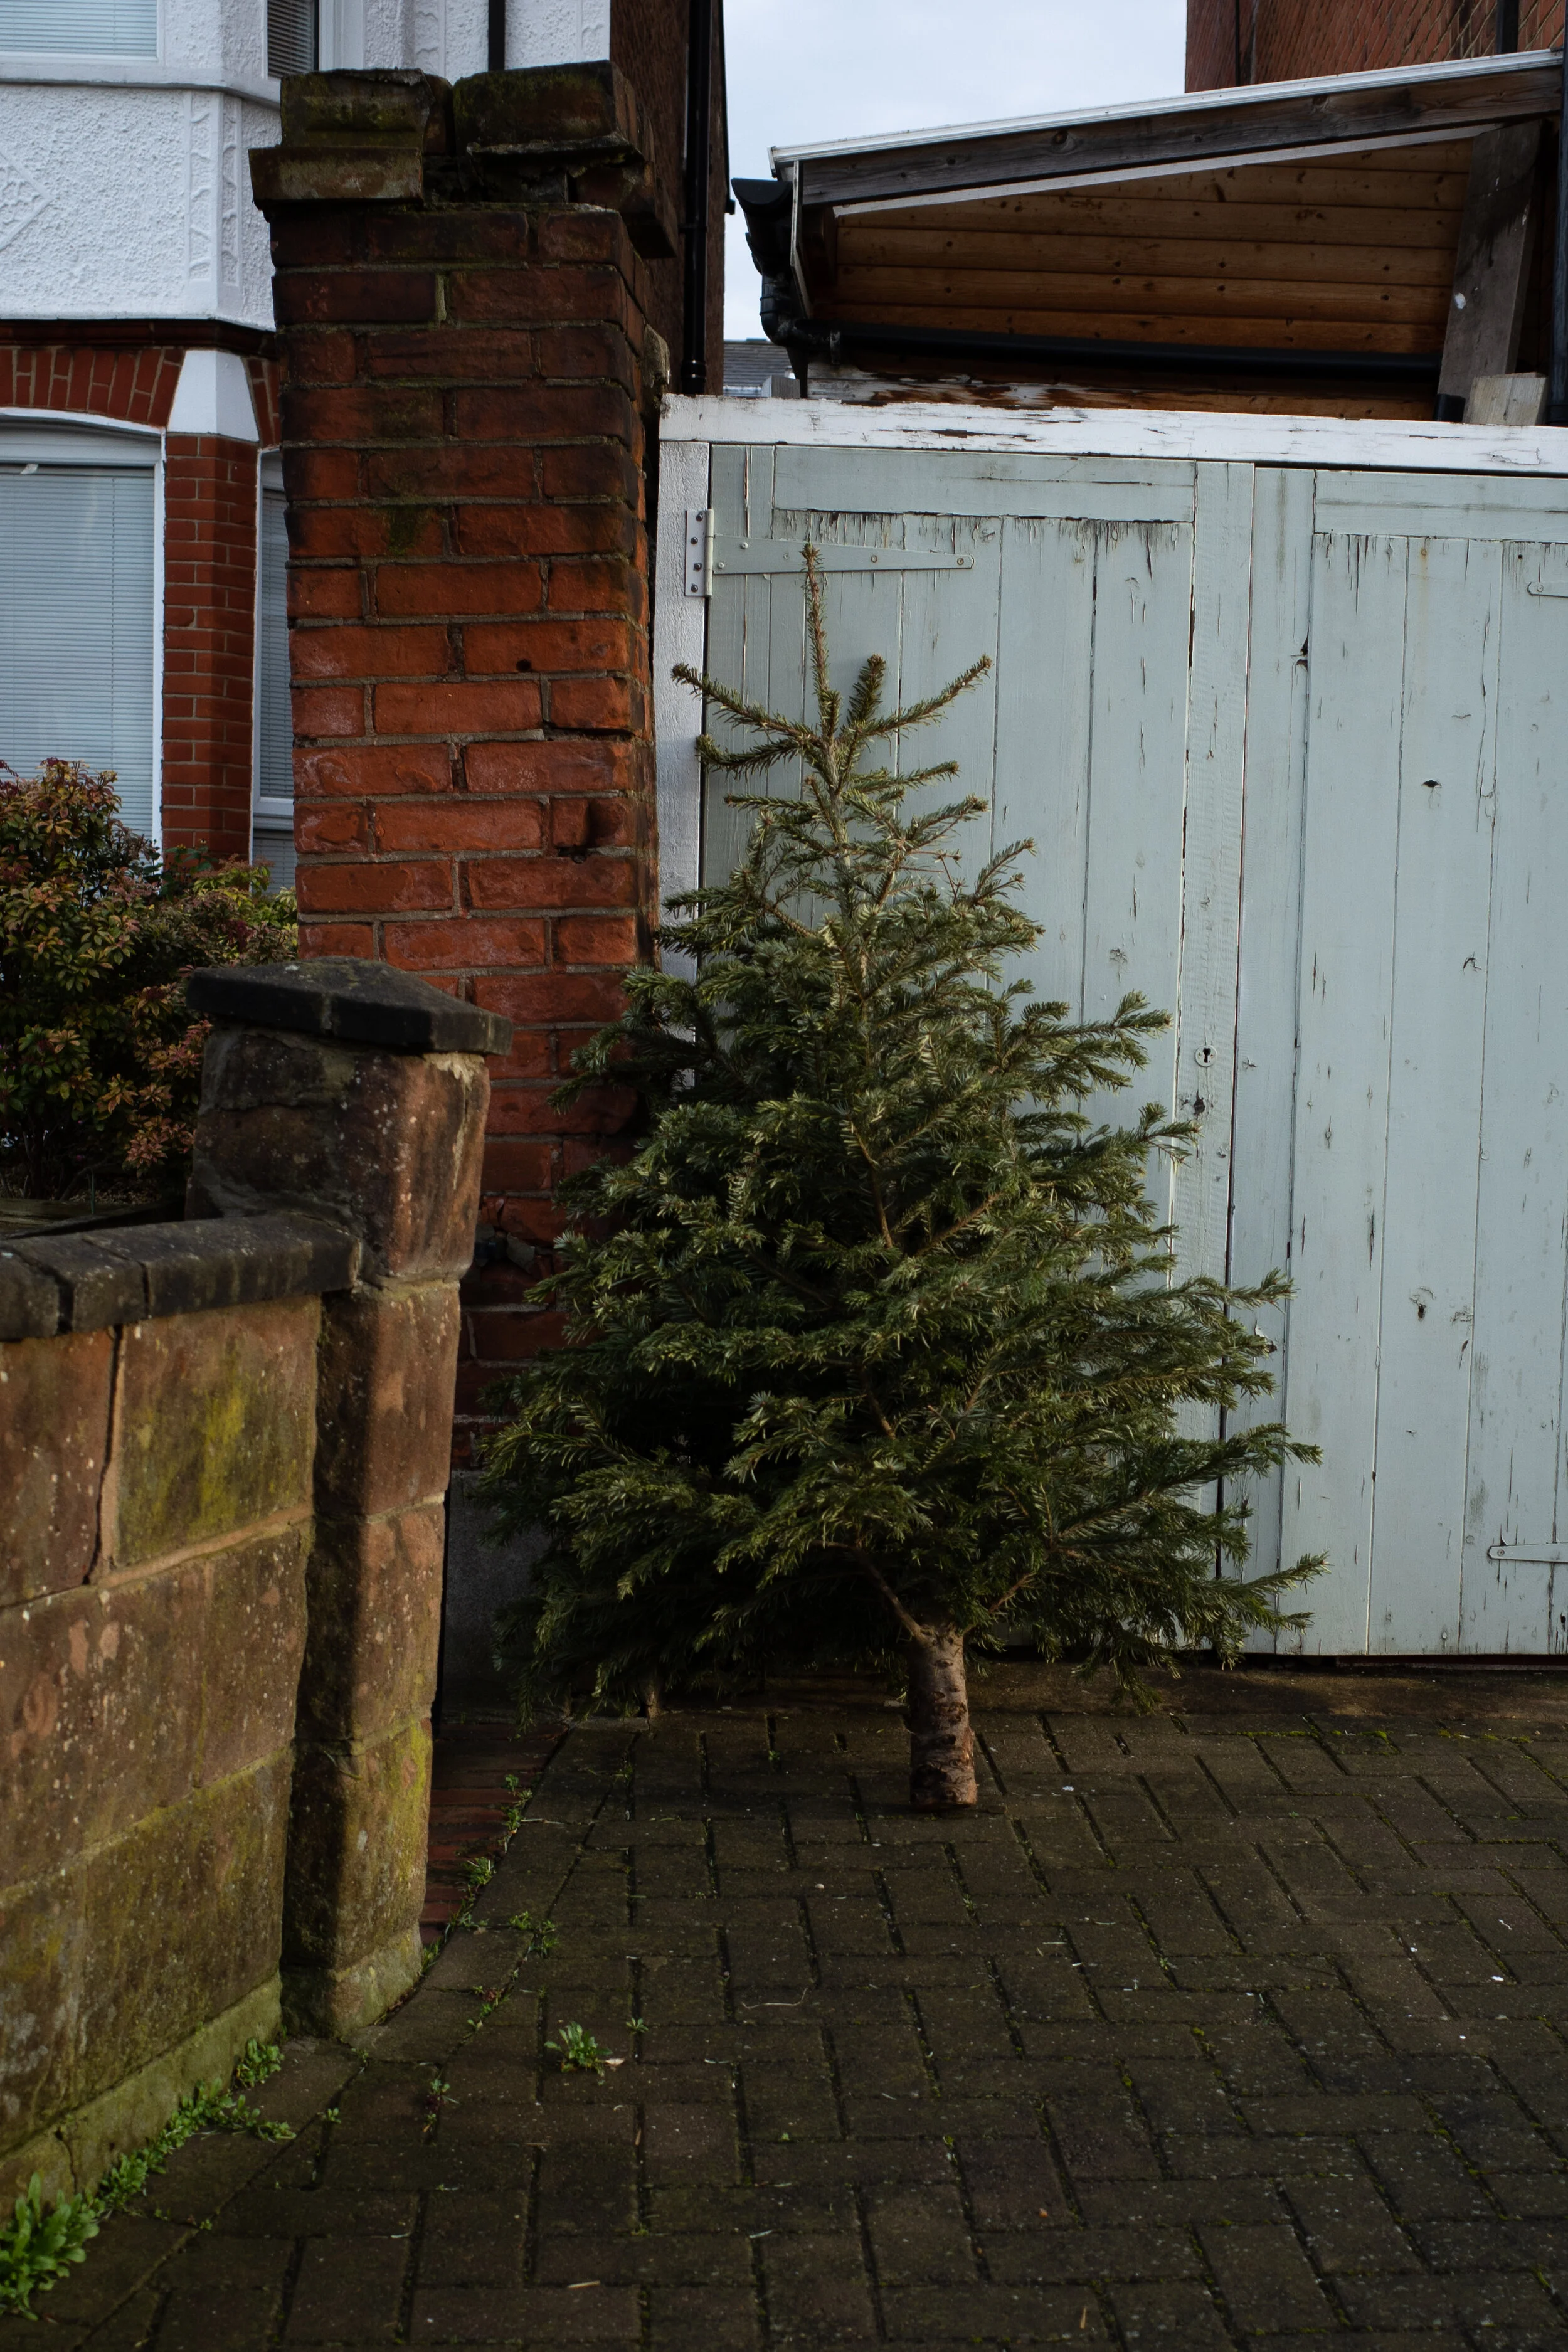
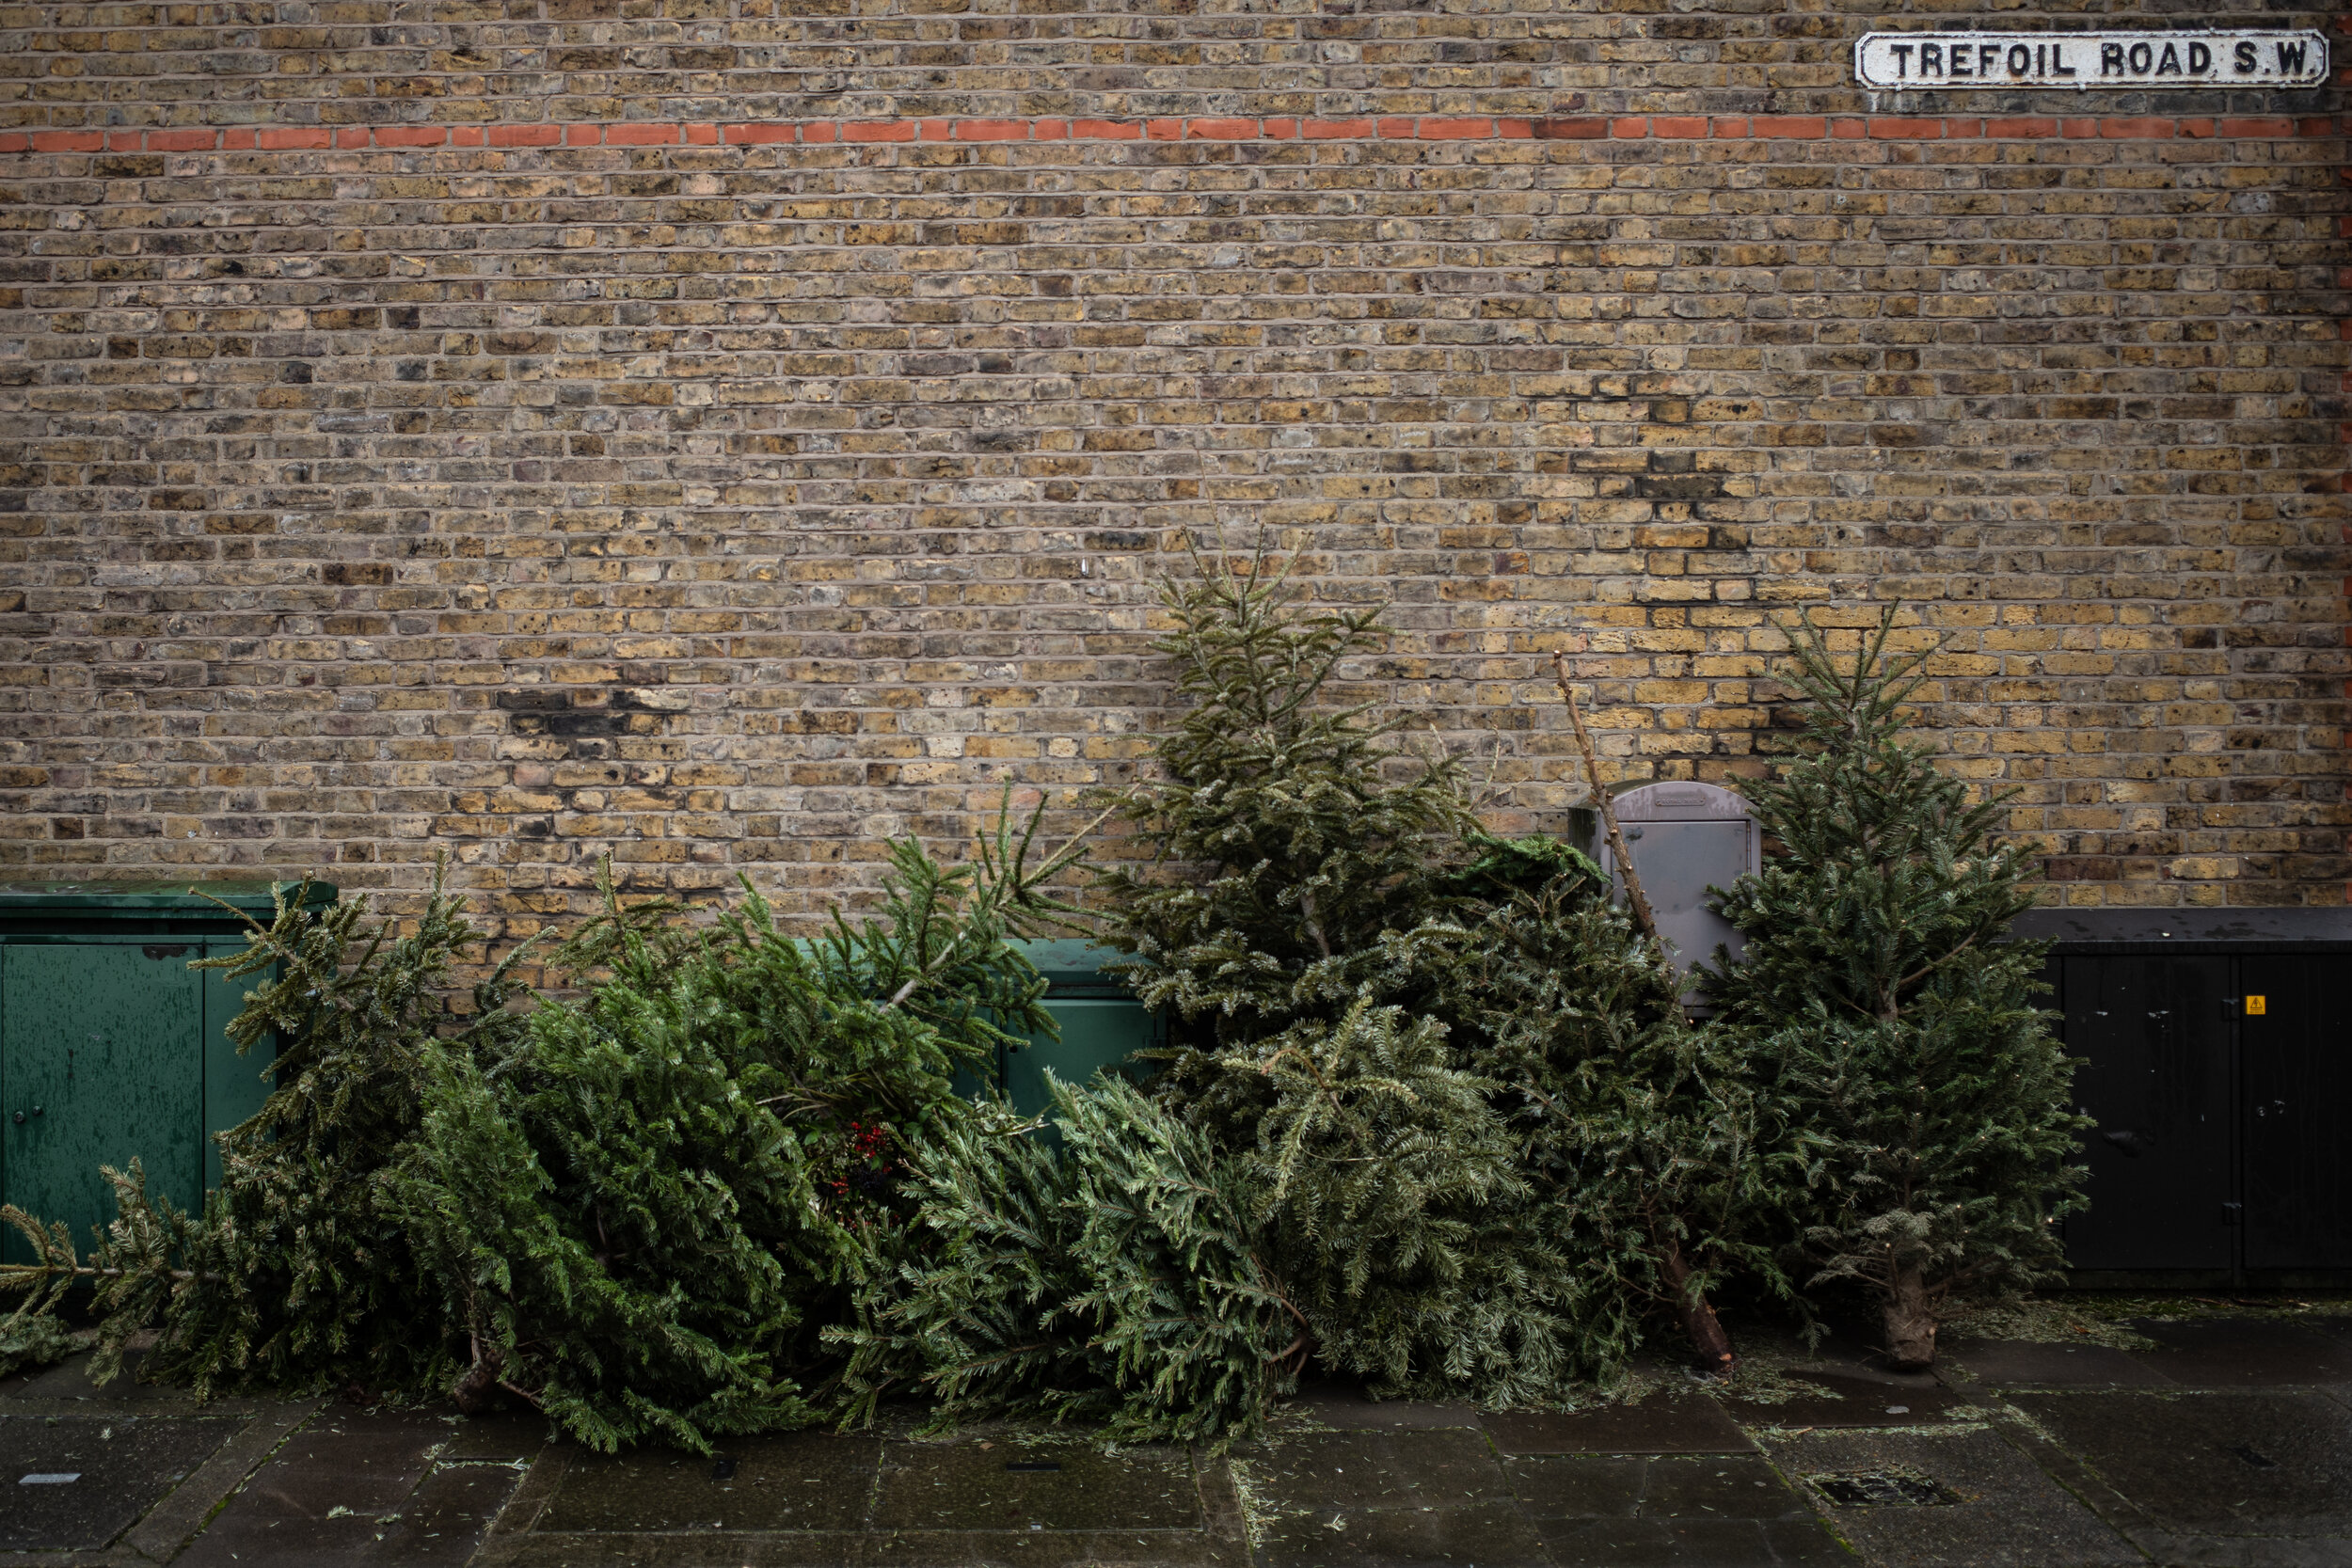
On this occasion I noticed that people were throwing out their Christmas trees. In fact the streets were full of them. Hundreds of sad firs, spruce and pines lying discarded and dying on pavements, curbs and roadsides.
I’ve walked past this scene year after year, but for some reason this year it grabbed me differently. Who knows why familiar scenes suddenly take on a new shade? Maybe I was just more receptive to it. Maybe I’d done some growing up and learning since last time this season came around, but this year the whole thing struck me as ridiculous.
I live in a country that is complaining heavily, even marching and protesting about the destruction of the rain forests in the Amazon, all the while participating in a tradition where we cut down millions of trees every year, bring them into our homes for a couple of weeks and then literally throw them out on the street when it is deemed ‘unlucky’ to still have them around the house any more.
…and it made me sad.
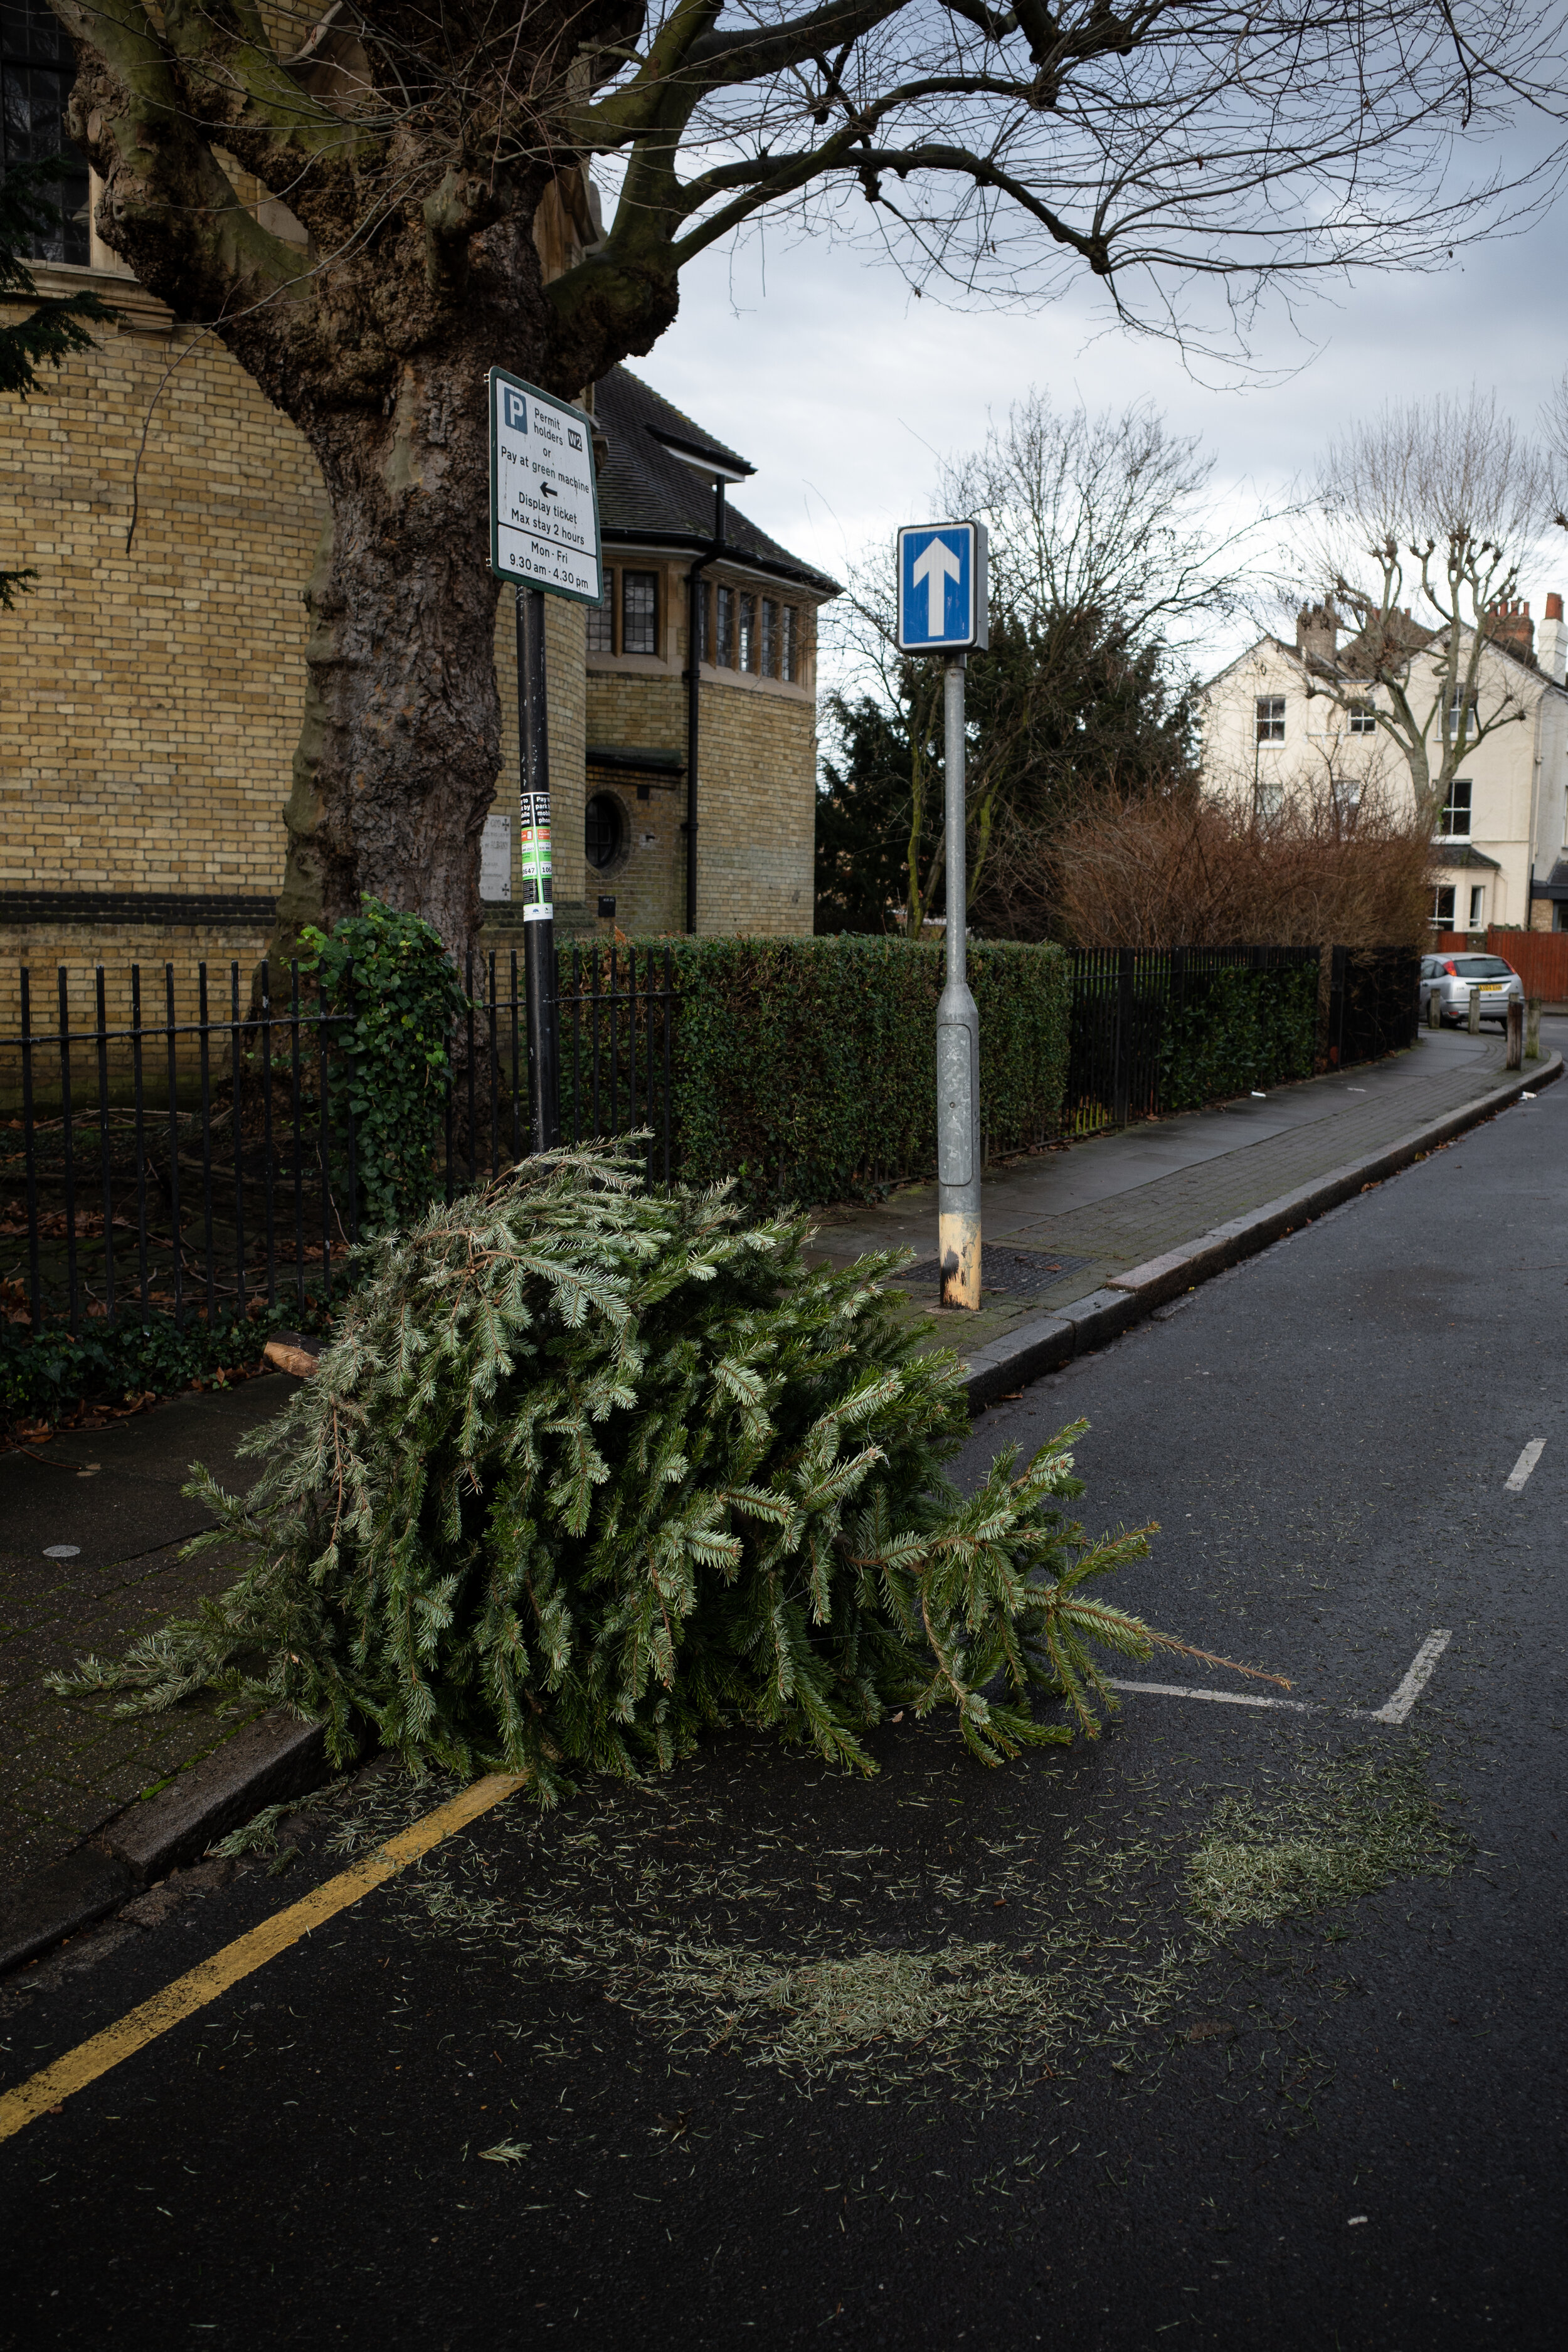
So, because I always have a camera on me, I decided to pull out my trusty Ricoh GRIII and I gave myself the task of walking around for 30 minutes and trying to capture a sense of what I was seeing.
More specifically I decided to try and shoot a series of images which would have shown ‘last year’s me’, who happily ignored all this, what I was ignorantly walking past.

What I noticed immediately is that the images I was taking weren’t that good. They would never see the pages of my annual book, and I probably wouldn’t even post them to Instagram.
The light was flat.
The scenes were visually cluttered.
Not at all my usual style… but that wasn’t the point.


The point was to tell a story.
I think there is this tension between documentary photography and more fine art photography. The former is concerned with the narrative, while the latter is concerned with aesthtics.
Now admittedly some photographers do get lucky on occasion and manage to take an aesthetically stunning image while telling a story through a series of images (Salgado’s work comes to mind) but even those photographers know that the story comes first and those striking images come along, once in a blue moon, when they please… when the alchemy of the moment, the light and the composition strike while you are trying to get that narrative.
It didn’t happen to me on this occasion. There are no stand out images in this set, but as a collection I think they tell a story, which was the whole point of the challenge I gave myself.


For a control freak like me it was a good lesson to learn.
Sometimes photography shouldn’t be so rigid, and every shot shouldn’t (can’t) be a ‘banger’.
Sometimes it’s about heading out with a camera in hand into a situation which you want to show the world, and using your camera as a story-telling tool to document what you’re seeing.
Of course you will still be on the look out for a great shot, but you will also be looking to shoot more and collect scenes which in their aggregate tell the viewer a truth about the world.

So I guess my challenge would be, go out and tell us a story with your camera.
If you’re wandering around in your corner of the world and something presents itself to you, or you notice a reality with fresh eyes, grab your camera.
Shoot fast and loose.
Collect scenes.
Tell us a story.
How to be Authentic in your Creative Work

I recently took a few days off and travelled down to Lynmouth on the Devon Coast. Lately I've been thinking a lot about what it means to be authentically yourself in your photography, or filmmaking, or whatever your creative pursuits, so on top of taking photographs I decided to make a film with some of these thoughts.
I hope it challenges you to be brave enough to be yourself in your own work.
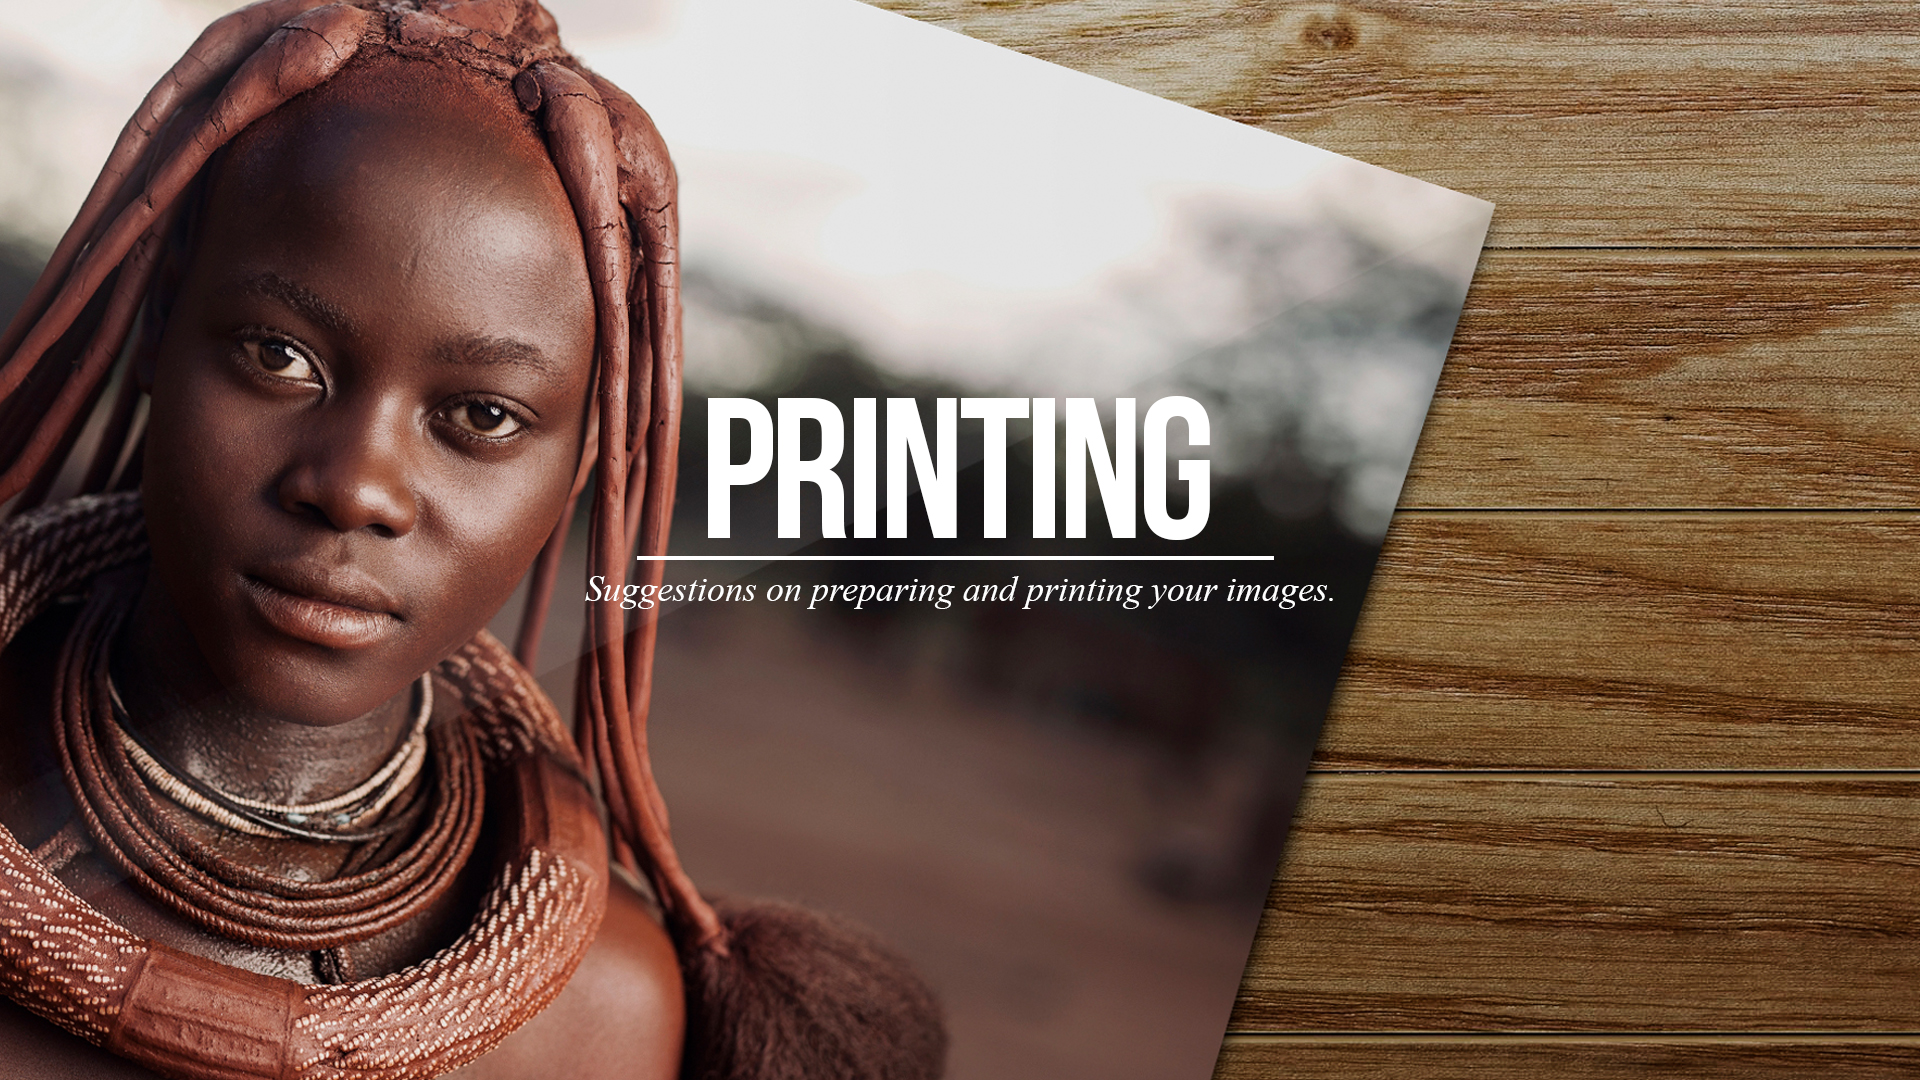
Advice on Printing your Images
I have never professionally printed any of my images before, which, having been a professional photographer for many years now, seems like a ridiculous fact.
To remedy this I decided to take 3 images from my recent shoot with the Himba Tribe, down to Genesis Imaging in London, and get them professionally printed. Mark Foxwell, their creative director, kindly gave me some time to share advice to camera for print virgins like myself.
I hope this video challenges you to get out and print one of your favourites.
Very special thanks to Mark and Gabrielle at Genesis Imaging: http://genesisimaging.co.uk/
How to create when you're just not 'feeling it'.

After reading Steven Pressfield's book, 'The War of Art', I decided to make this video sharing some of my own 'Resistances', and how I fight to overcome them so I can get back to creating.
I hope you find it encouraging:
Editing Landscapes (HDR and Panoramas in LR and PS)

Following my Snowdonia trip last year, quite a few of you asked for a tutorial showing how I edited the shots, so this... is that.
In this tutorial I'll show you how to combine the bracketed exposures in Lightroom to give you your HDR image, as well as showing you how to stitch multiple shots together for your panorama.
Then I'll run you through some Photoshop techniques from cloning, to sharpening, dodge and burn through to colour work.
I hope these tips help you in your own editing:
...and here's the final image:

Shooting 50mm on the Island of Gozo

I made this quick video while visiting friends on the Island of Gozo (Malta) recently.
I am prone to taking too much gear on trips, but this time, seeing as this was supposed to be time to relax, I thought I would just take my Canon 5DmkII and a Sigma 50mm prime.
Taking one focal length forces you to think more, and move more, in order to get the shots you want... and of course means a lighter bag, and grateful back muscles. Limiting yourself with one focal length for a trip forces you to think more creatively to compensate (zooms can make us lazy). Your legs have to become your zoom with a prime lens. If you want to exercise your photographic eye, this is often a good challenge to give yourself.
I also offer some thoughts on not needing the very latest gear in order to get good shots, and reasons why the Canon 5DmkII is still good enough for me.
I've included some of the shots I got, including some of the Good Friday procession in Rabat.
Enjoy.
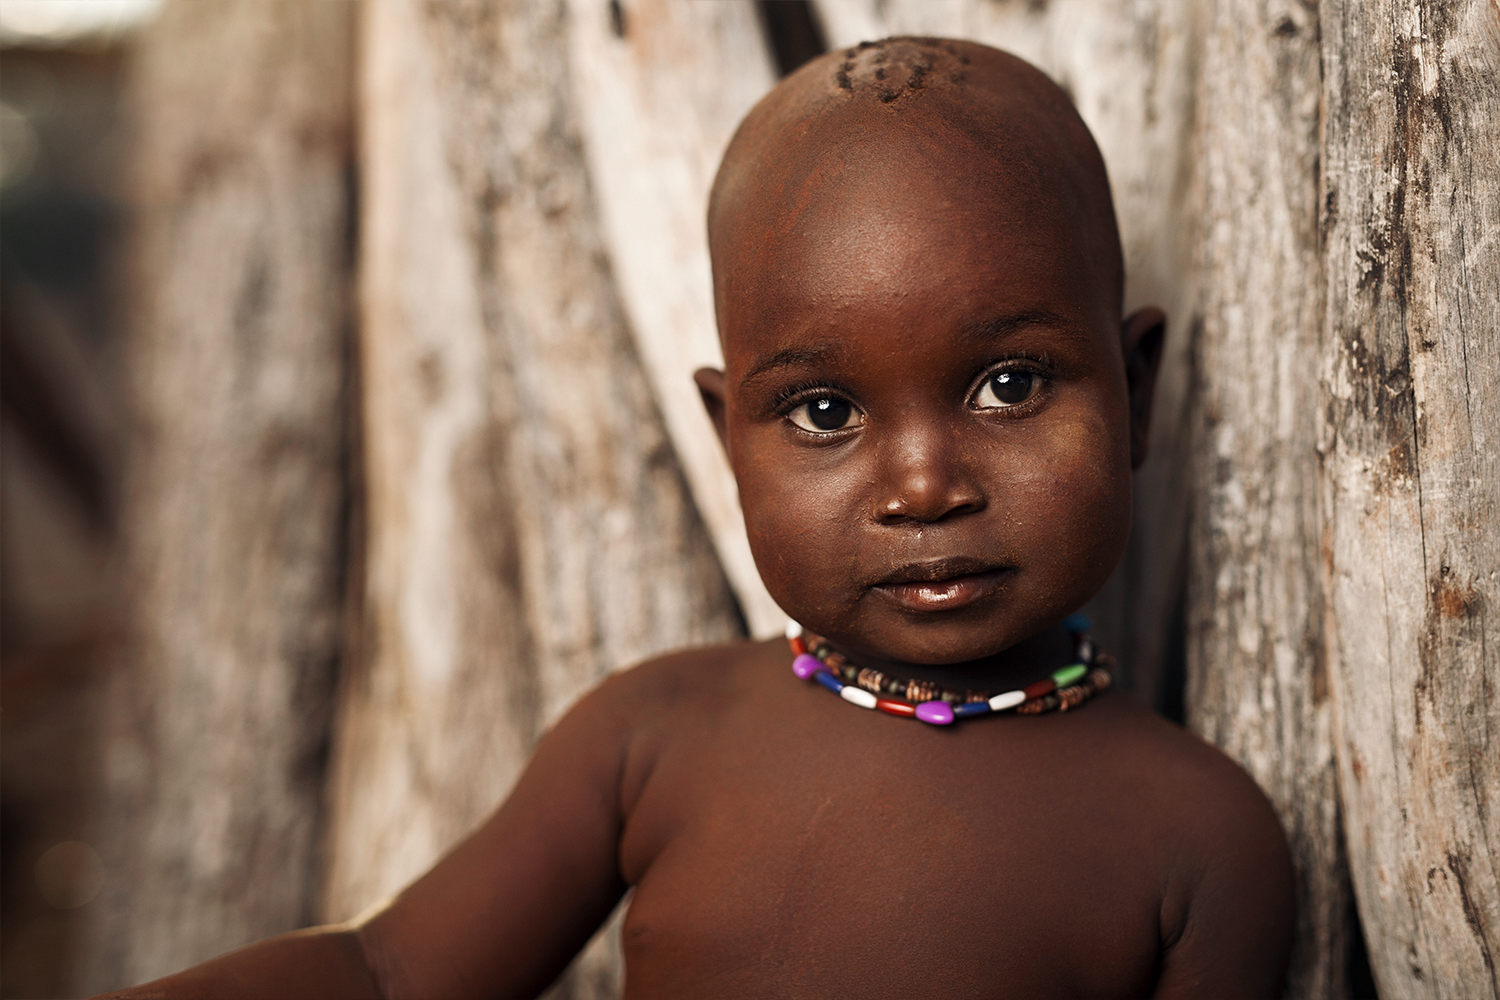
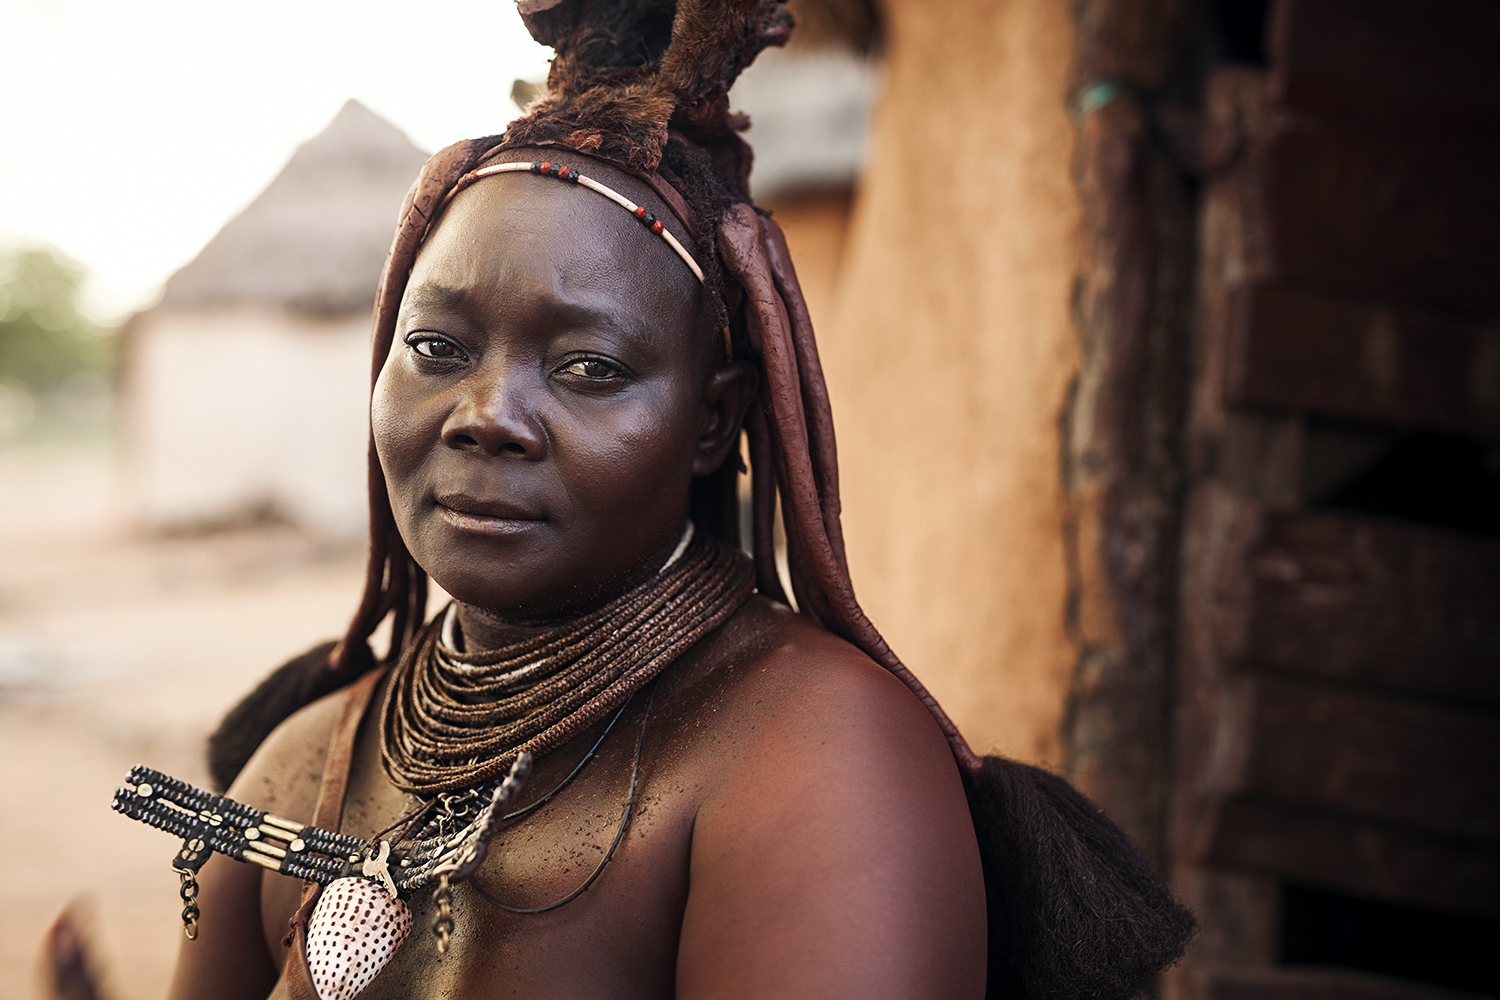
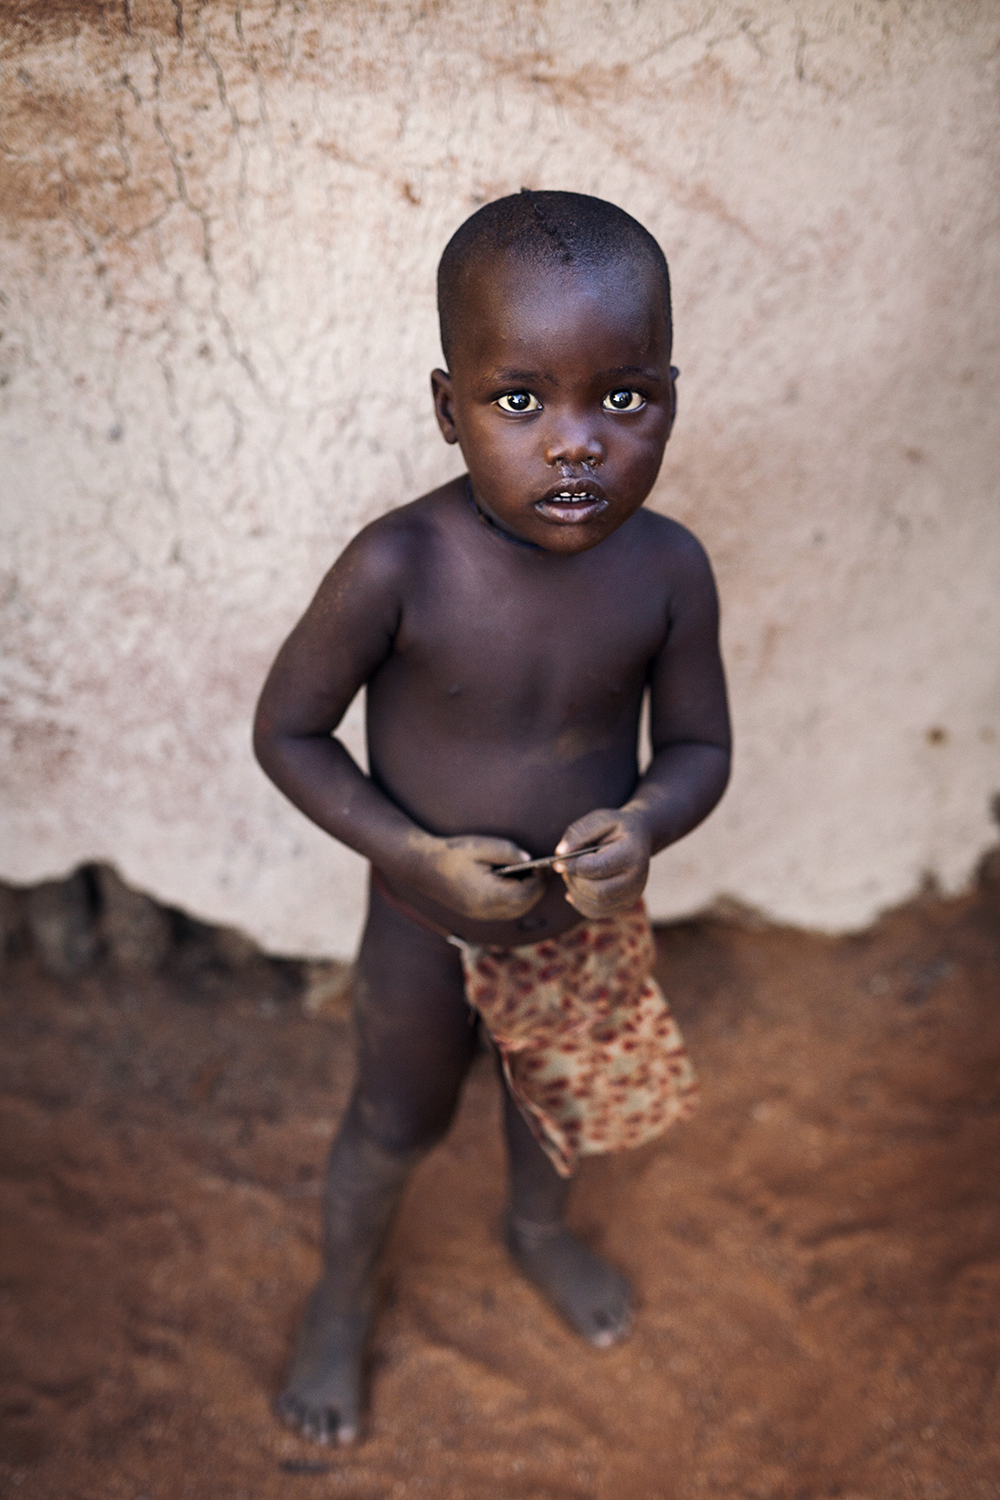
How to shoot portraits outside your culture (featuring The Himba)

I put out a video recently (https://www.youtube.com/watch?v=MSiZHcmflX4&t=241s) talking about how to start moving your photography career in a particular direction. I asked myself what sort of photography really spoke to me, and in my case it was pretty obvious.
It was people photography.
Portraits.
Especially portraits of people from different contexts and with different stories to my own.
My photography heroes are Steve McCurry, Sebastiao Salgado, Jimmy Nelson and Joey L for his work in Africa, India and Syria. I understand that it’s a different era now and that grabbing a job at National Geographic is not a realistic option. I also know that no one is coming to knock on my door to hire me for this sort of work just because I would love to do it. There are no favours in this industry.
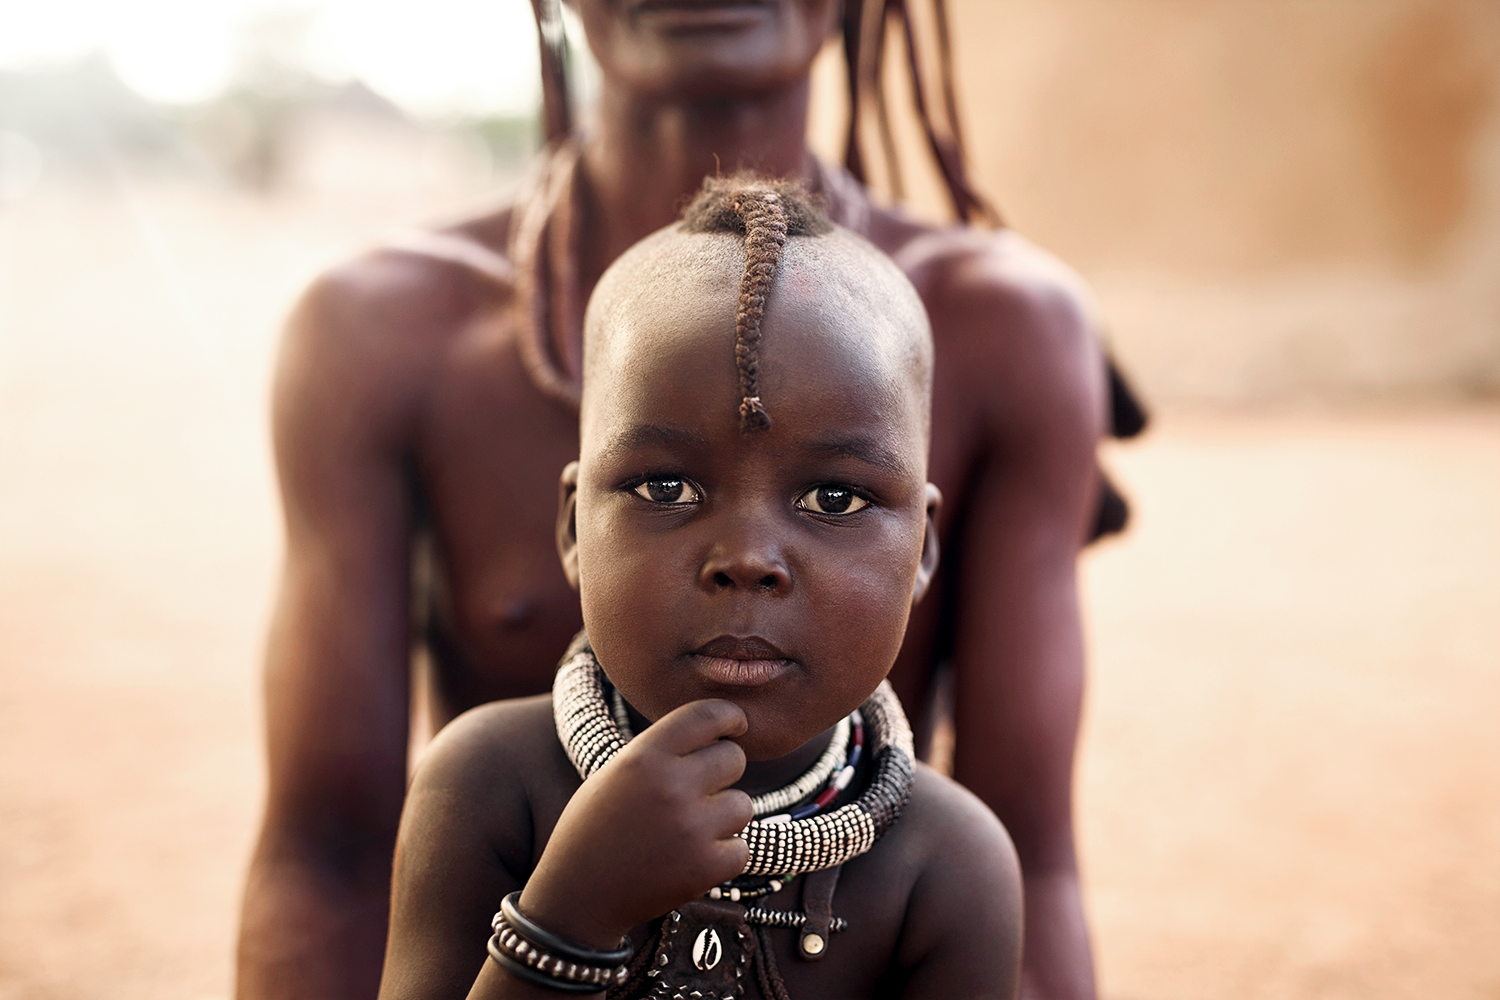
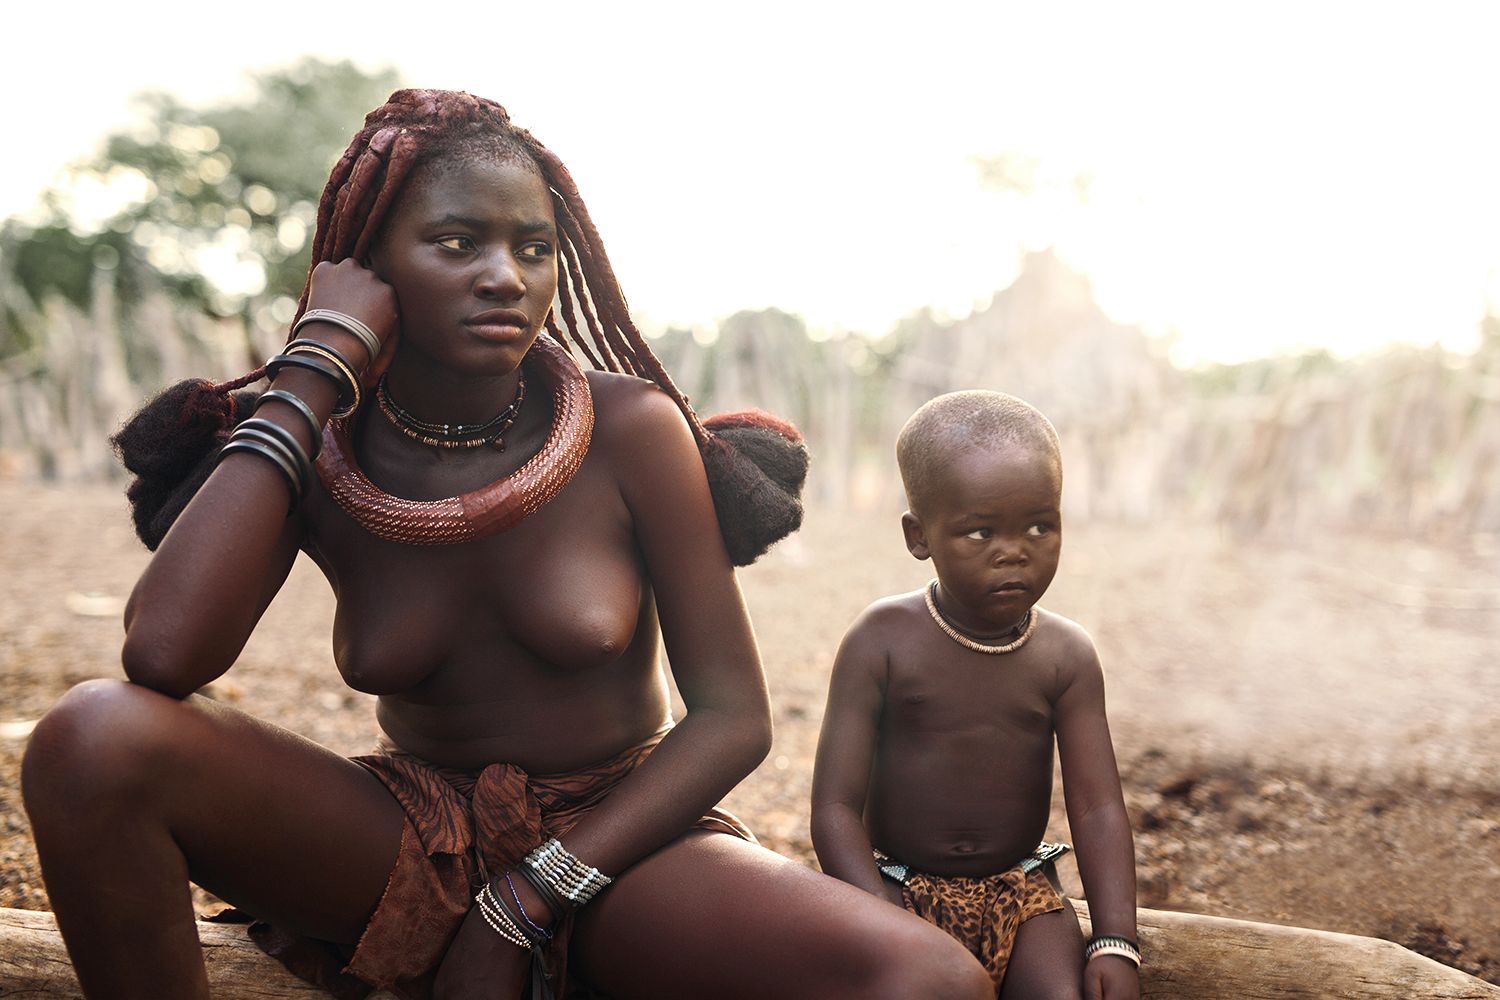
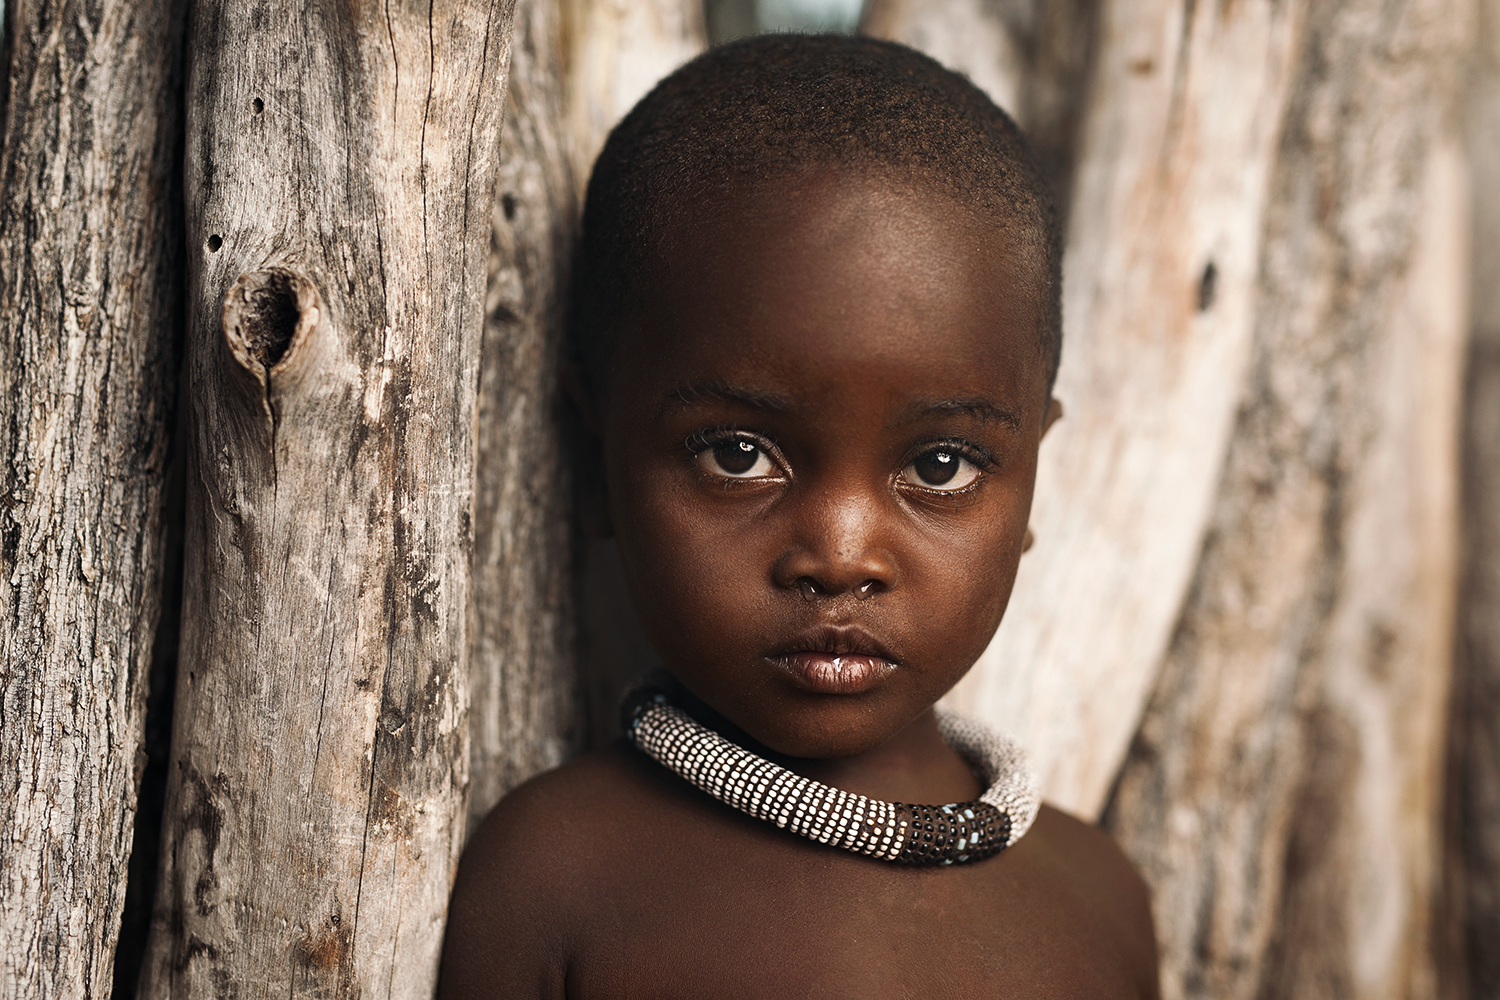
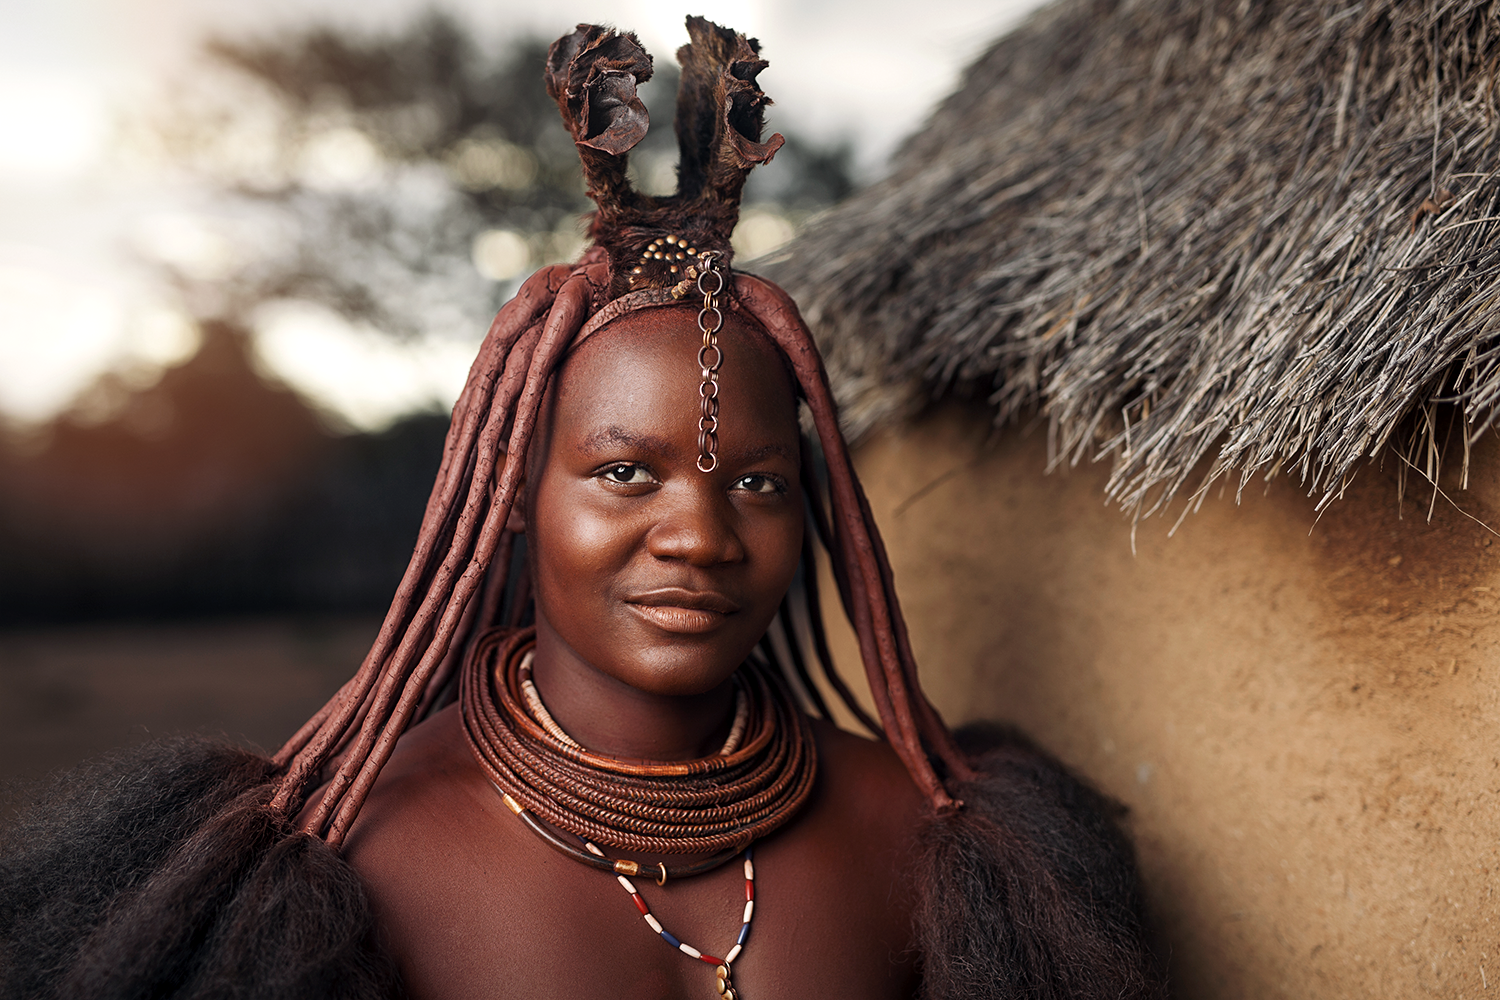
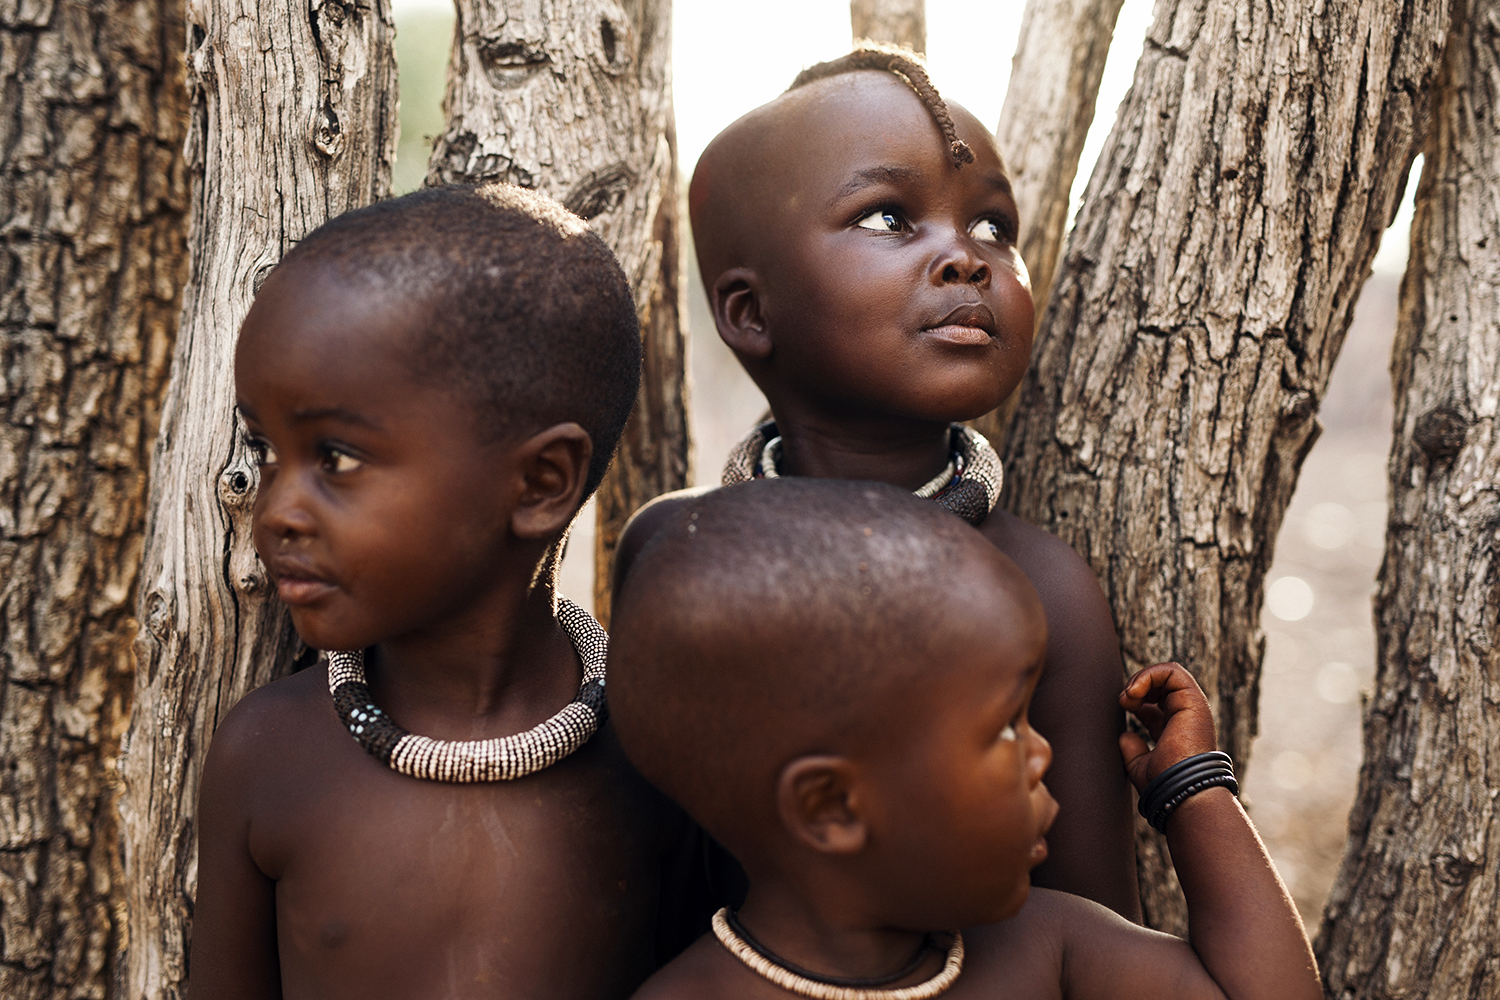
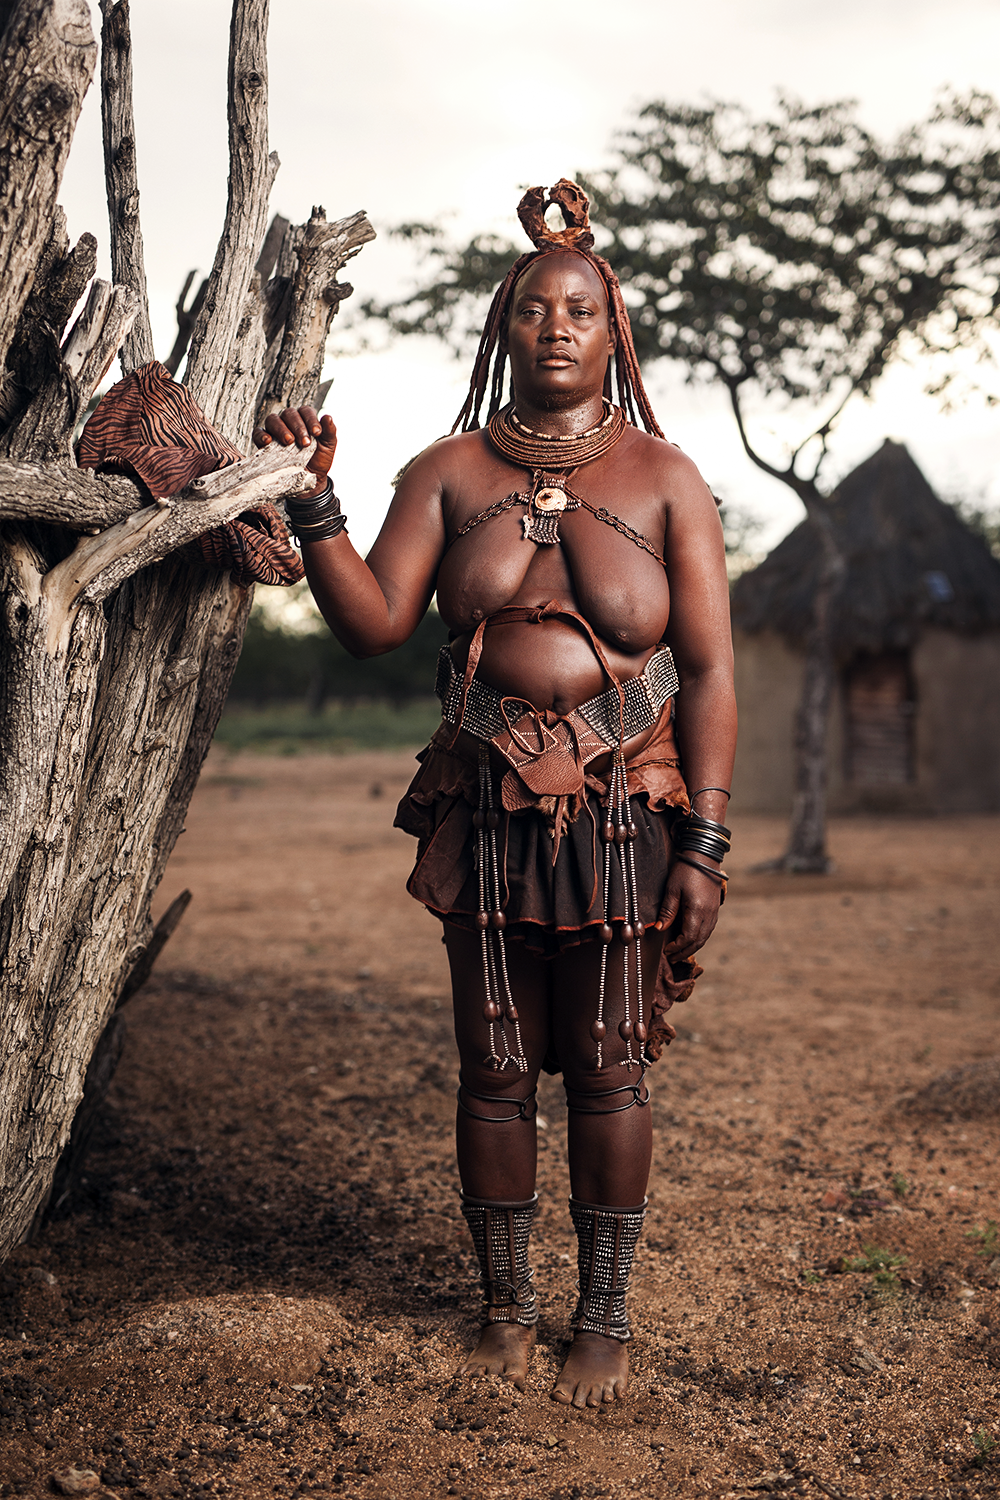
If I ever manage to make this sort of work my full time job it will be because I have already proved that I could produce quality imagery in this area. So I packed my bags and gear and headed to a country which has always held a special interest for me; Namibia. I went to the tribal homelands of the Himba people and organised through a local guide (the wonderful Vanessa) to head into one of the villages for golden hour, for two evenings in a row, to shoot portraits with them.
For the portraits I shot using my Canon 5DmkII and a Sigma Art 50mm f1.4. On top of this I was using a Tiffen Variable ND filter to be able to cut the light and keep the depth of field where I wanted it without overexposing.
The first evening I went in I shot all natural light with a large white reflector.
On the second evening I went in and shot mixing strobe and natural light using my Alien Bee 800 with Vagabond Mini battery pack, shot through a 1.5m Photek Softlighter. This had the desired effect of darkening the background and shaping the light on the face for a slightly more dramatic look.
The overall experience was amazing. I intend this to be the first of many trips, but I will likely always remember this one as important because it helped prove to myself that I can do this; that all the work I have put in to build up my skill set over the years has resulted in images like this. On my ever evolving photographic journey it has been great to discover that this is a valid direction for me, which is exciting because it’s one which I would get a great deal of fulfillment from.
Here’s to the journey ahead.
Enjoy the video:
Here are a selection of the images I managed to capture:


Shooting Street: Shoot on the Fuji X100 and editing on iPhone
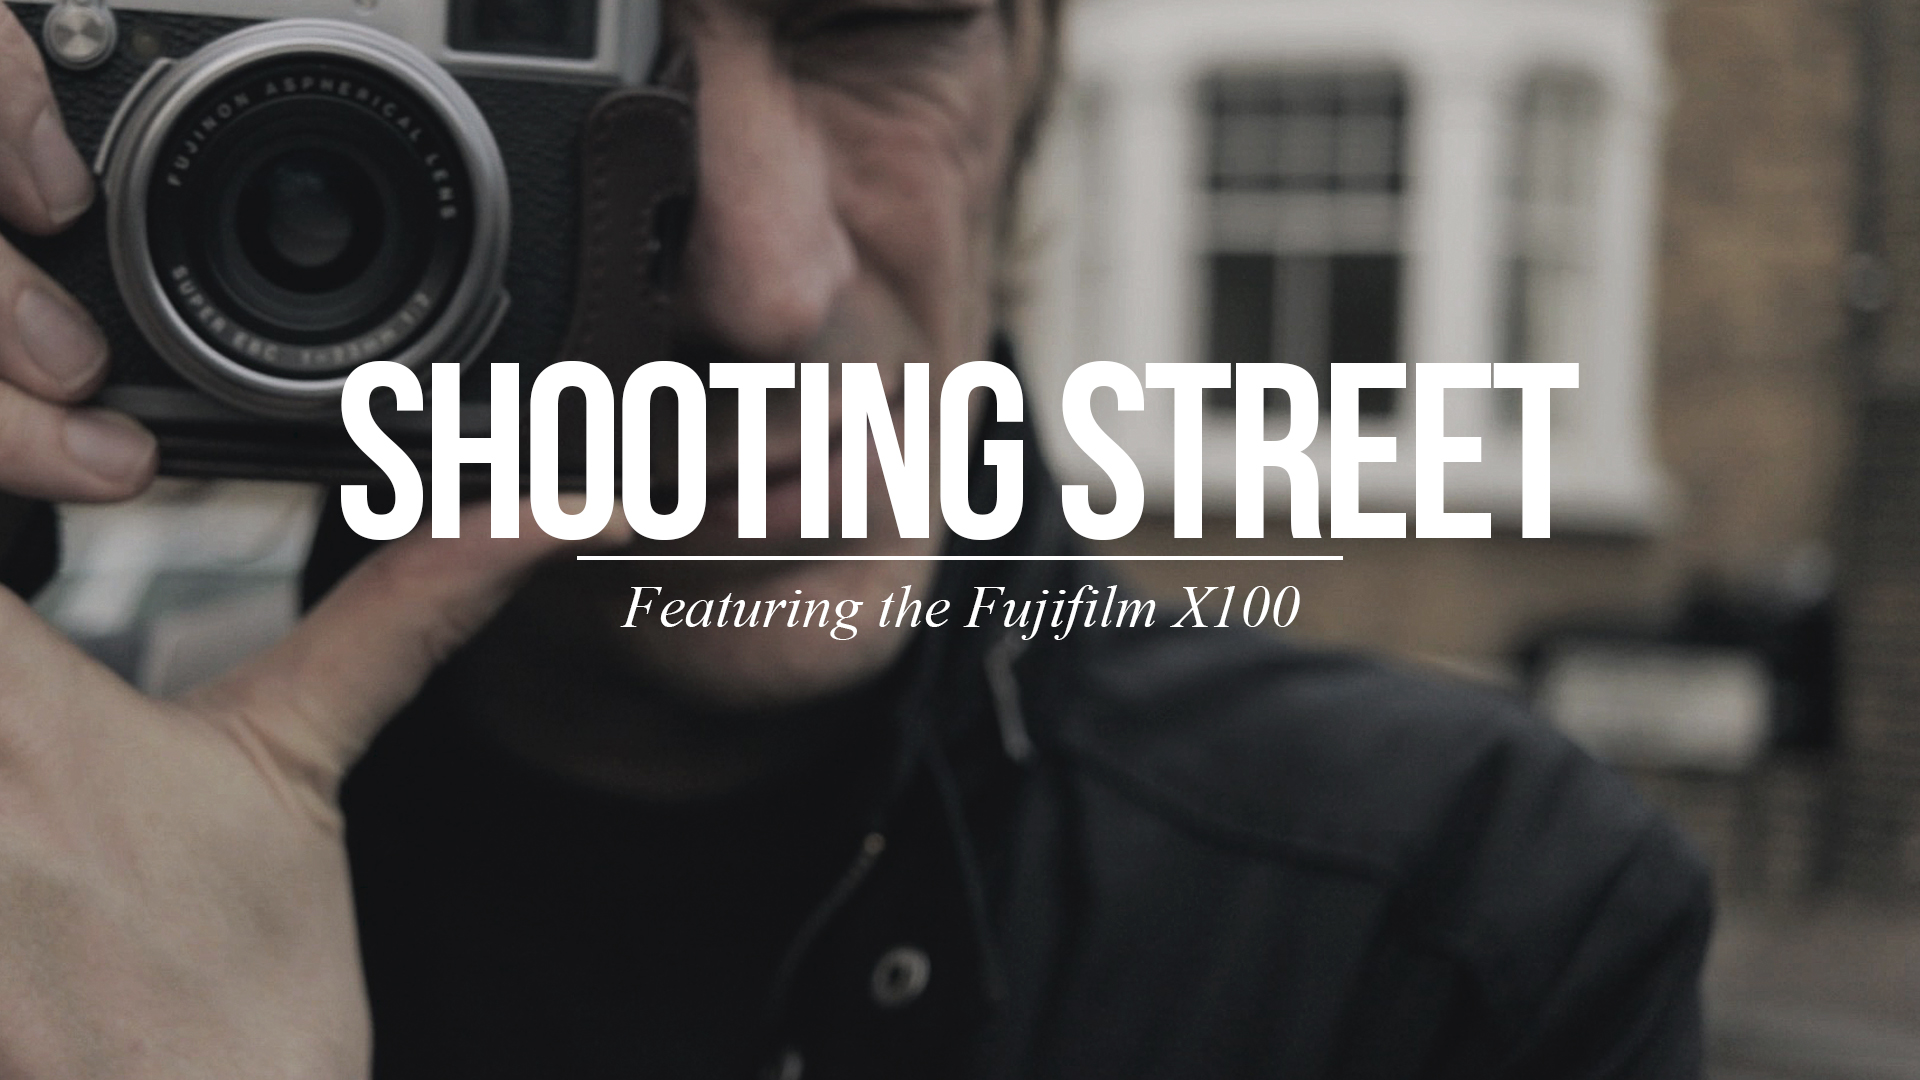
I have been travelling around a bit for the last month, and spent time in a few new cities. When I have some down time in a new place, my favourite thing to do is to explore the space around me with my little Fuji X100 and then find a cafe to edit up shots and post from my iPhone.
This video shows you a little bit of the thinking and process behind this sort of street photography. Enjoy:
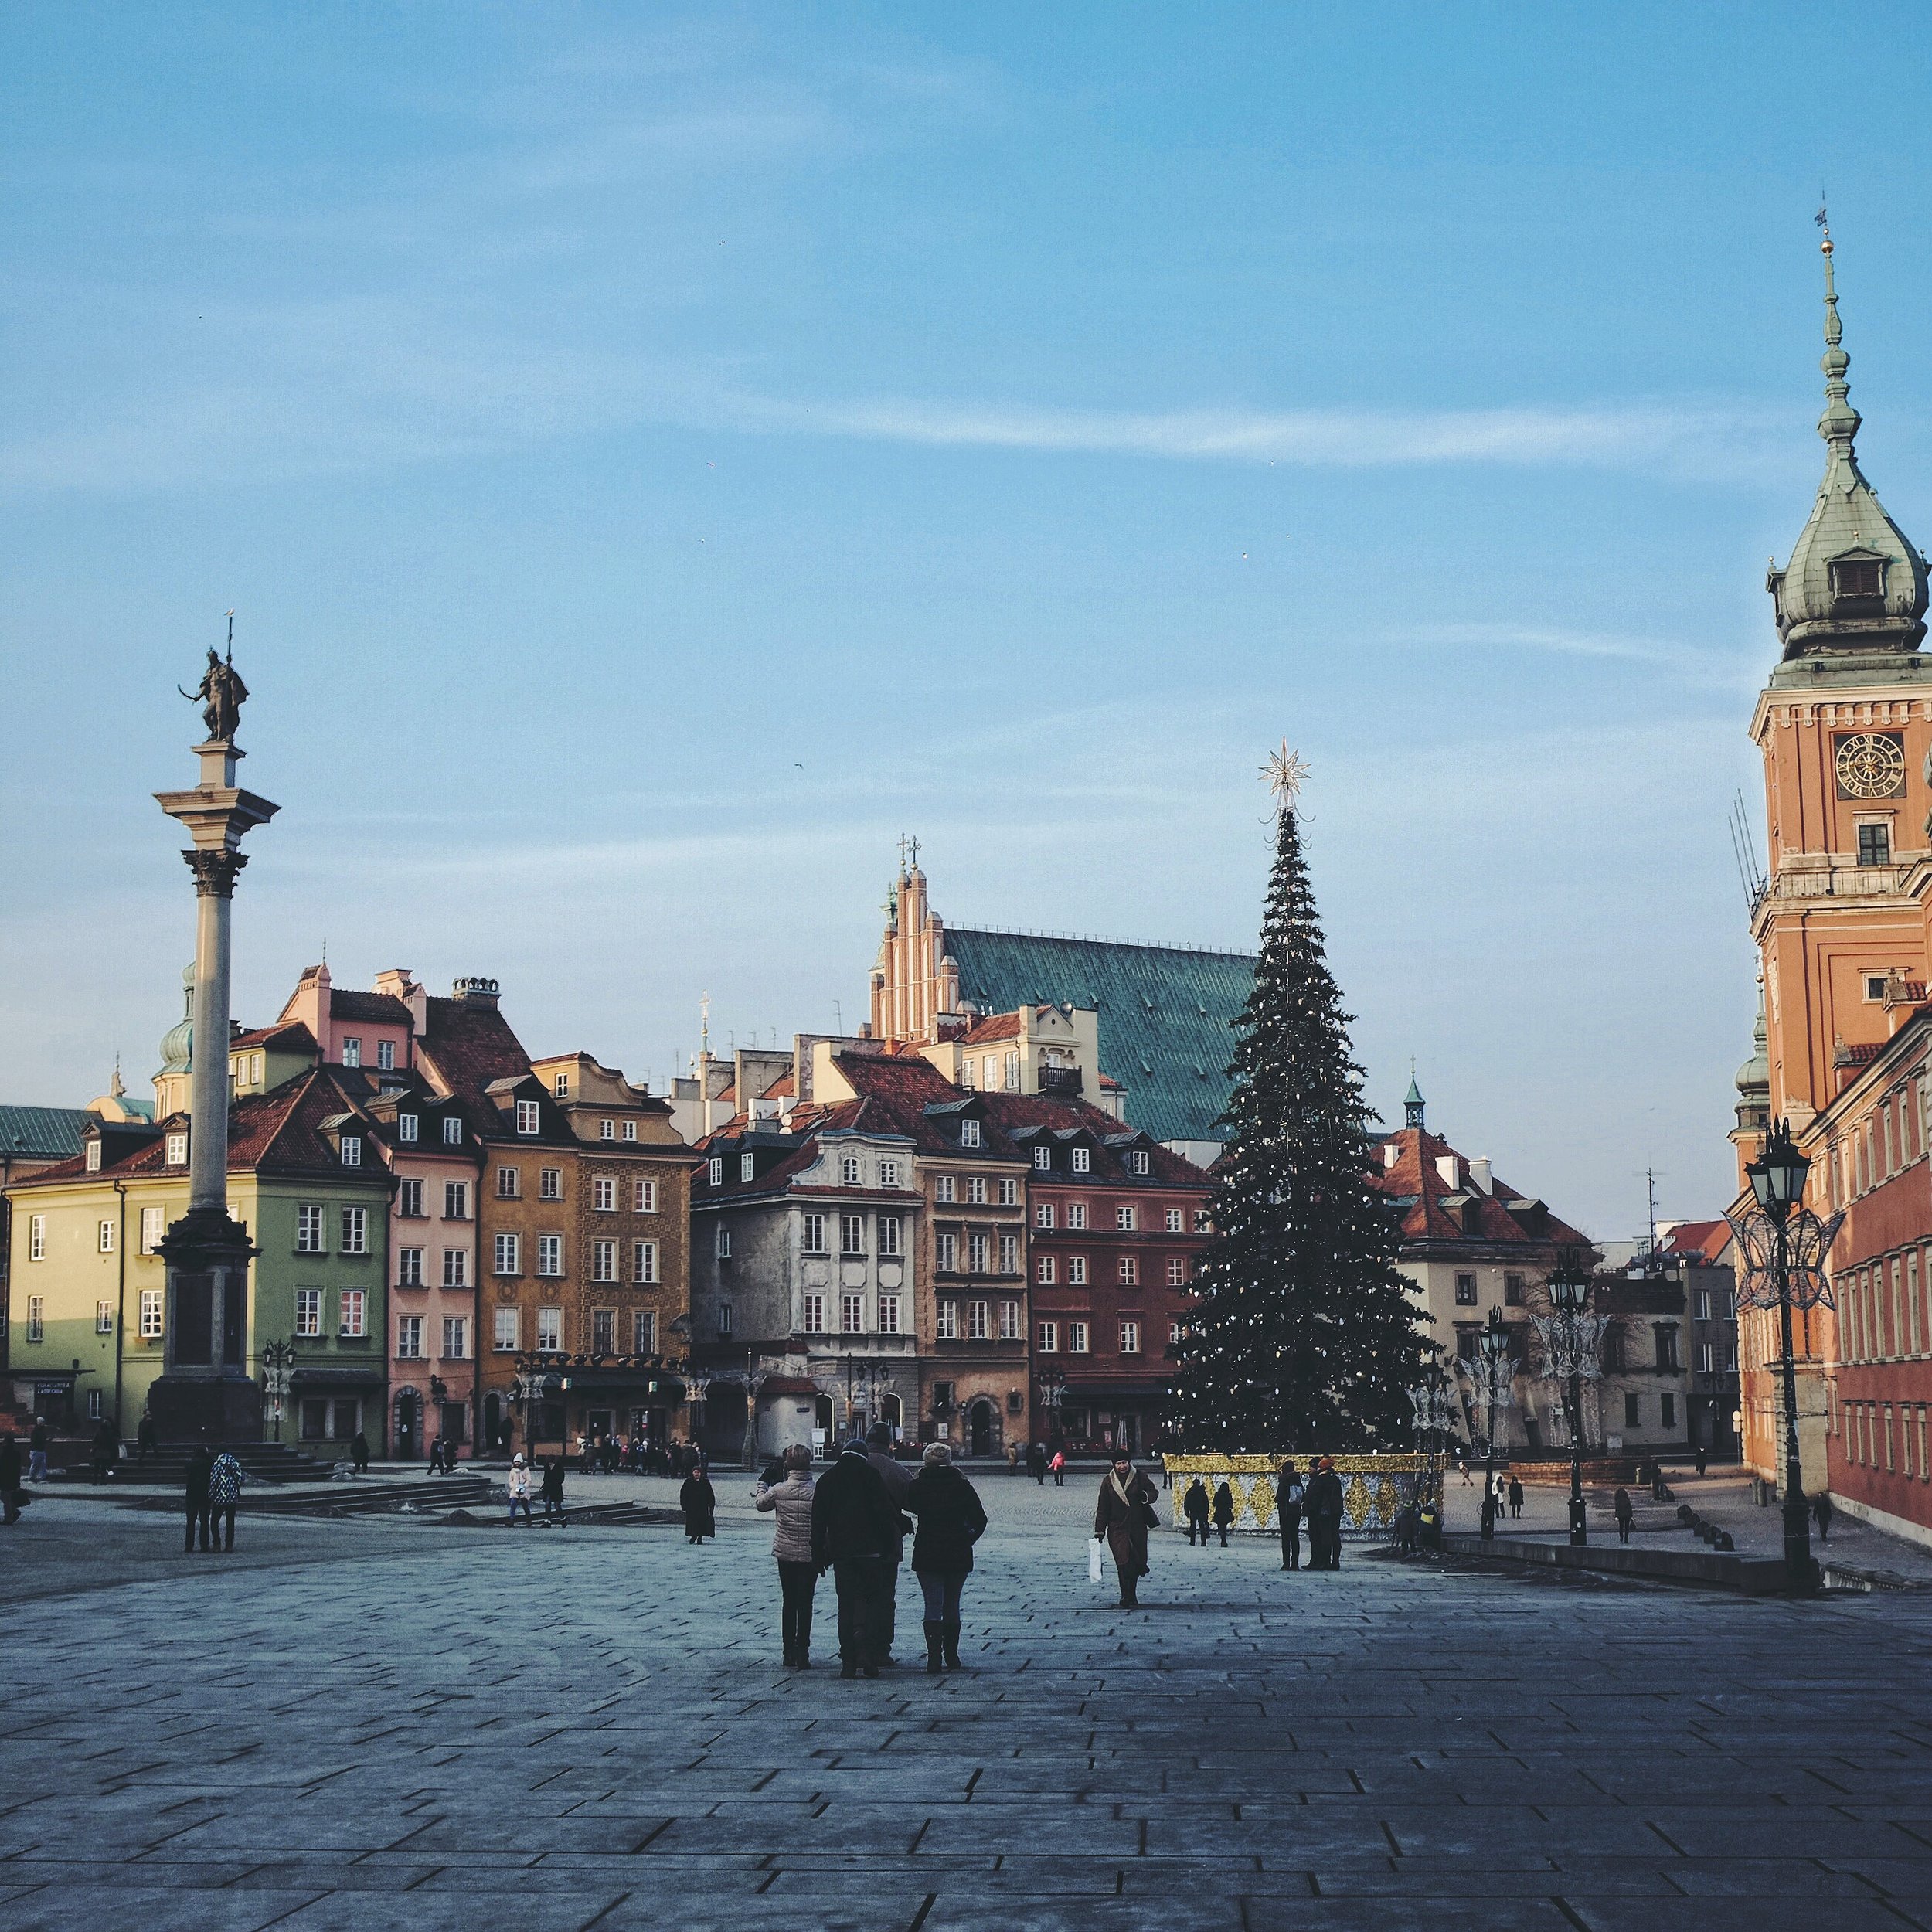
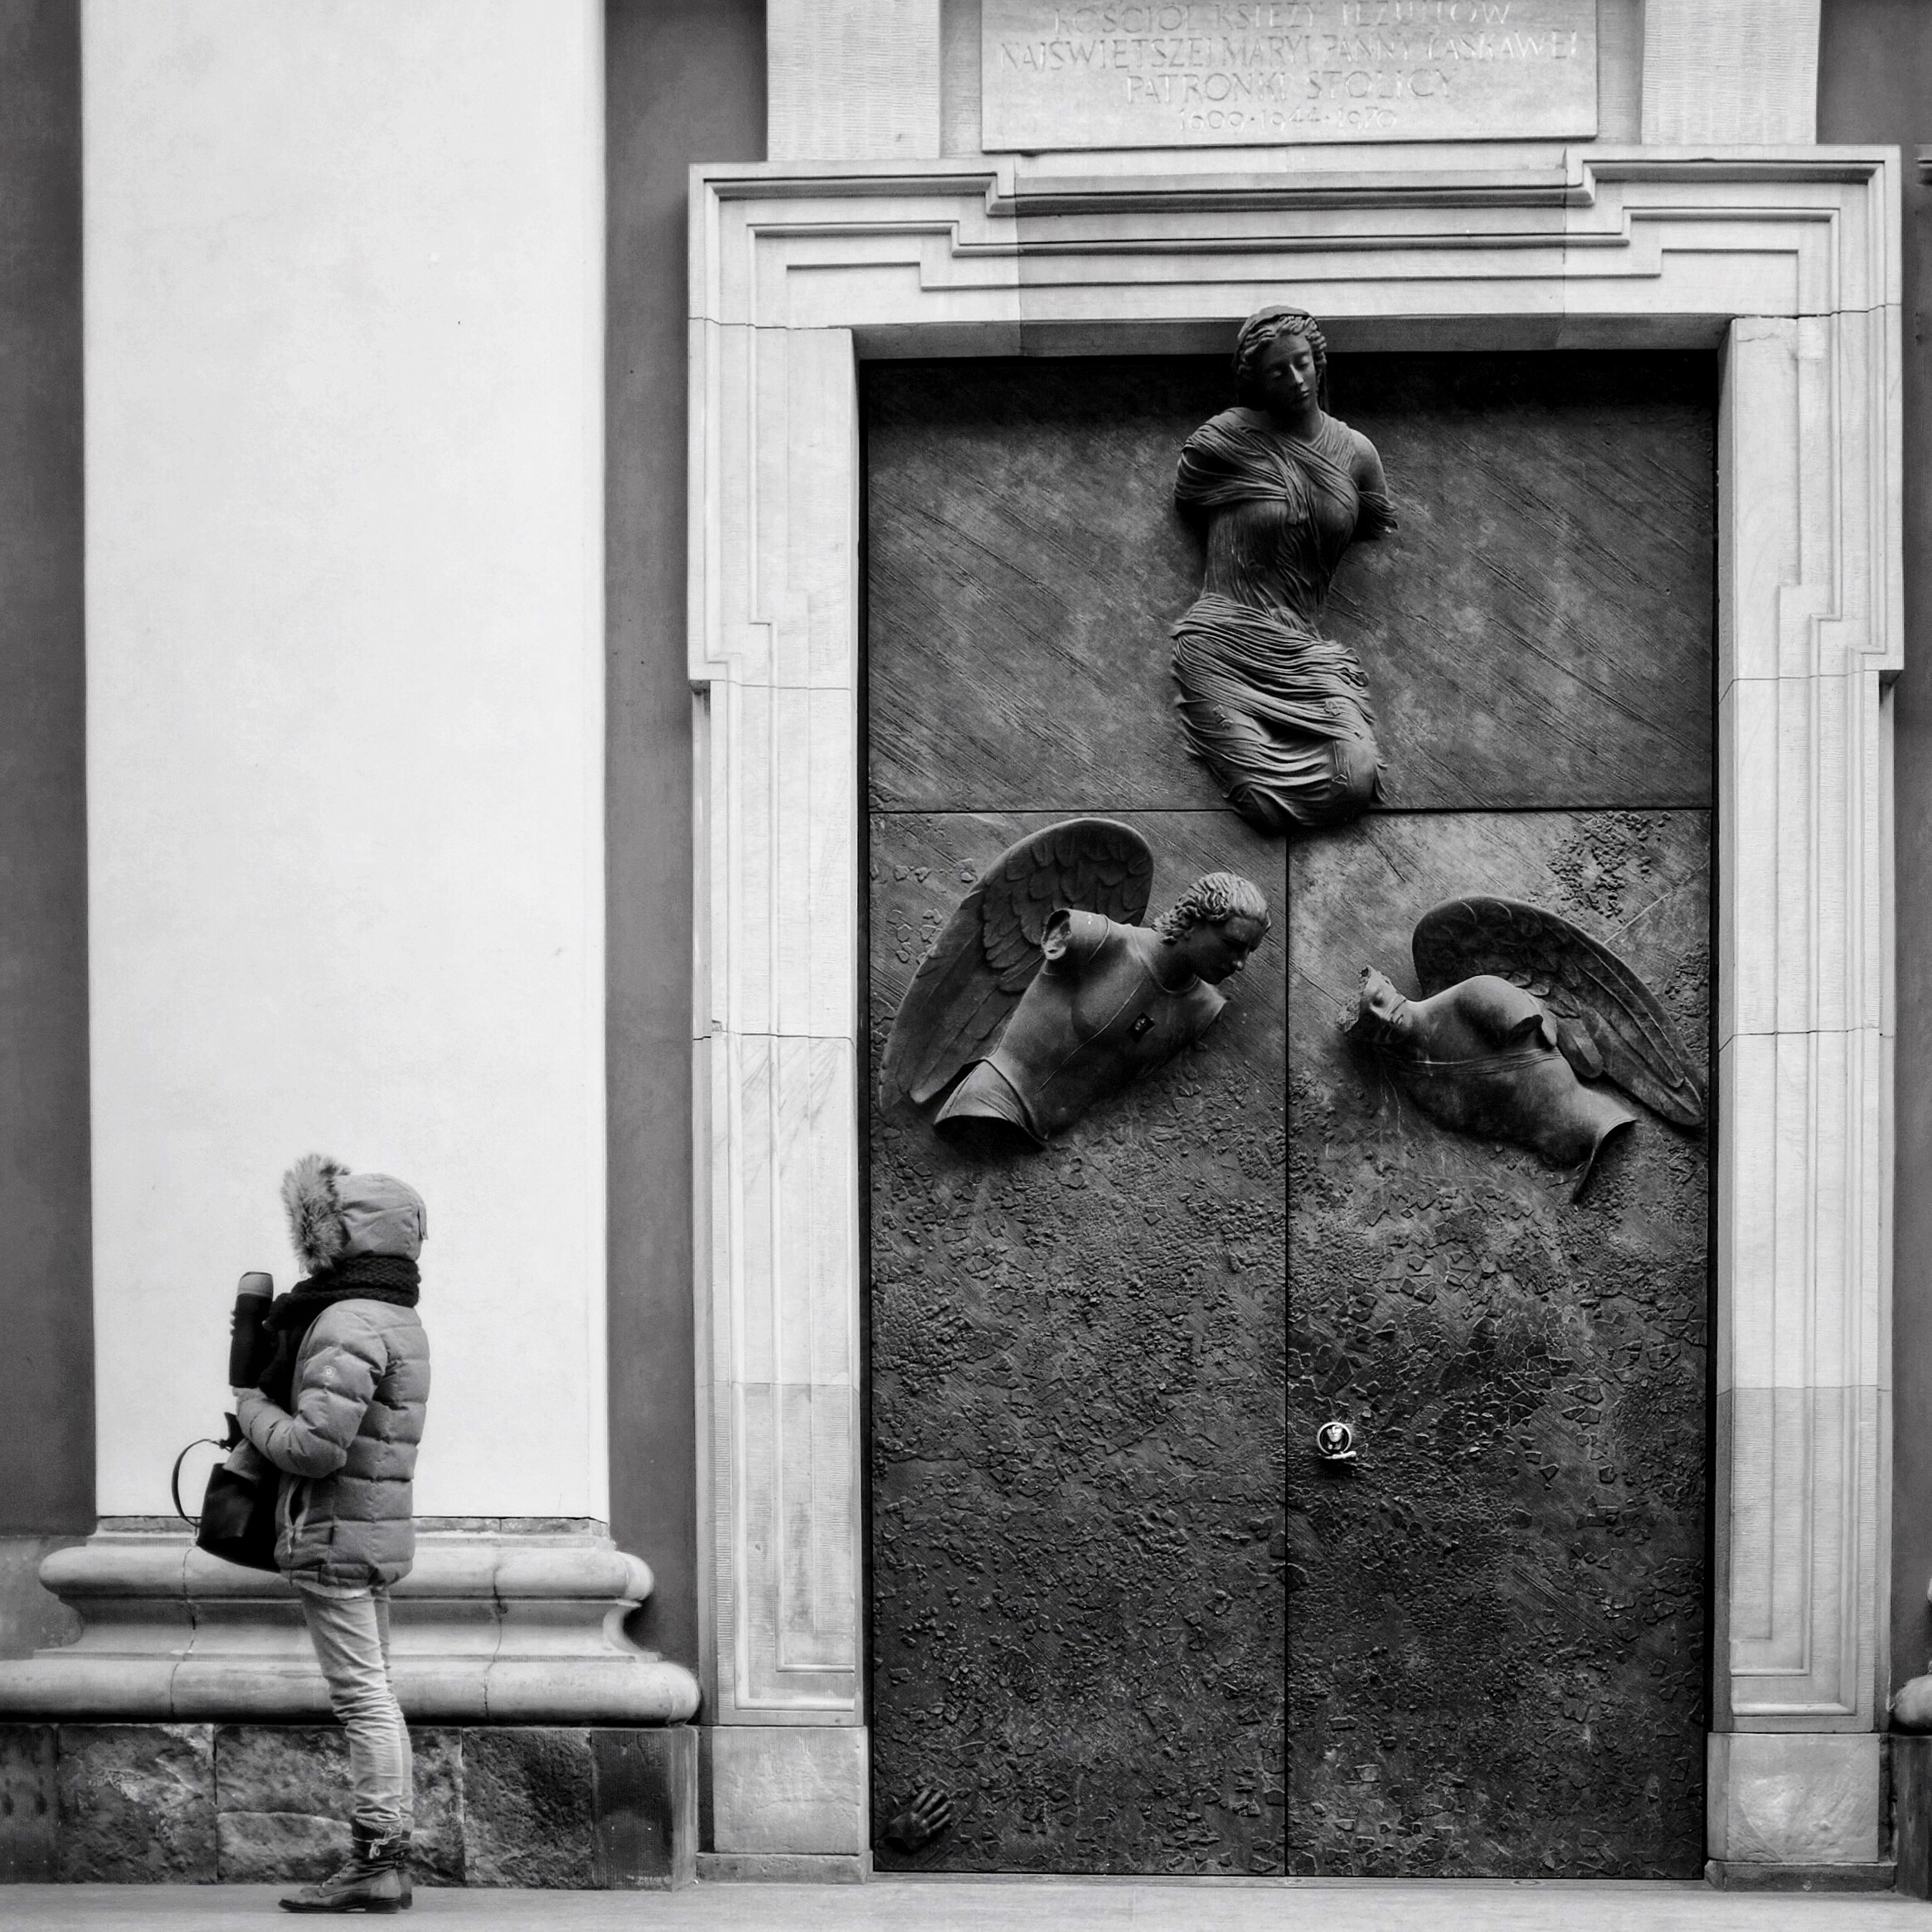
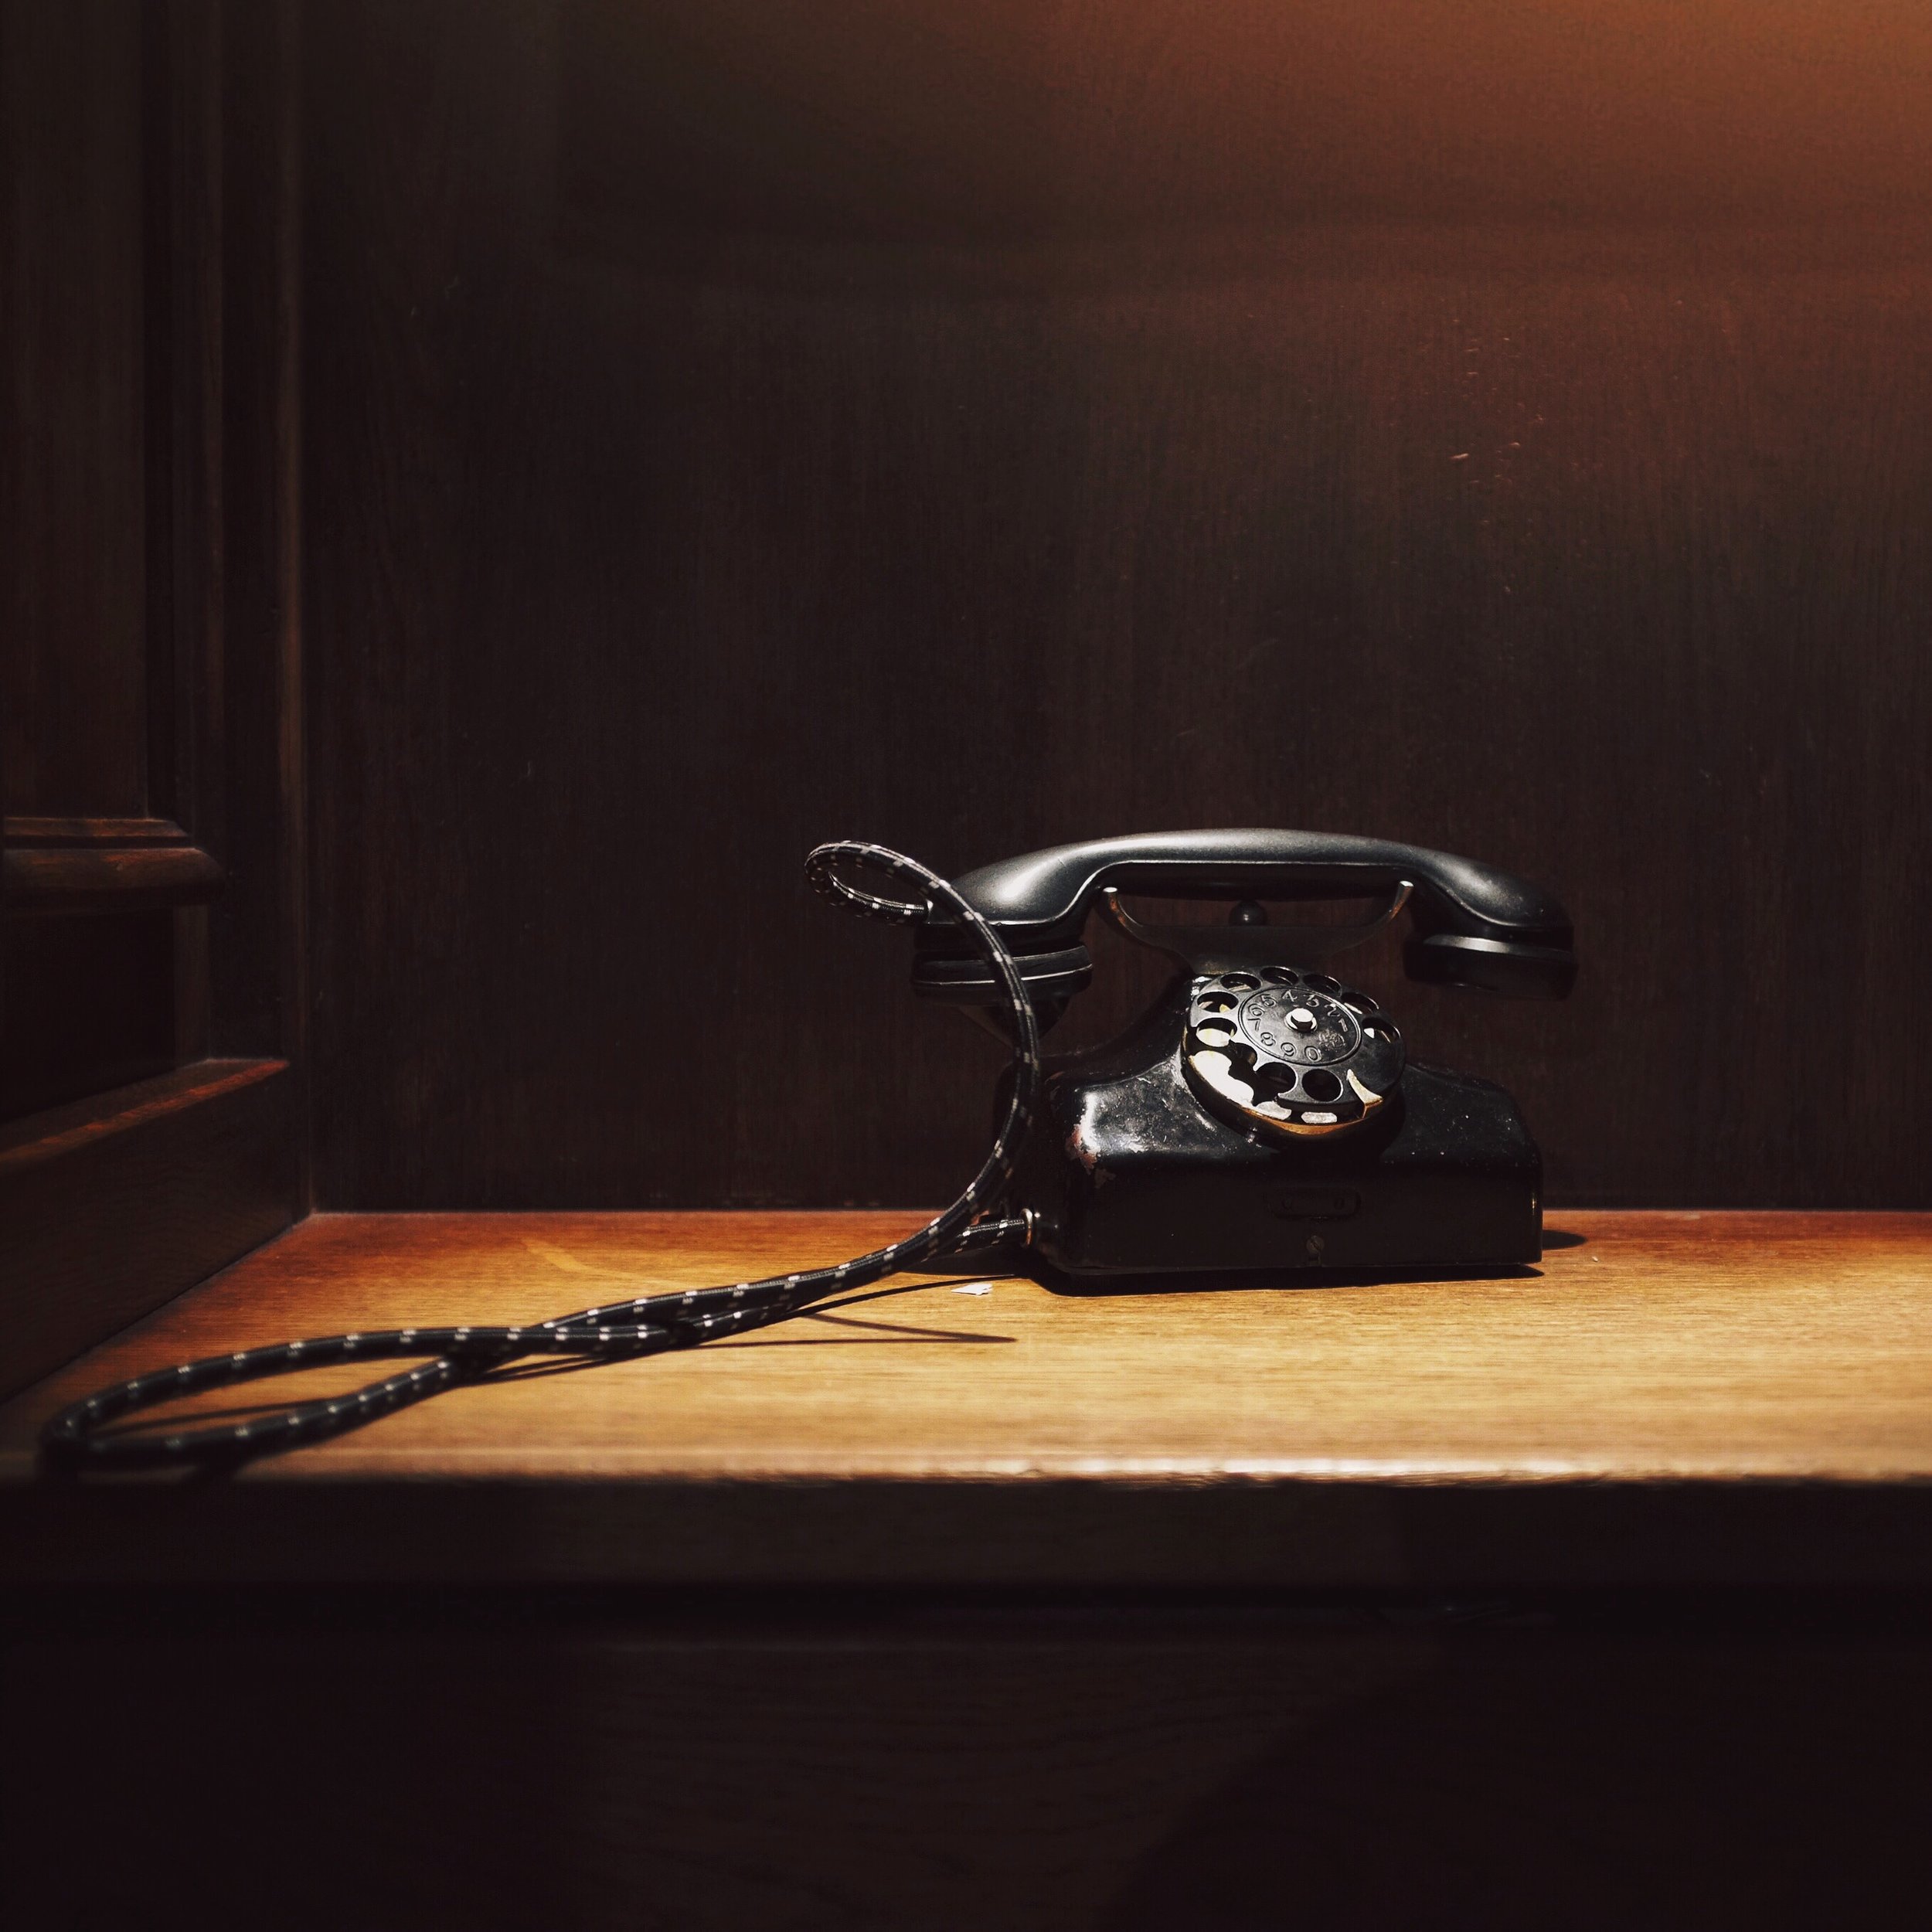
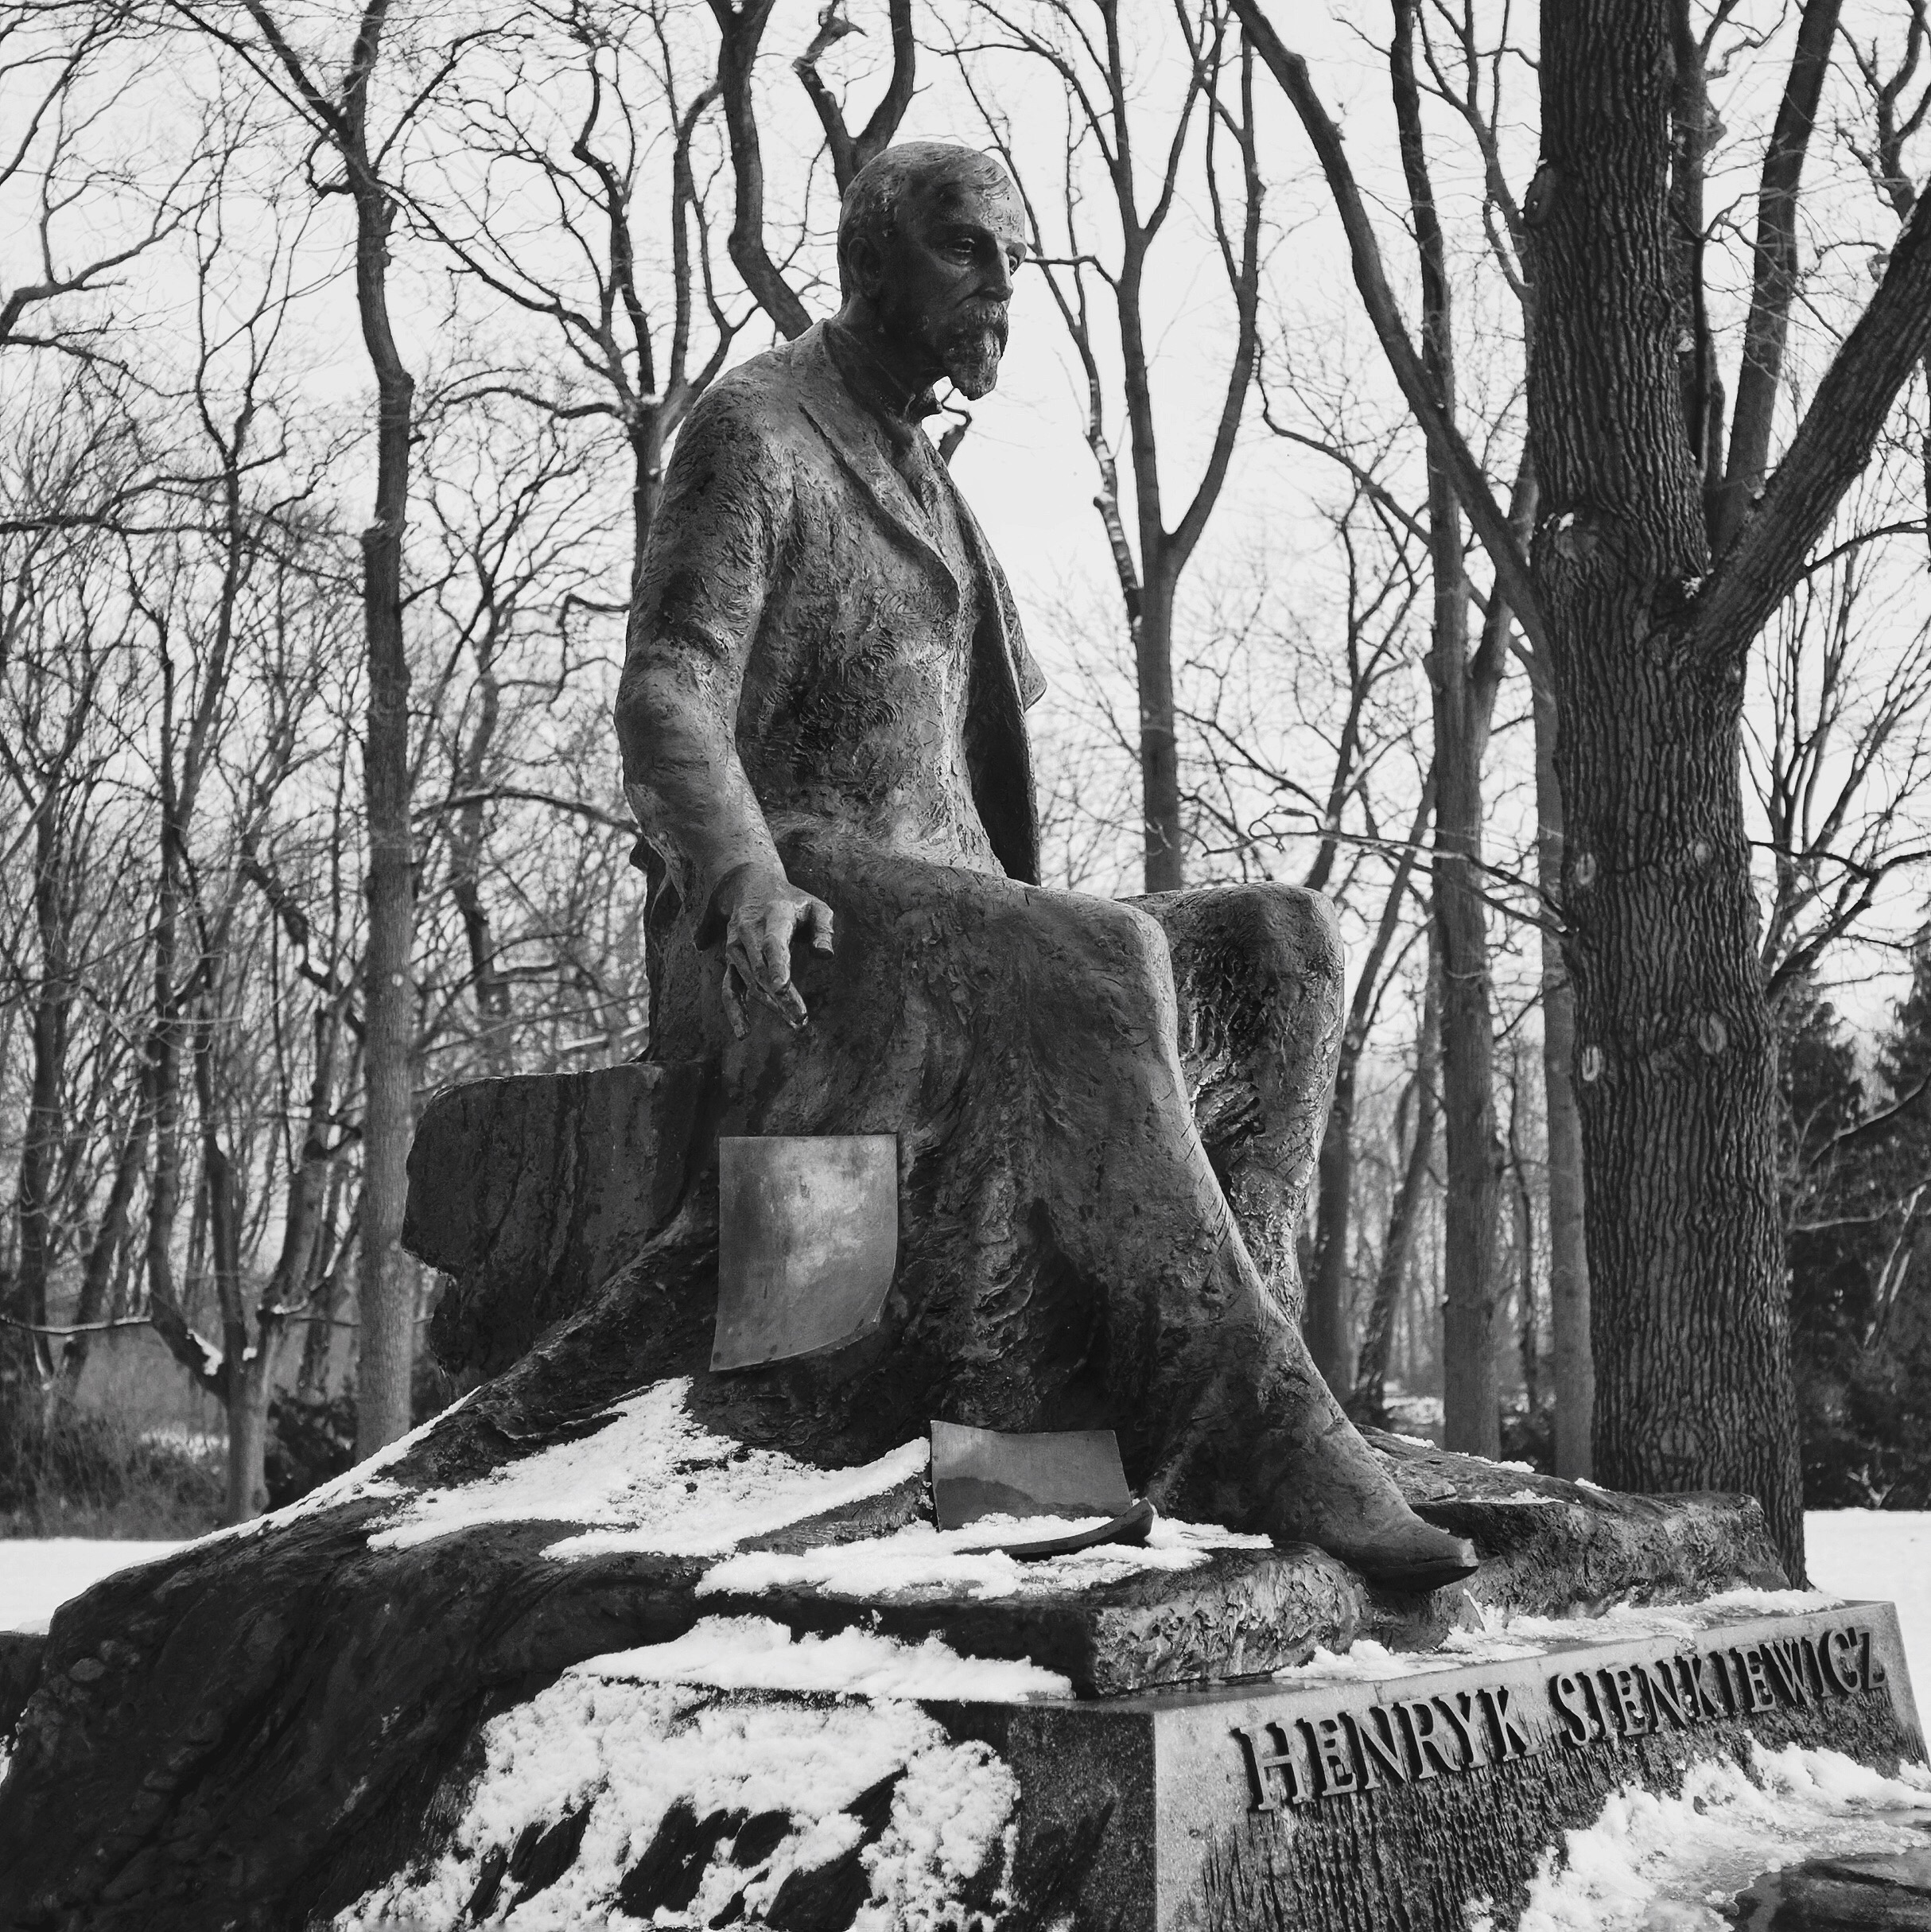
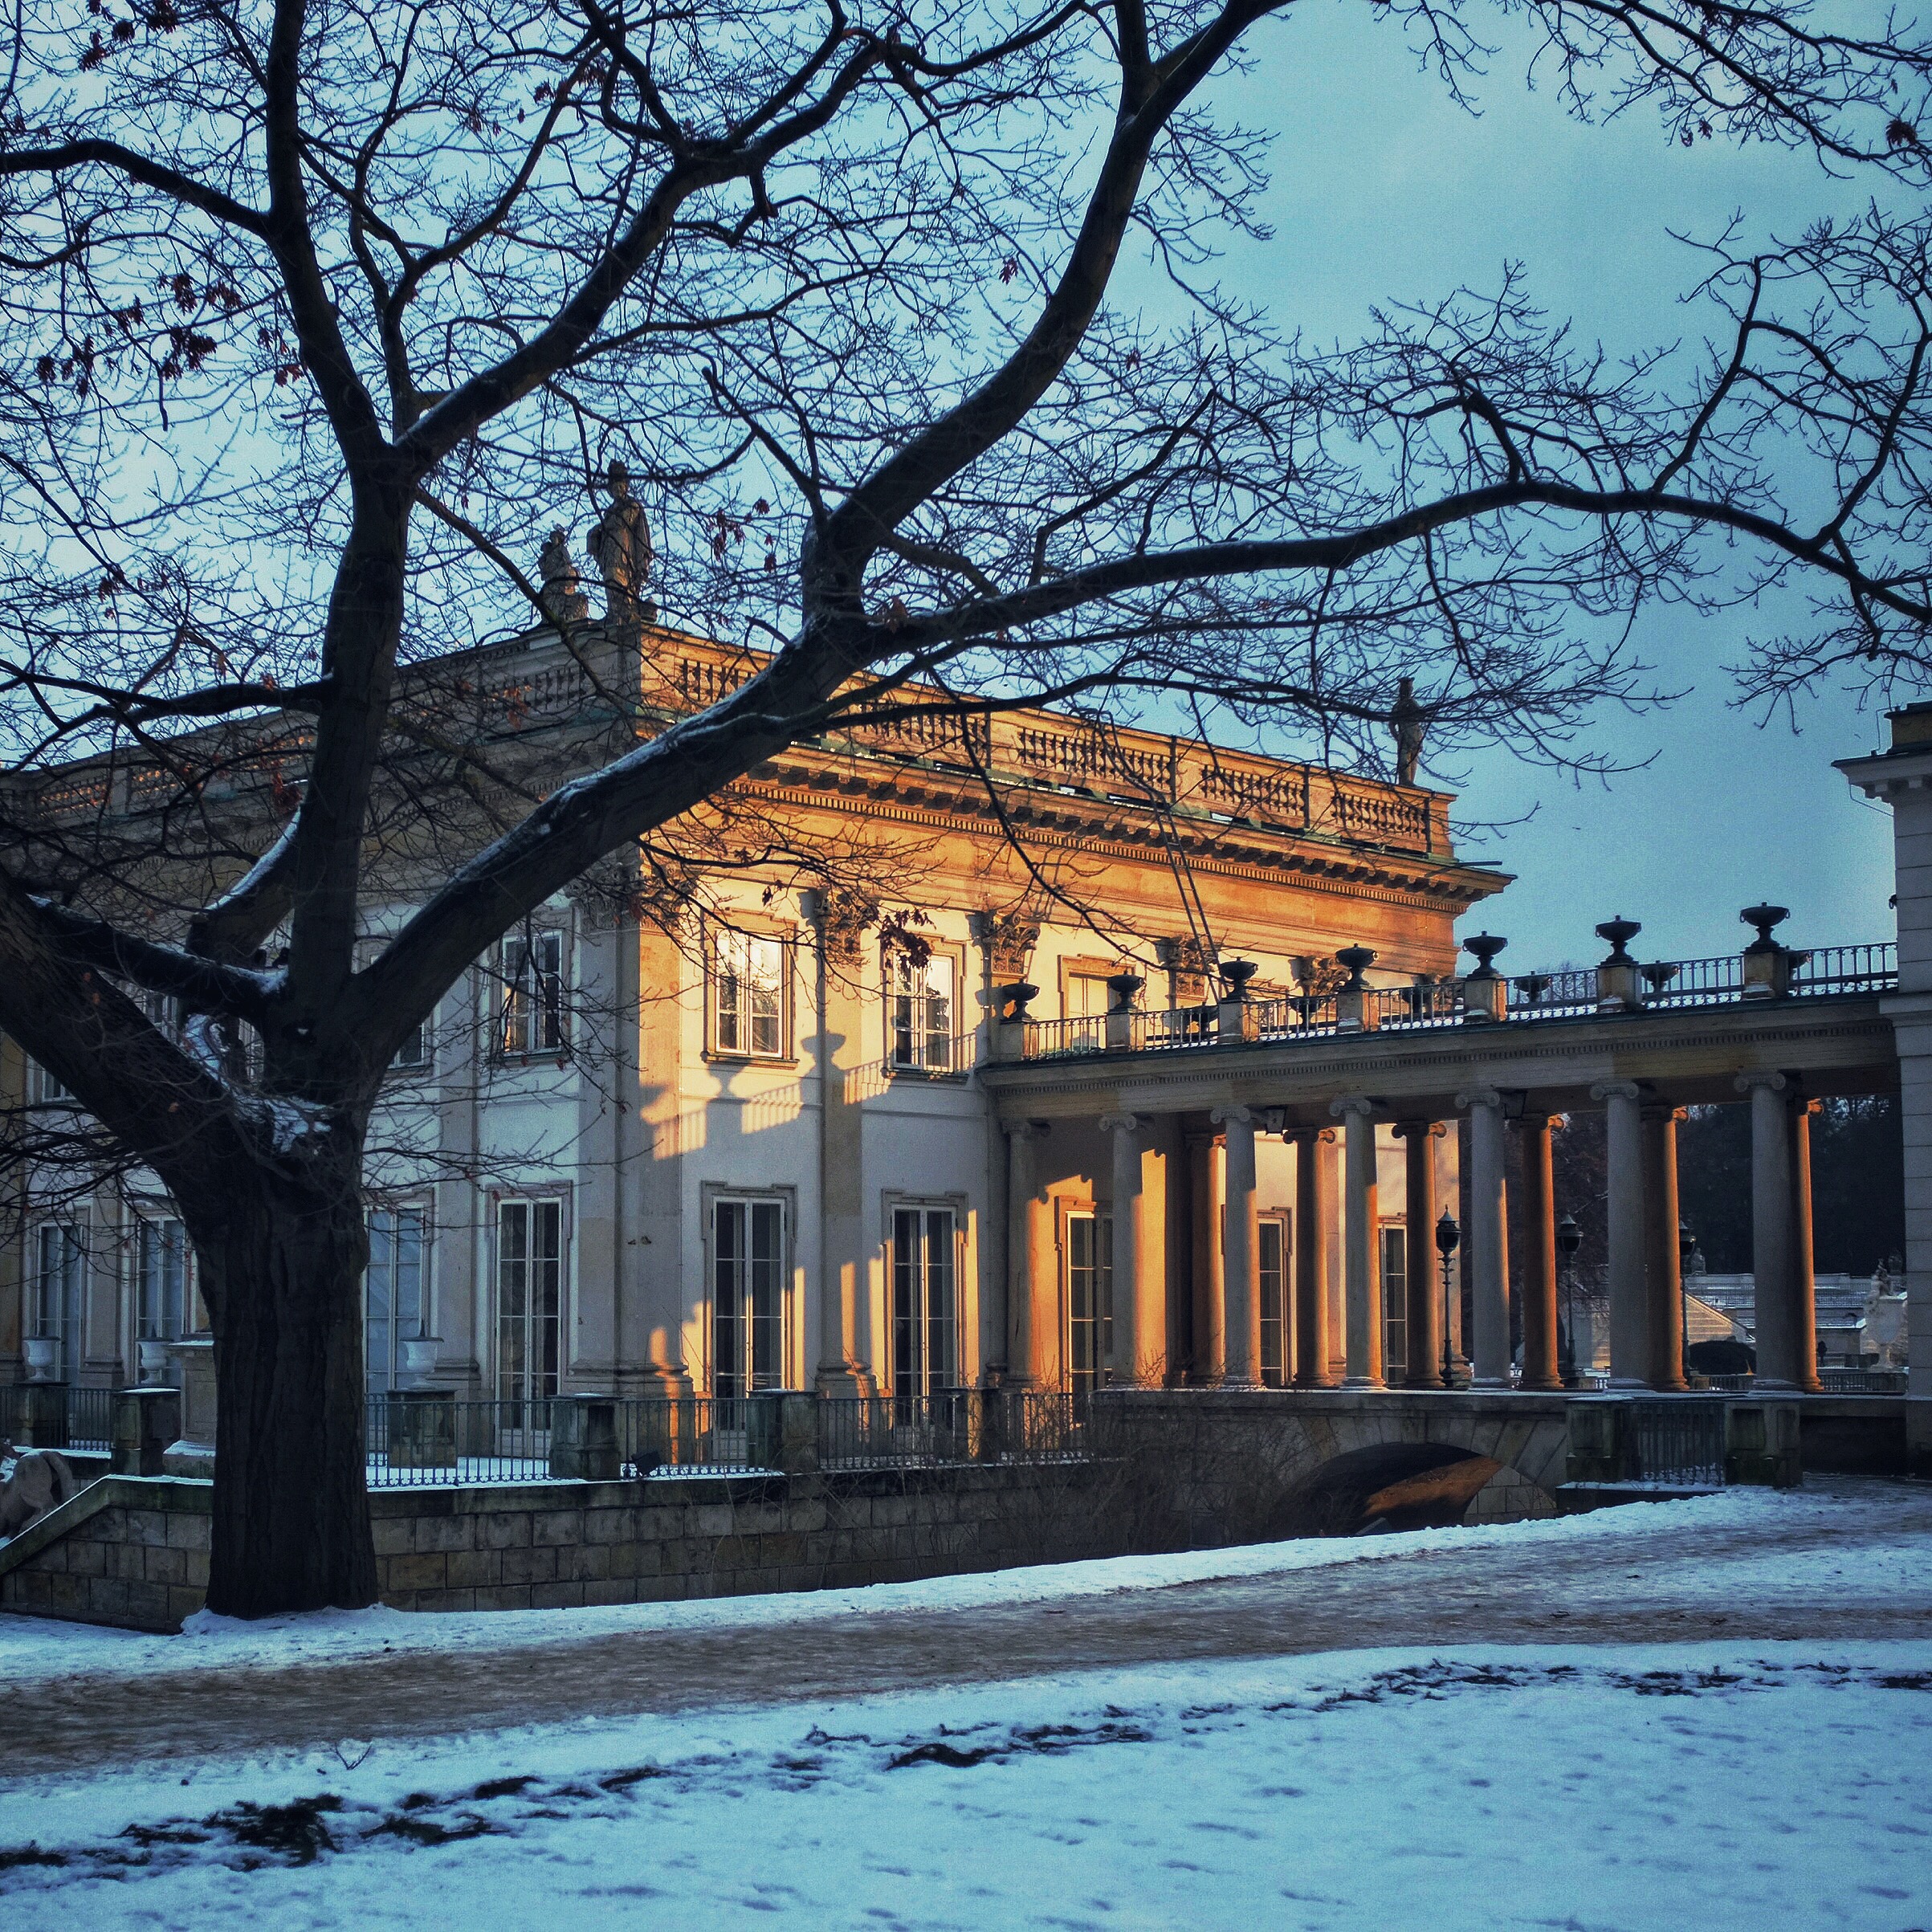
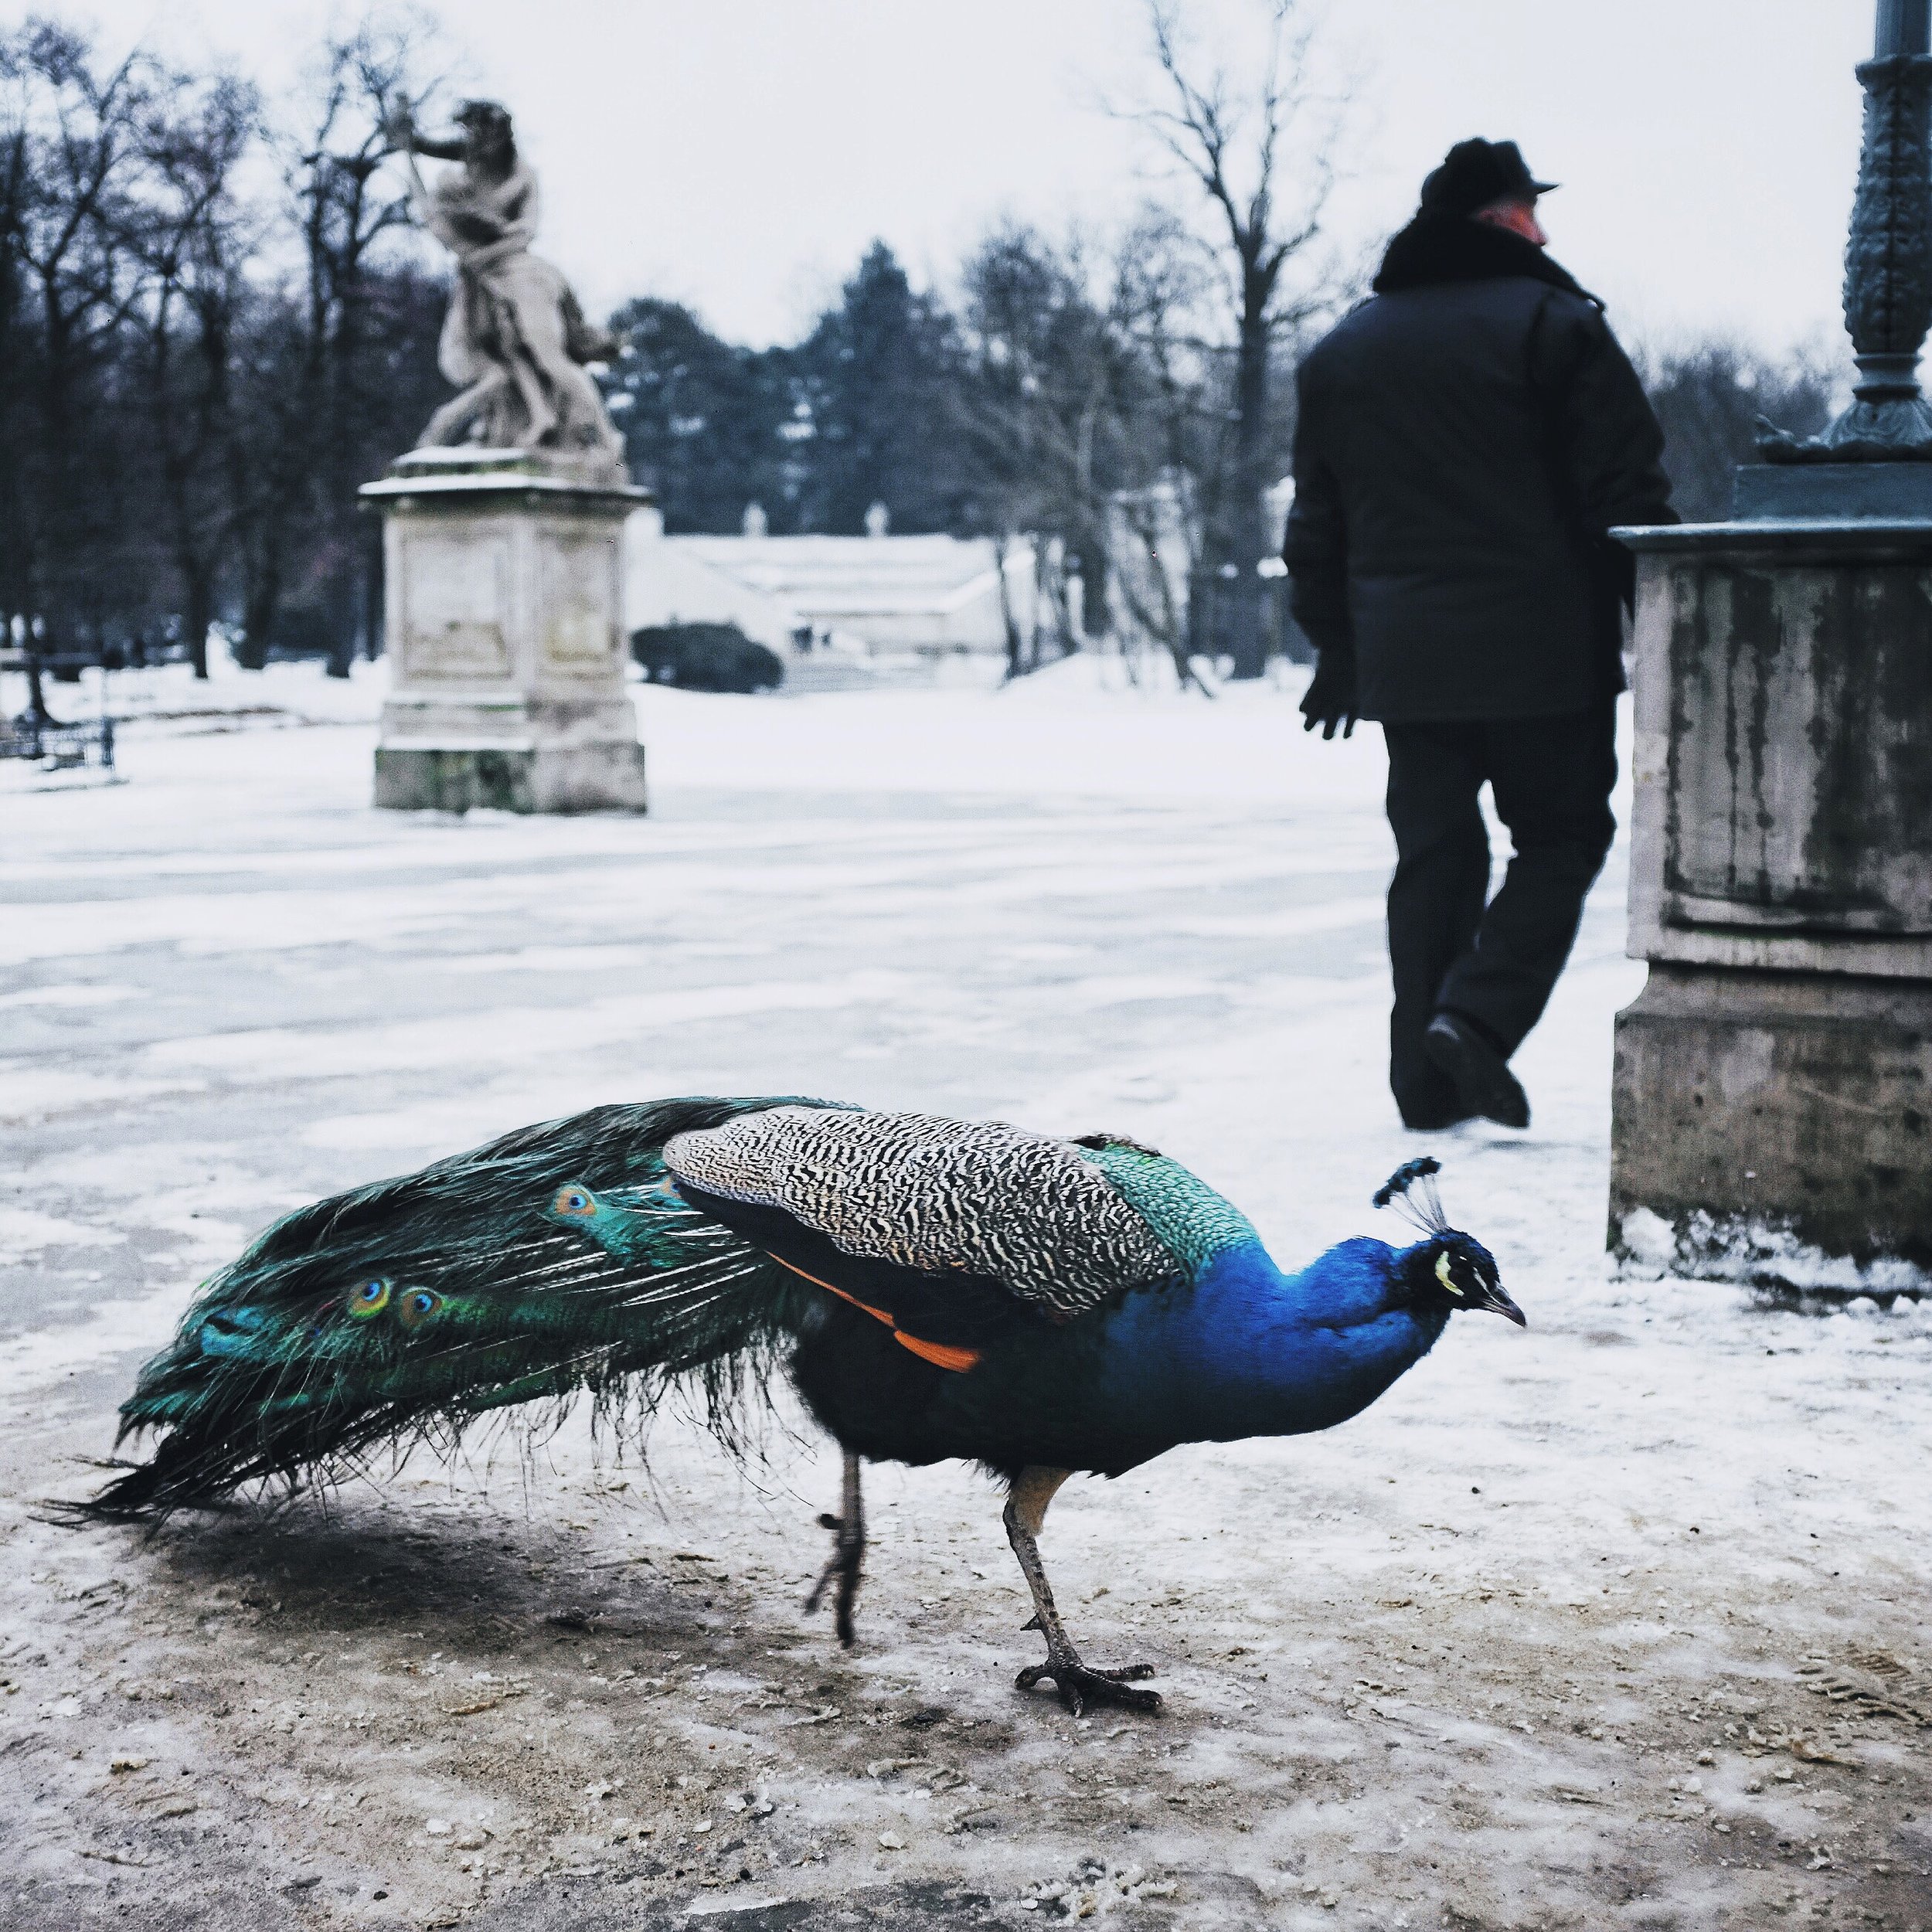
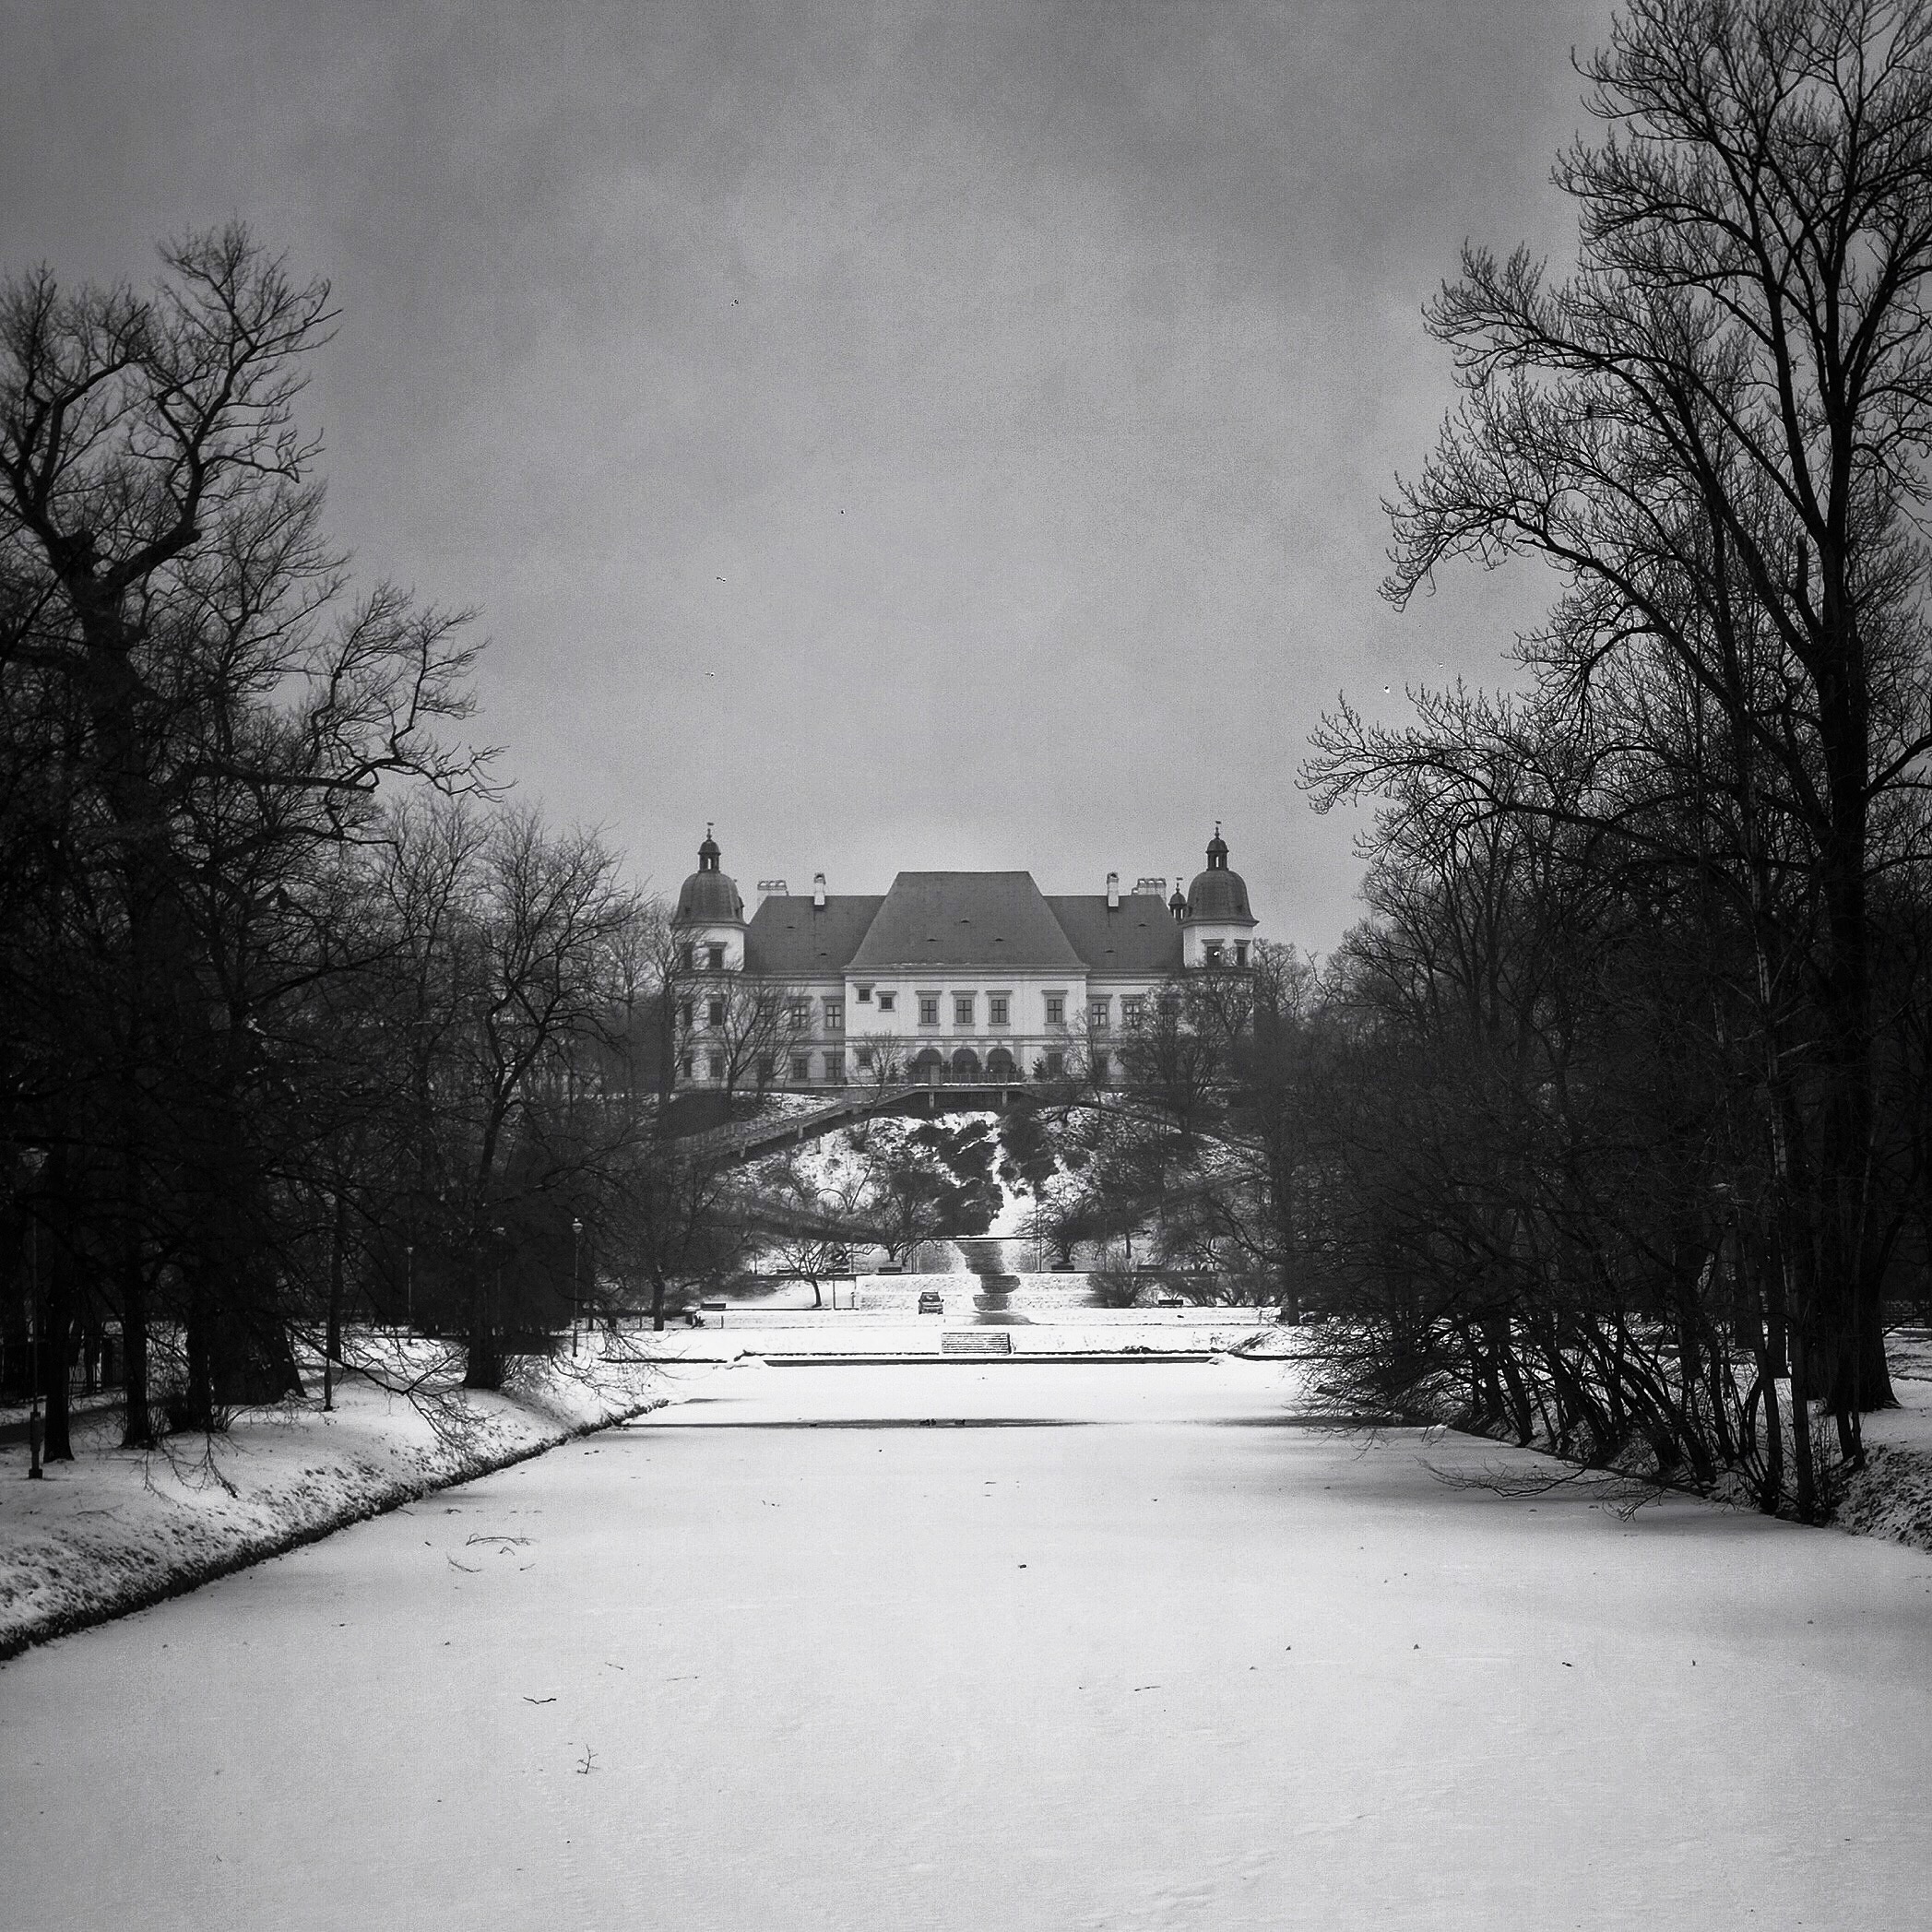
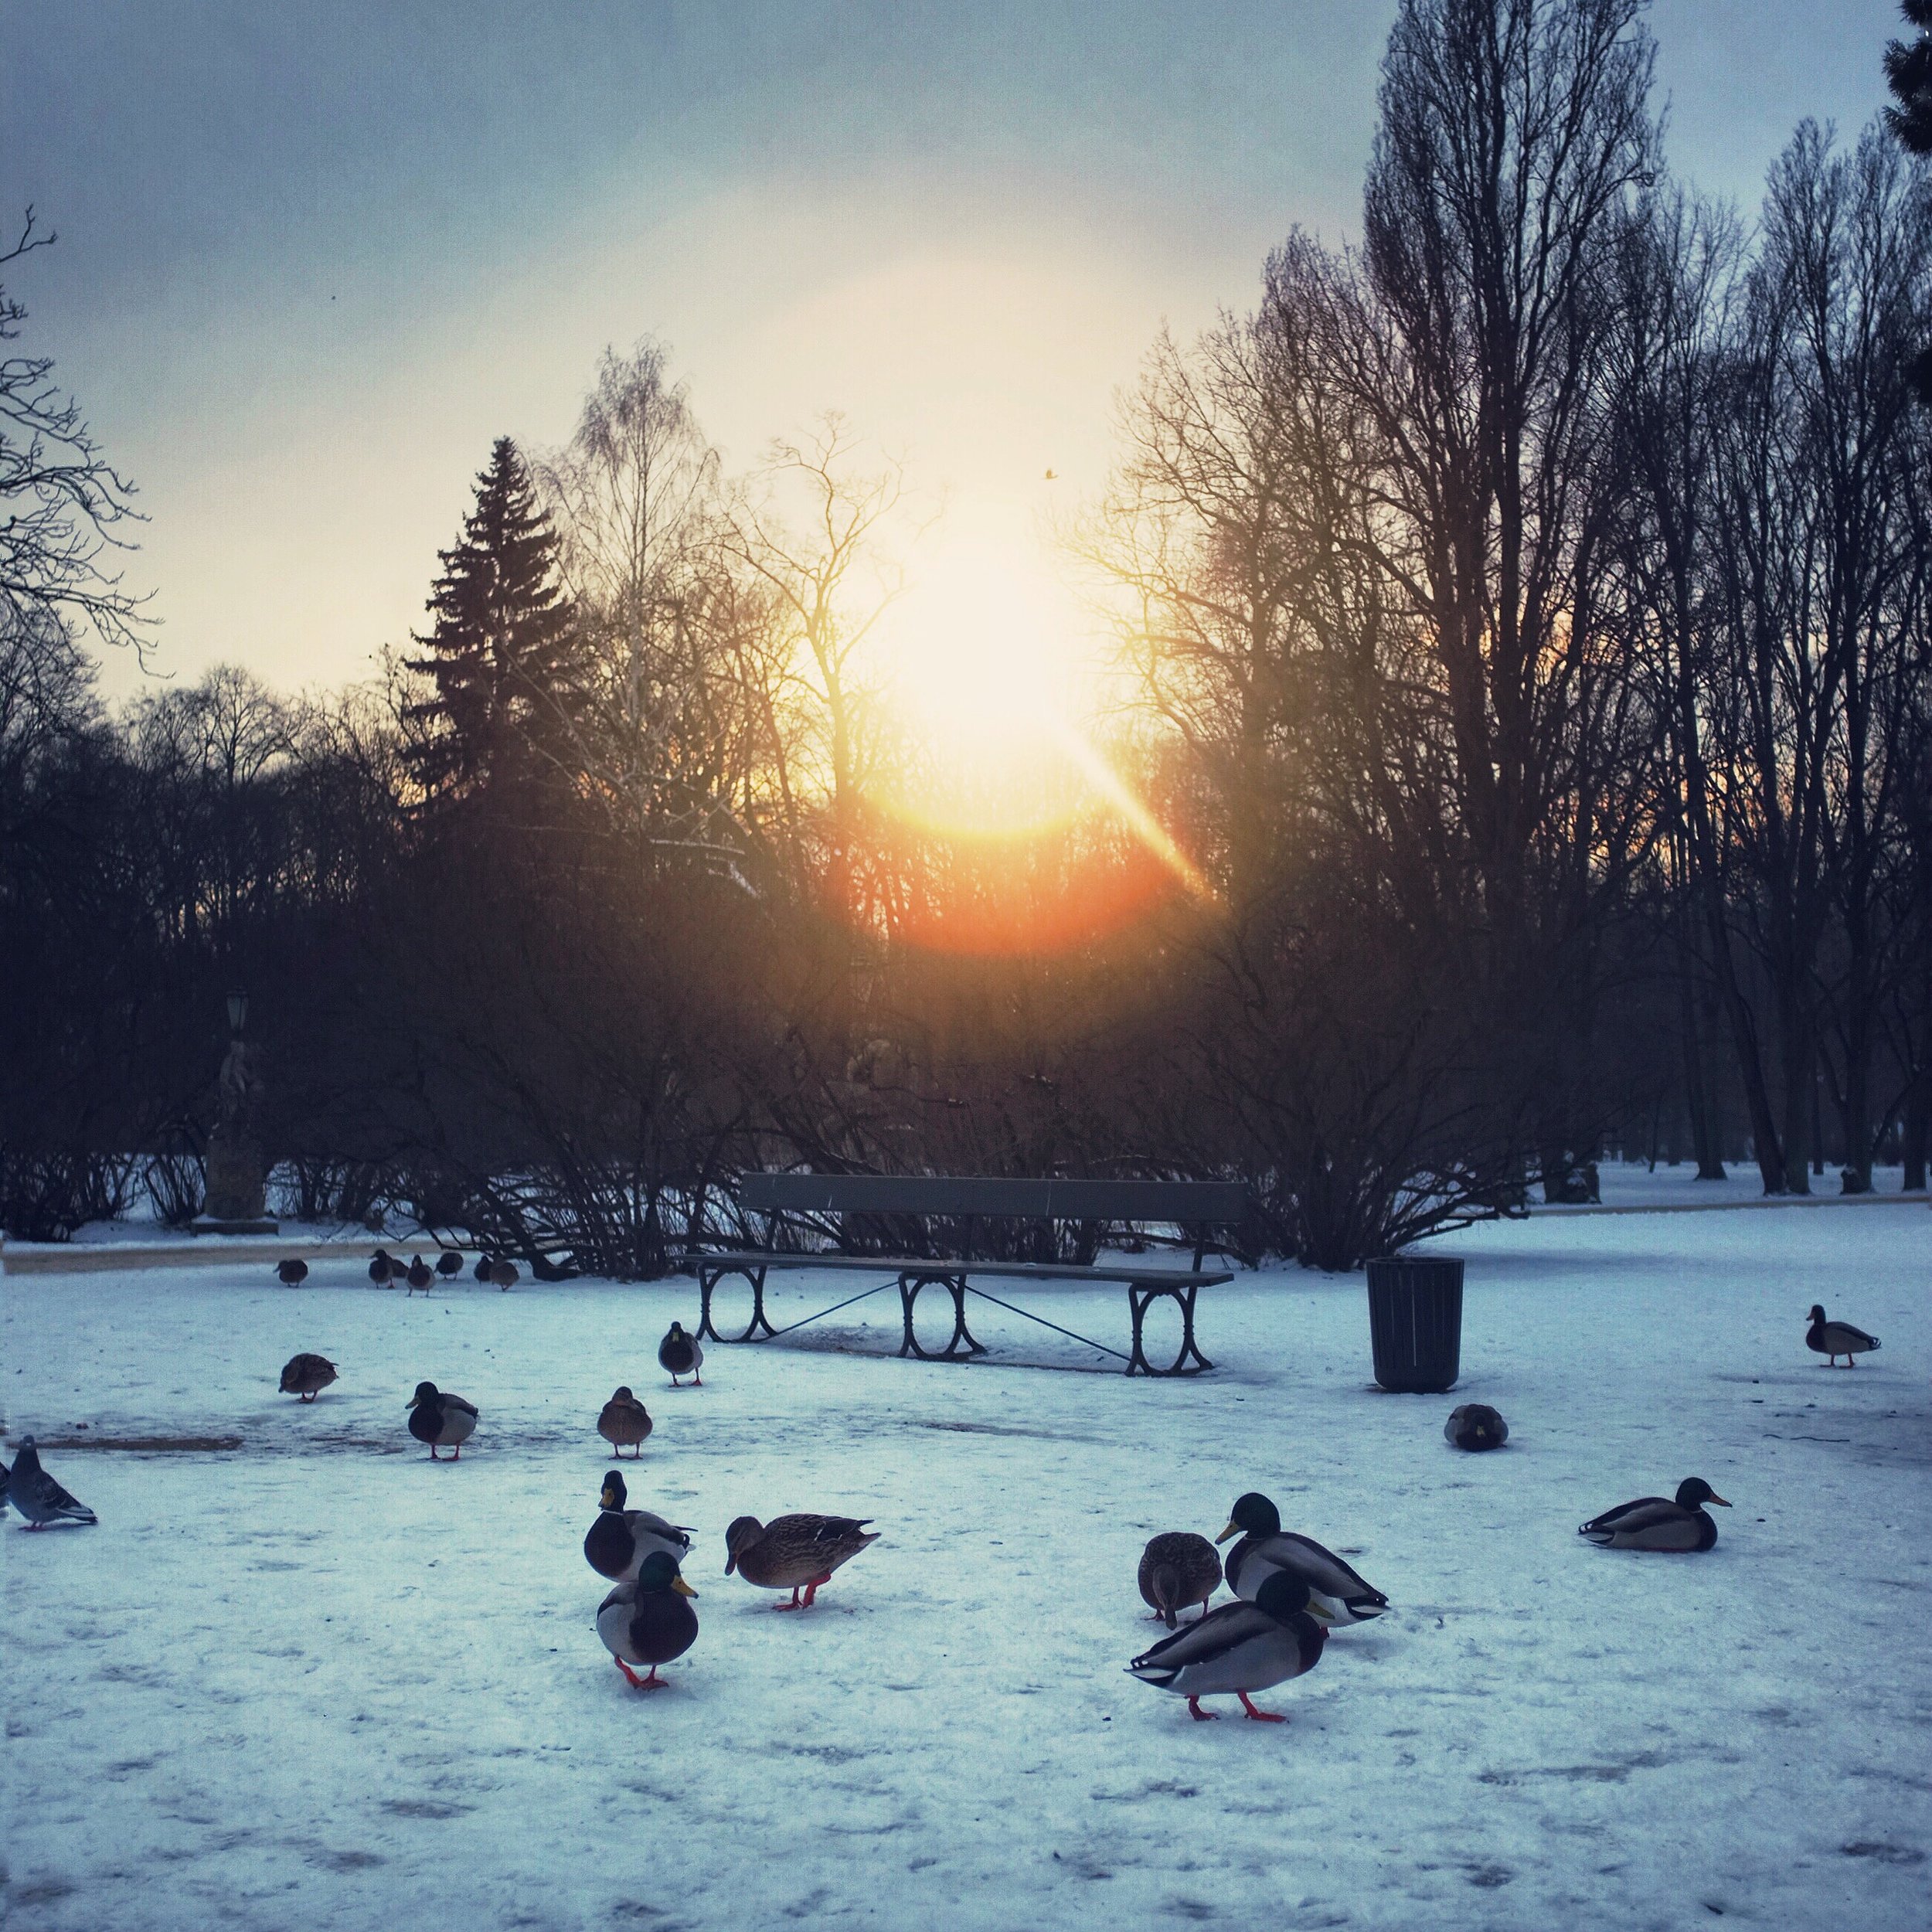
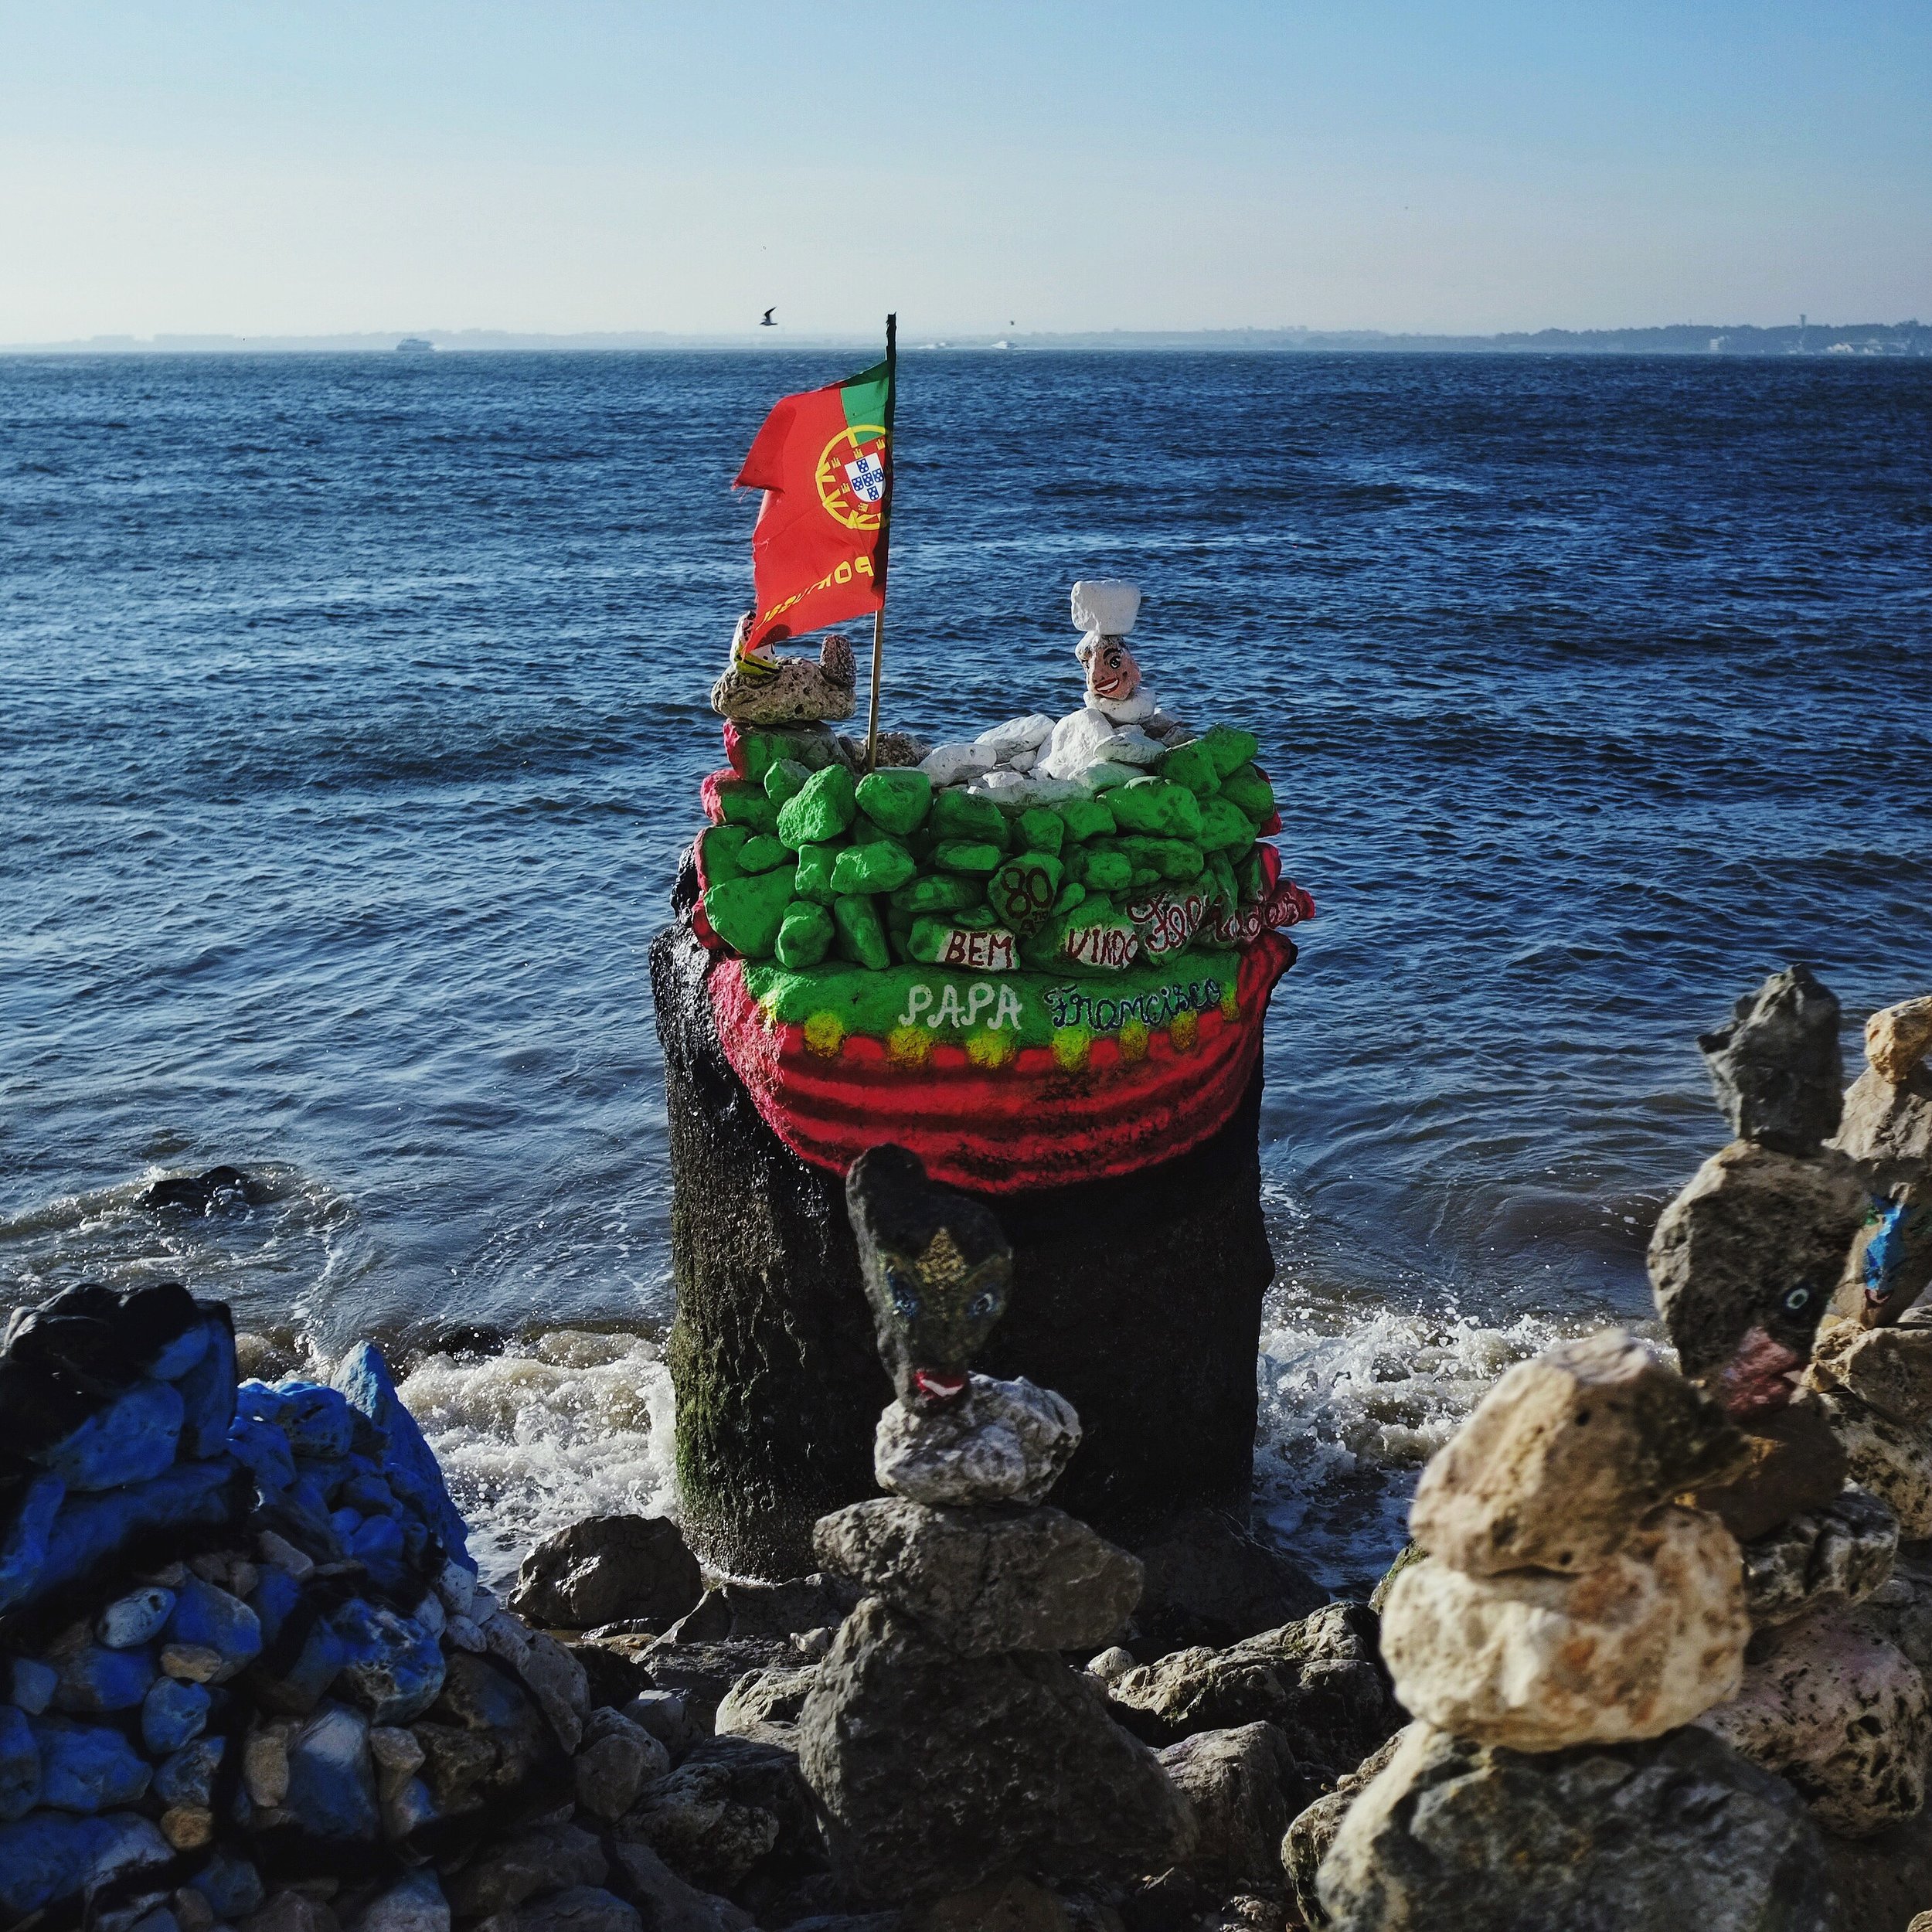
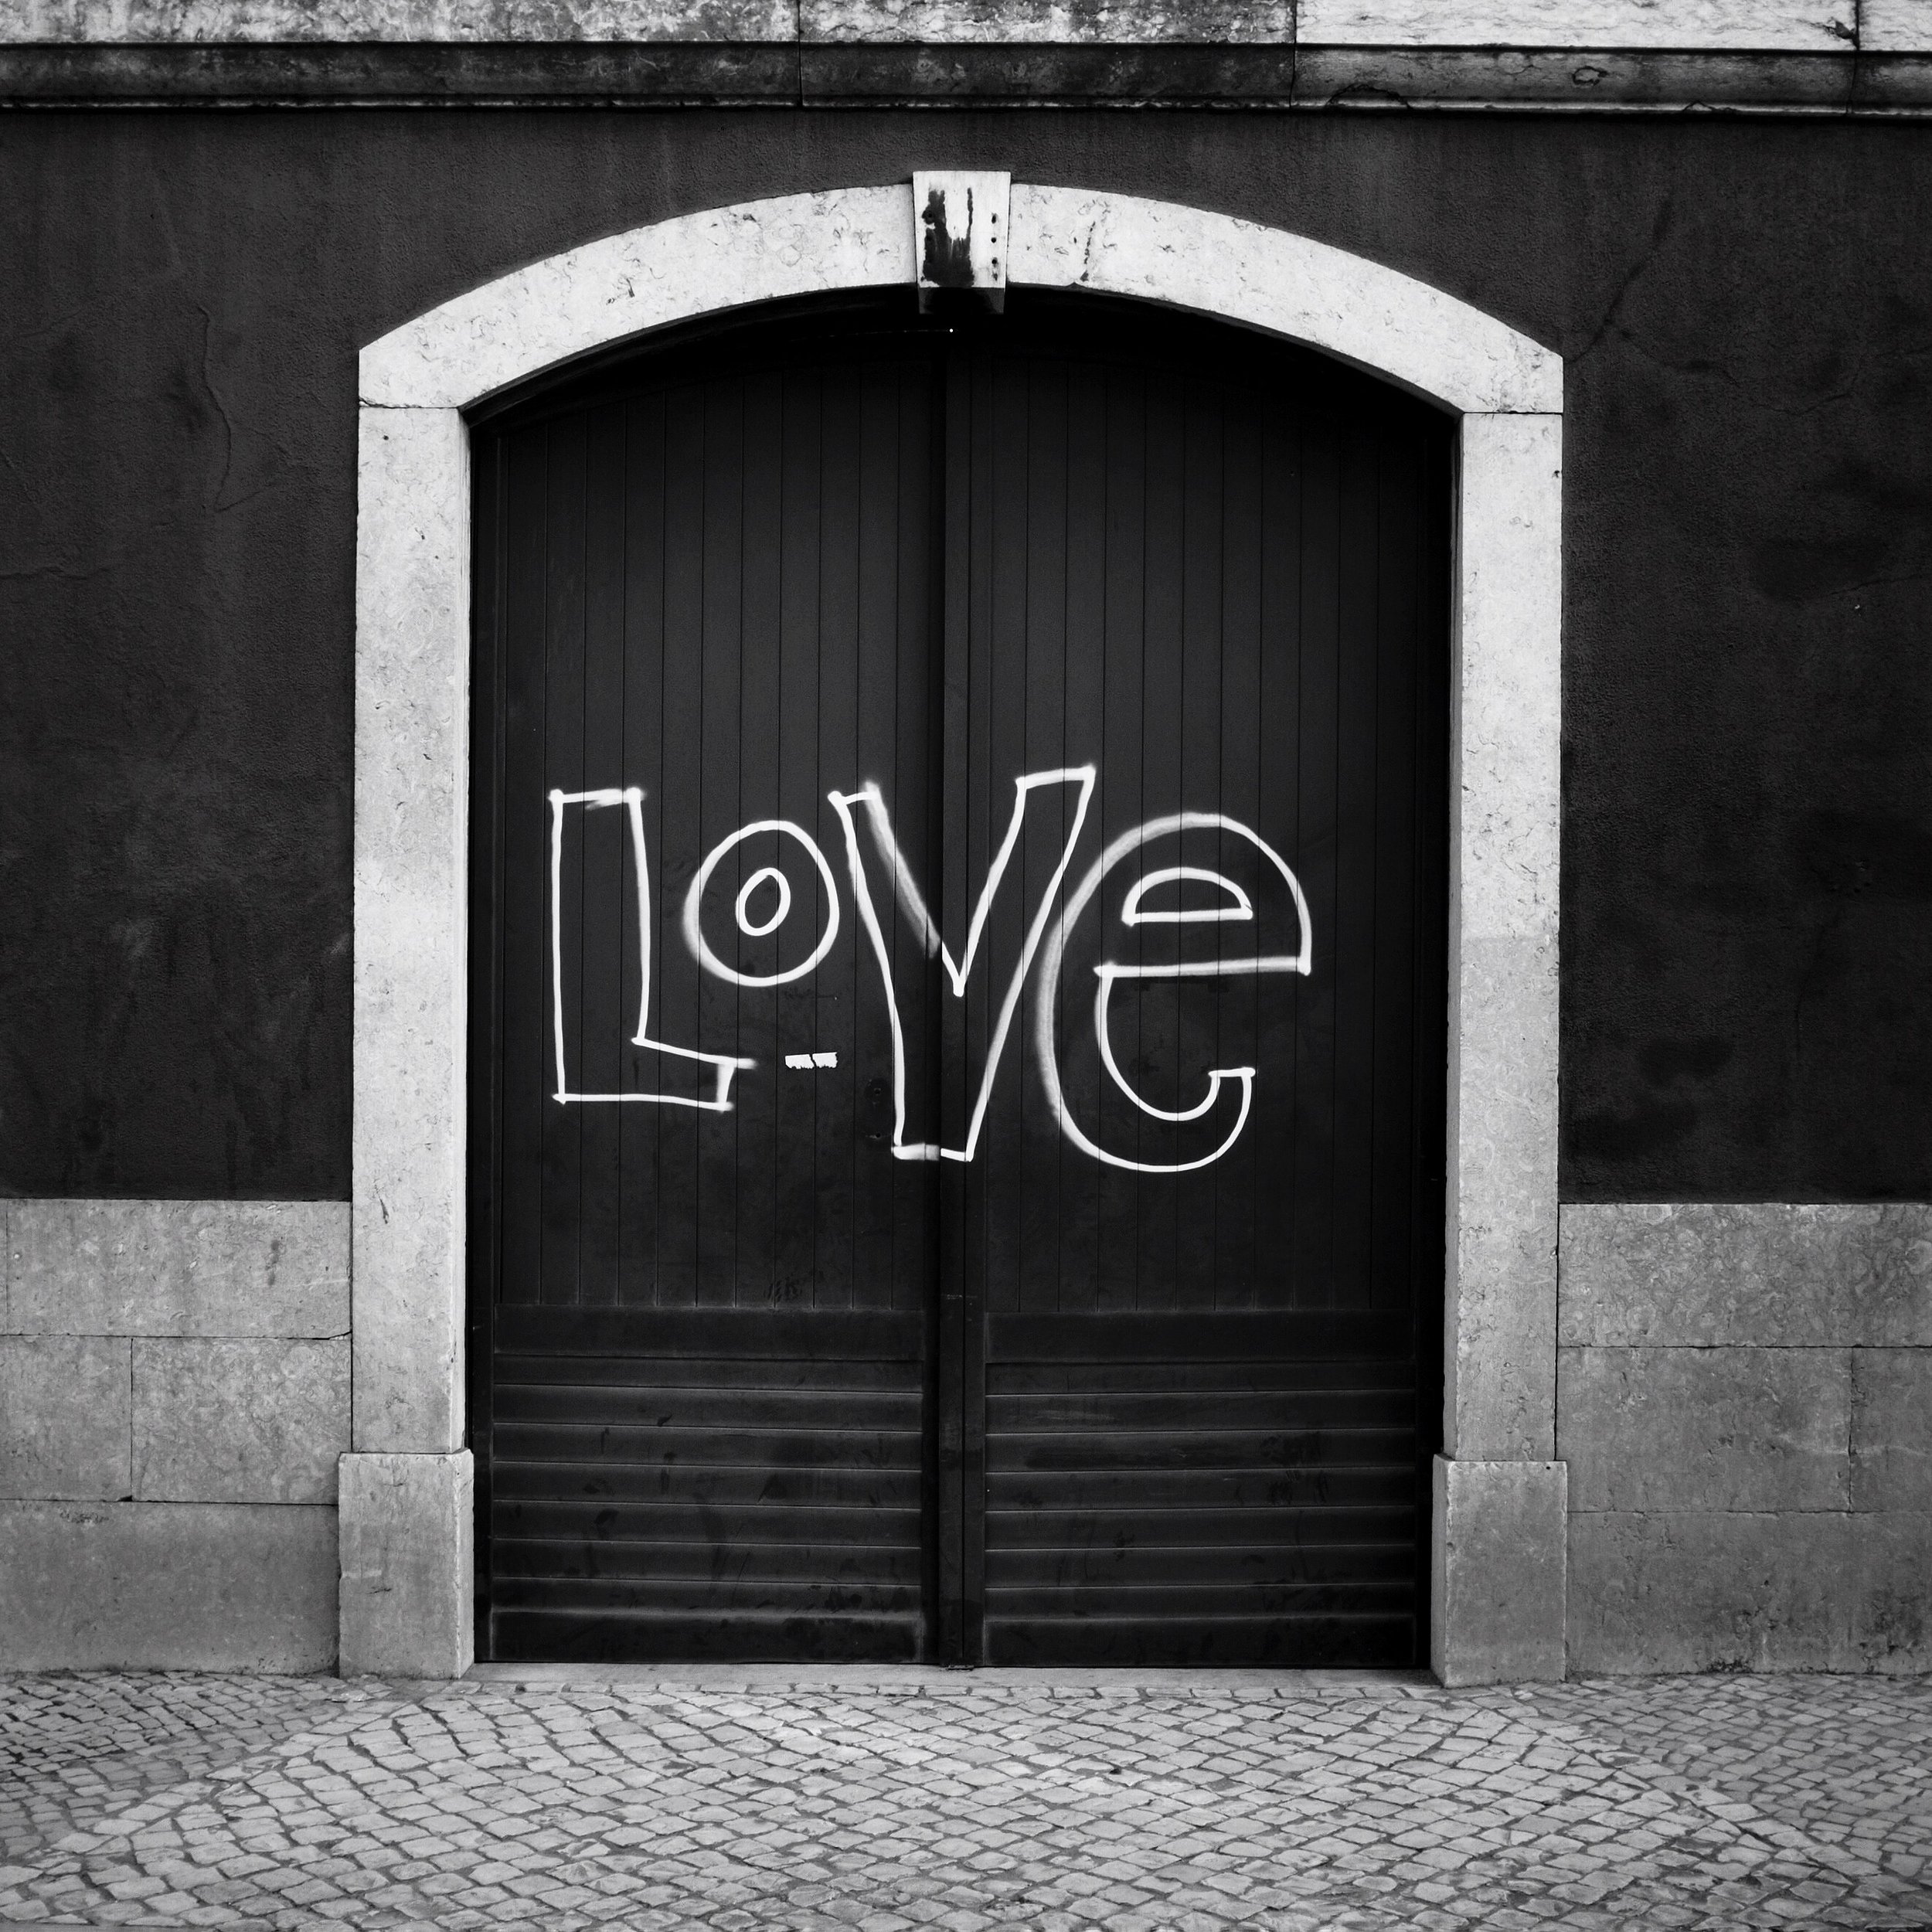
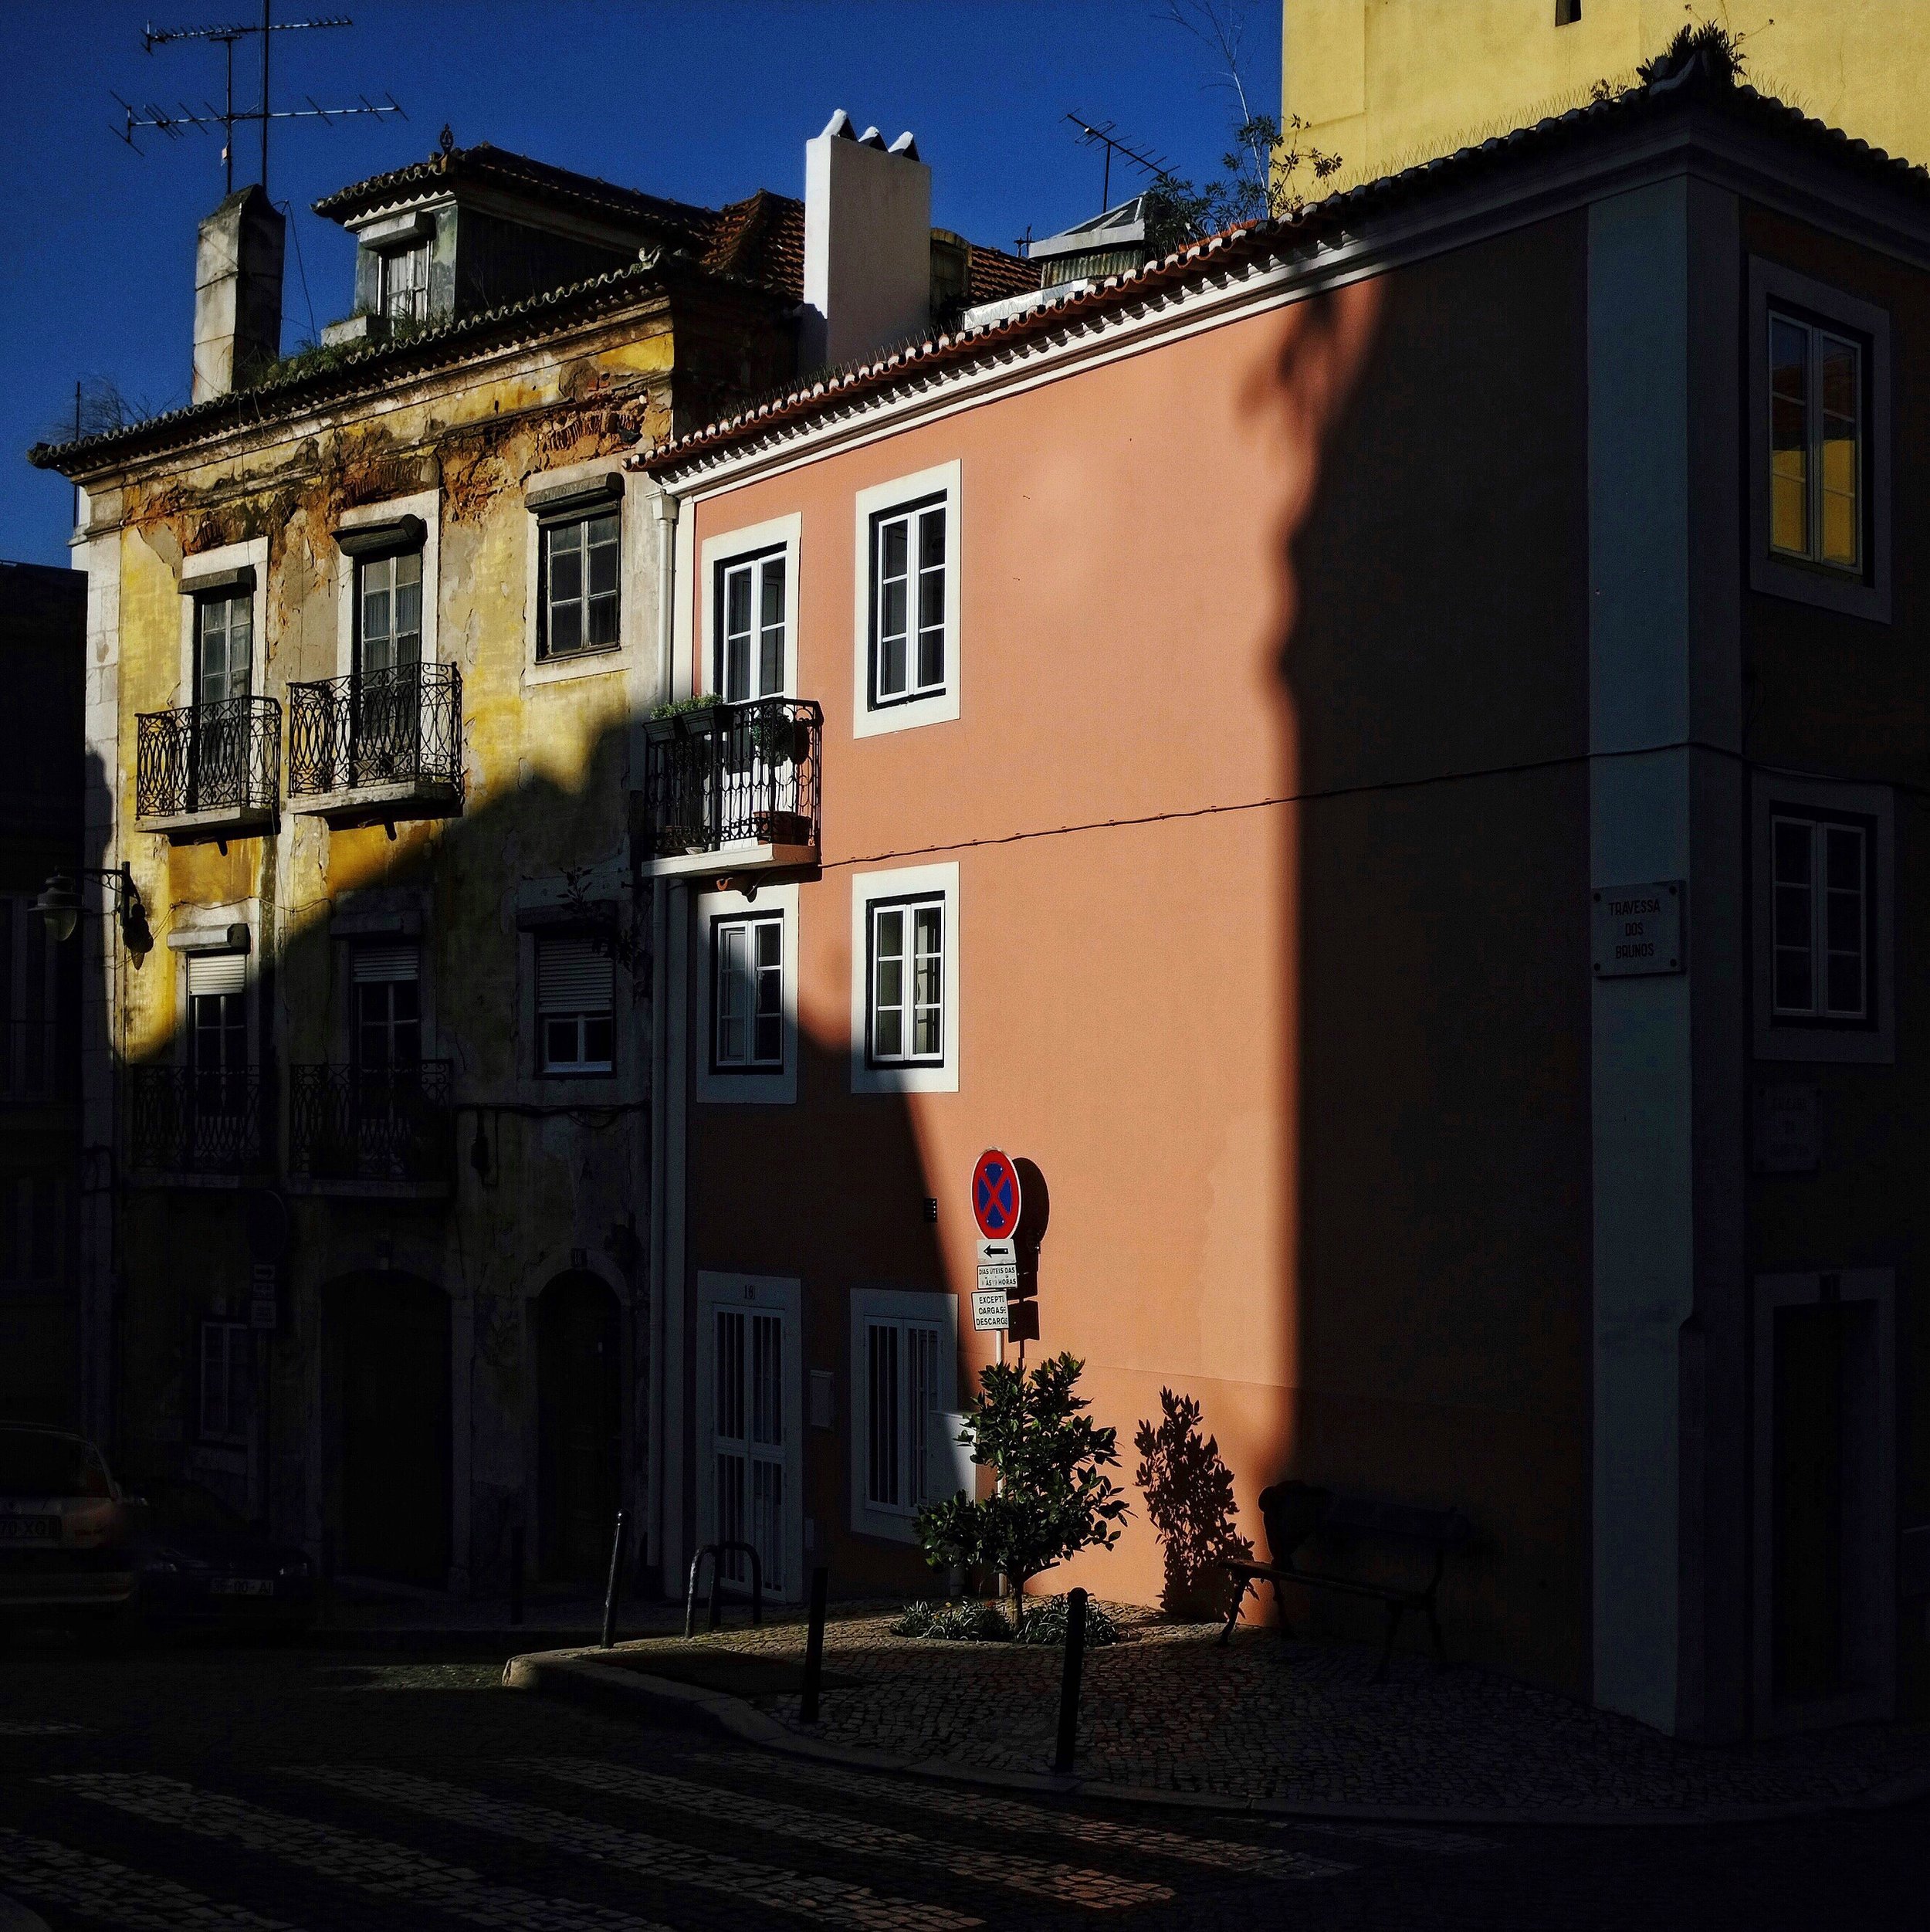
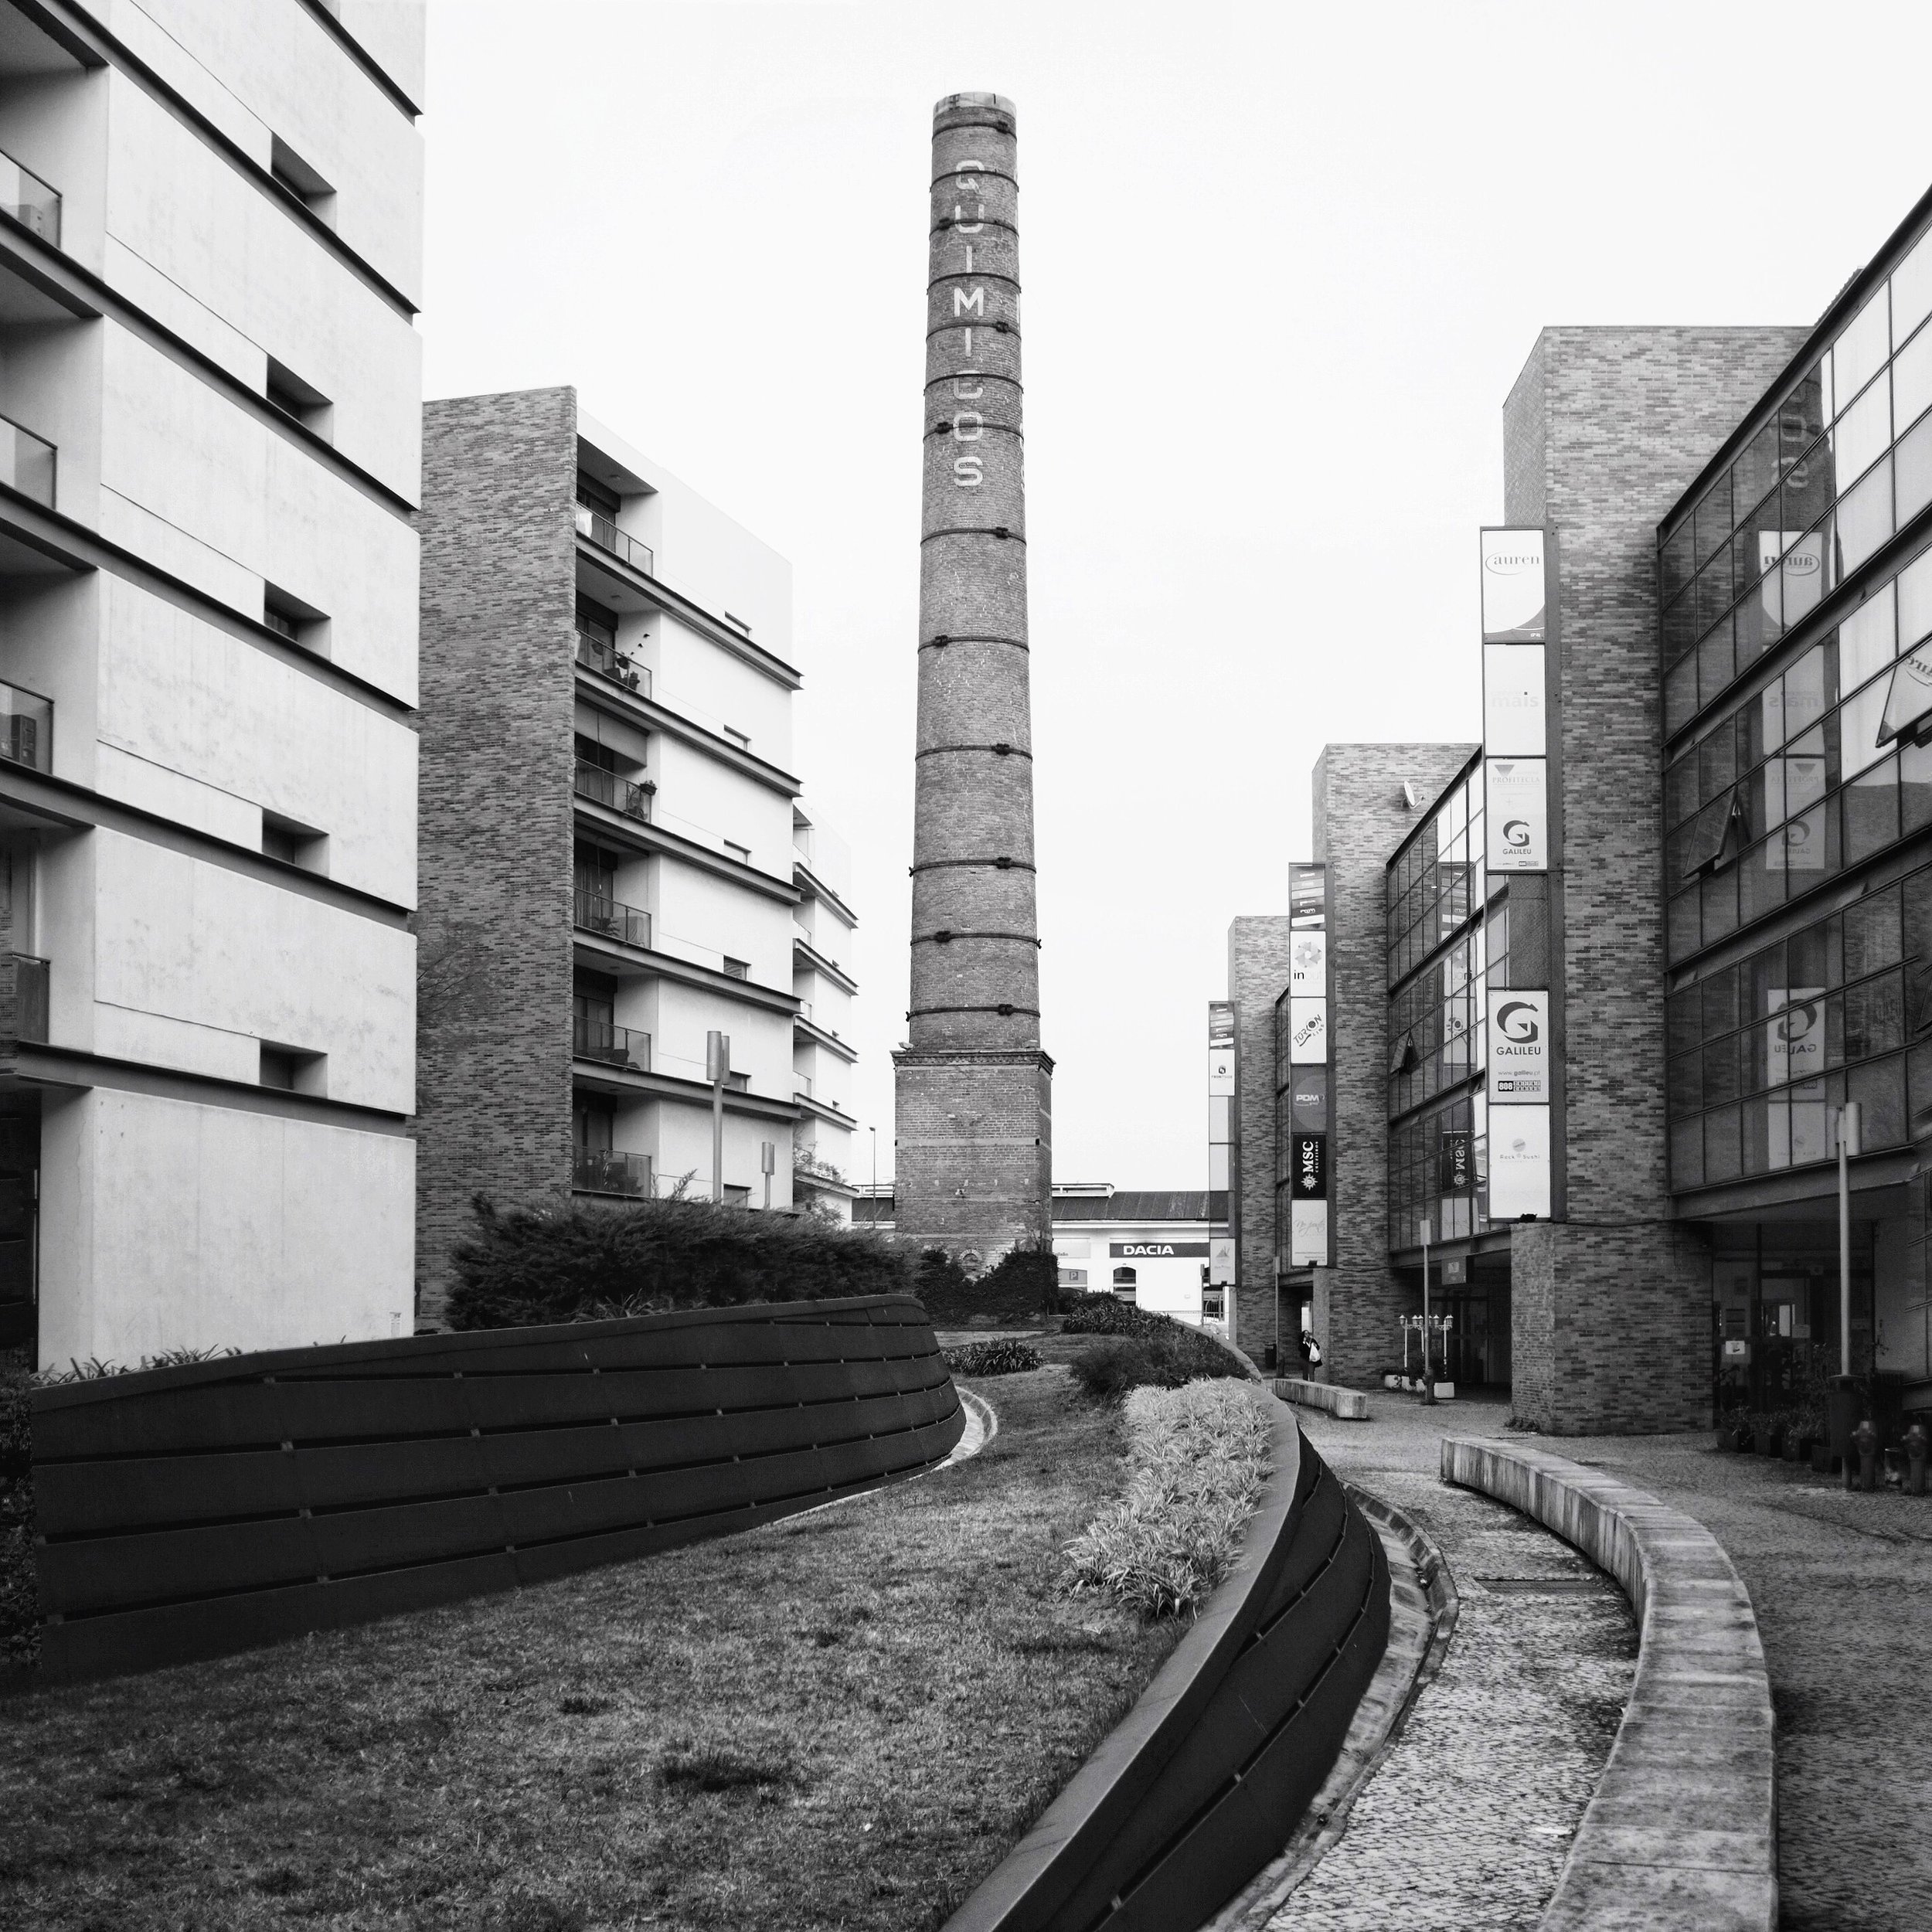
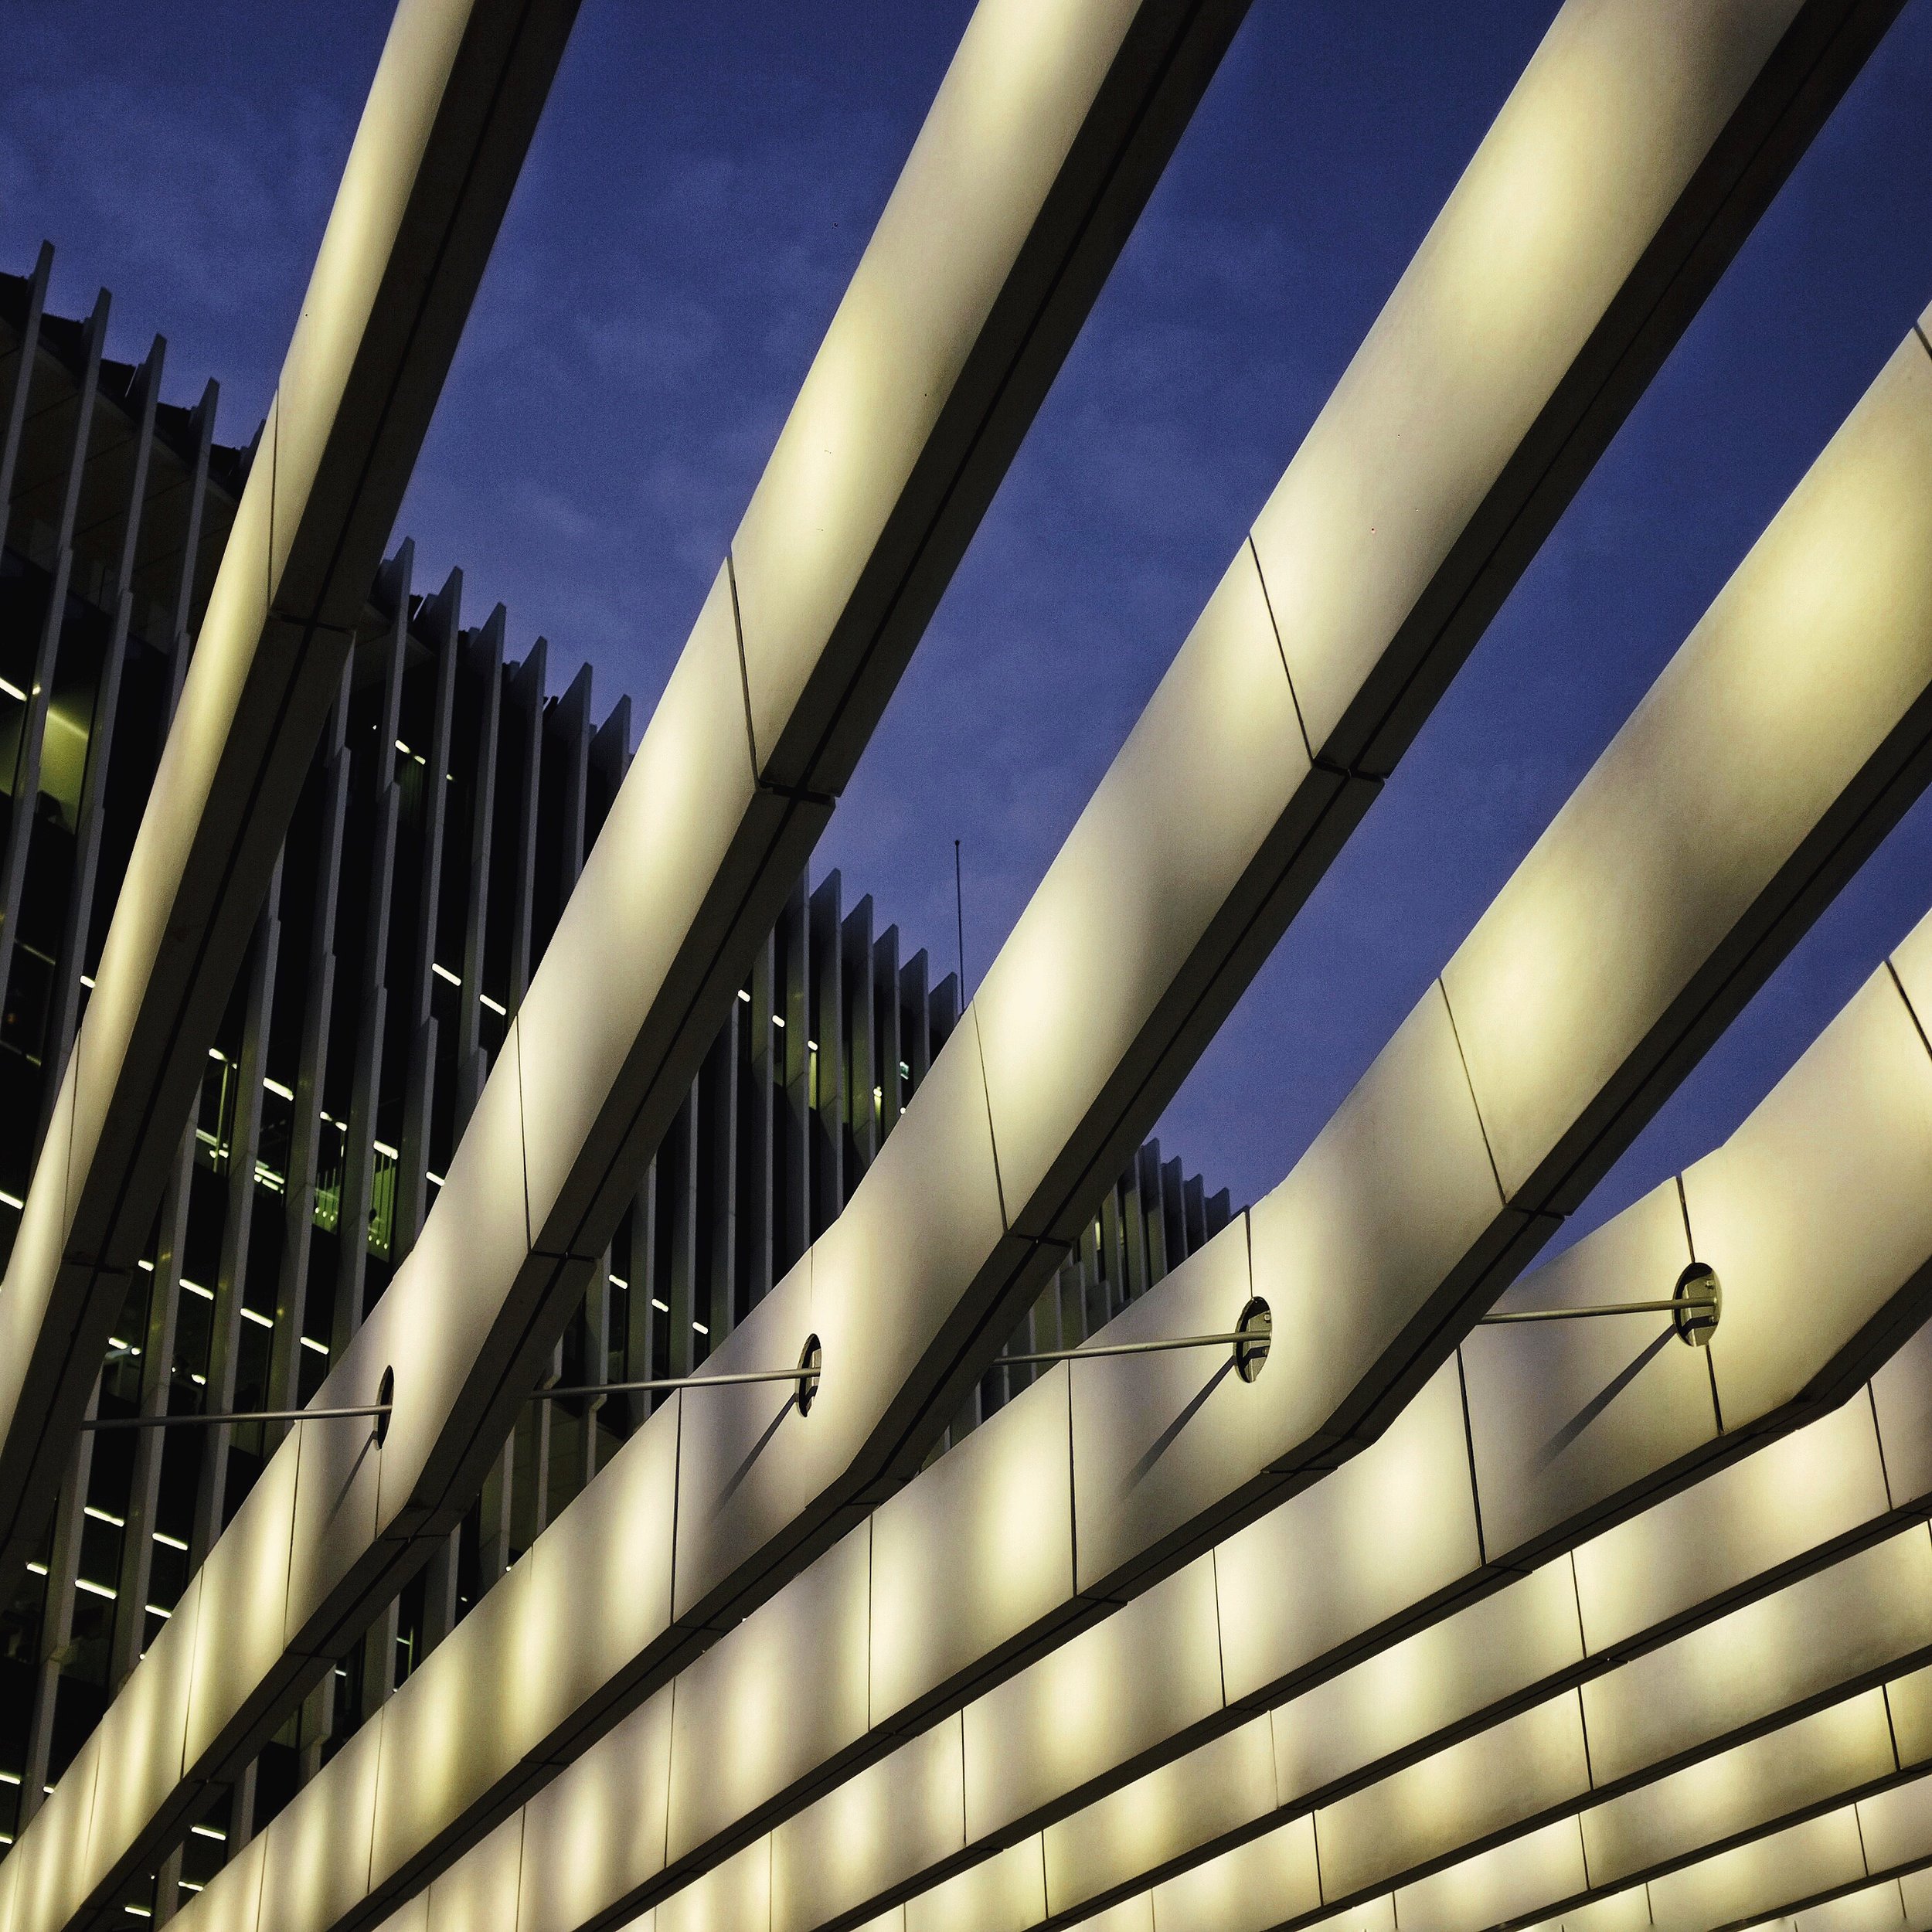
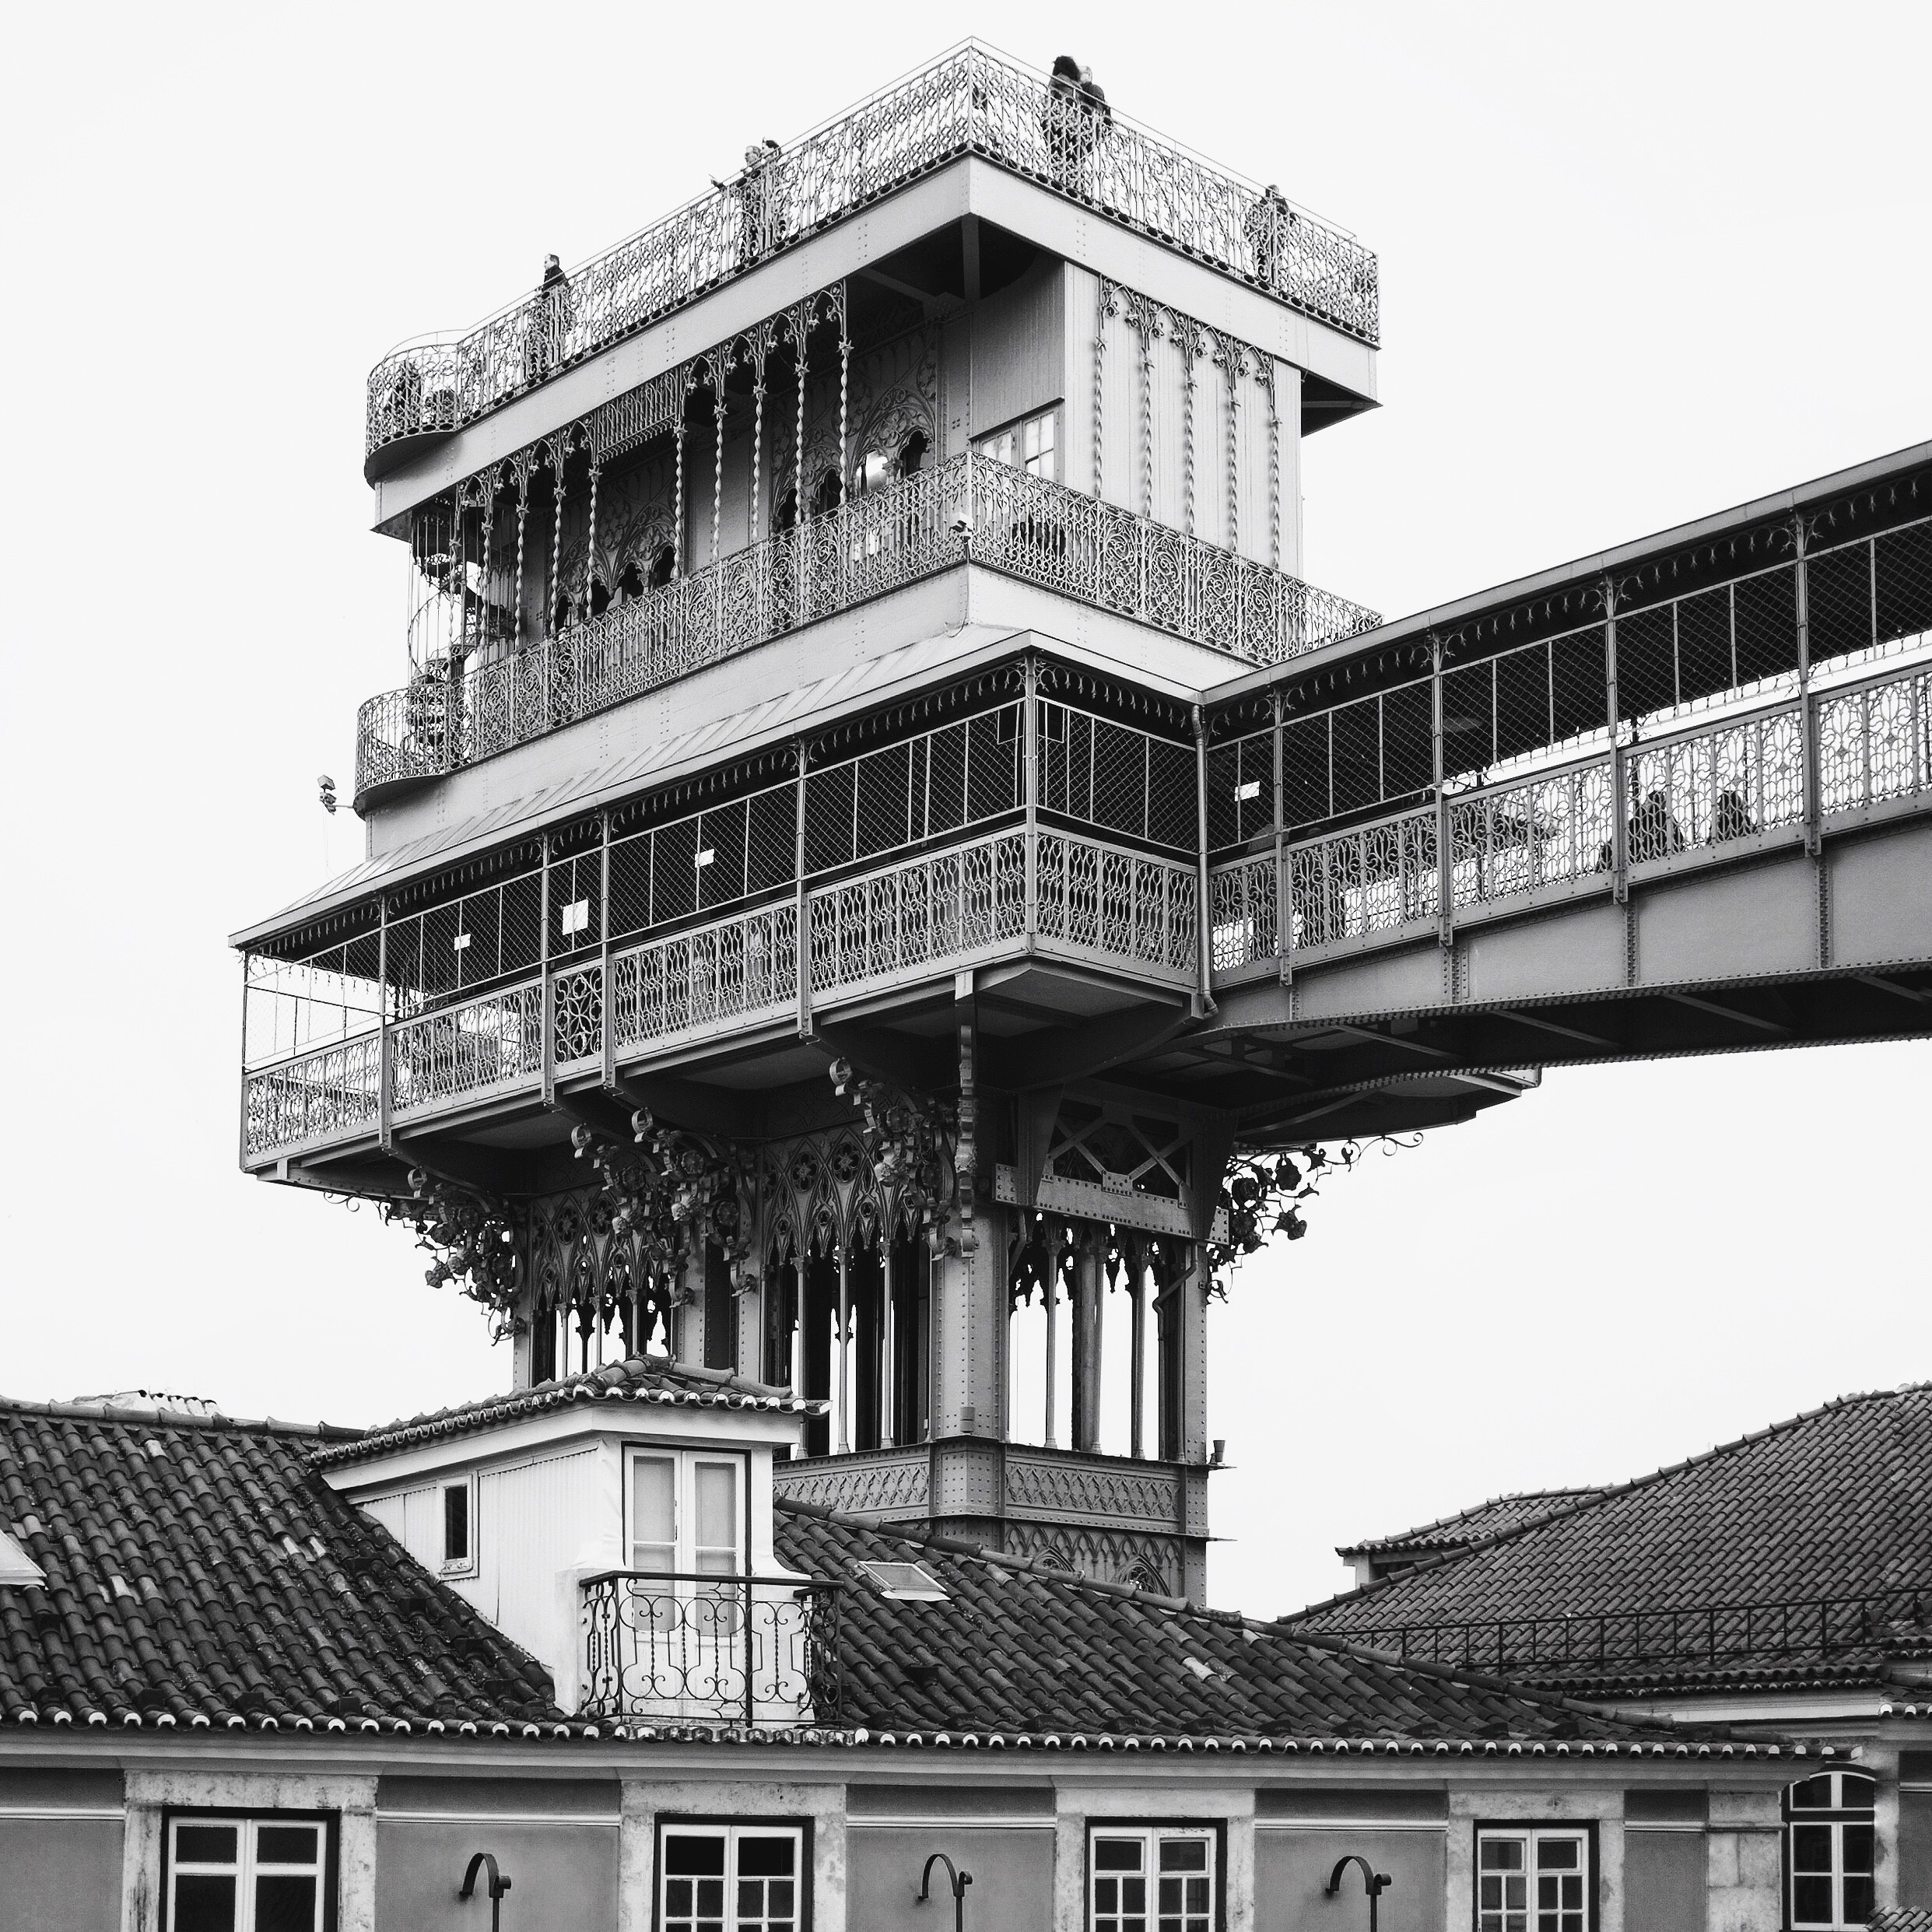
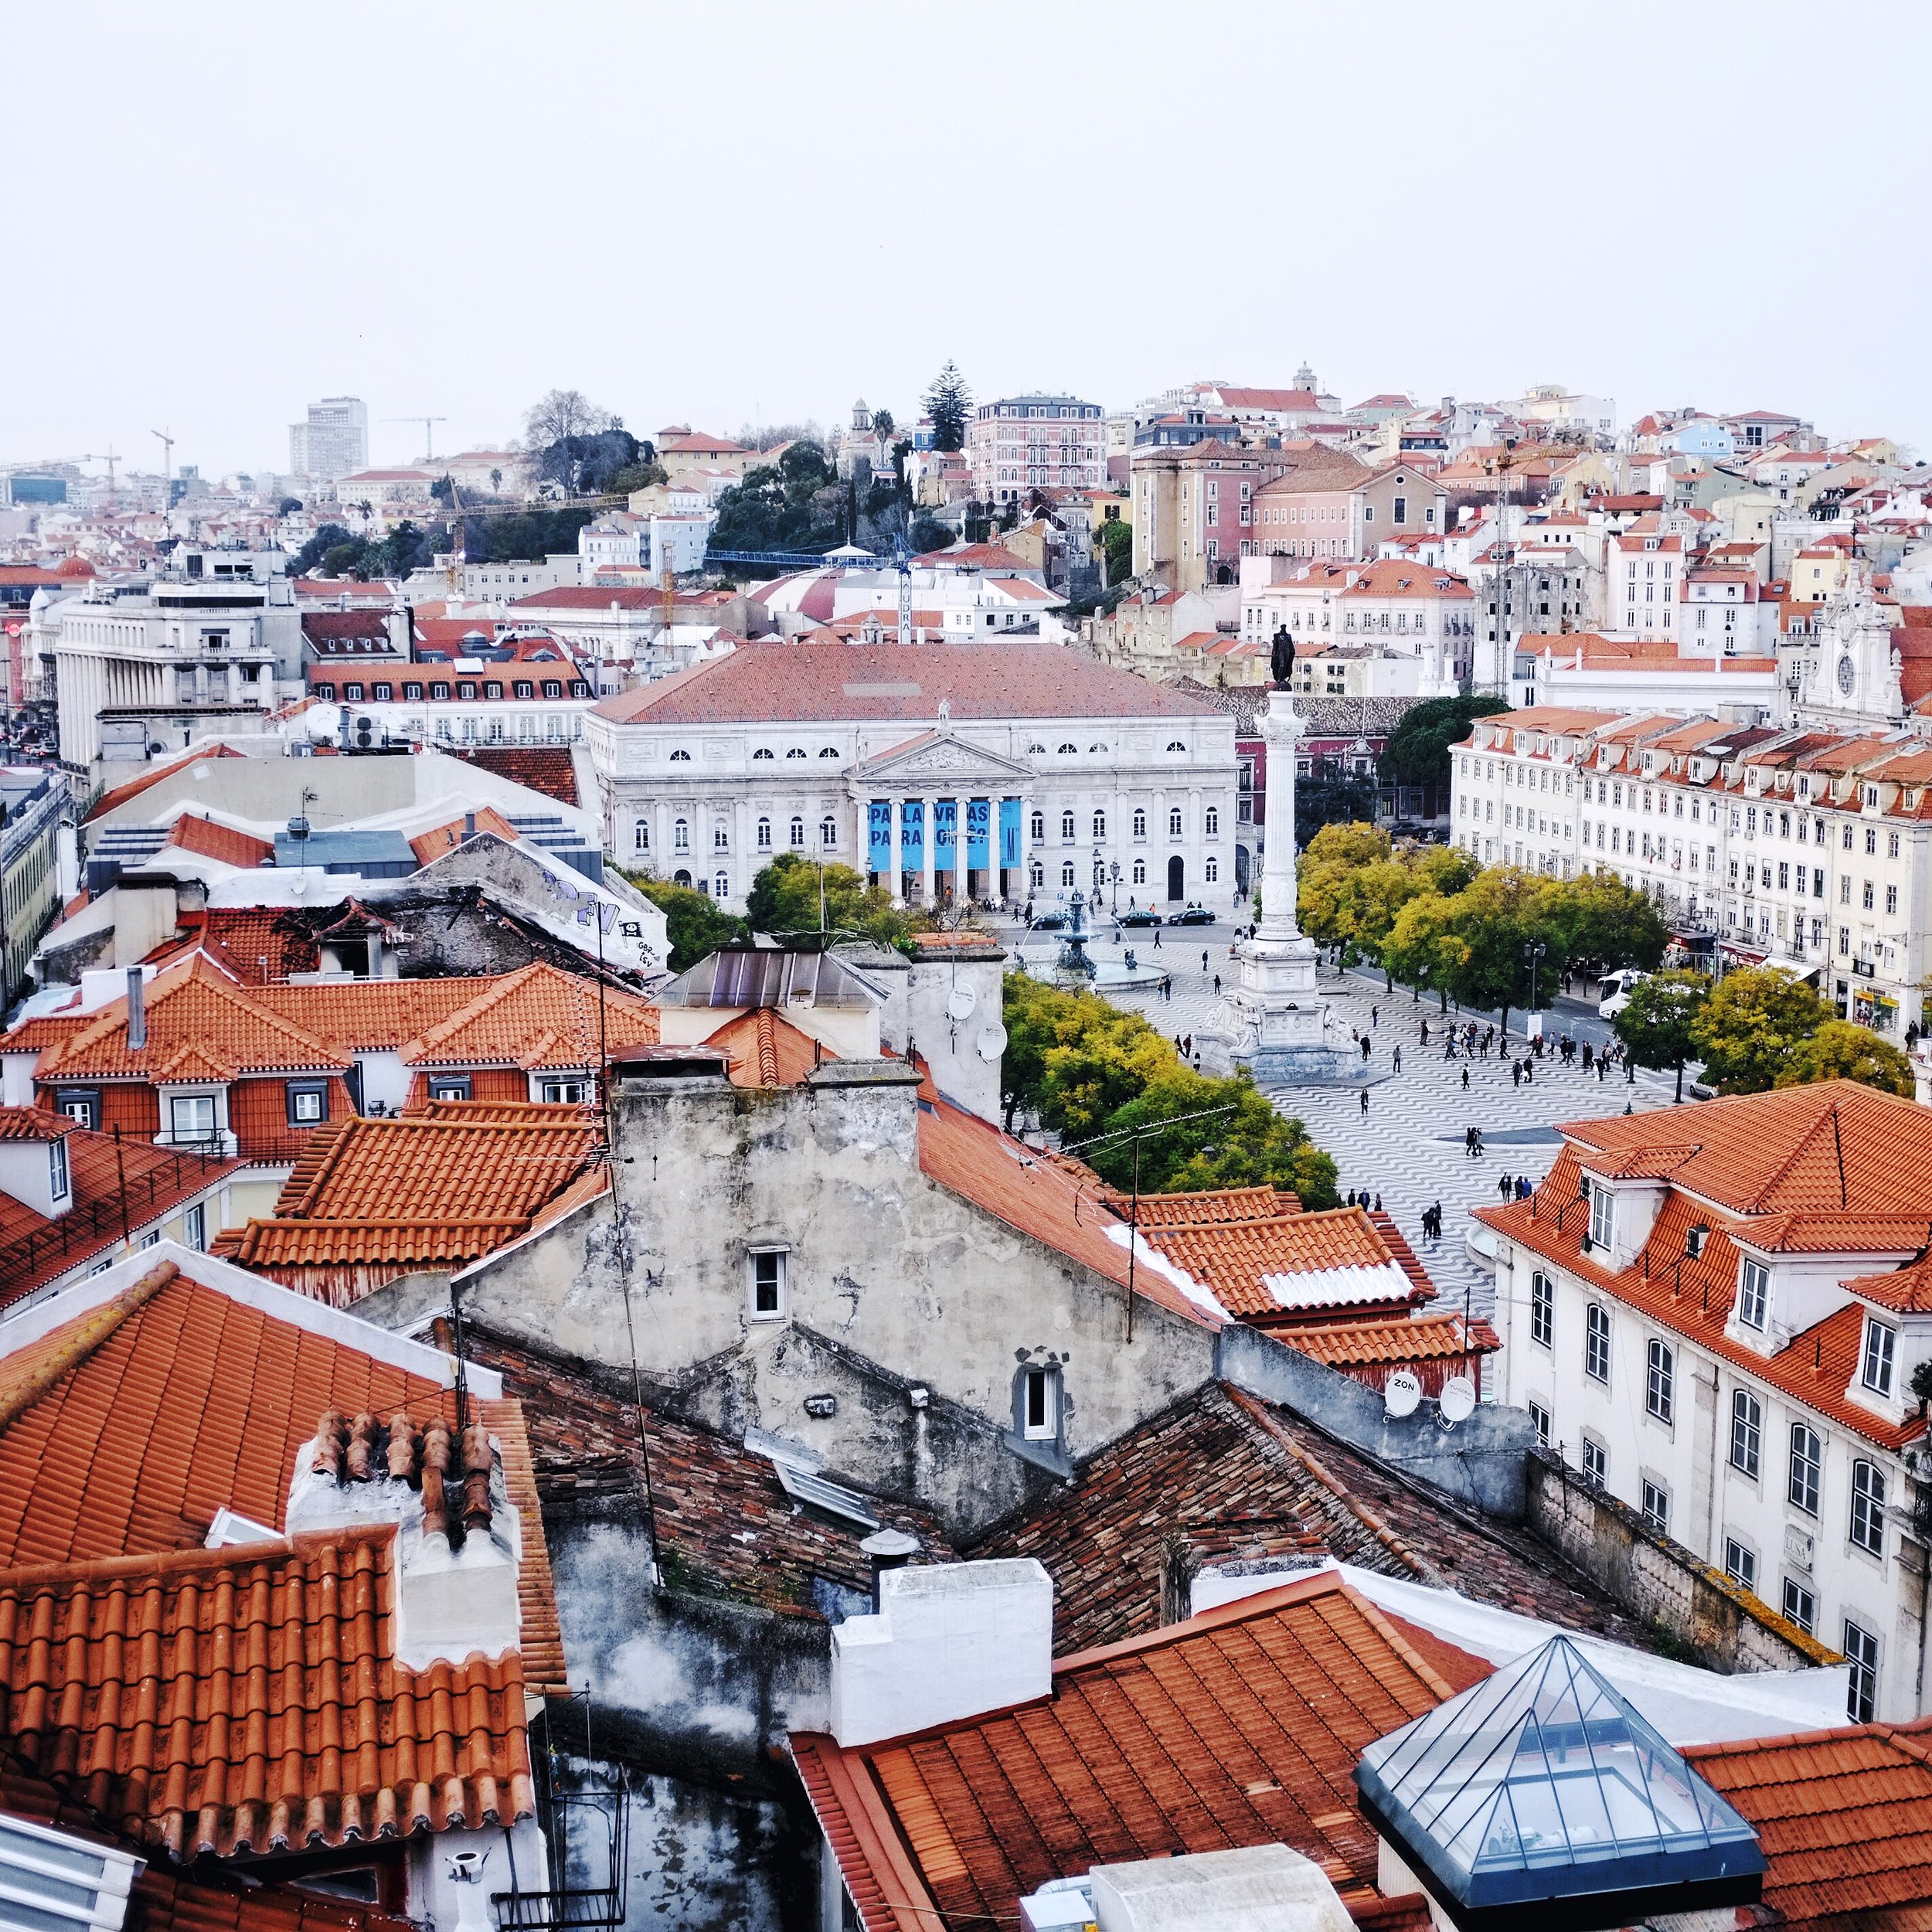
Here are a few shots from Warsaw:

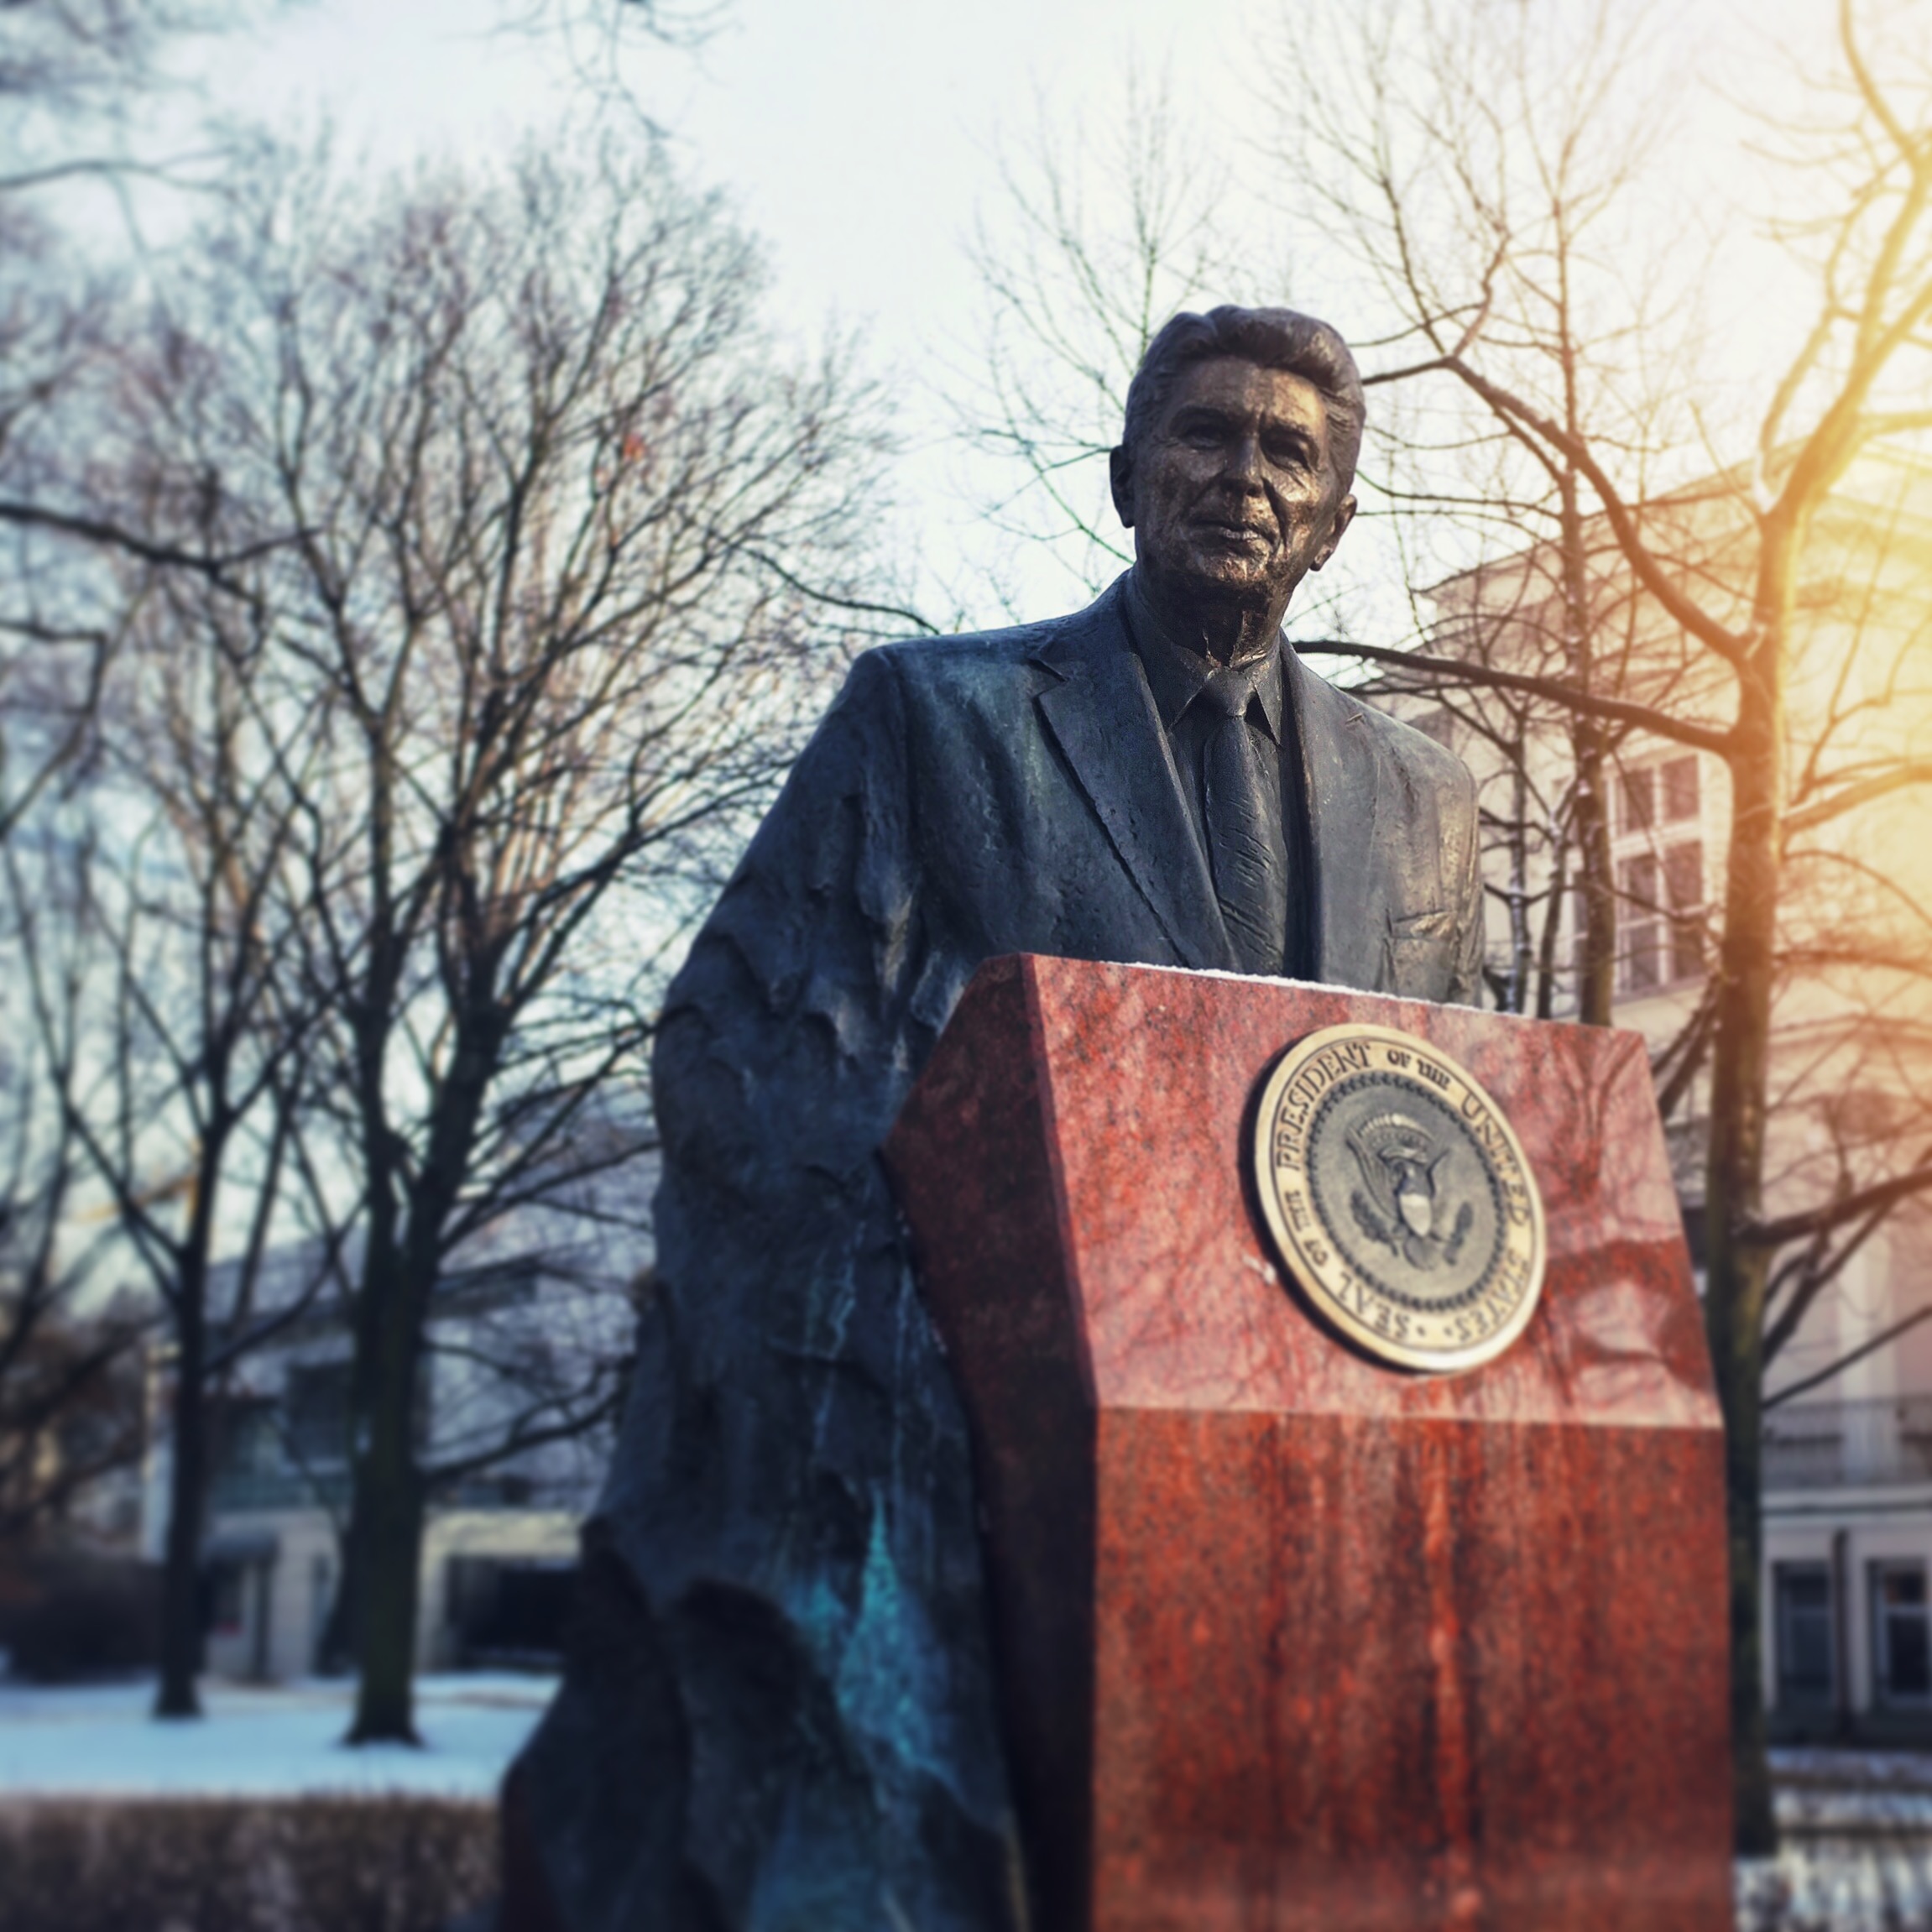
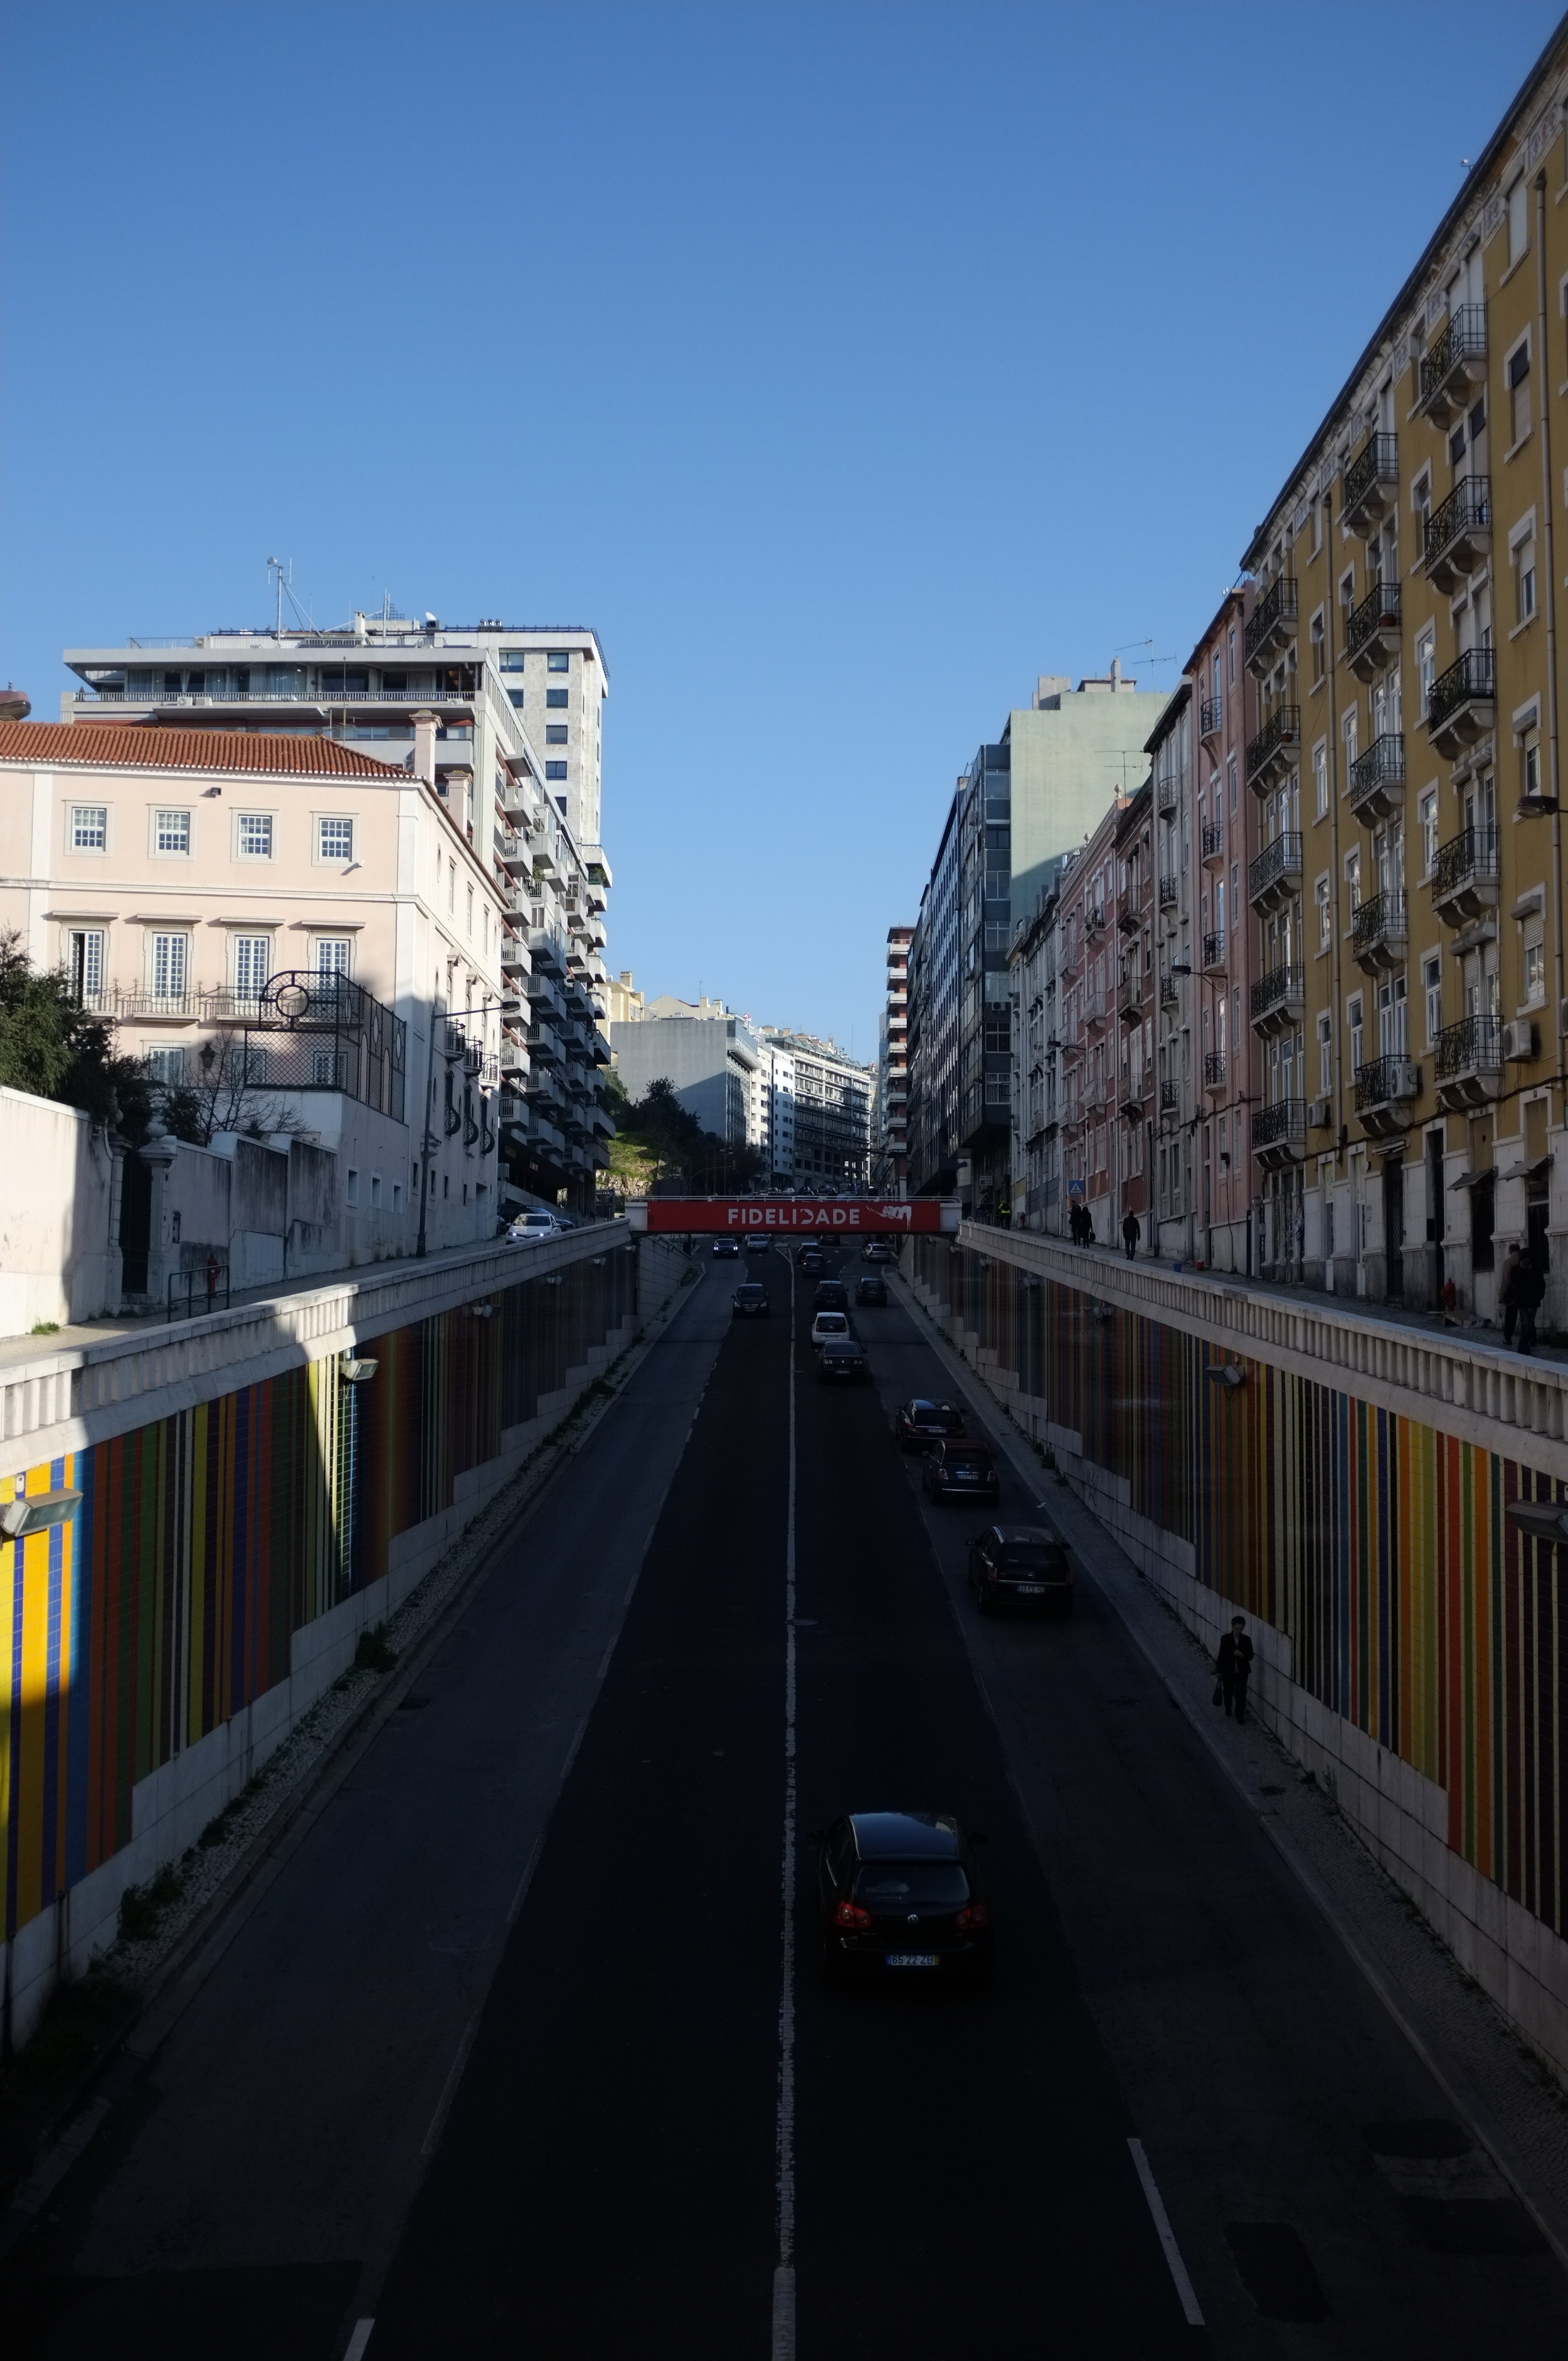
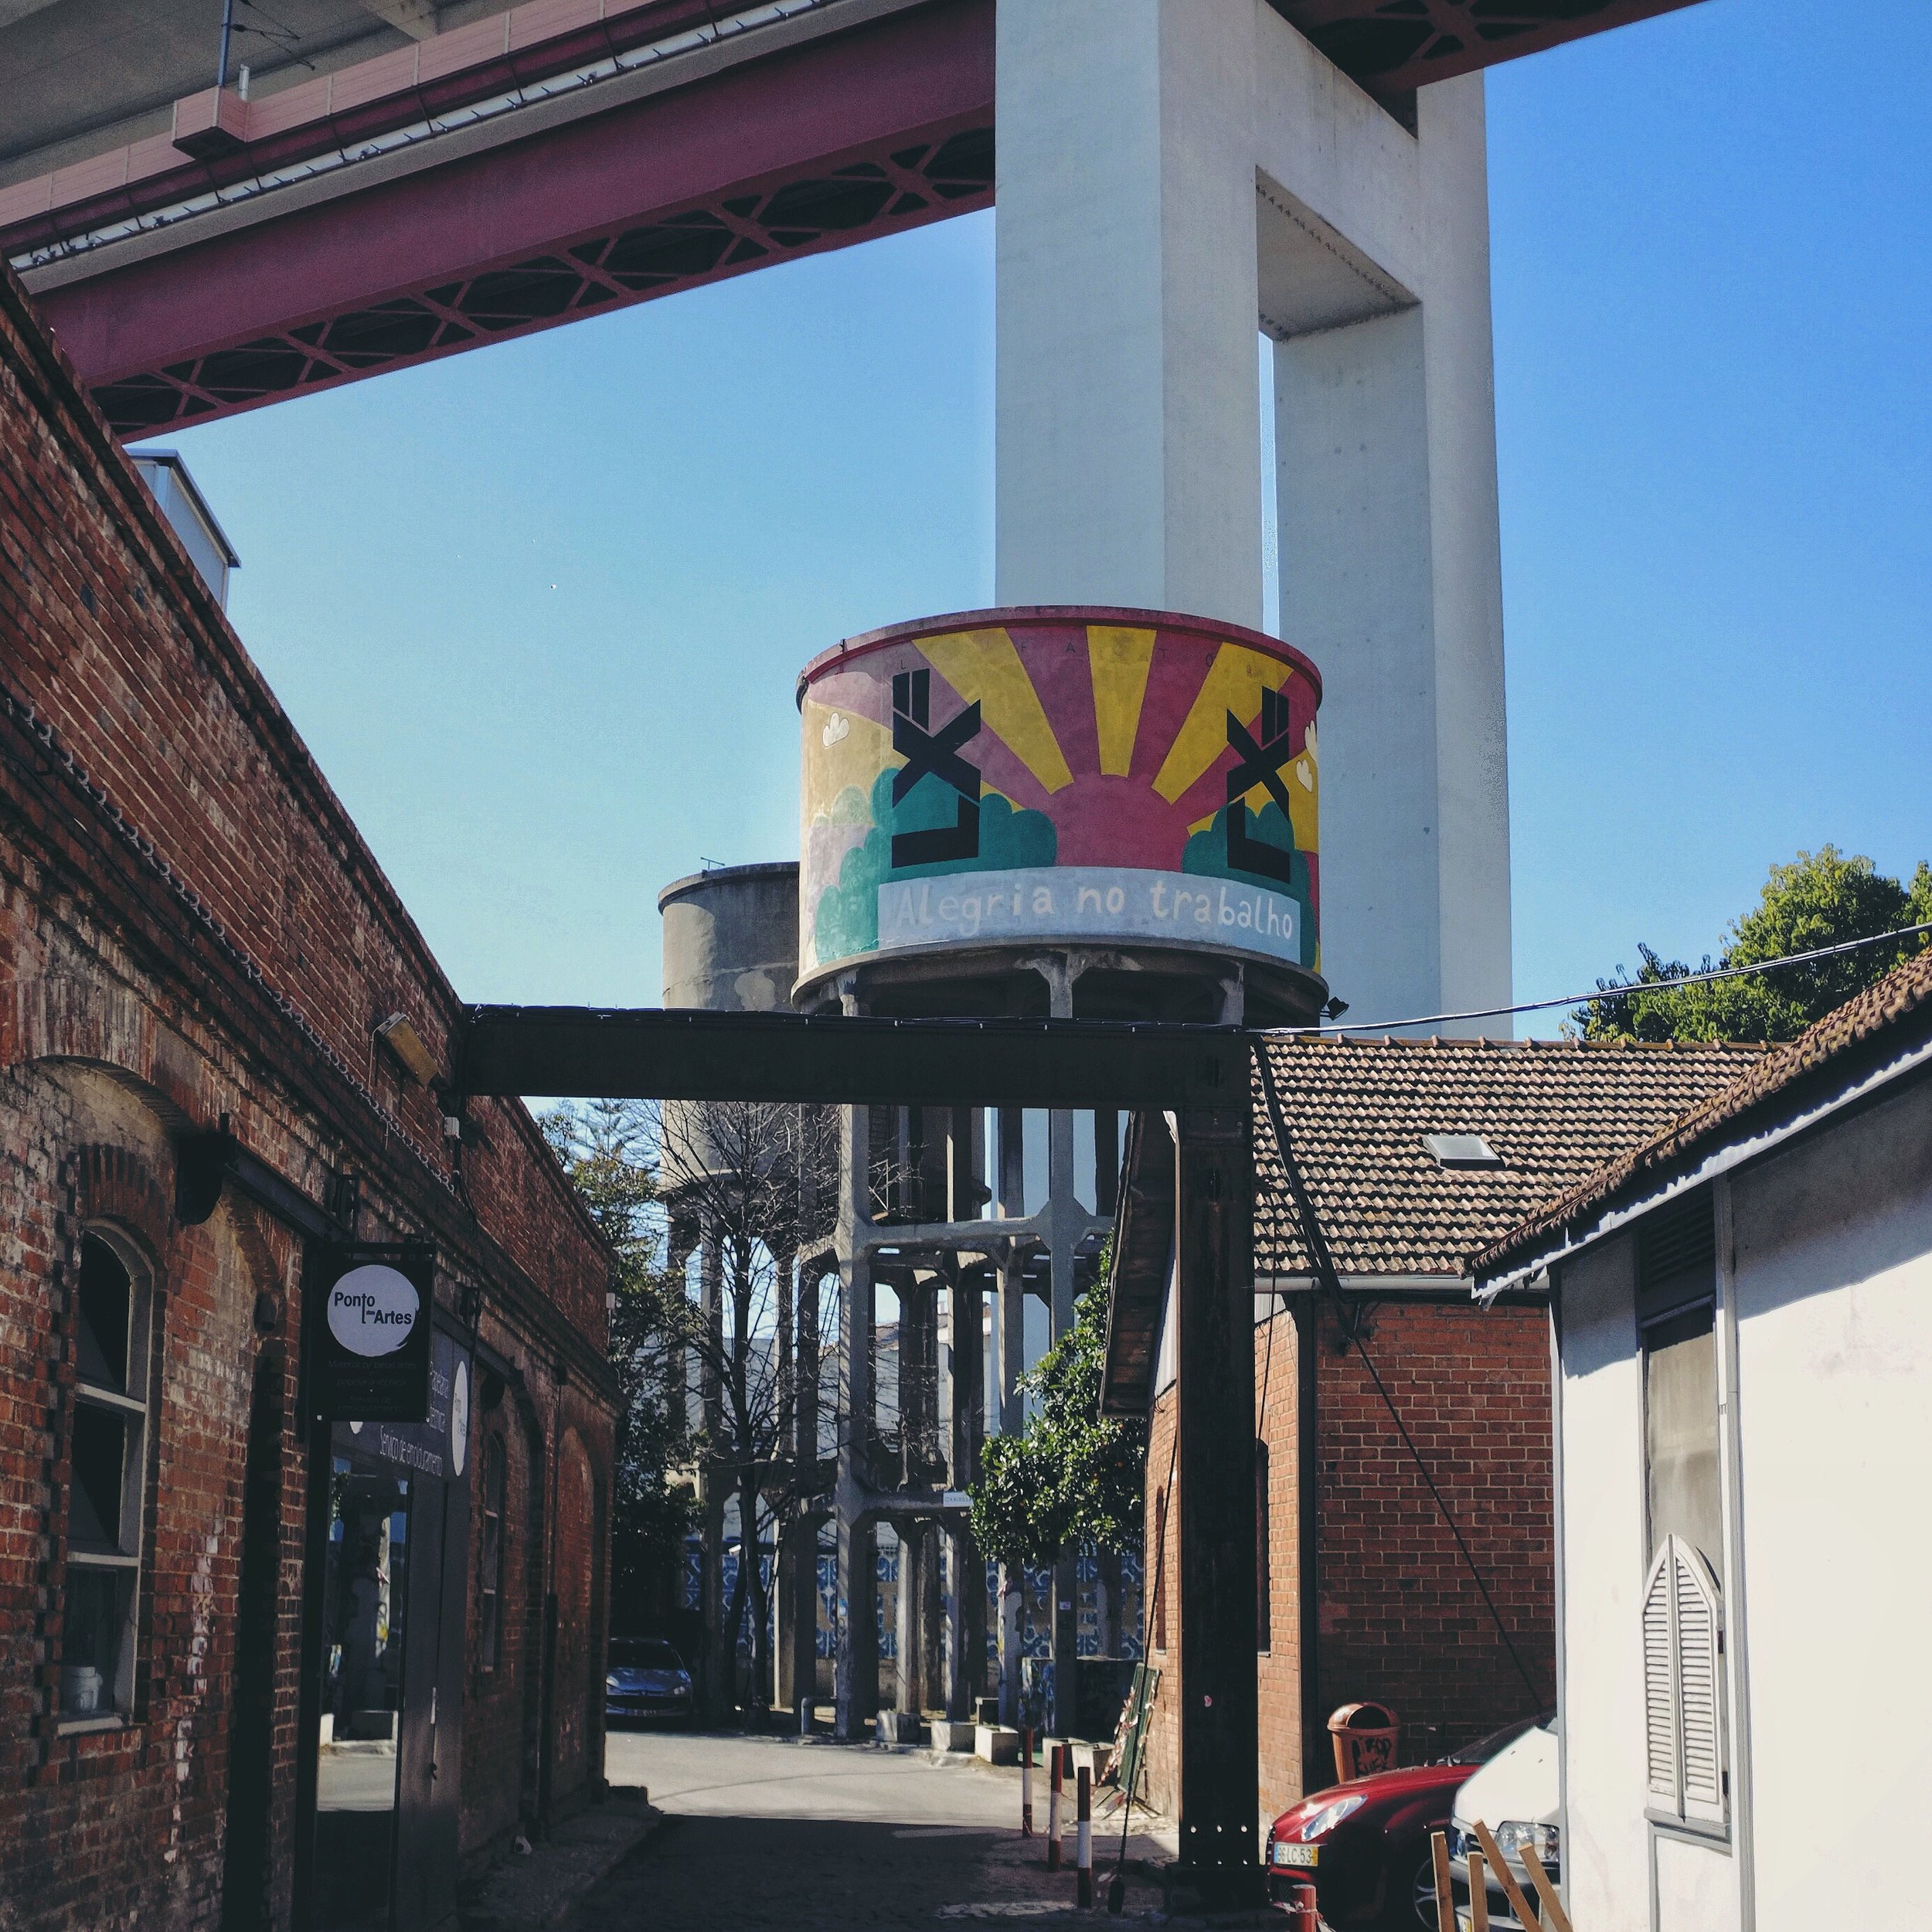
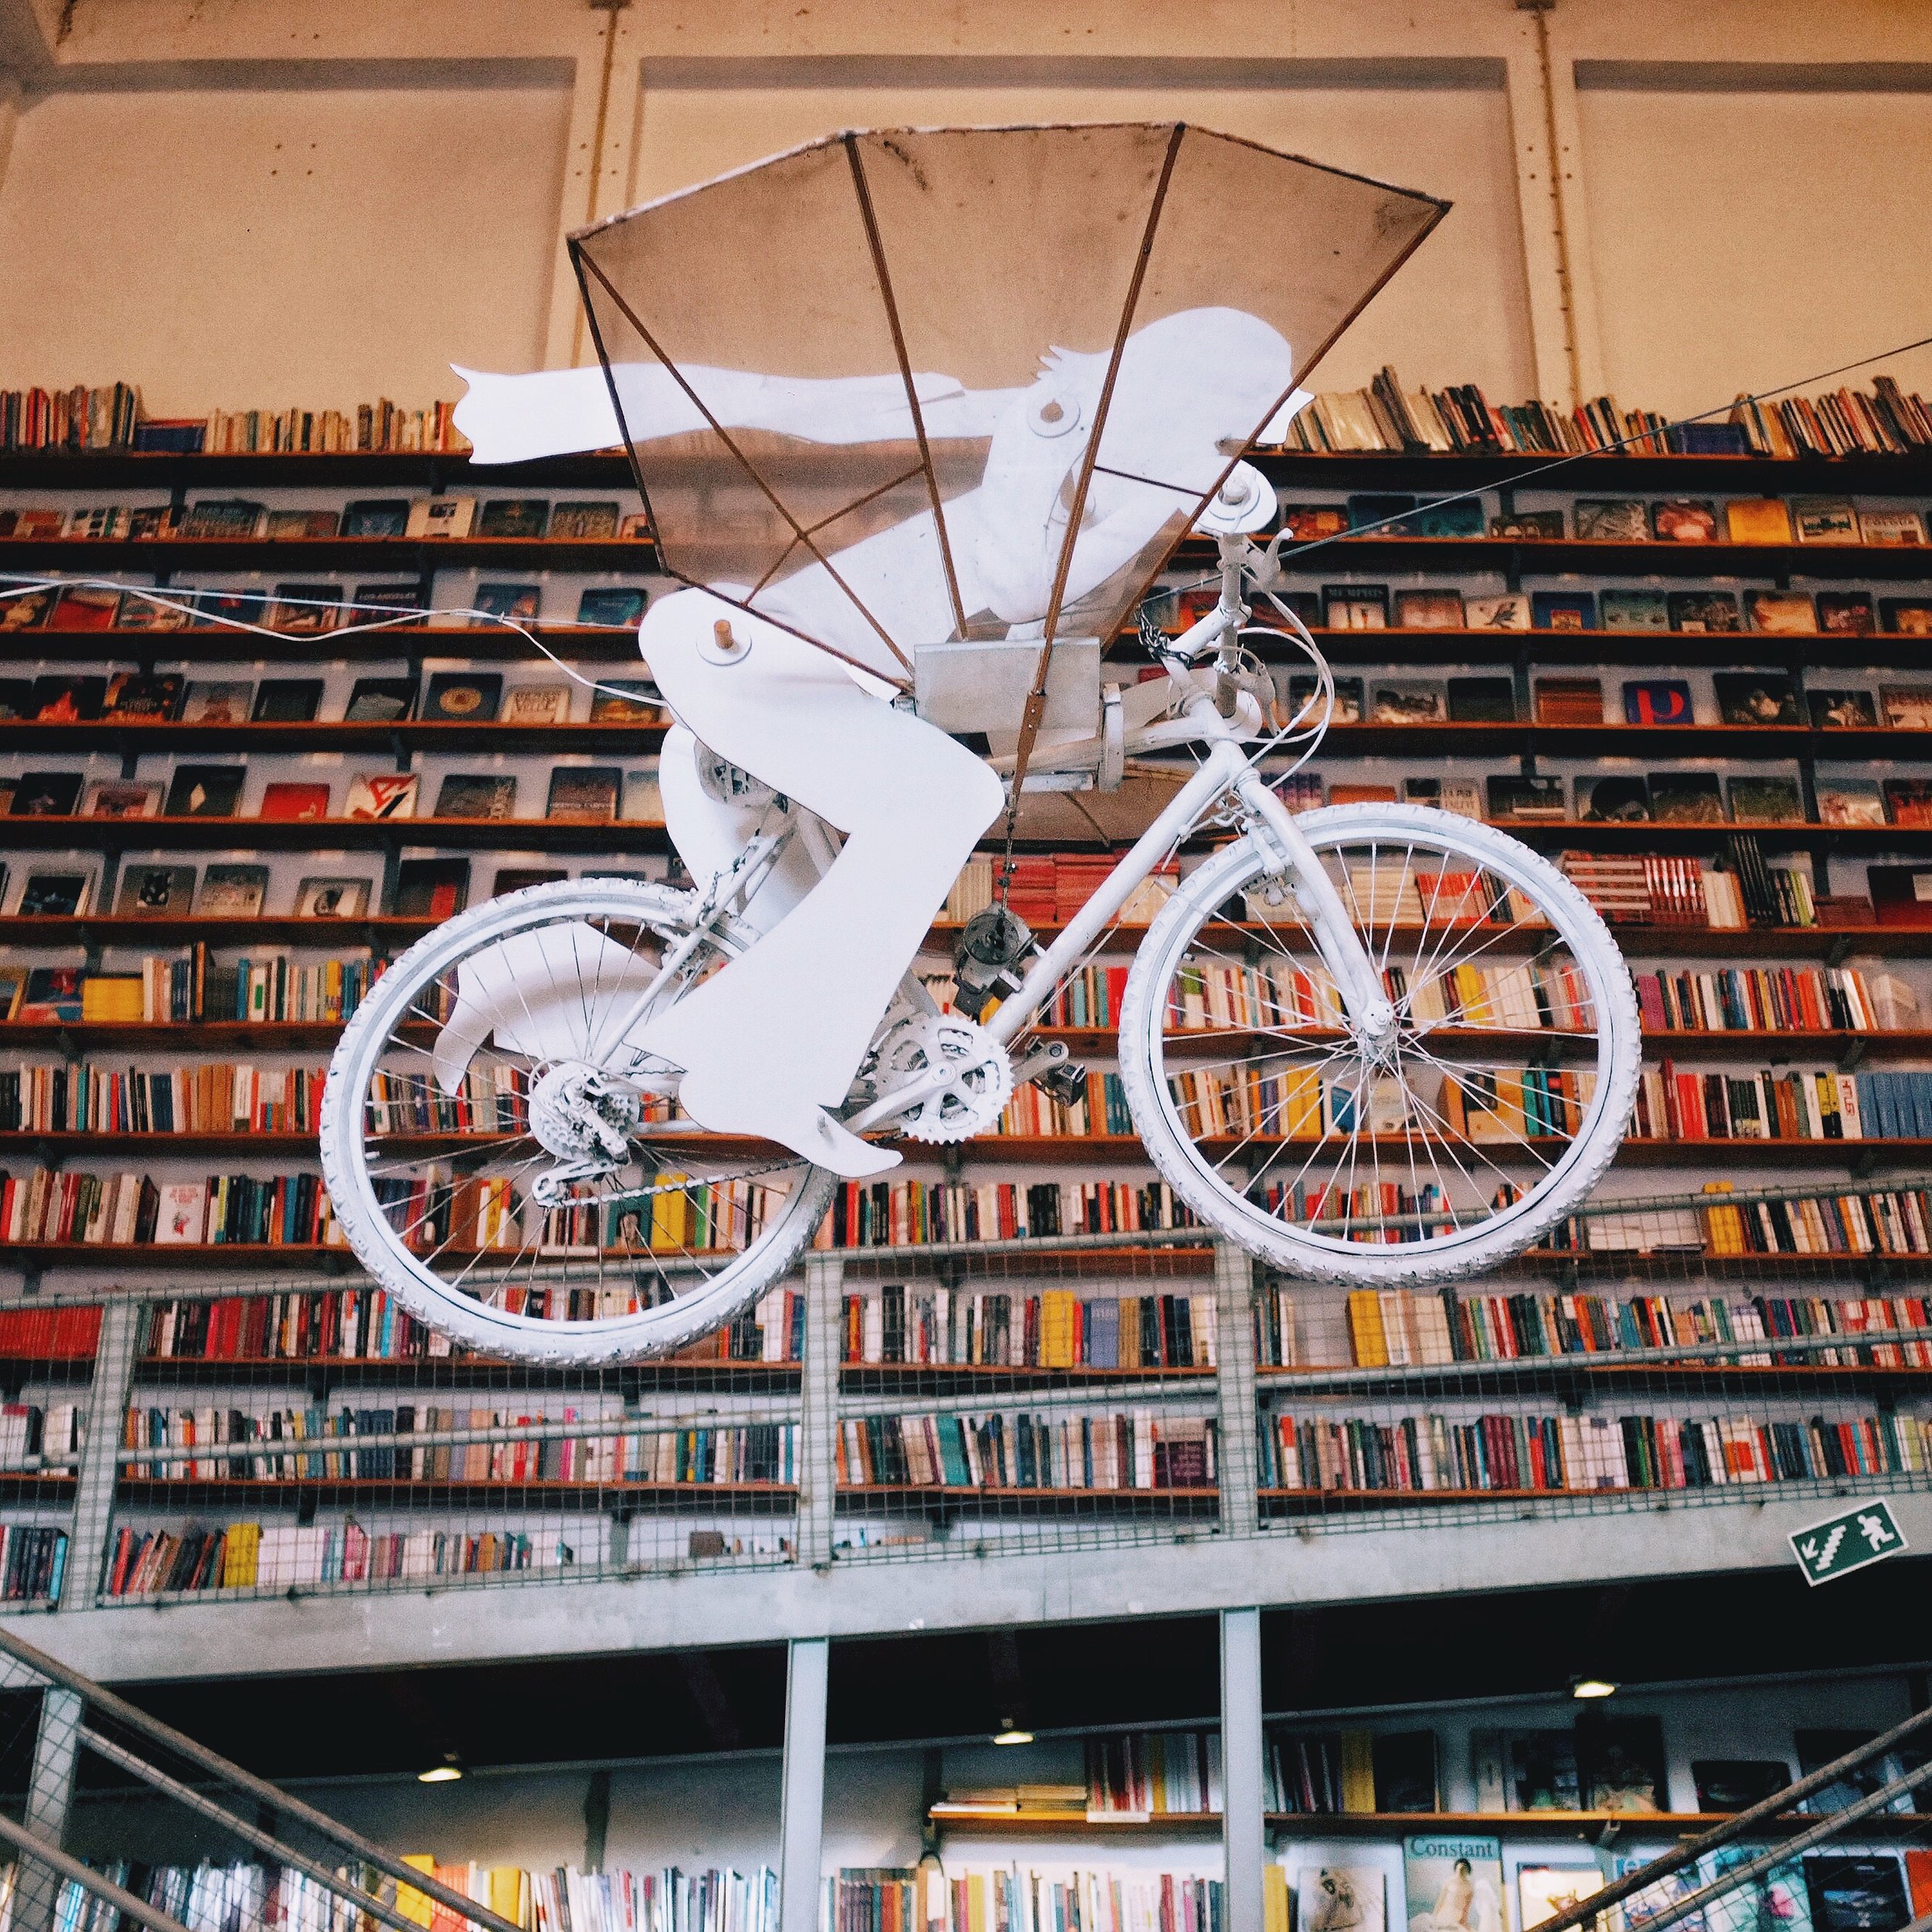
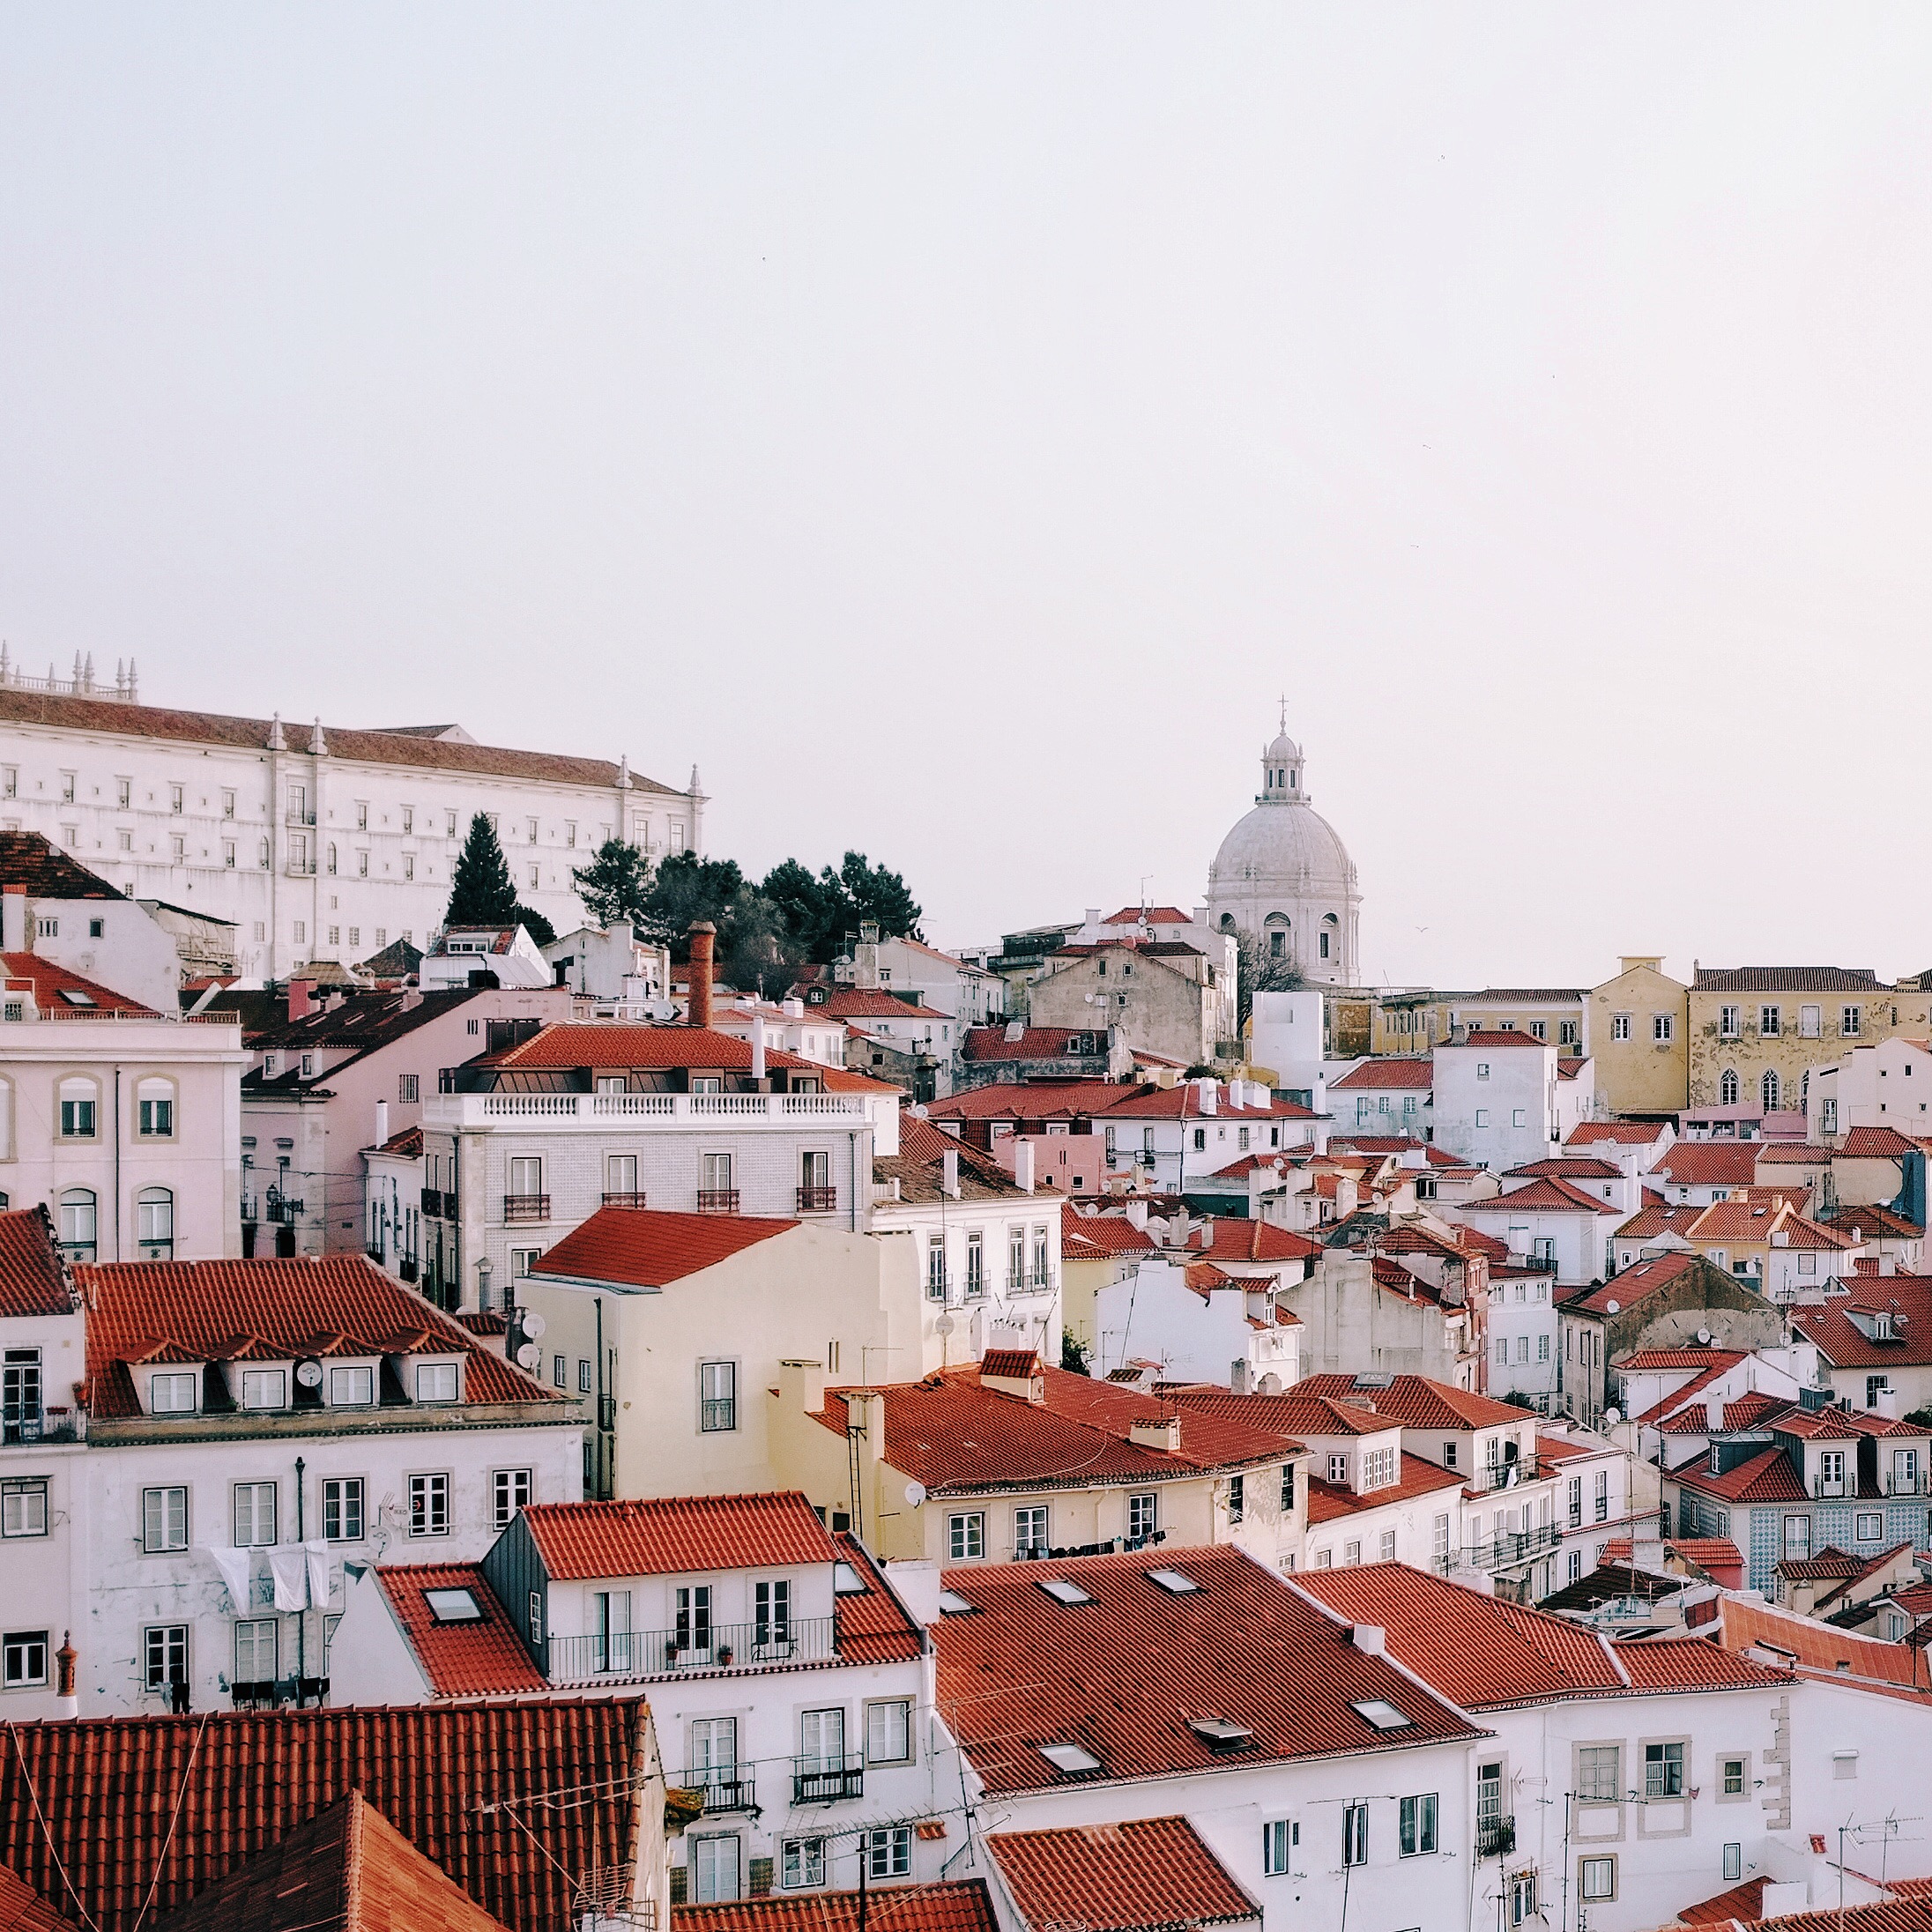
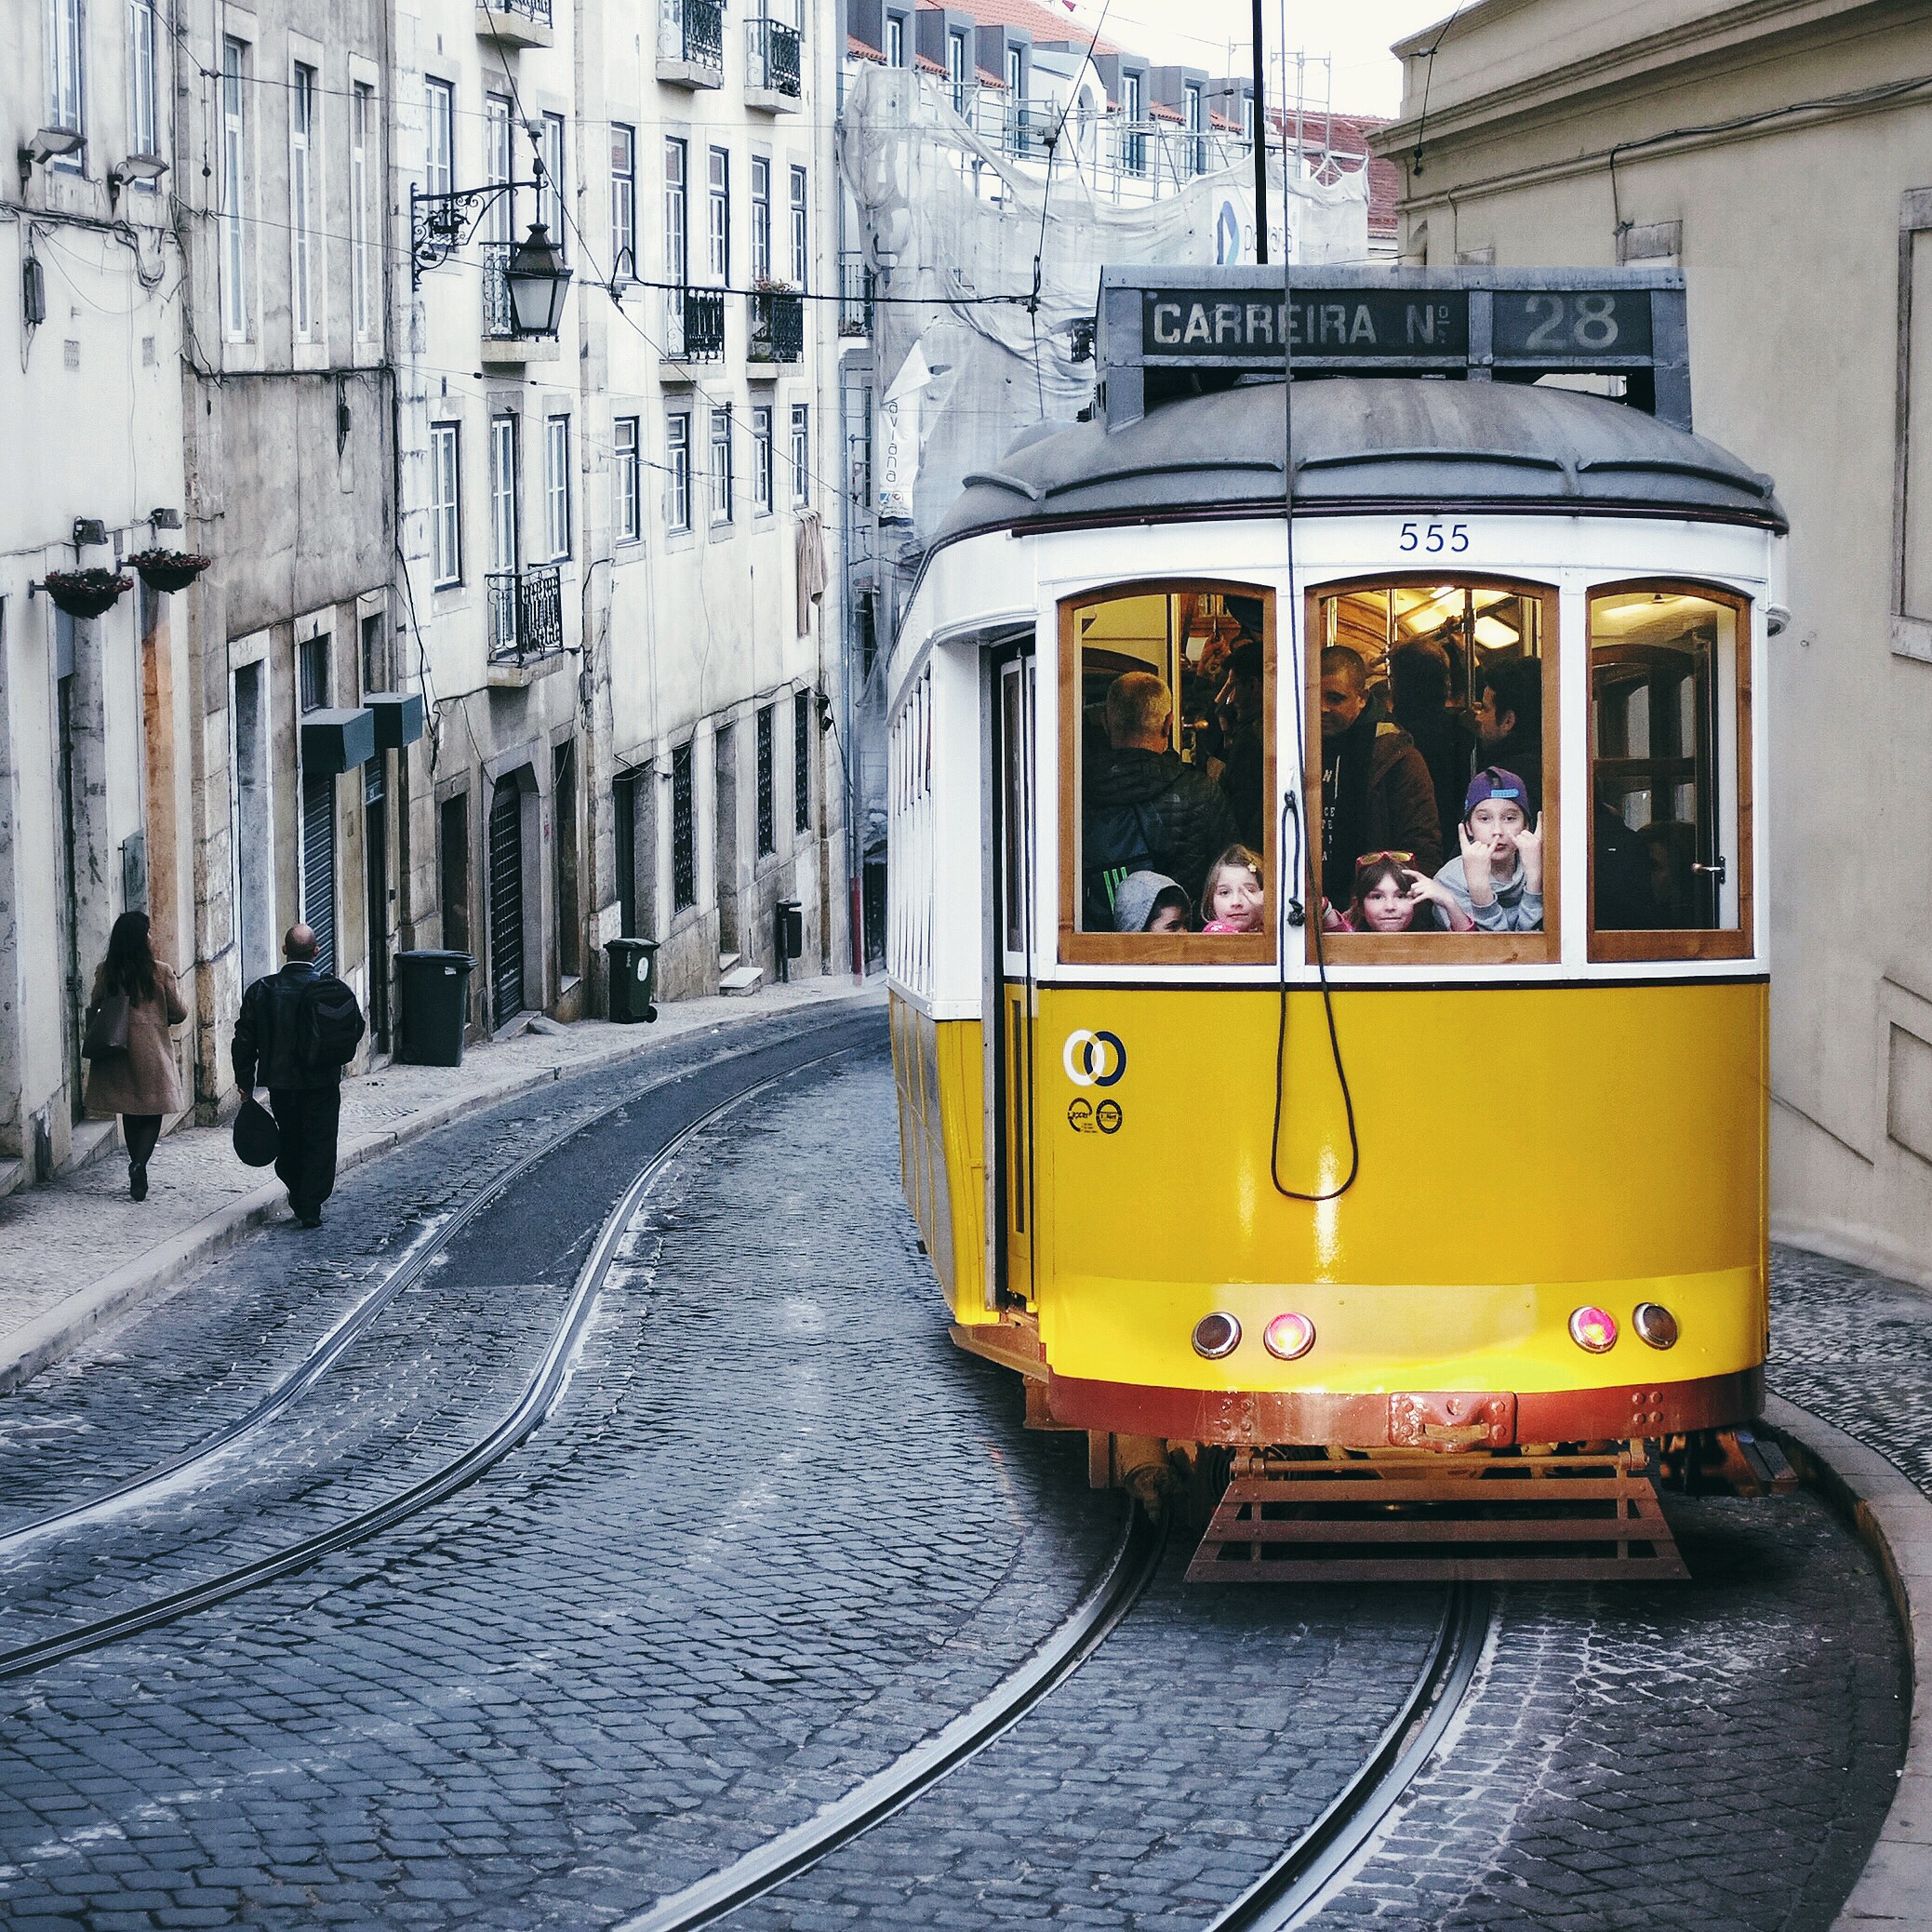
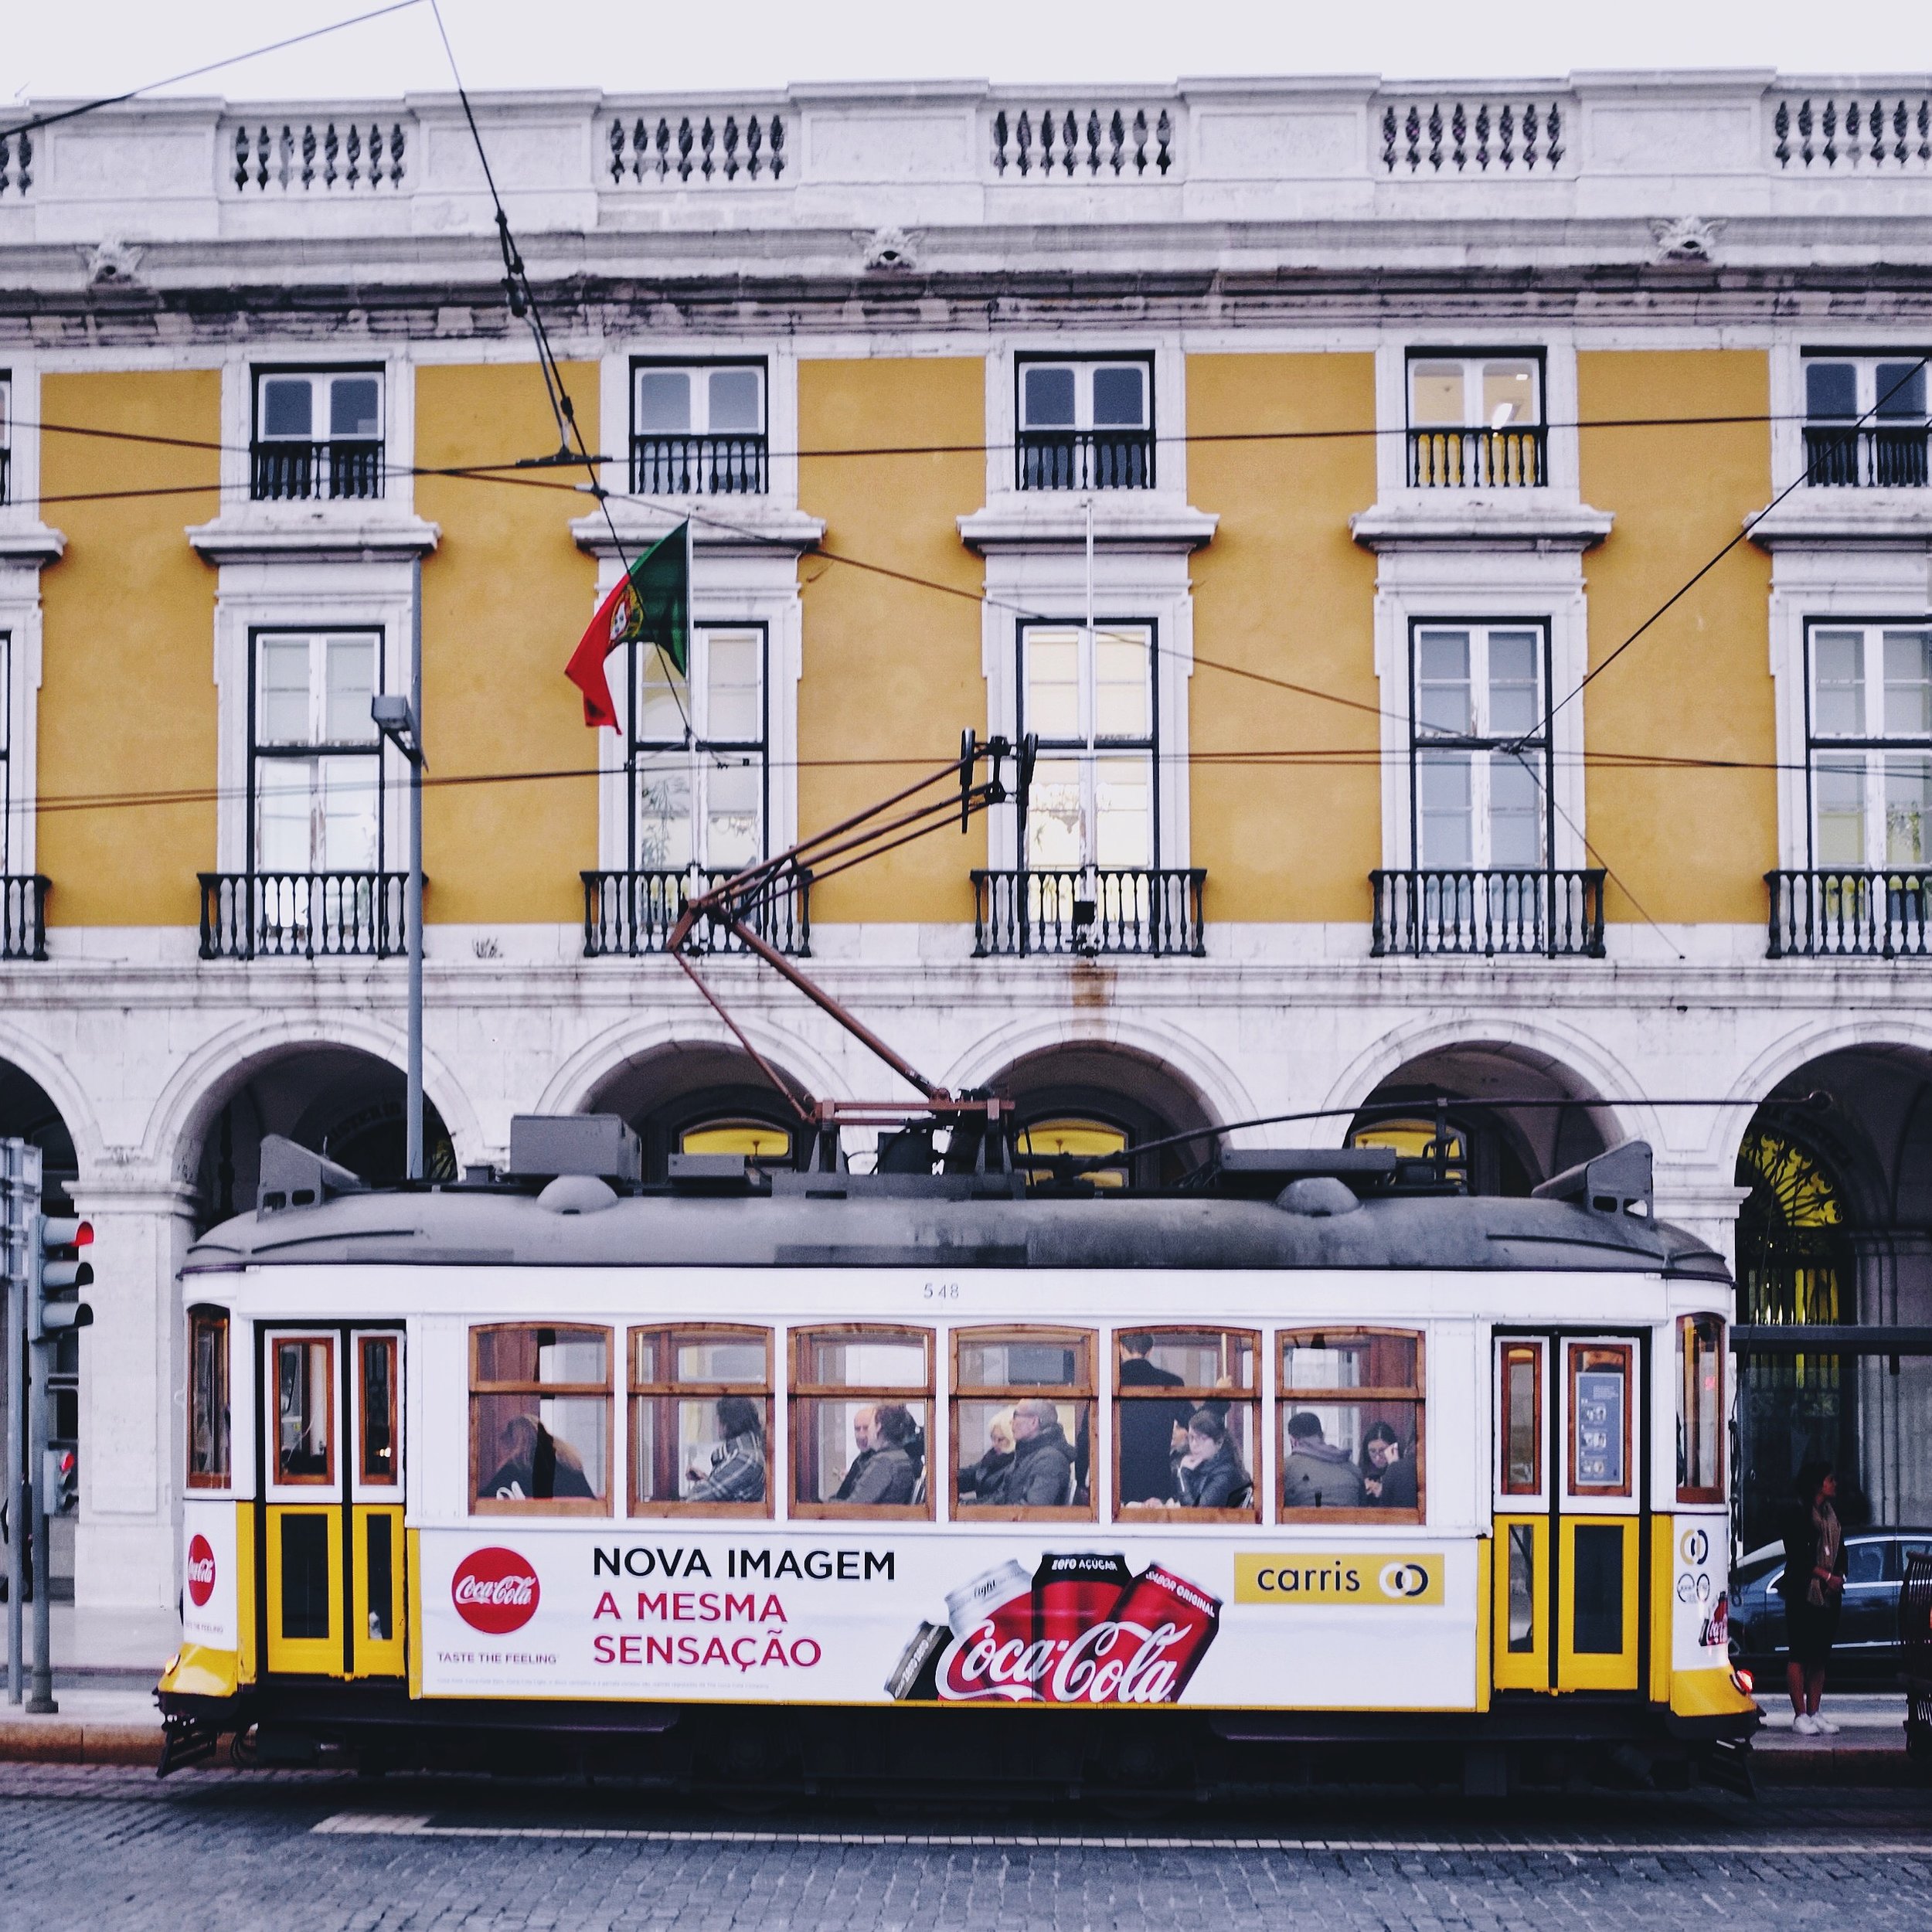
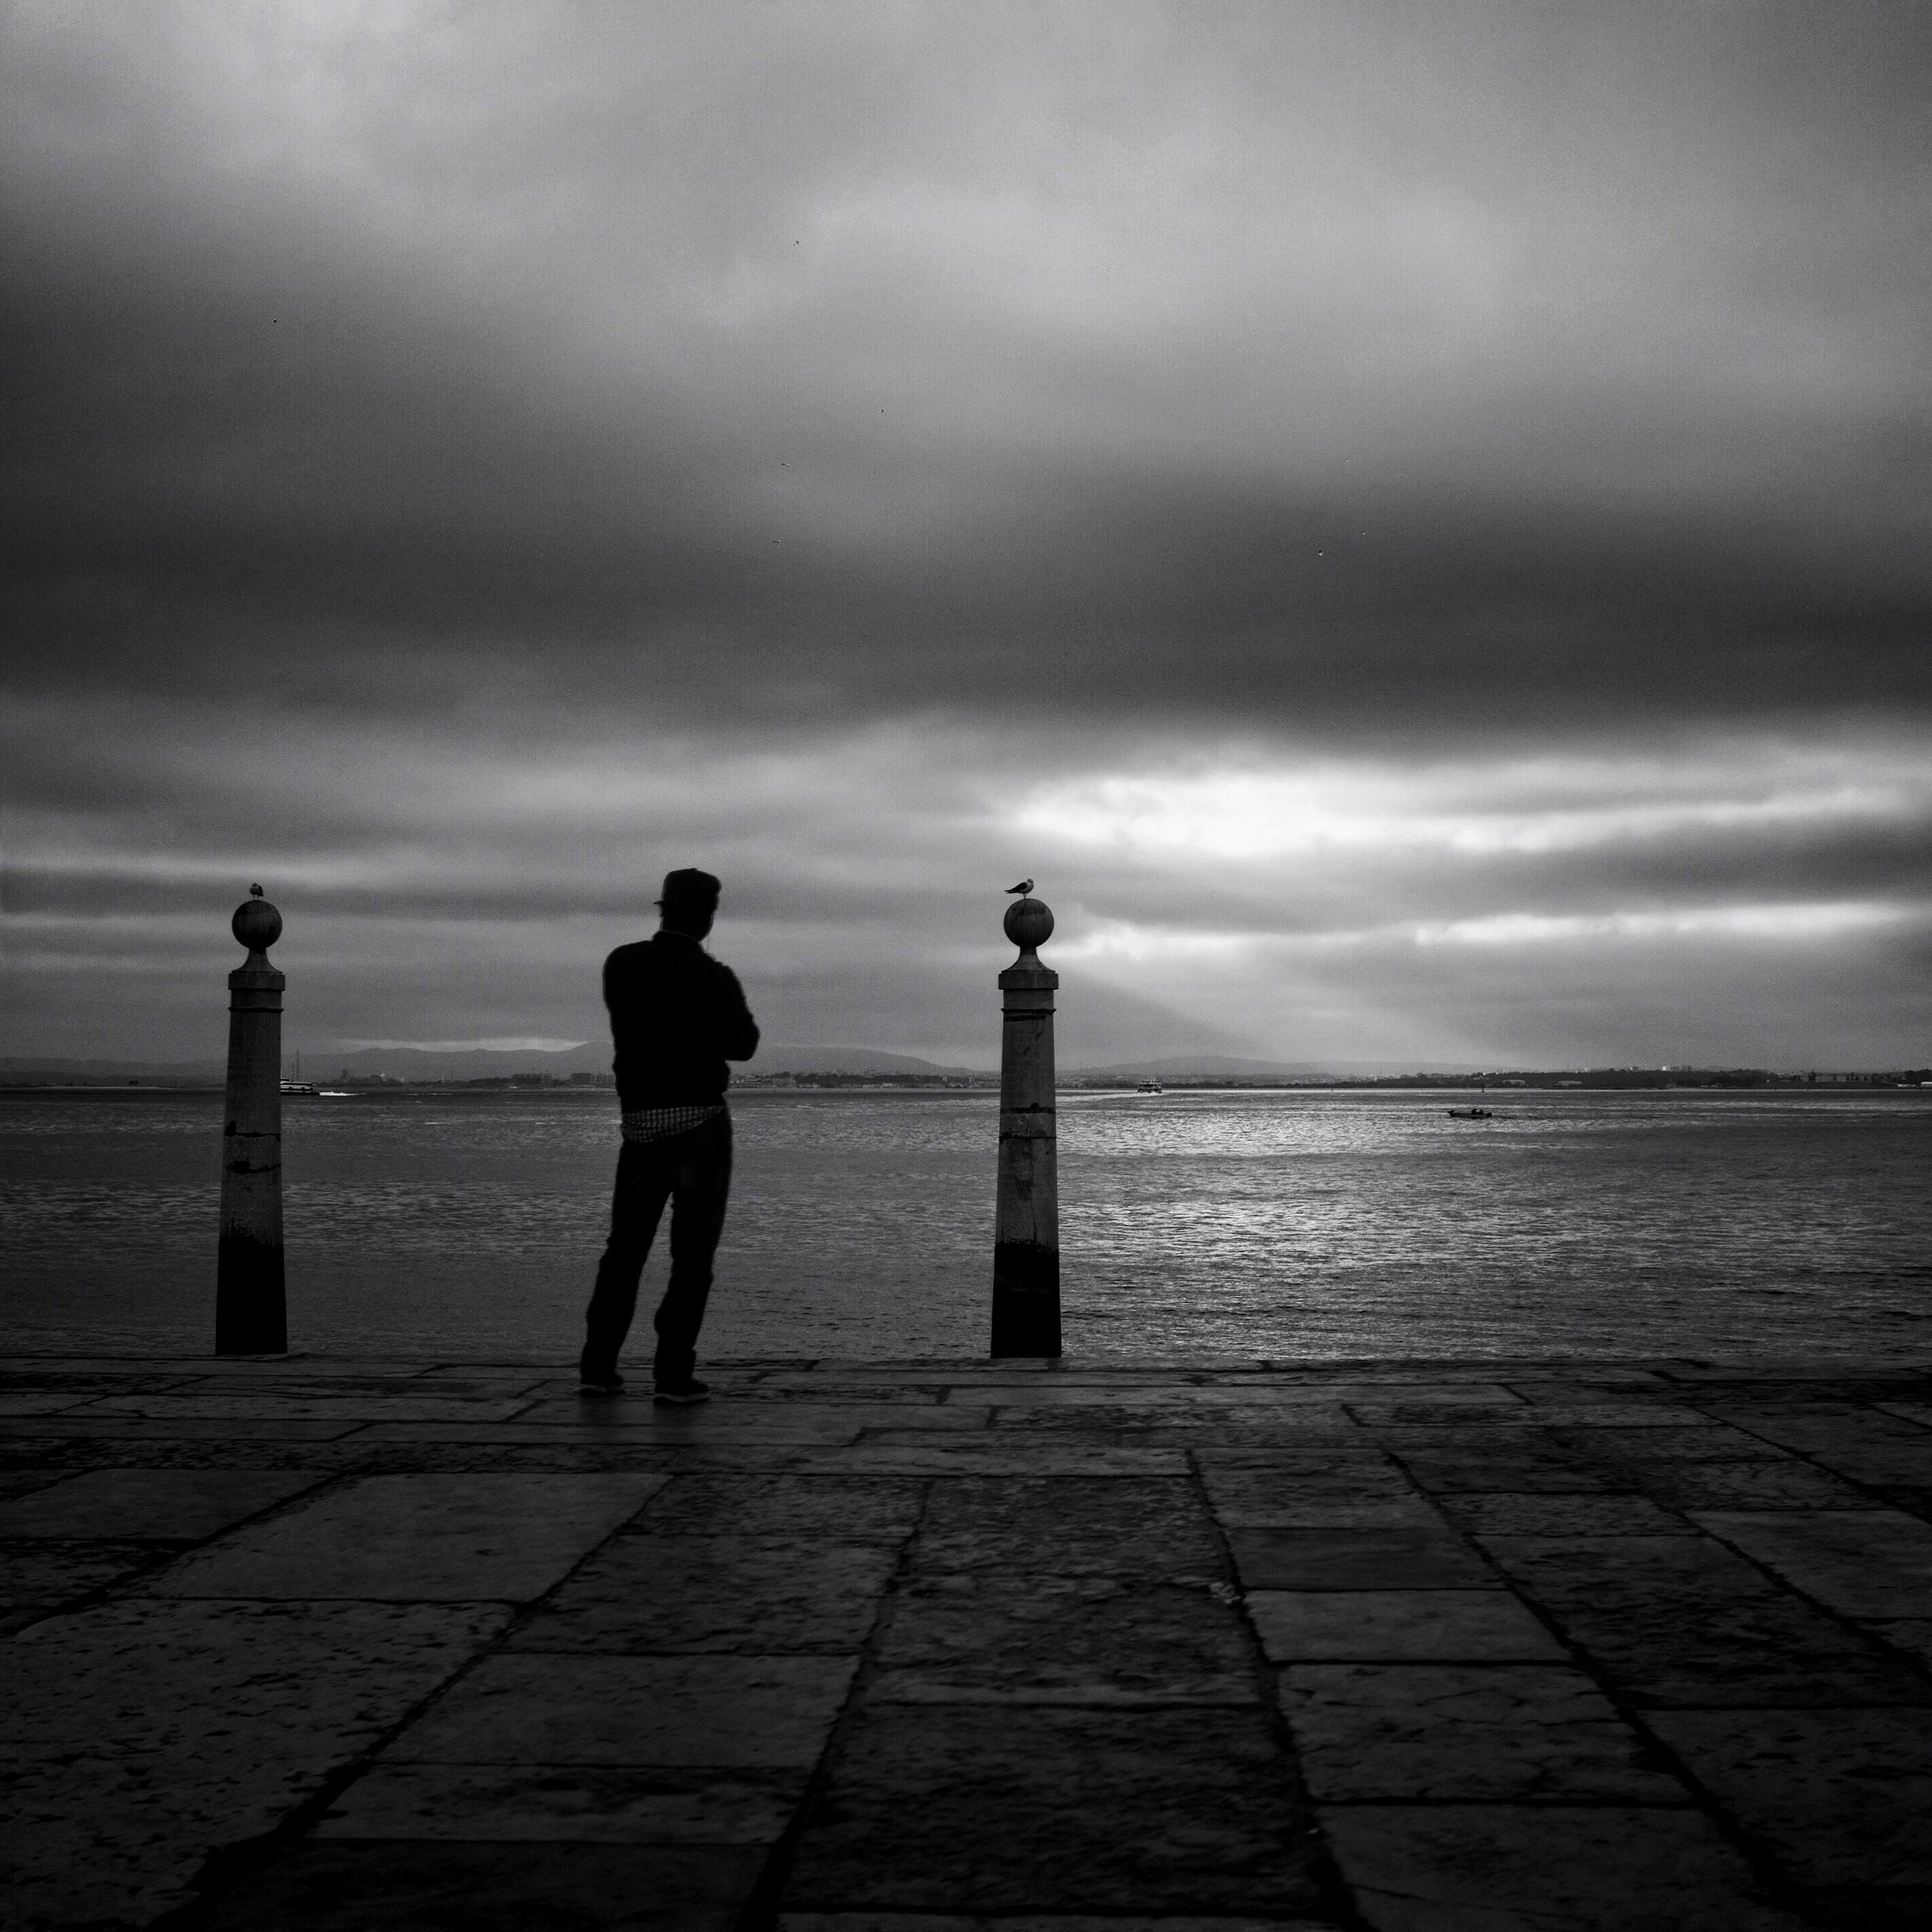
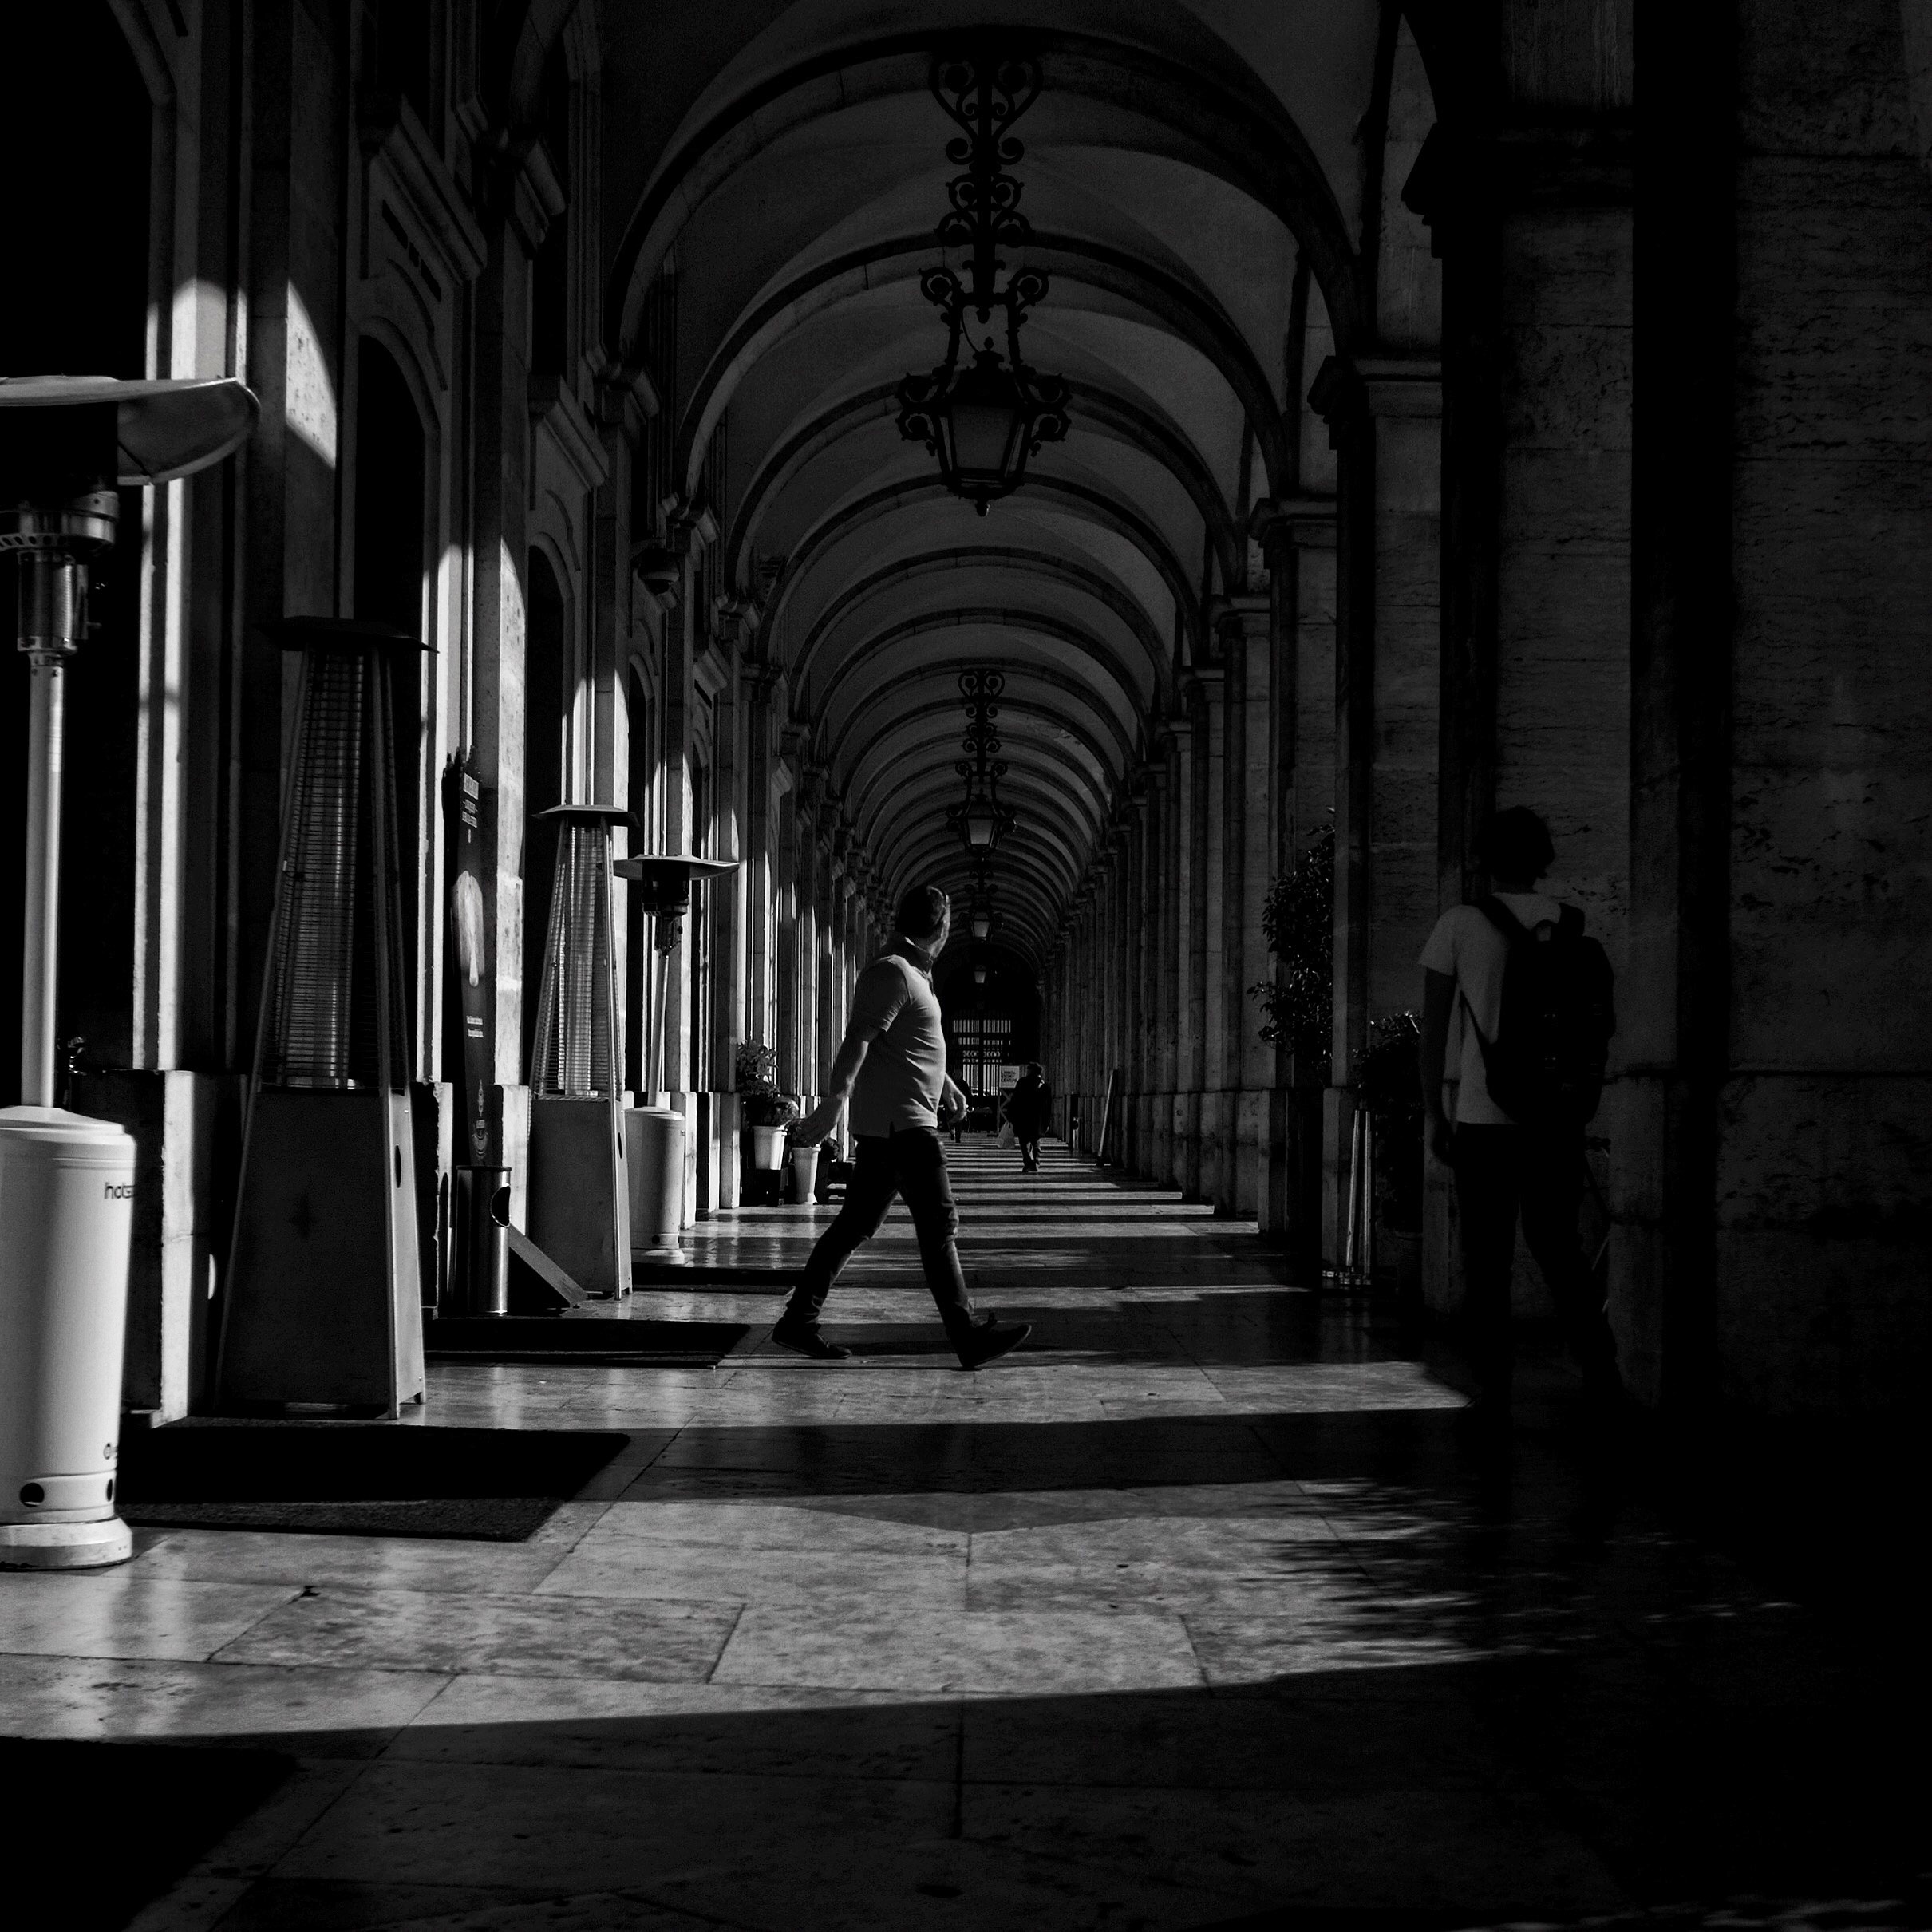
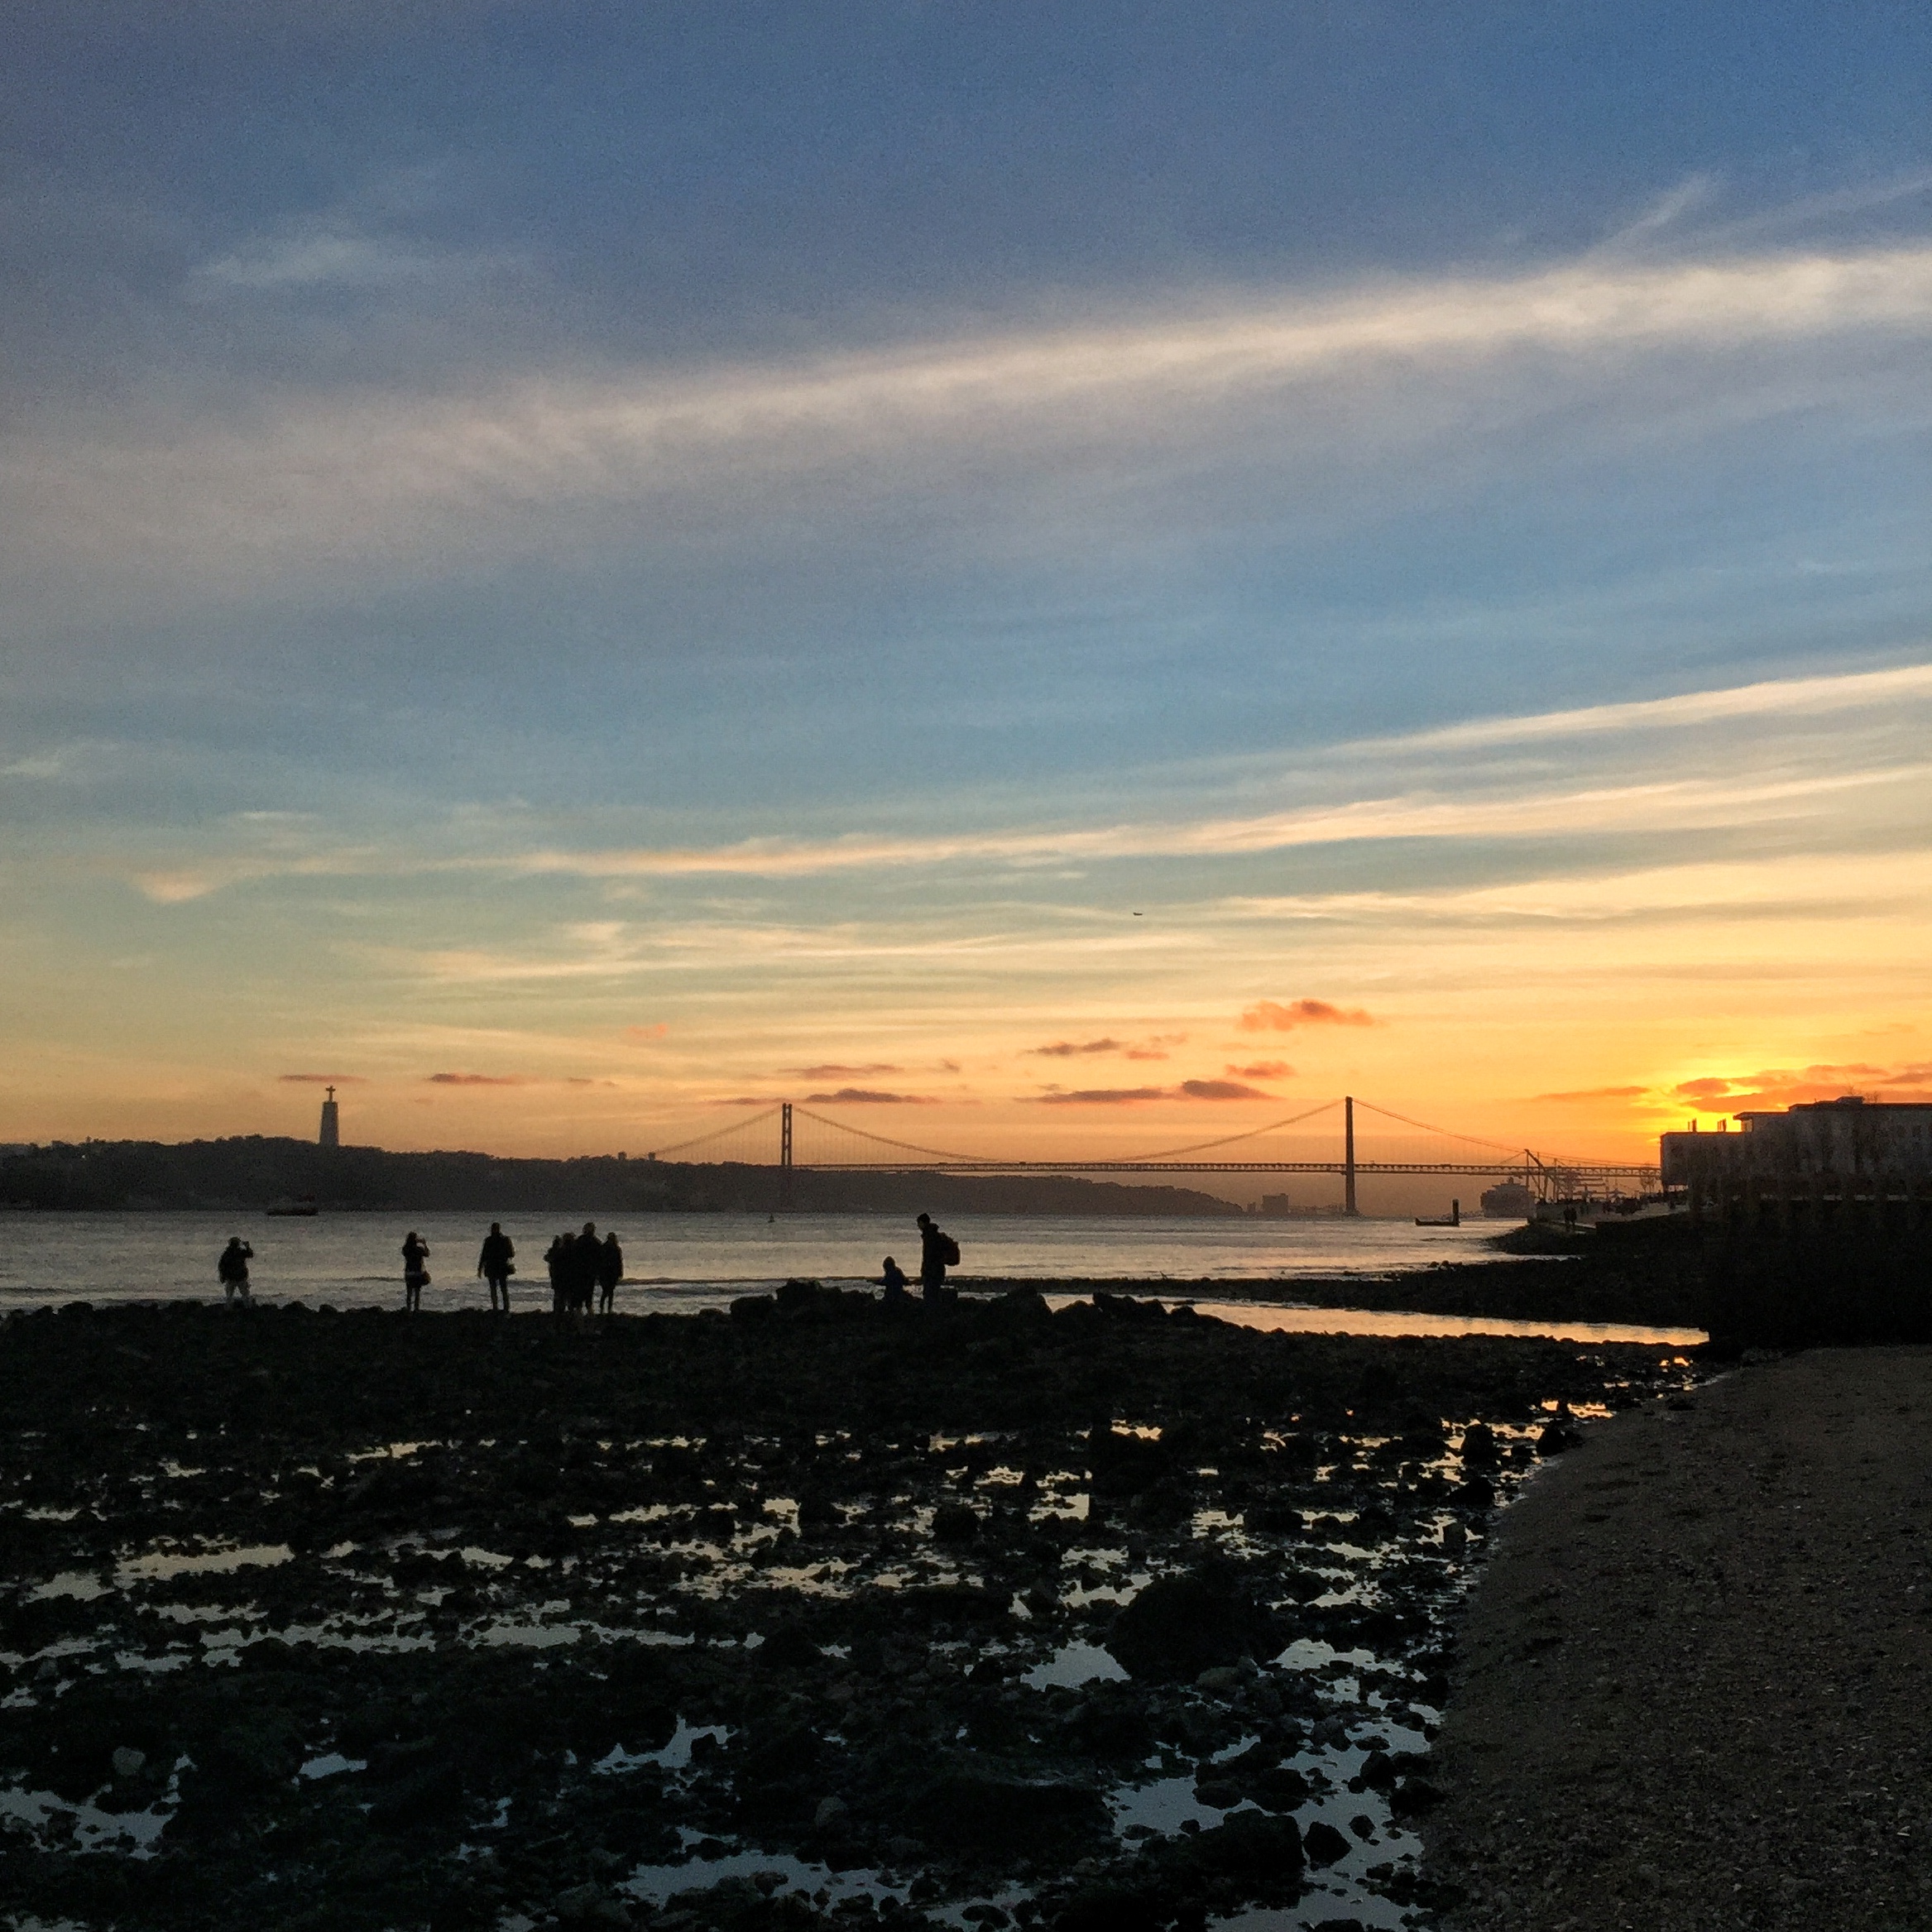
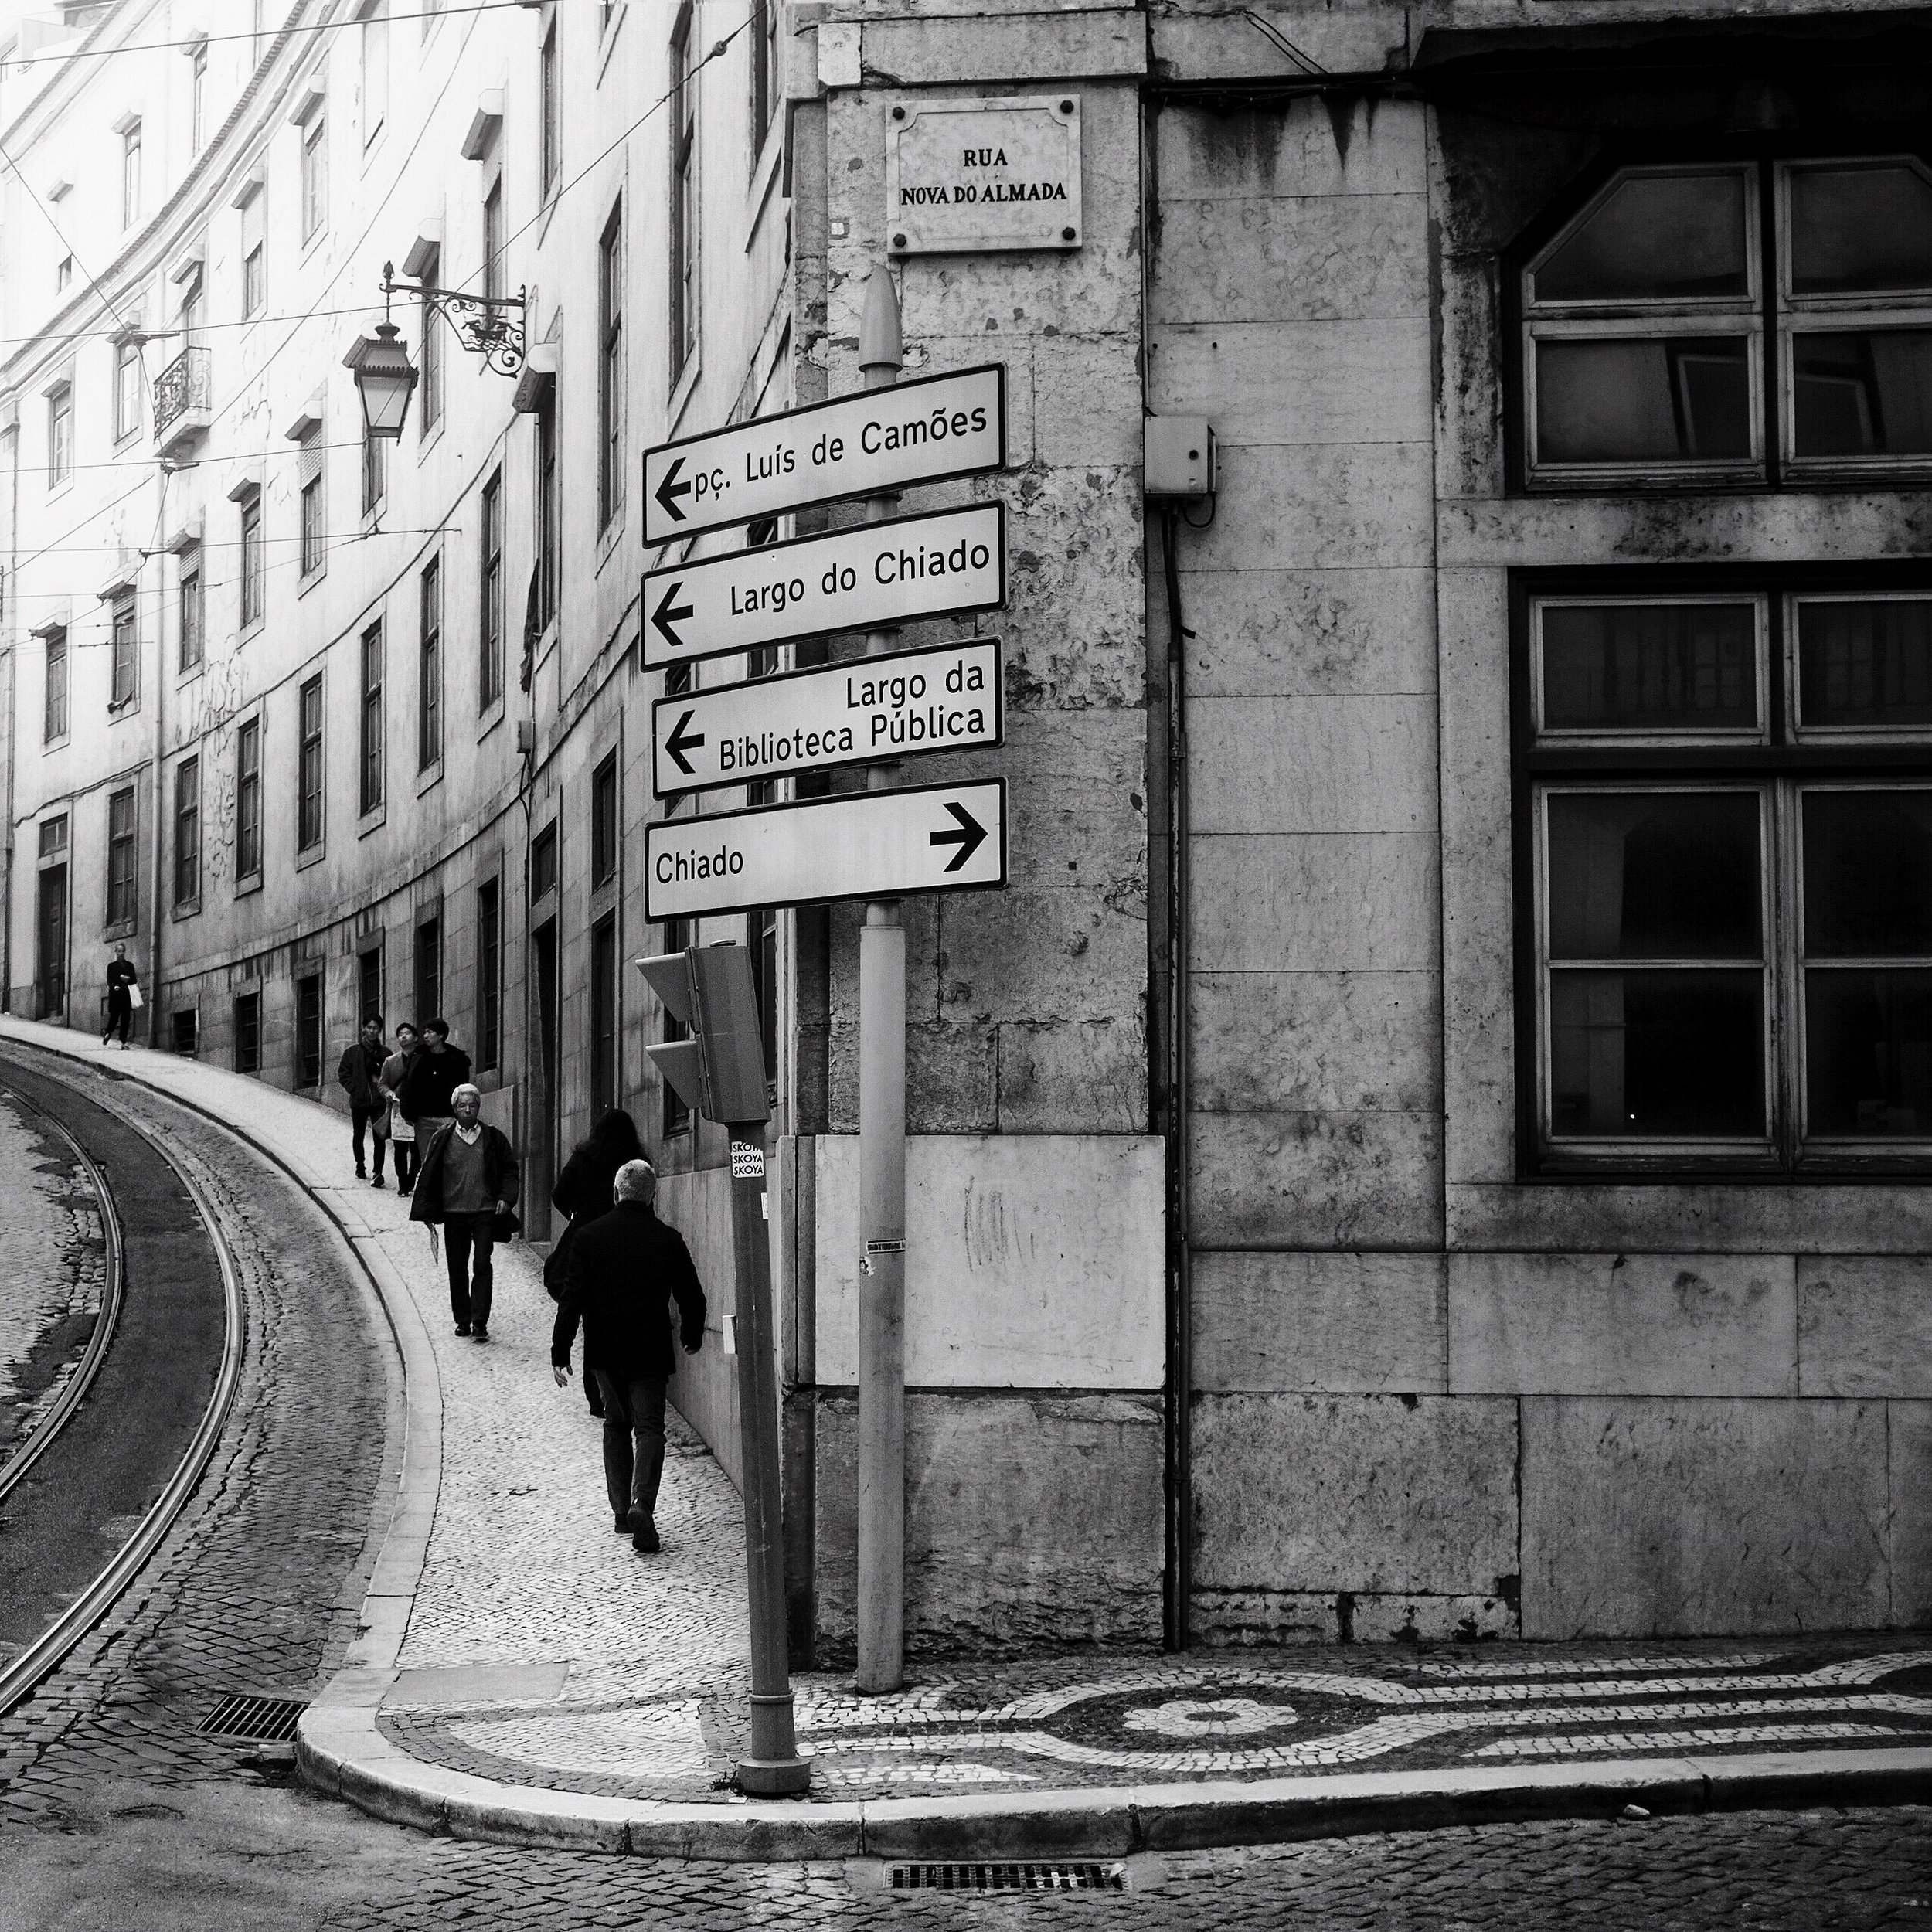
...and some from Lisbon:


Winter in Cumbria (What I learned from my journey in photography)

On a recent photography break to Cumbria I took some time to film a video sharing my story. I wasn't always a photographer. In fact I had a totally different career in my 20's which just didn't work out. So, at 30, I found myself having to start a new career from scratch. I decided it might as well be something I loved and so I took the risk and began at the bottom as a photography freelancer. It wasn't easy, but this video gives you some of lessons I learned, and what to expect if you're thinking of taking a similar leap.
But I'll shut up now and just let you watch:
Rome: Learning to Travel Light
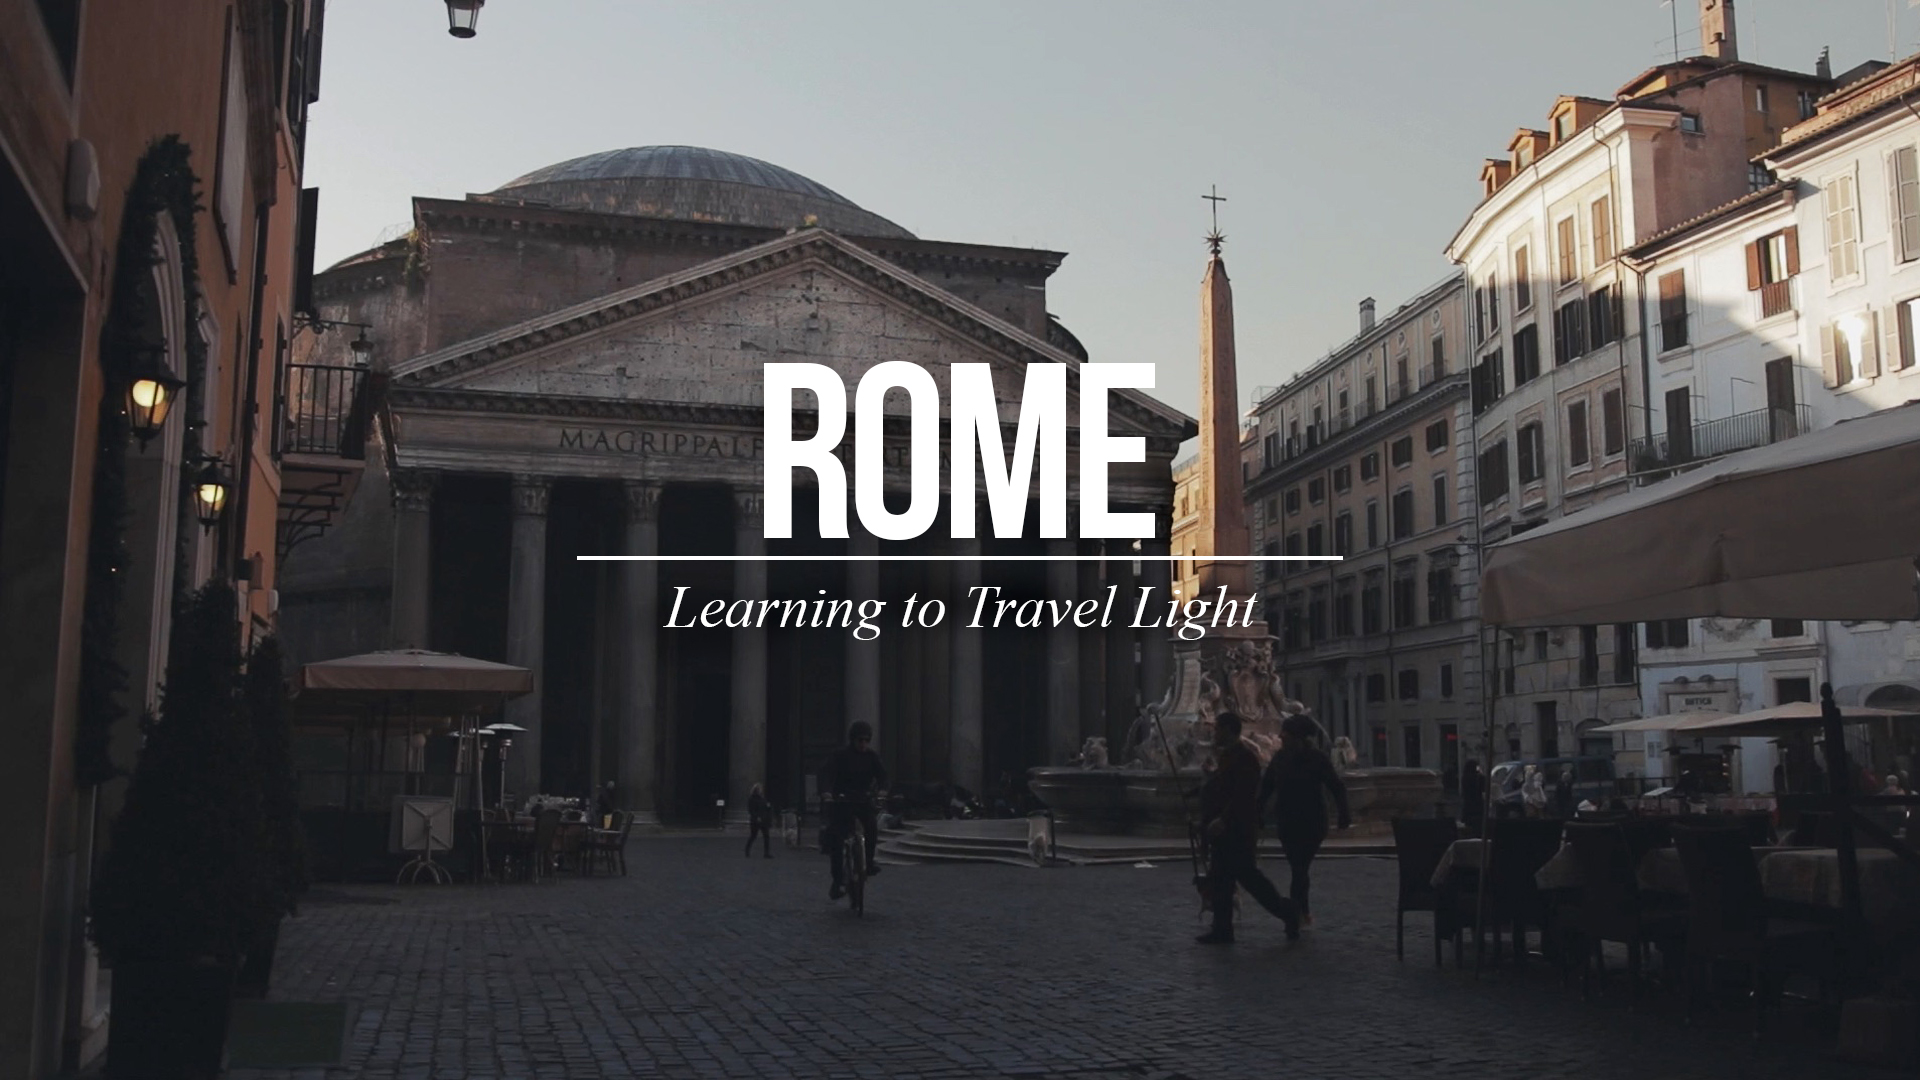
If you're like me, you struggle to pack when travelling.
I can often be found just before a trip sitting on the lounge floor, surrounded by gear, trying to talk myself out of taking everything with me, breaking both my back and bank account in luggage fees.
So recently I've challenged myself to travel with as little as possible, and see how much I can do with it, but I'll shut up now and let you watch. Enjoy:
Remember to share your travel set up in the comments.
Here's a list of gear mentioned in this video:
- Lowepro Tahoe BP 150: https://www.amazon.co.uk/Lowepro-Taho...
- Canon 80D: https://www.amazon.co.uk/Canon-Body-O...
- Sigma 18-35mm f1.8: https://www.amazon.co.uk/Sigma-18-35m...
- Tiffen 72mm Variable ND Filter: https://www.amazon.co.uk/Tiffen-Varia...
- Rode VideoMic Pro: https://www.amazon.co.uk/Rode-VIDEOMI...
- Dead Cat: https://www.amazon.co.uk/R%C3%98DE-De...
- Zoom H1: https://www.amazon.co.uk/Zoom-H1-Hand...
- Rode SmartLav +: https://www.amazon.co.uk/Rode-Smartla...
- Rode SC3: https://www.amazon.co.uk/R%C3%98DE-SC...
- Kenro Monopod: https://www.amazon.co.uk/Kenro-Alumin...
Taking Aim: Thoughts on directing your photography career

This is a short video I made with some thoughts about how to choose a direction for your long term photography career by paying attention to the photography which really speaks to you, creating a mood board, and getting out to build the portfolio of the work you really to be doing in ten years. Enjoy:
Become a better photographer through 'visual exercise'
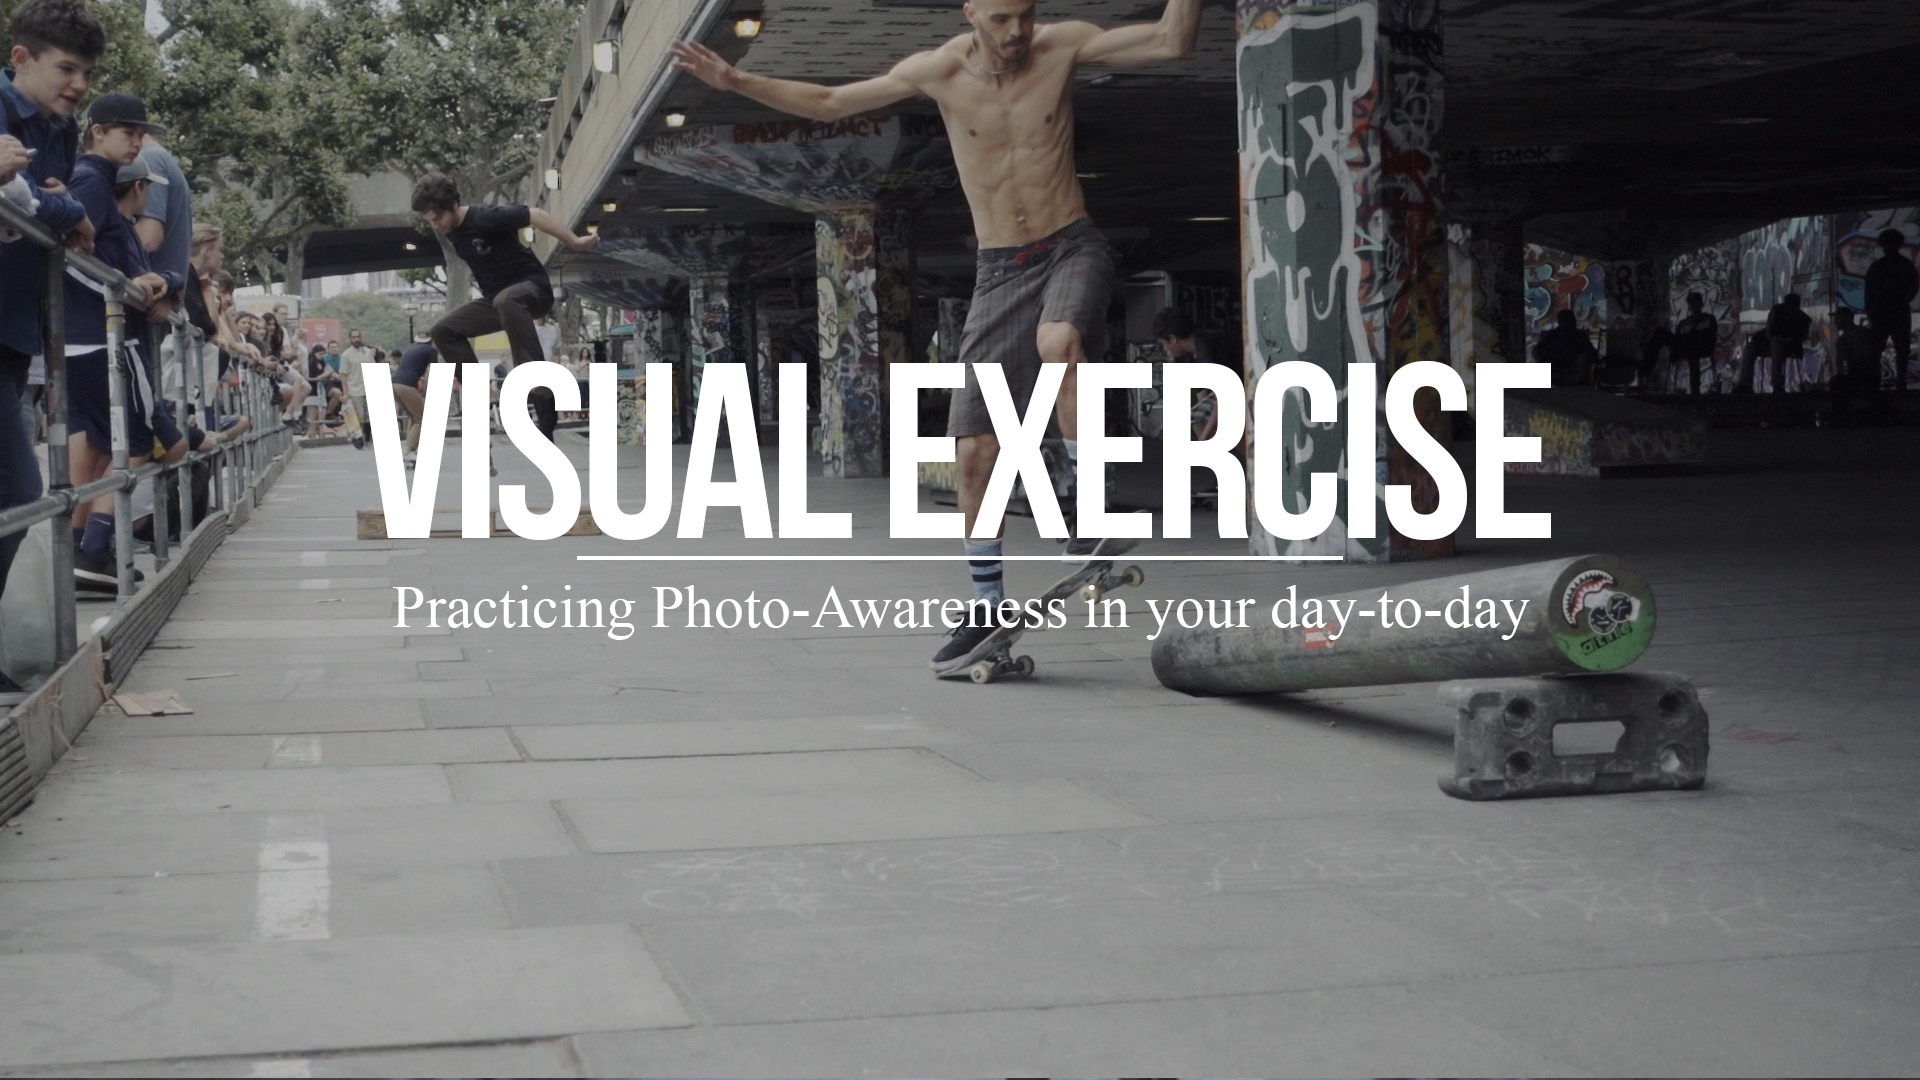
As photographers it's very easy to fall down the deep, dark hole of gear lust; or to get lost in reams of techy info, thinking these things will make us better photographers. They may help you learn how to use the tools, but in the same way as owning a paint brush doesn't make you an artist, becoming a great photographer is about so much more.
The following video gives some of my thoughts on how to 'exercise visually', how to open your eyes to the world around, and how to become photo-aware.
I hope it inspires you to shoot more often, with more abandon, and to develop your photography as art, not science.
Enjoy, and share it on if you found it helpful.
The War in every Portrait
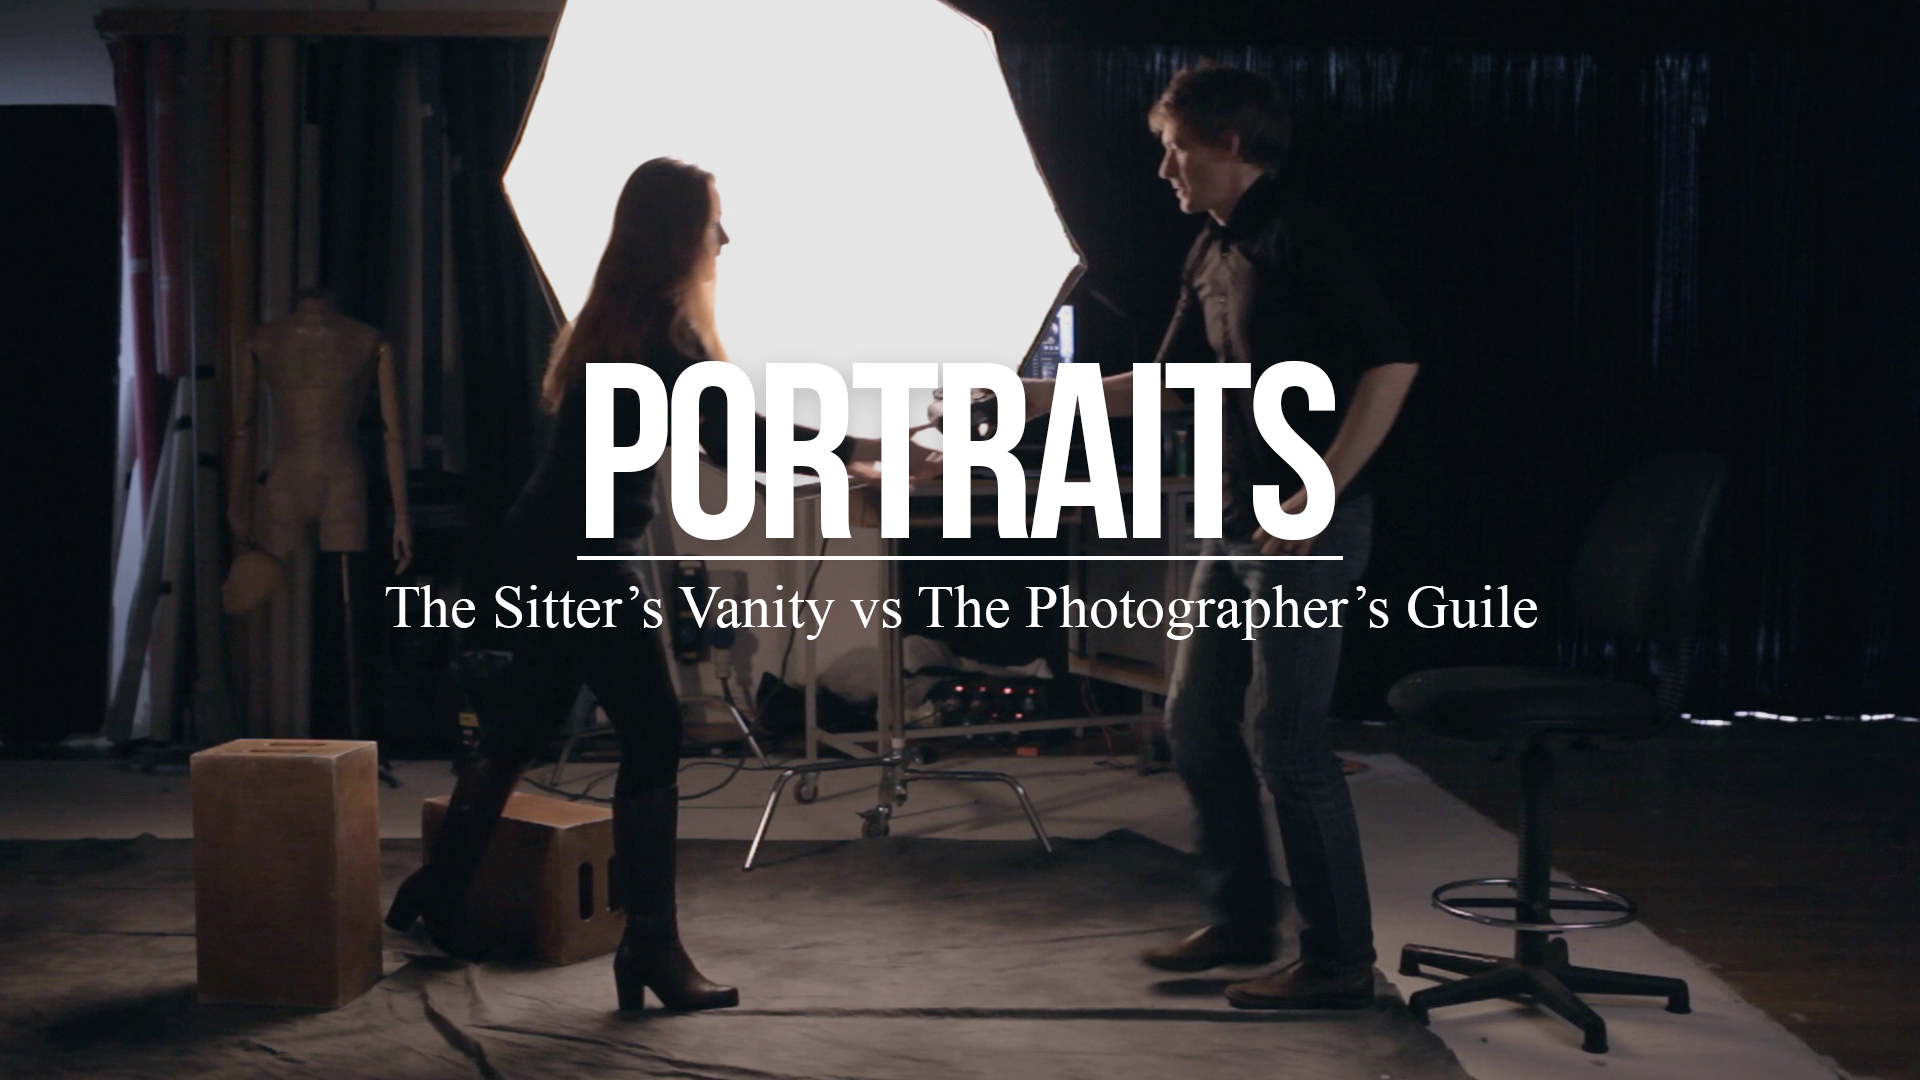
I created this video recently called, 'The war in every portrait.'
It's based on a quote I heard. Embarrassingly I can't remember where, and I've likely butchered by now but it said something like:
"Every portrait is a war between the sitter’s vanity and the photographer’s guile."
In the video I talk predominantly to portrait and headshot photographers about how to look beneath the exterior to capture the authentic person sitting in front of you. Using the example of Karsh's portrait of Churchill in '41 as a springboard I give some tips on making your subject feel comfortable, and a challenge to photographers to sit for their own portrait or headshot sessions to remind them how vulnerable it can feel, and to give them empathy when they shoot others.
But I'll shut up now and just let you watch:
If you enjoyed it, please share it on.
Here is a photo I shot of my wife during the making of this video:

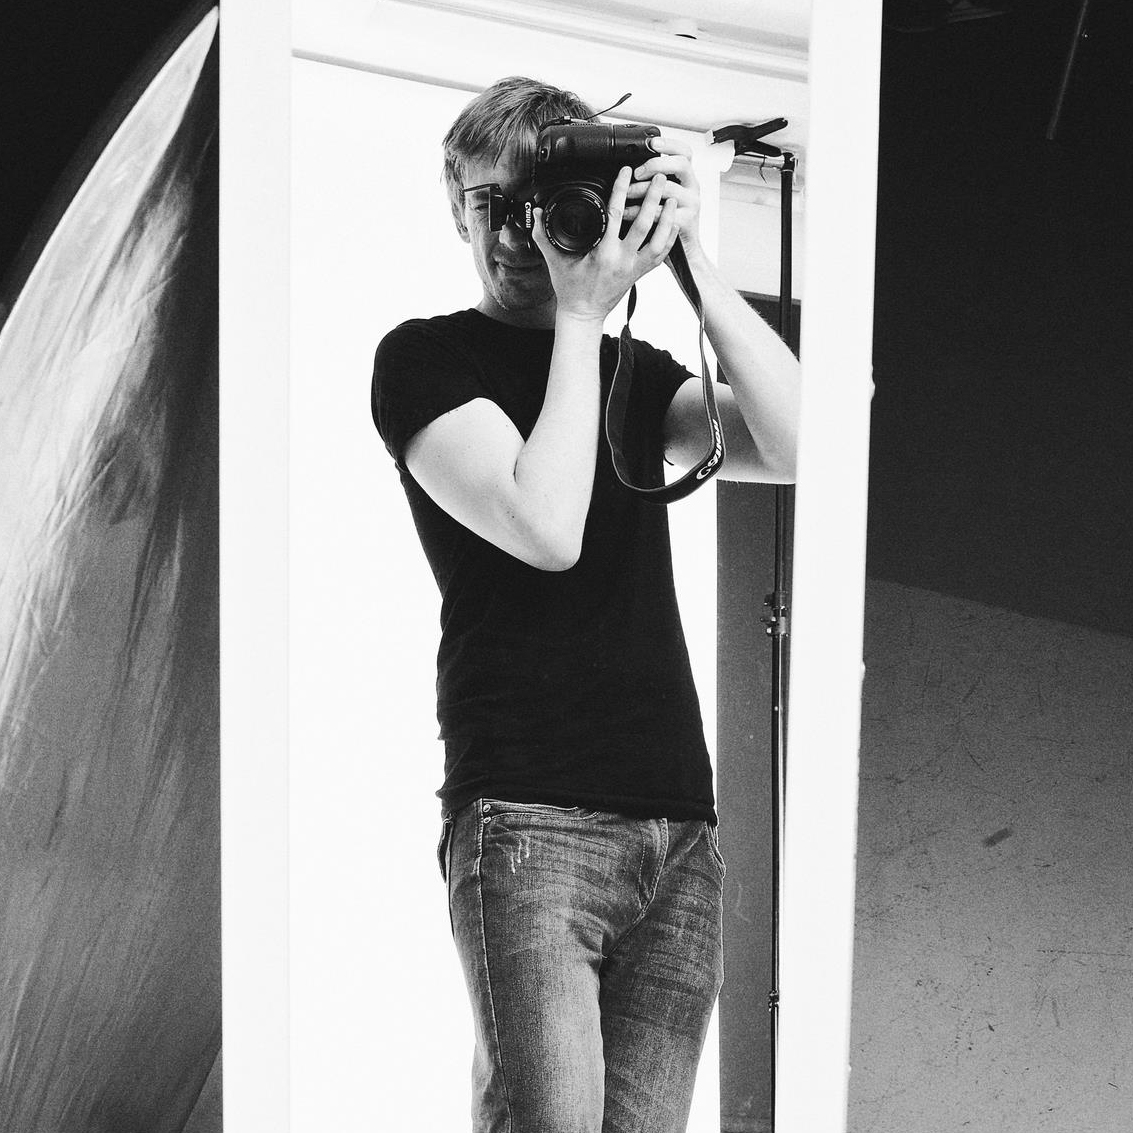
...and here's one she took of me when we turned the tables:
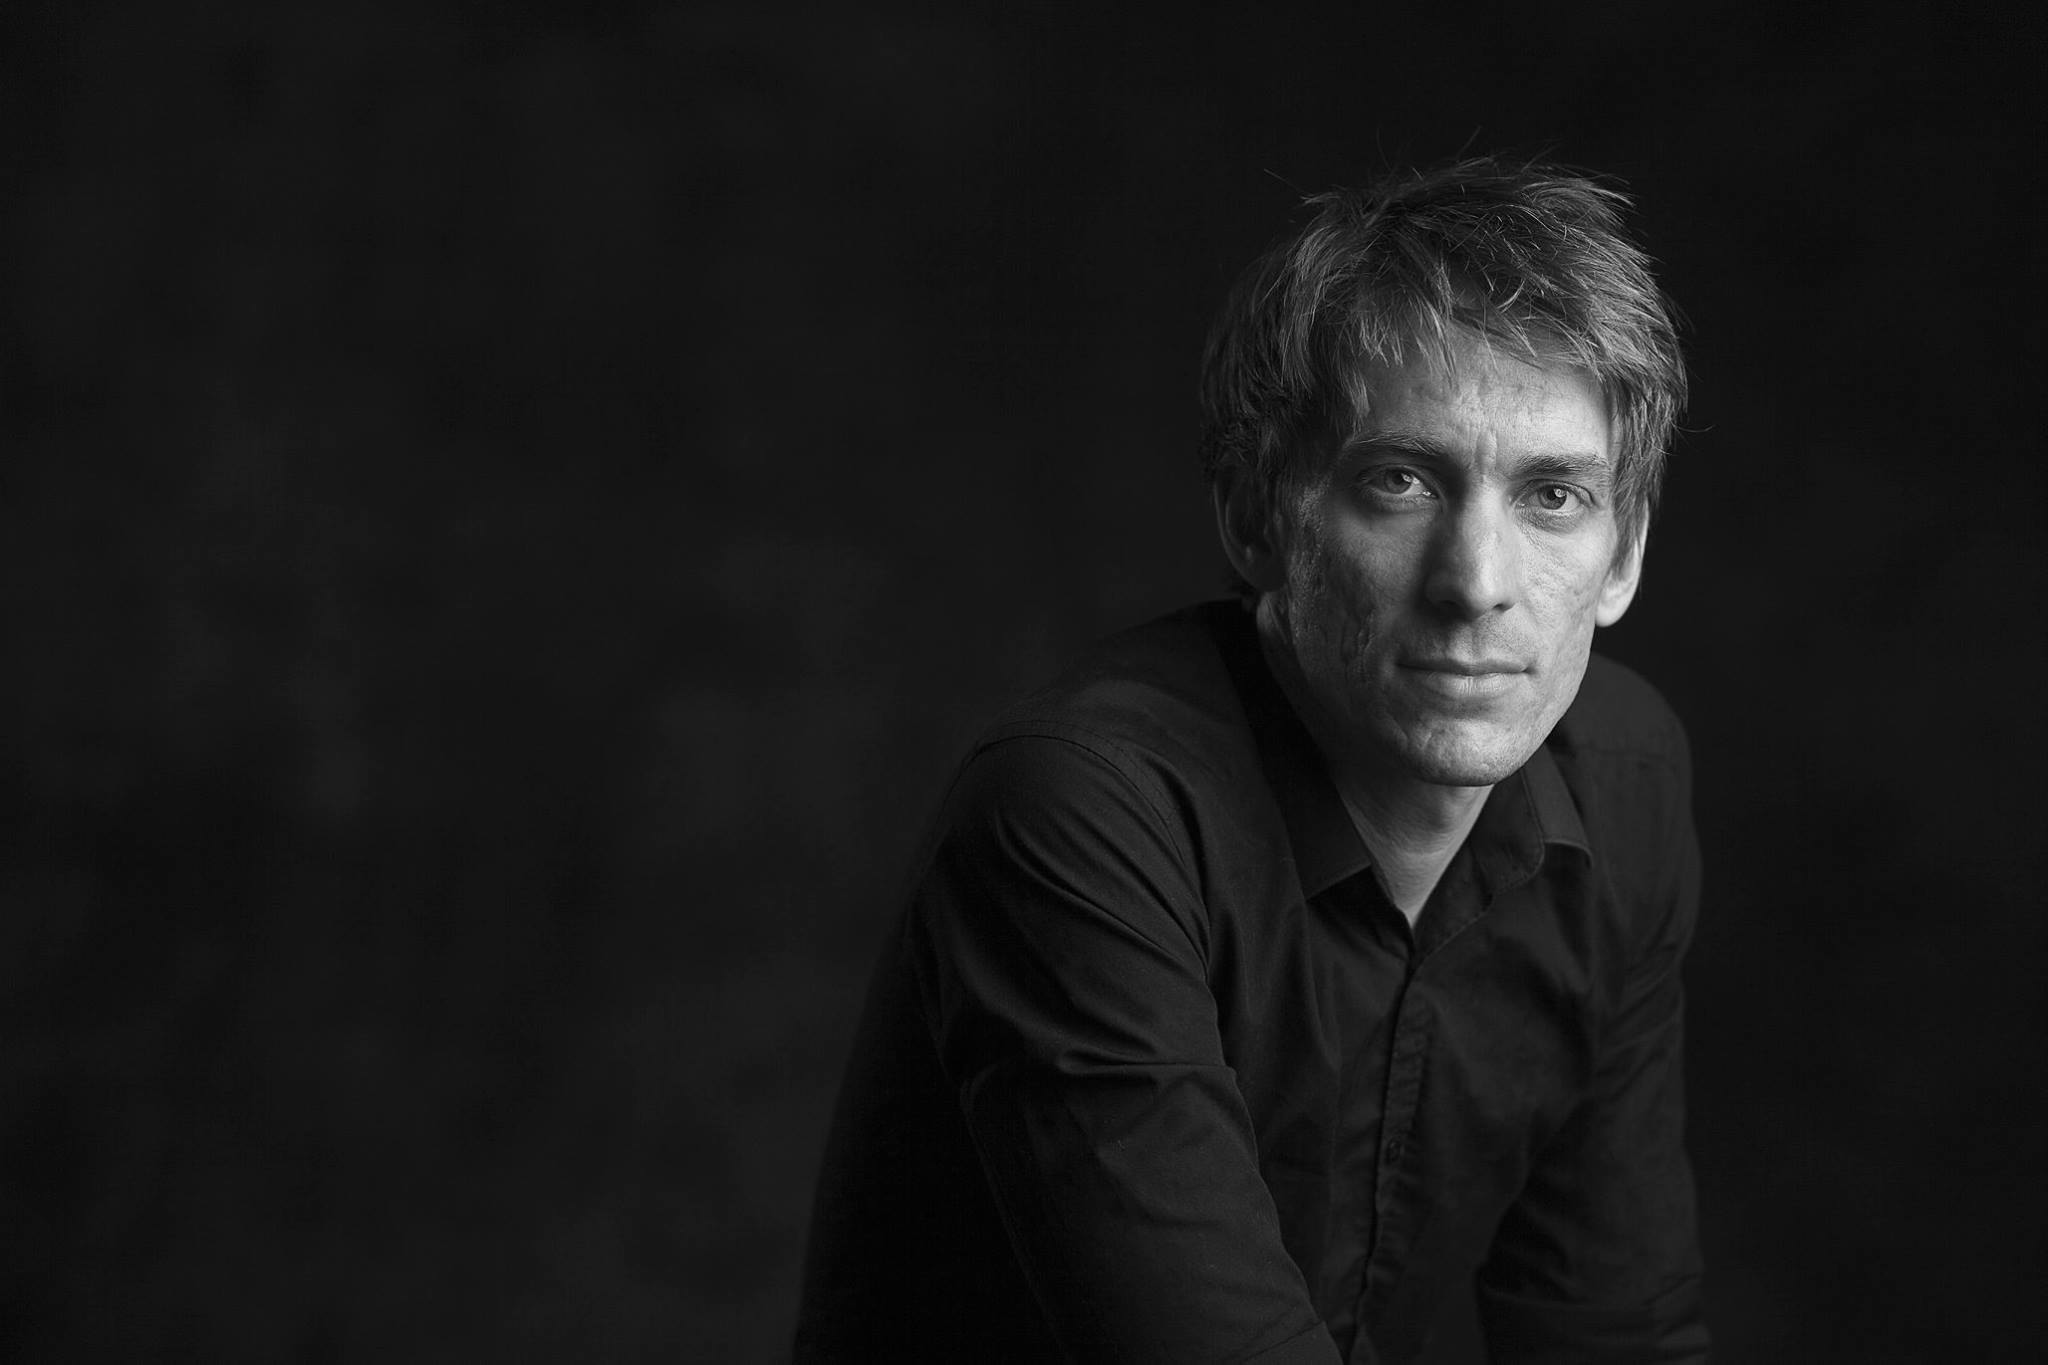
Check her out, she's a very talented, high end retoucher (as well as a talented photographer, even though she won't admit it): www.sarahjeantucker.com
Till next time.
How to deal with criticism online

I had some time this weekend, so I shot this vlog with some thoughts on dealing with internet criticism and online trolling when you're starting out in photography, or indeed in any creative field where you're putting yourself out there.
I hope this short video serves as some encouragement to back your work when being attacked online. Enjoy, and share it on if you found it helpful:
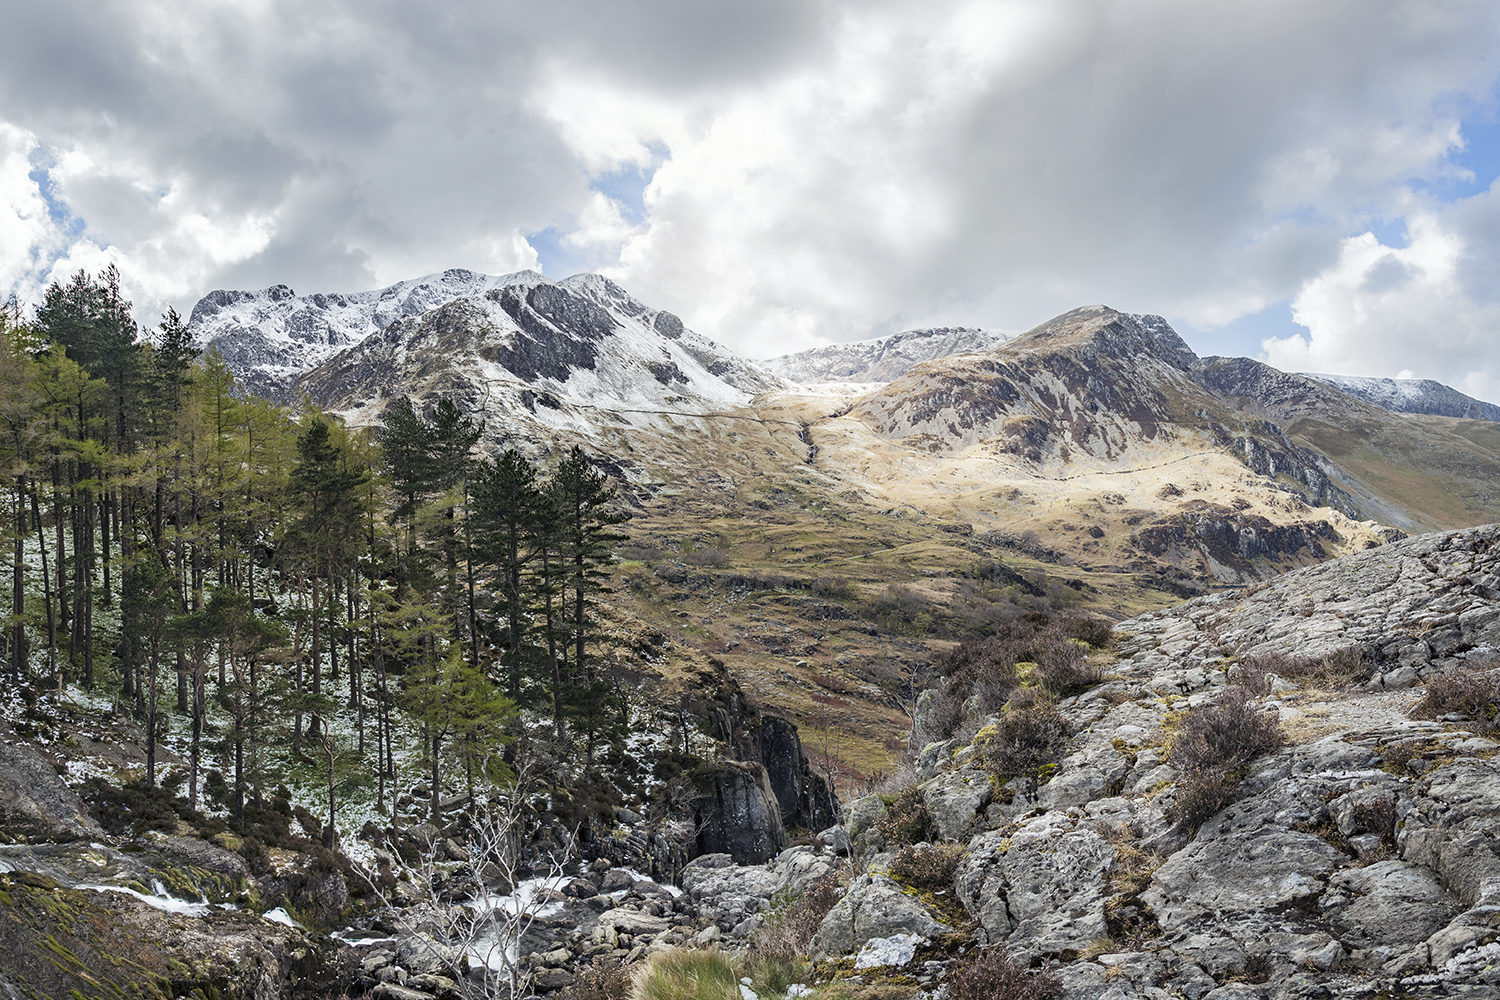
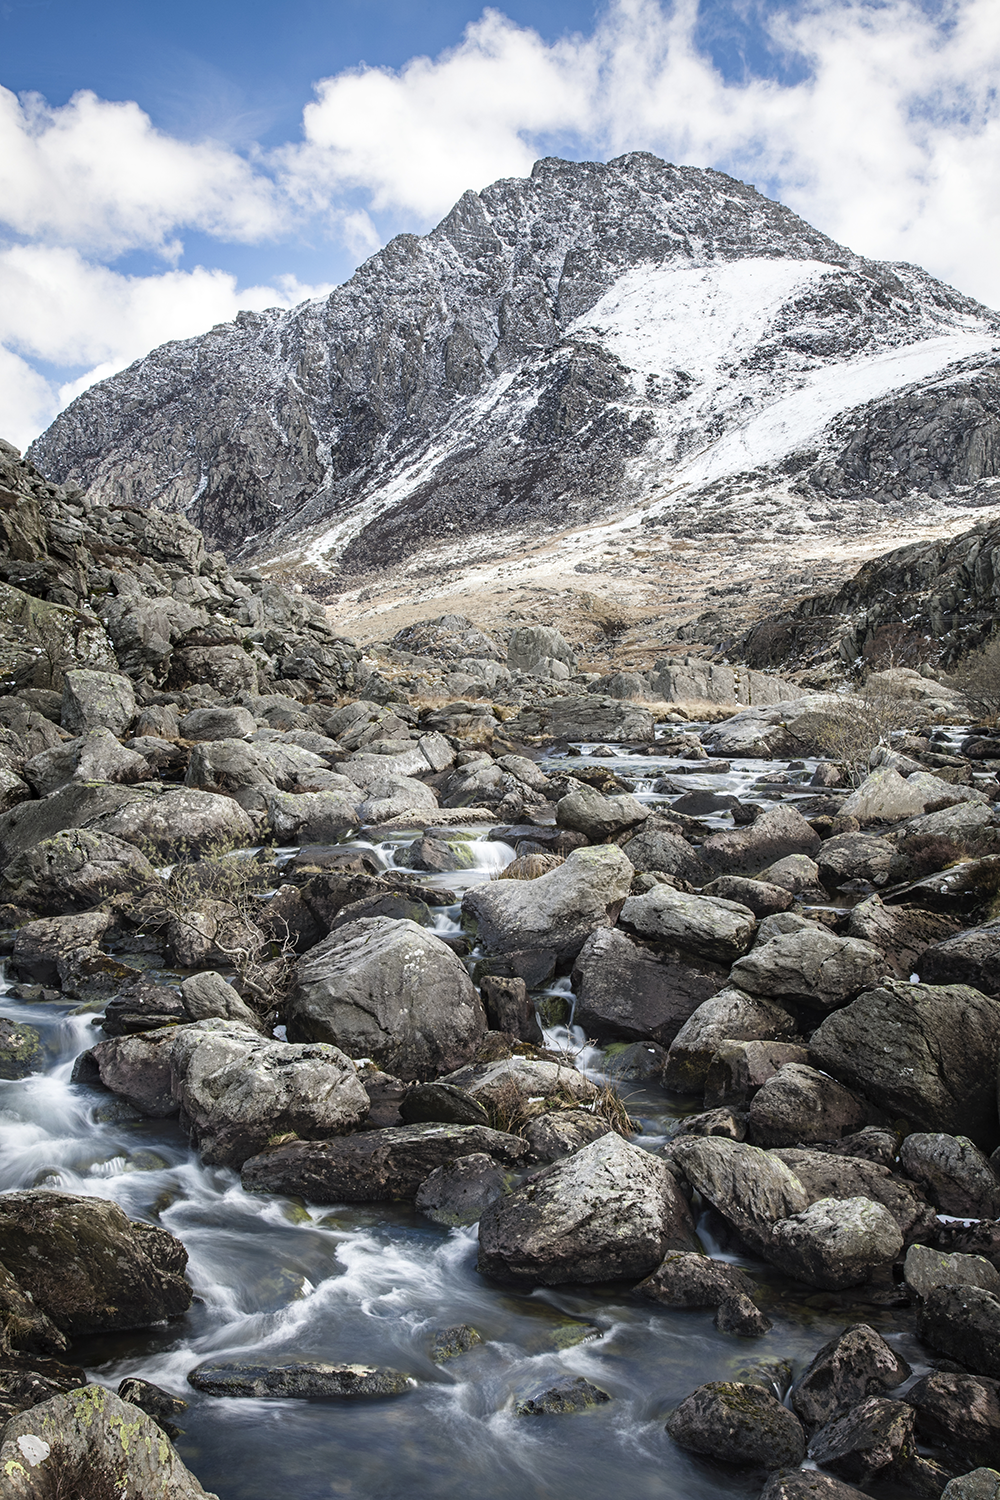
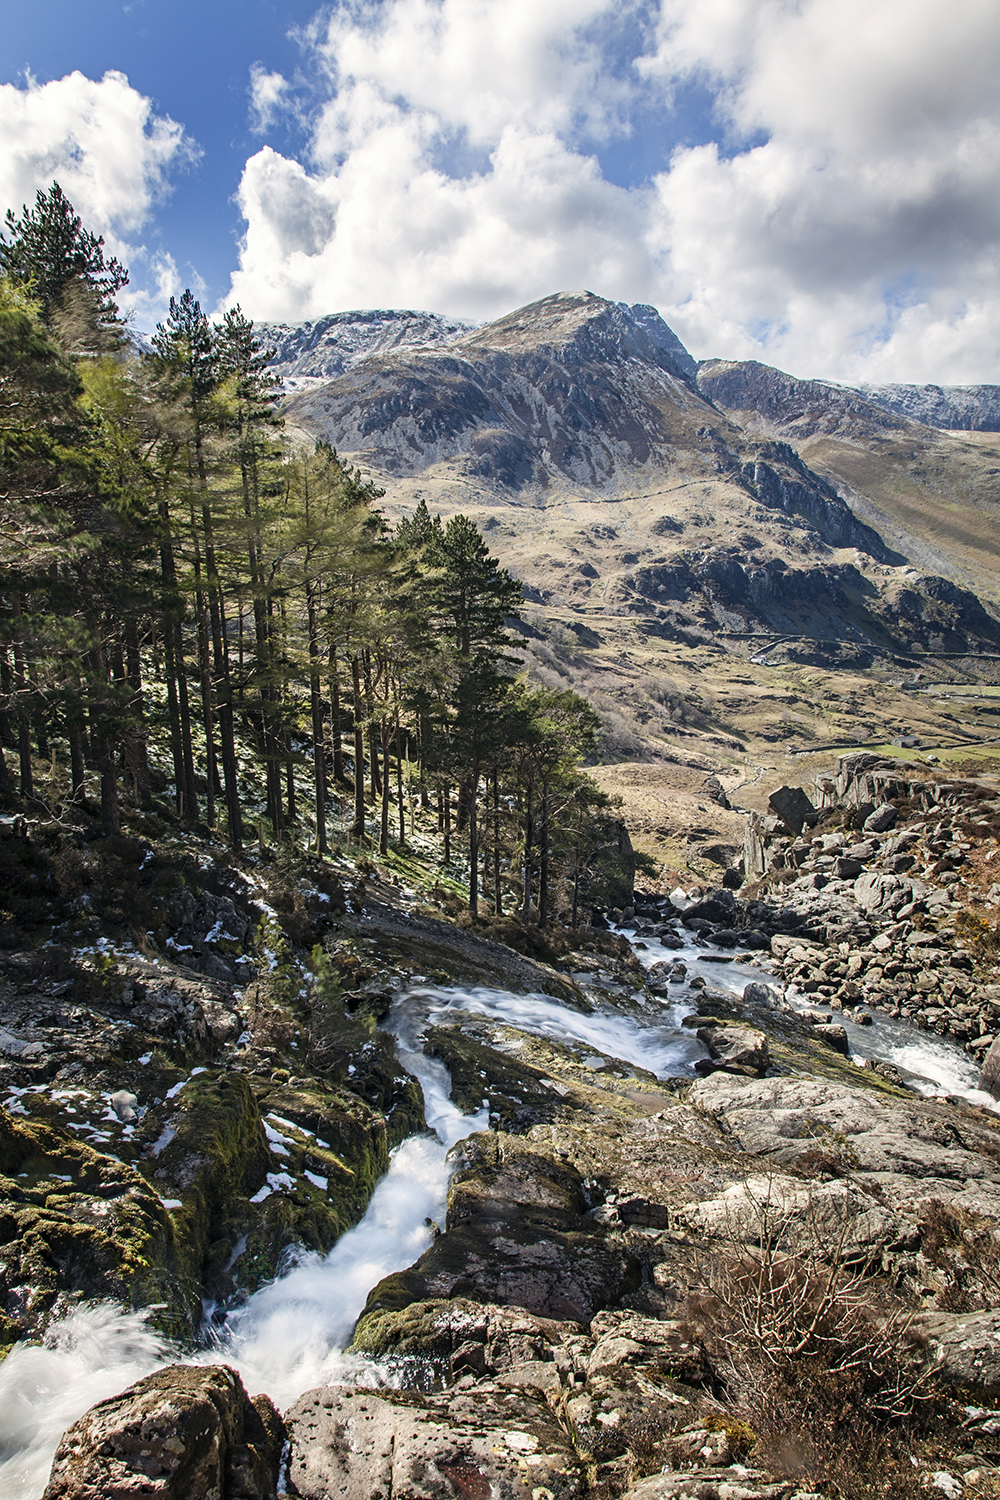
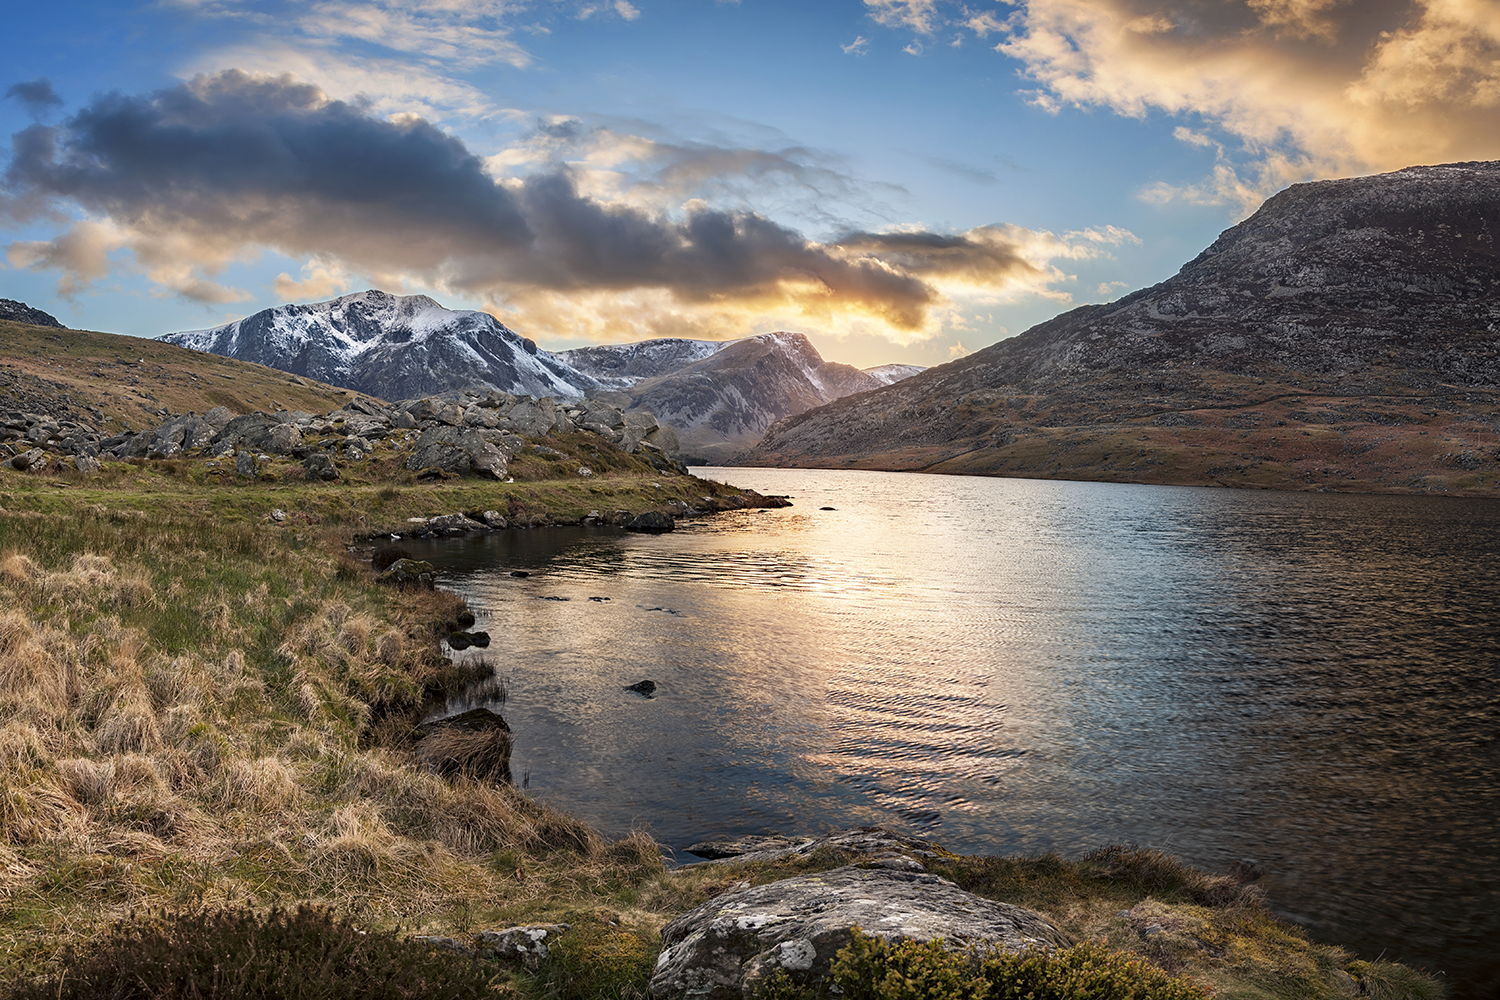
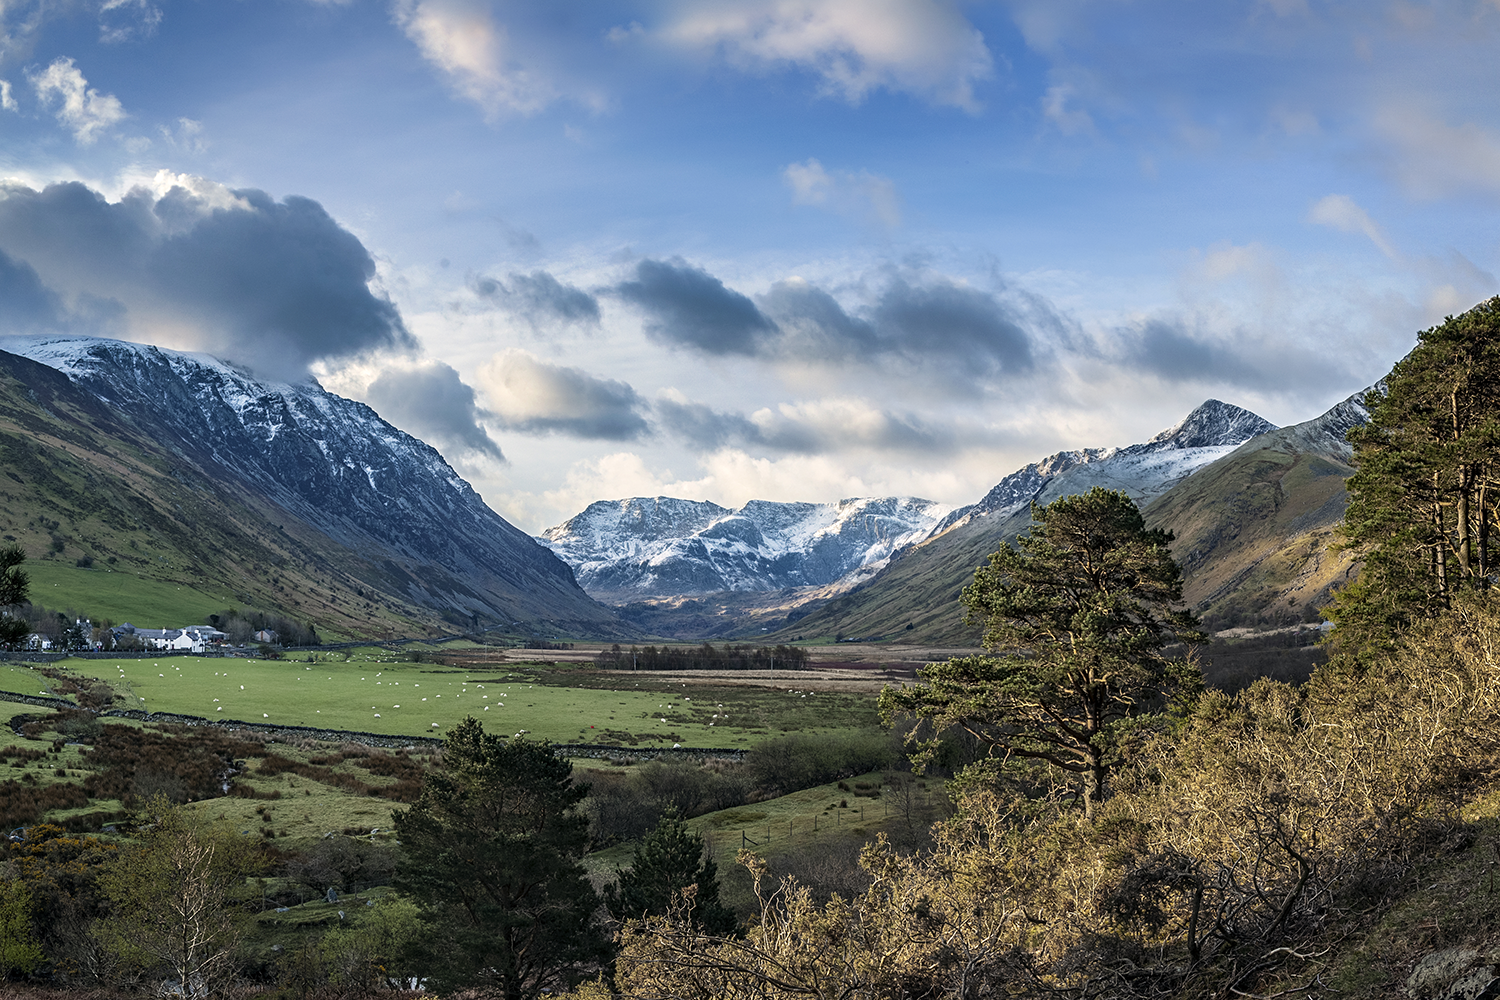
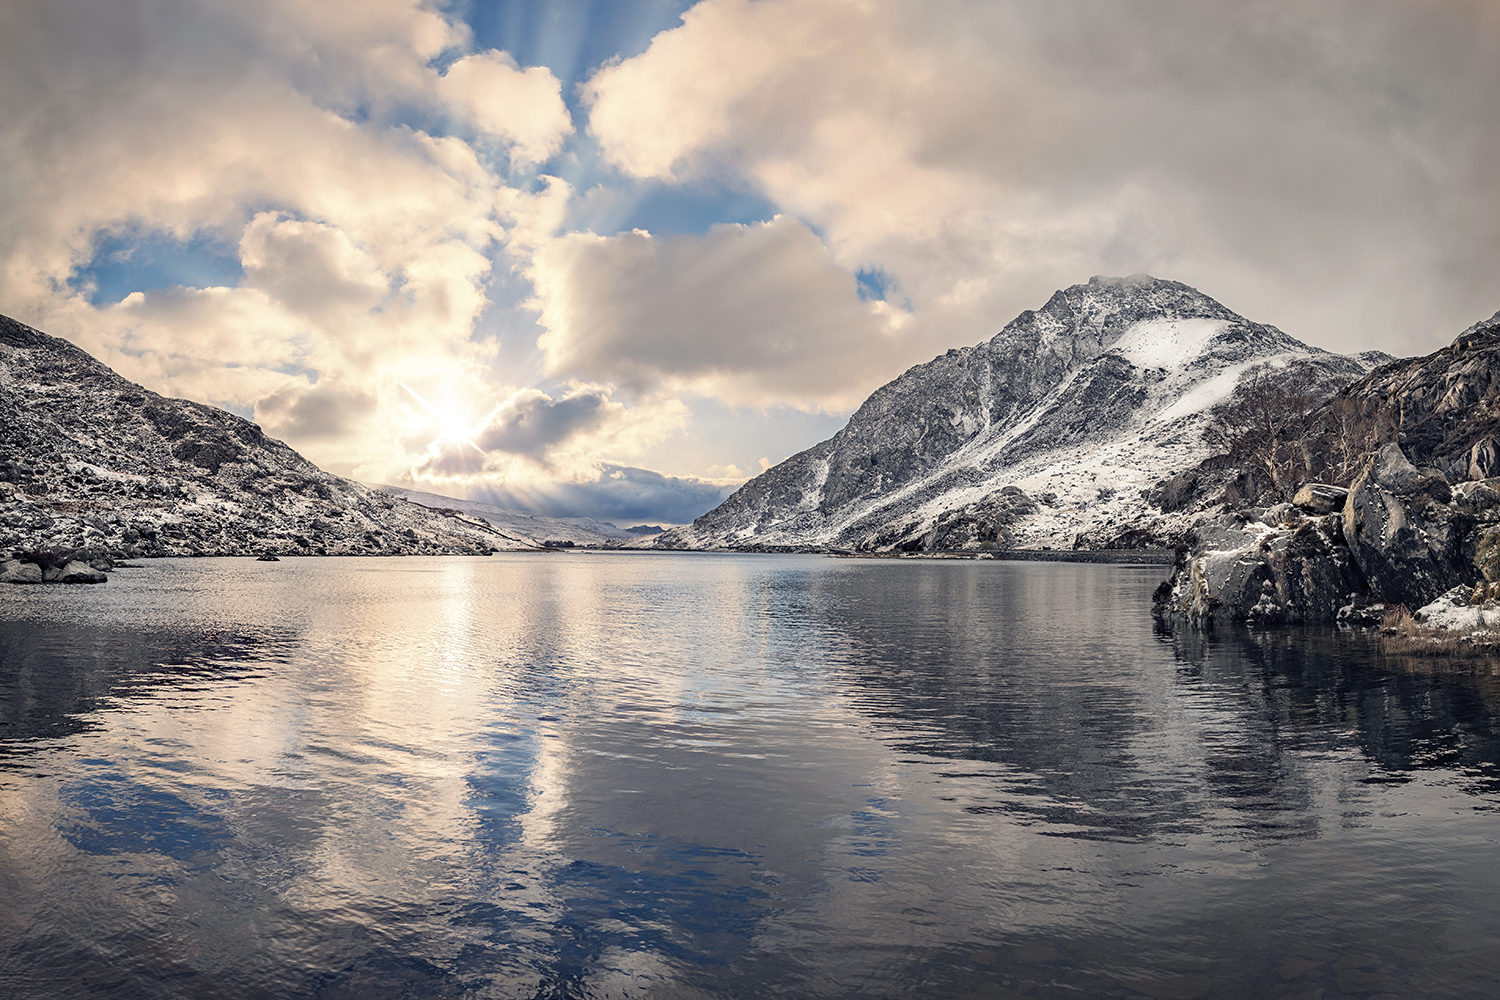
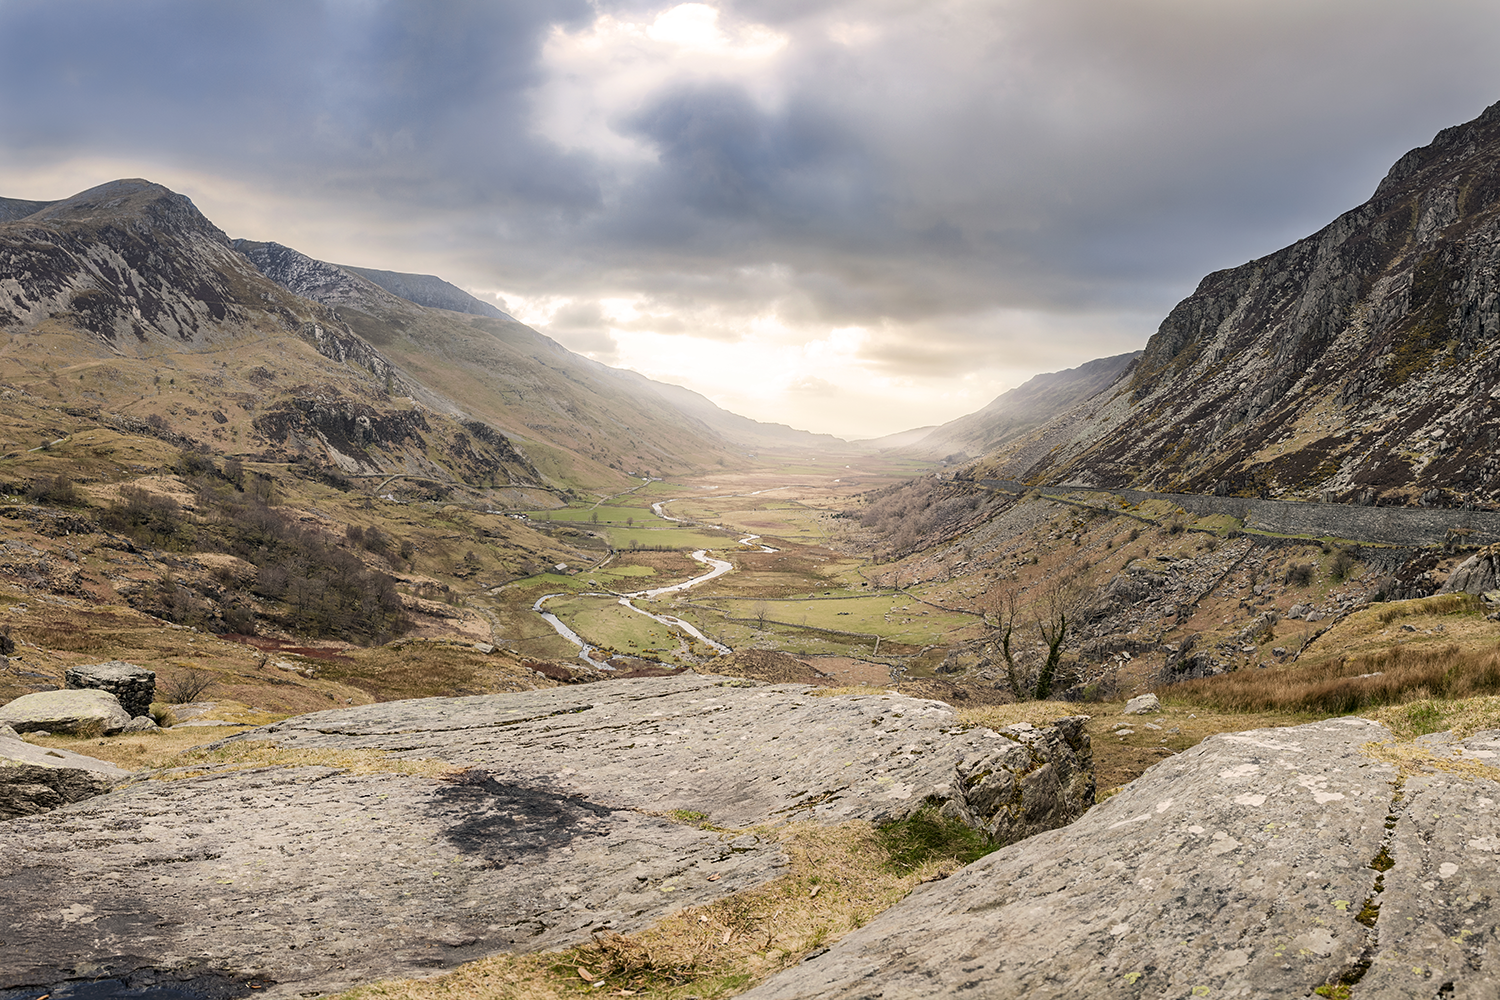
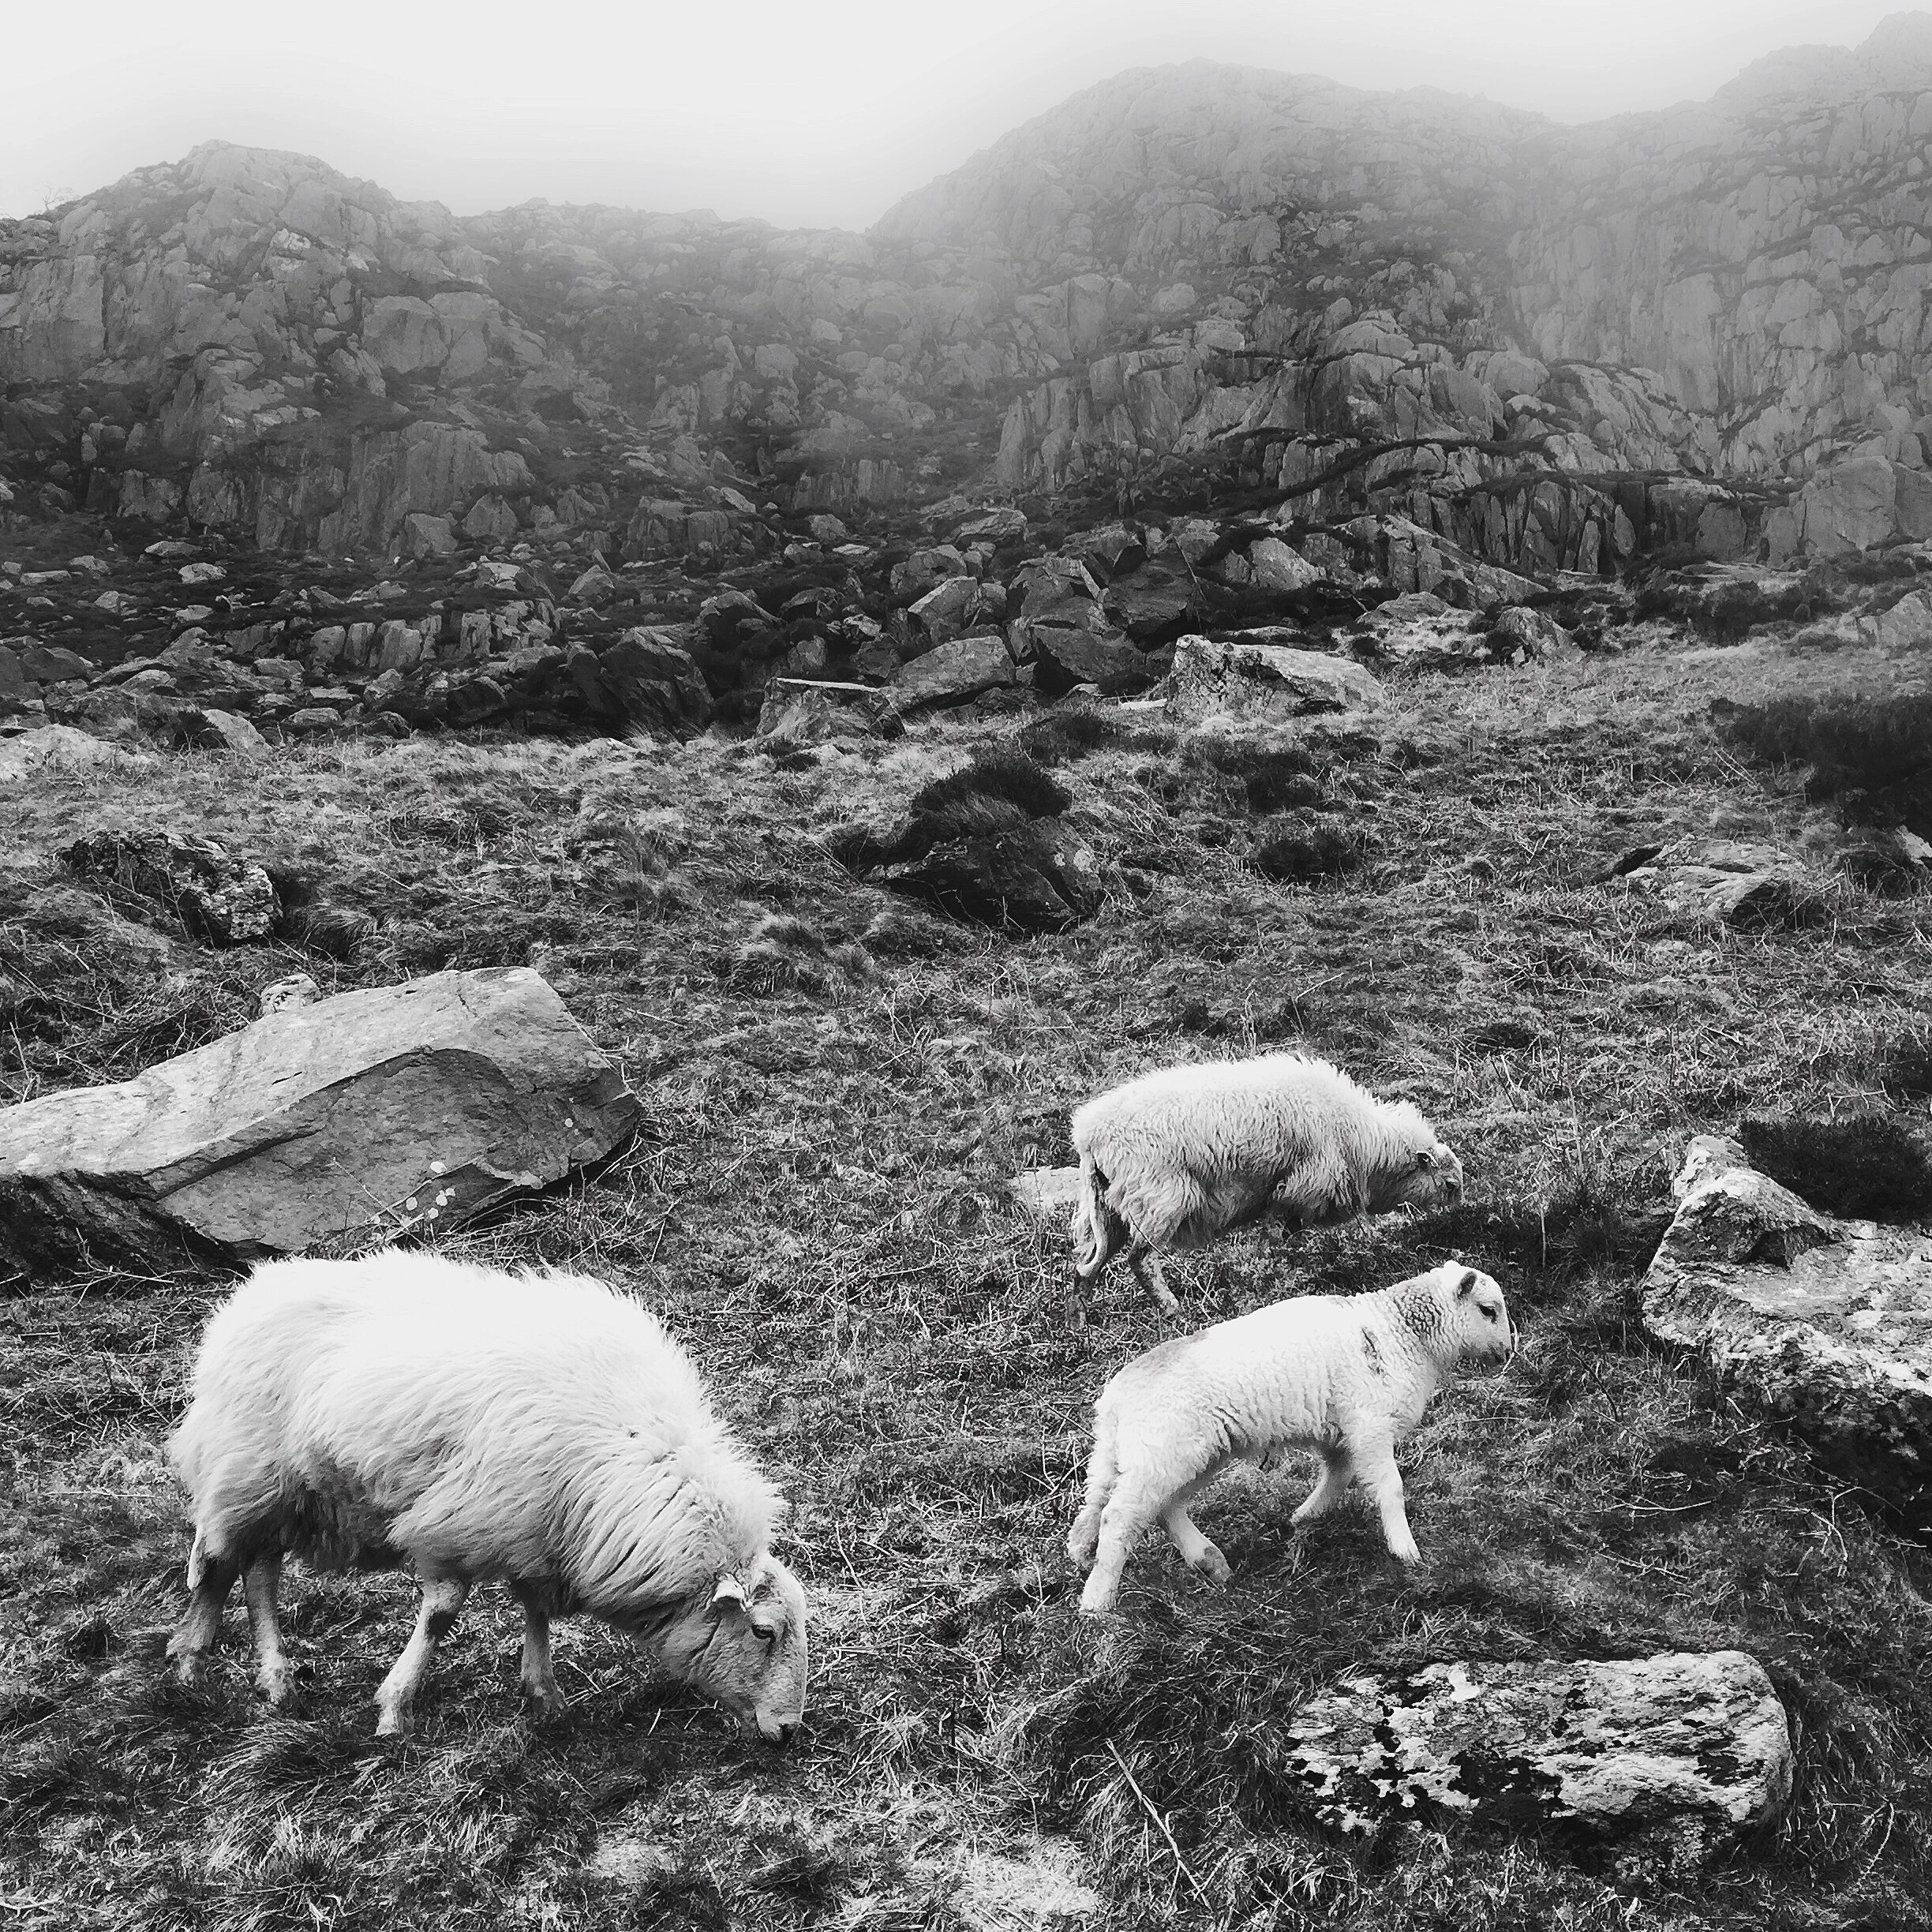
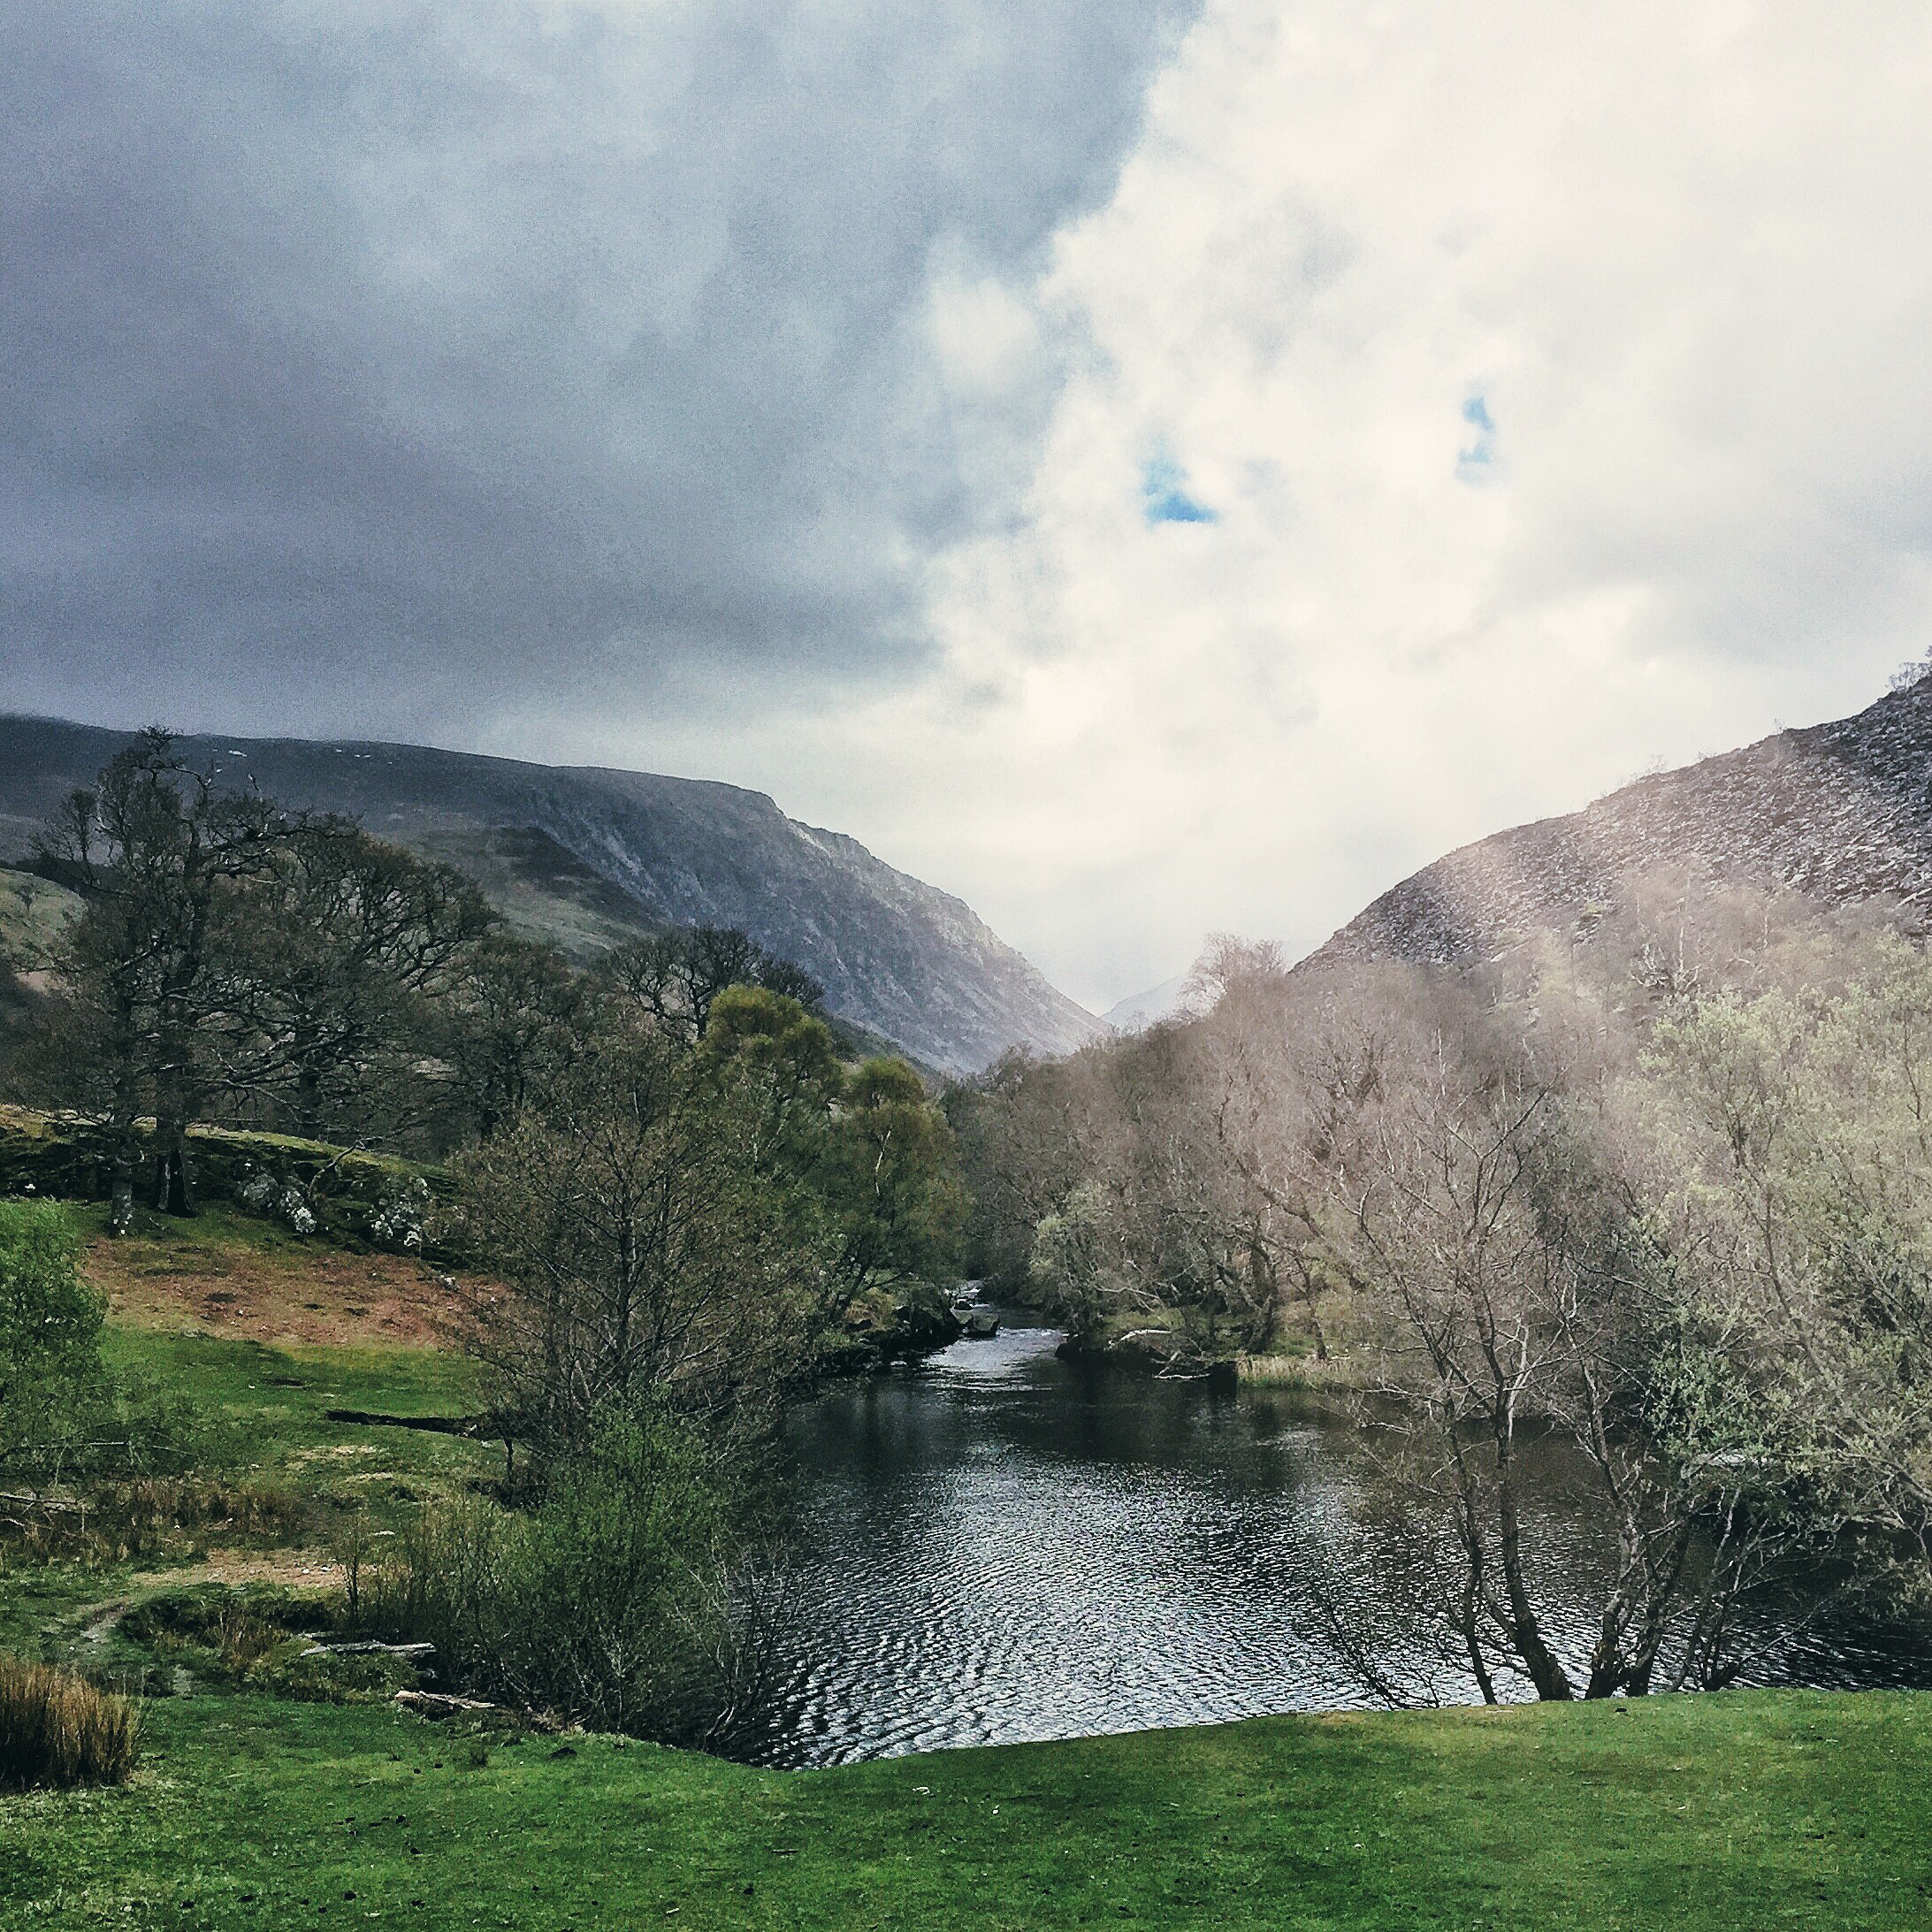
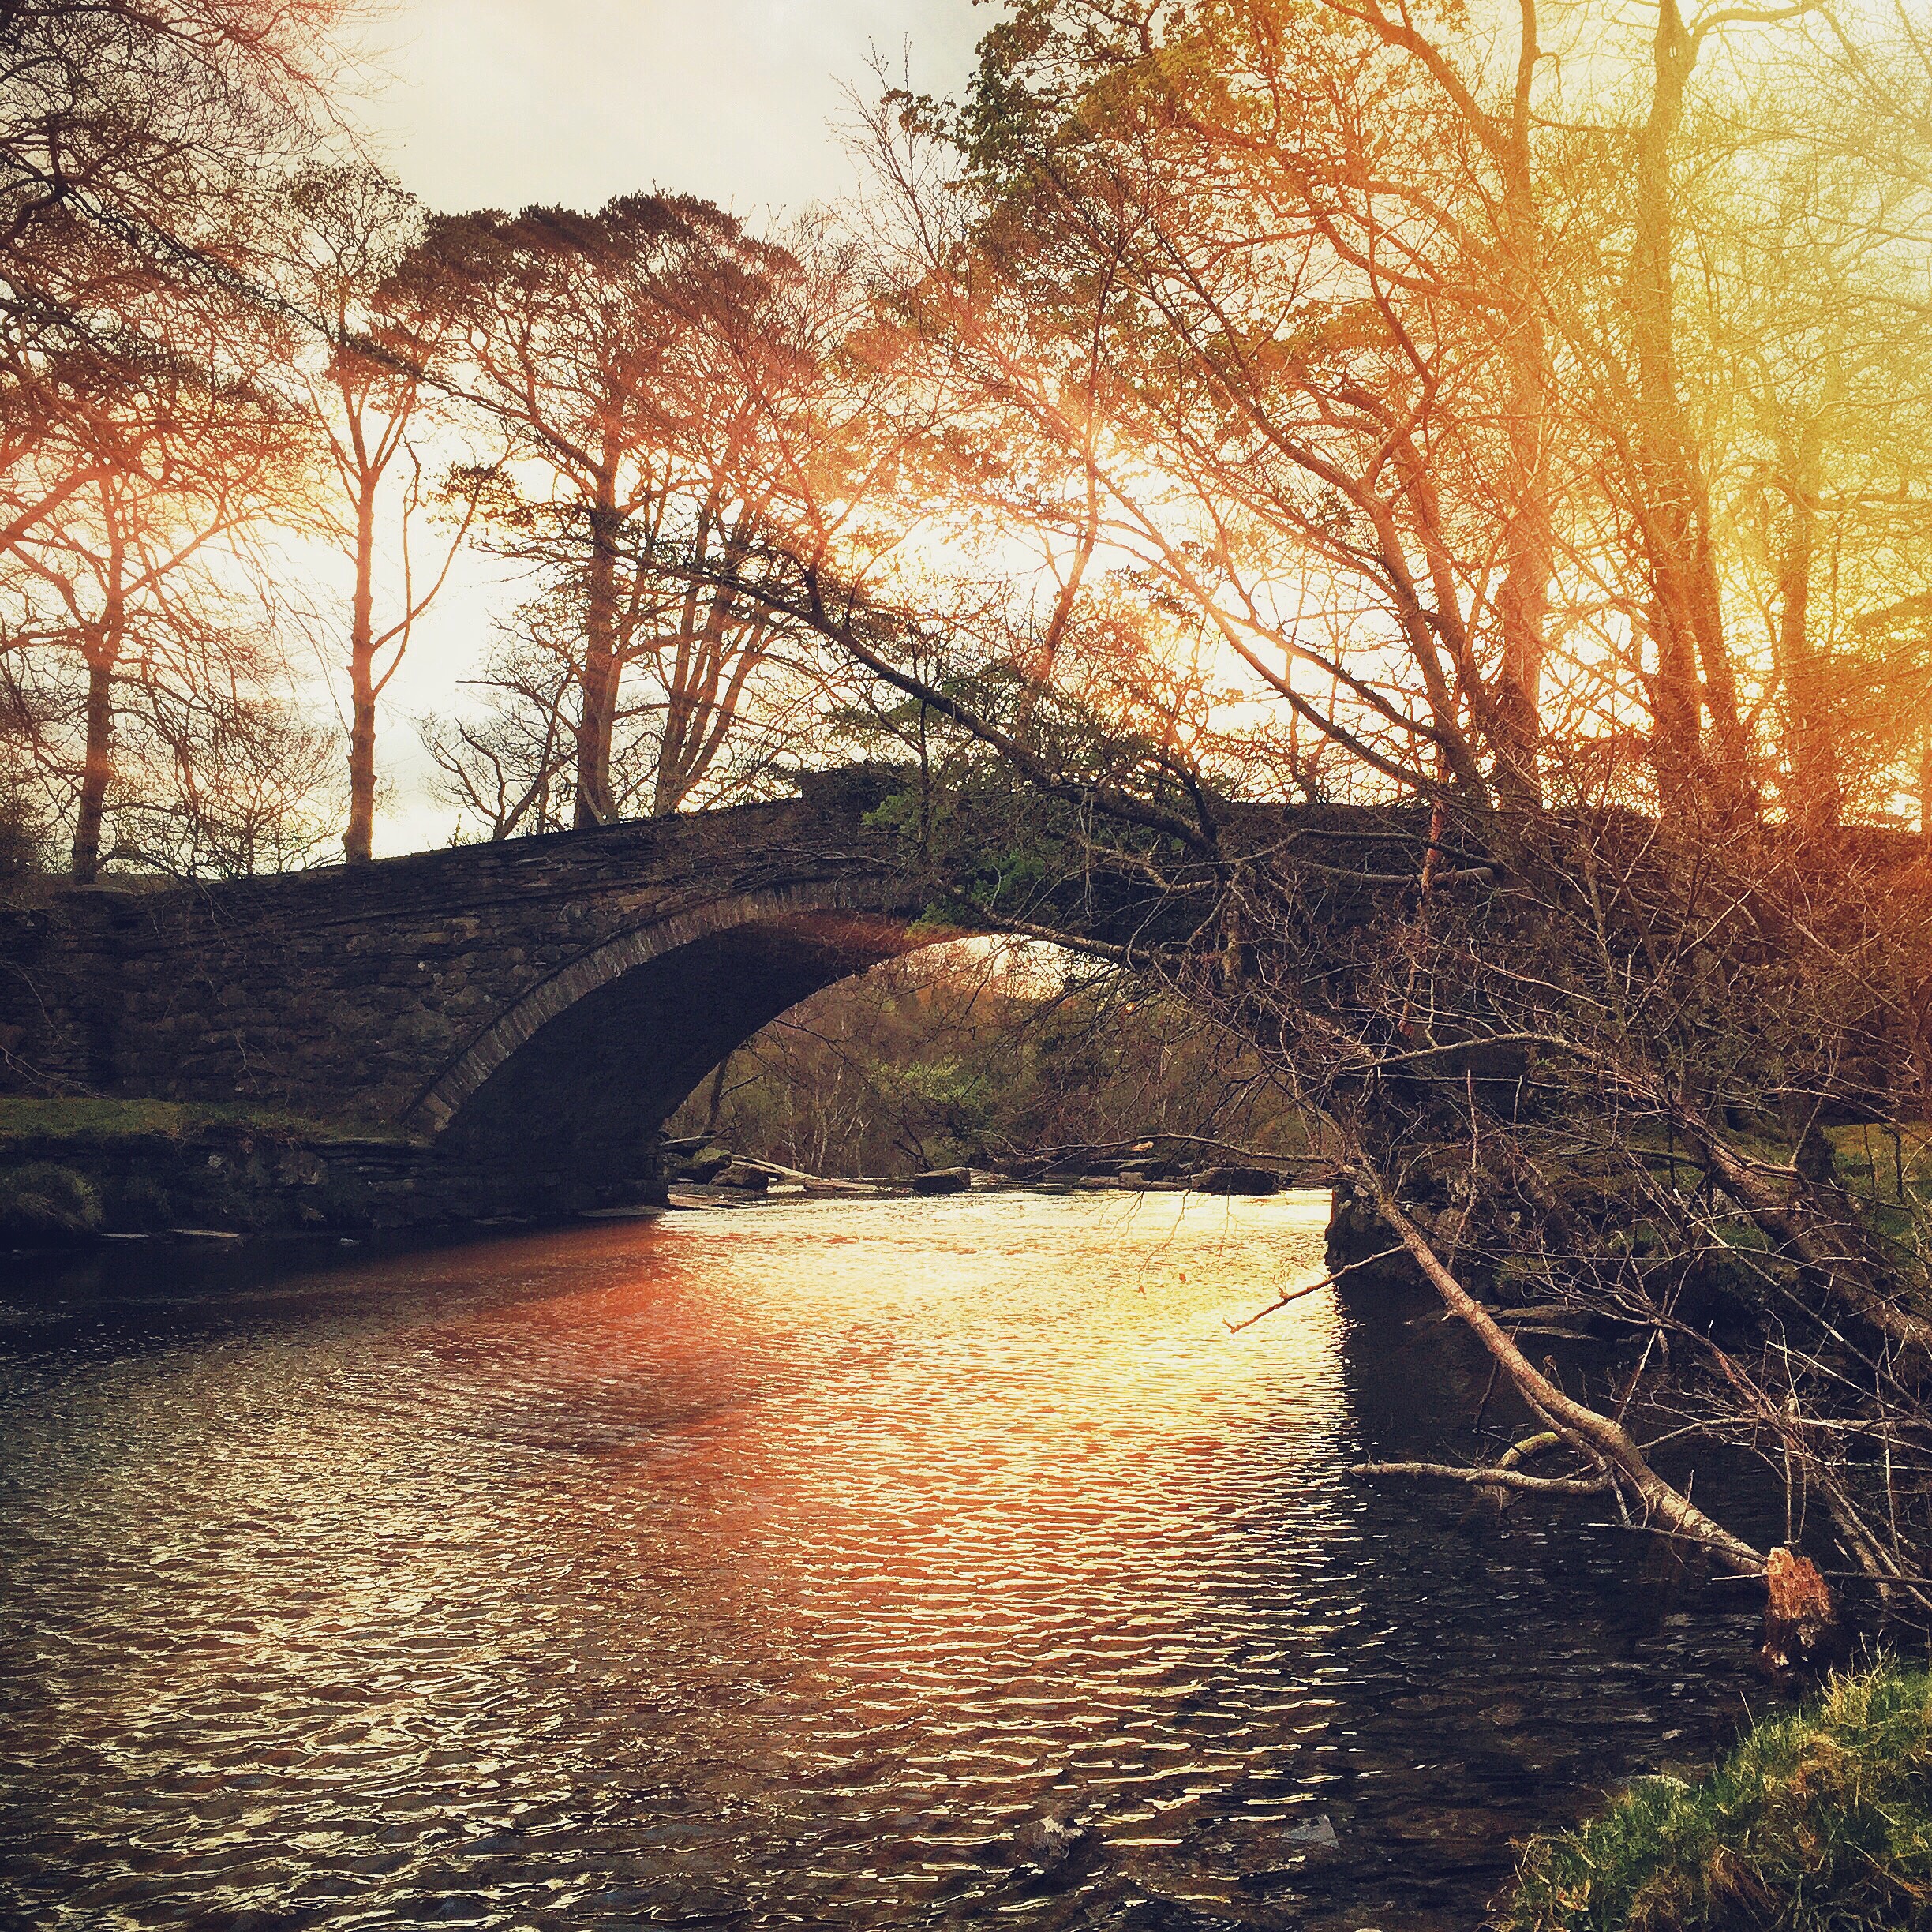
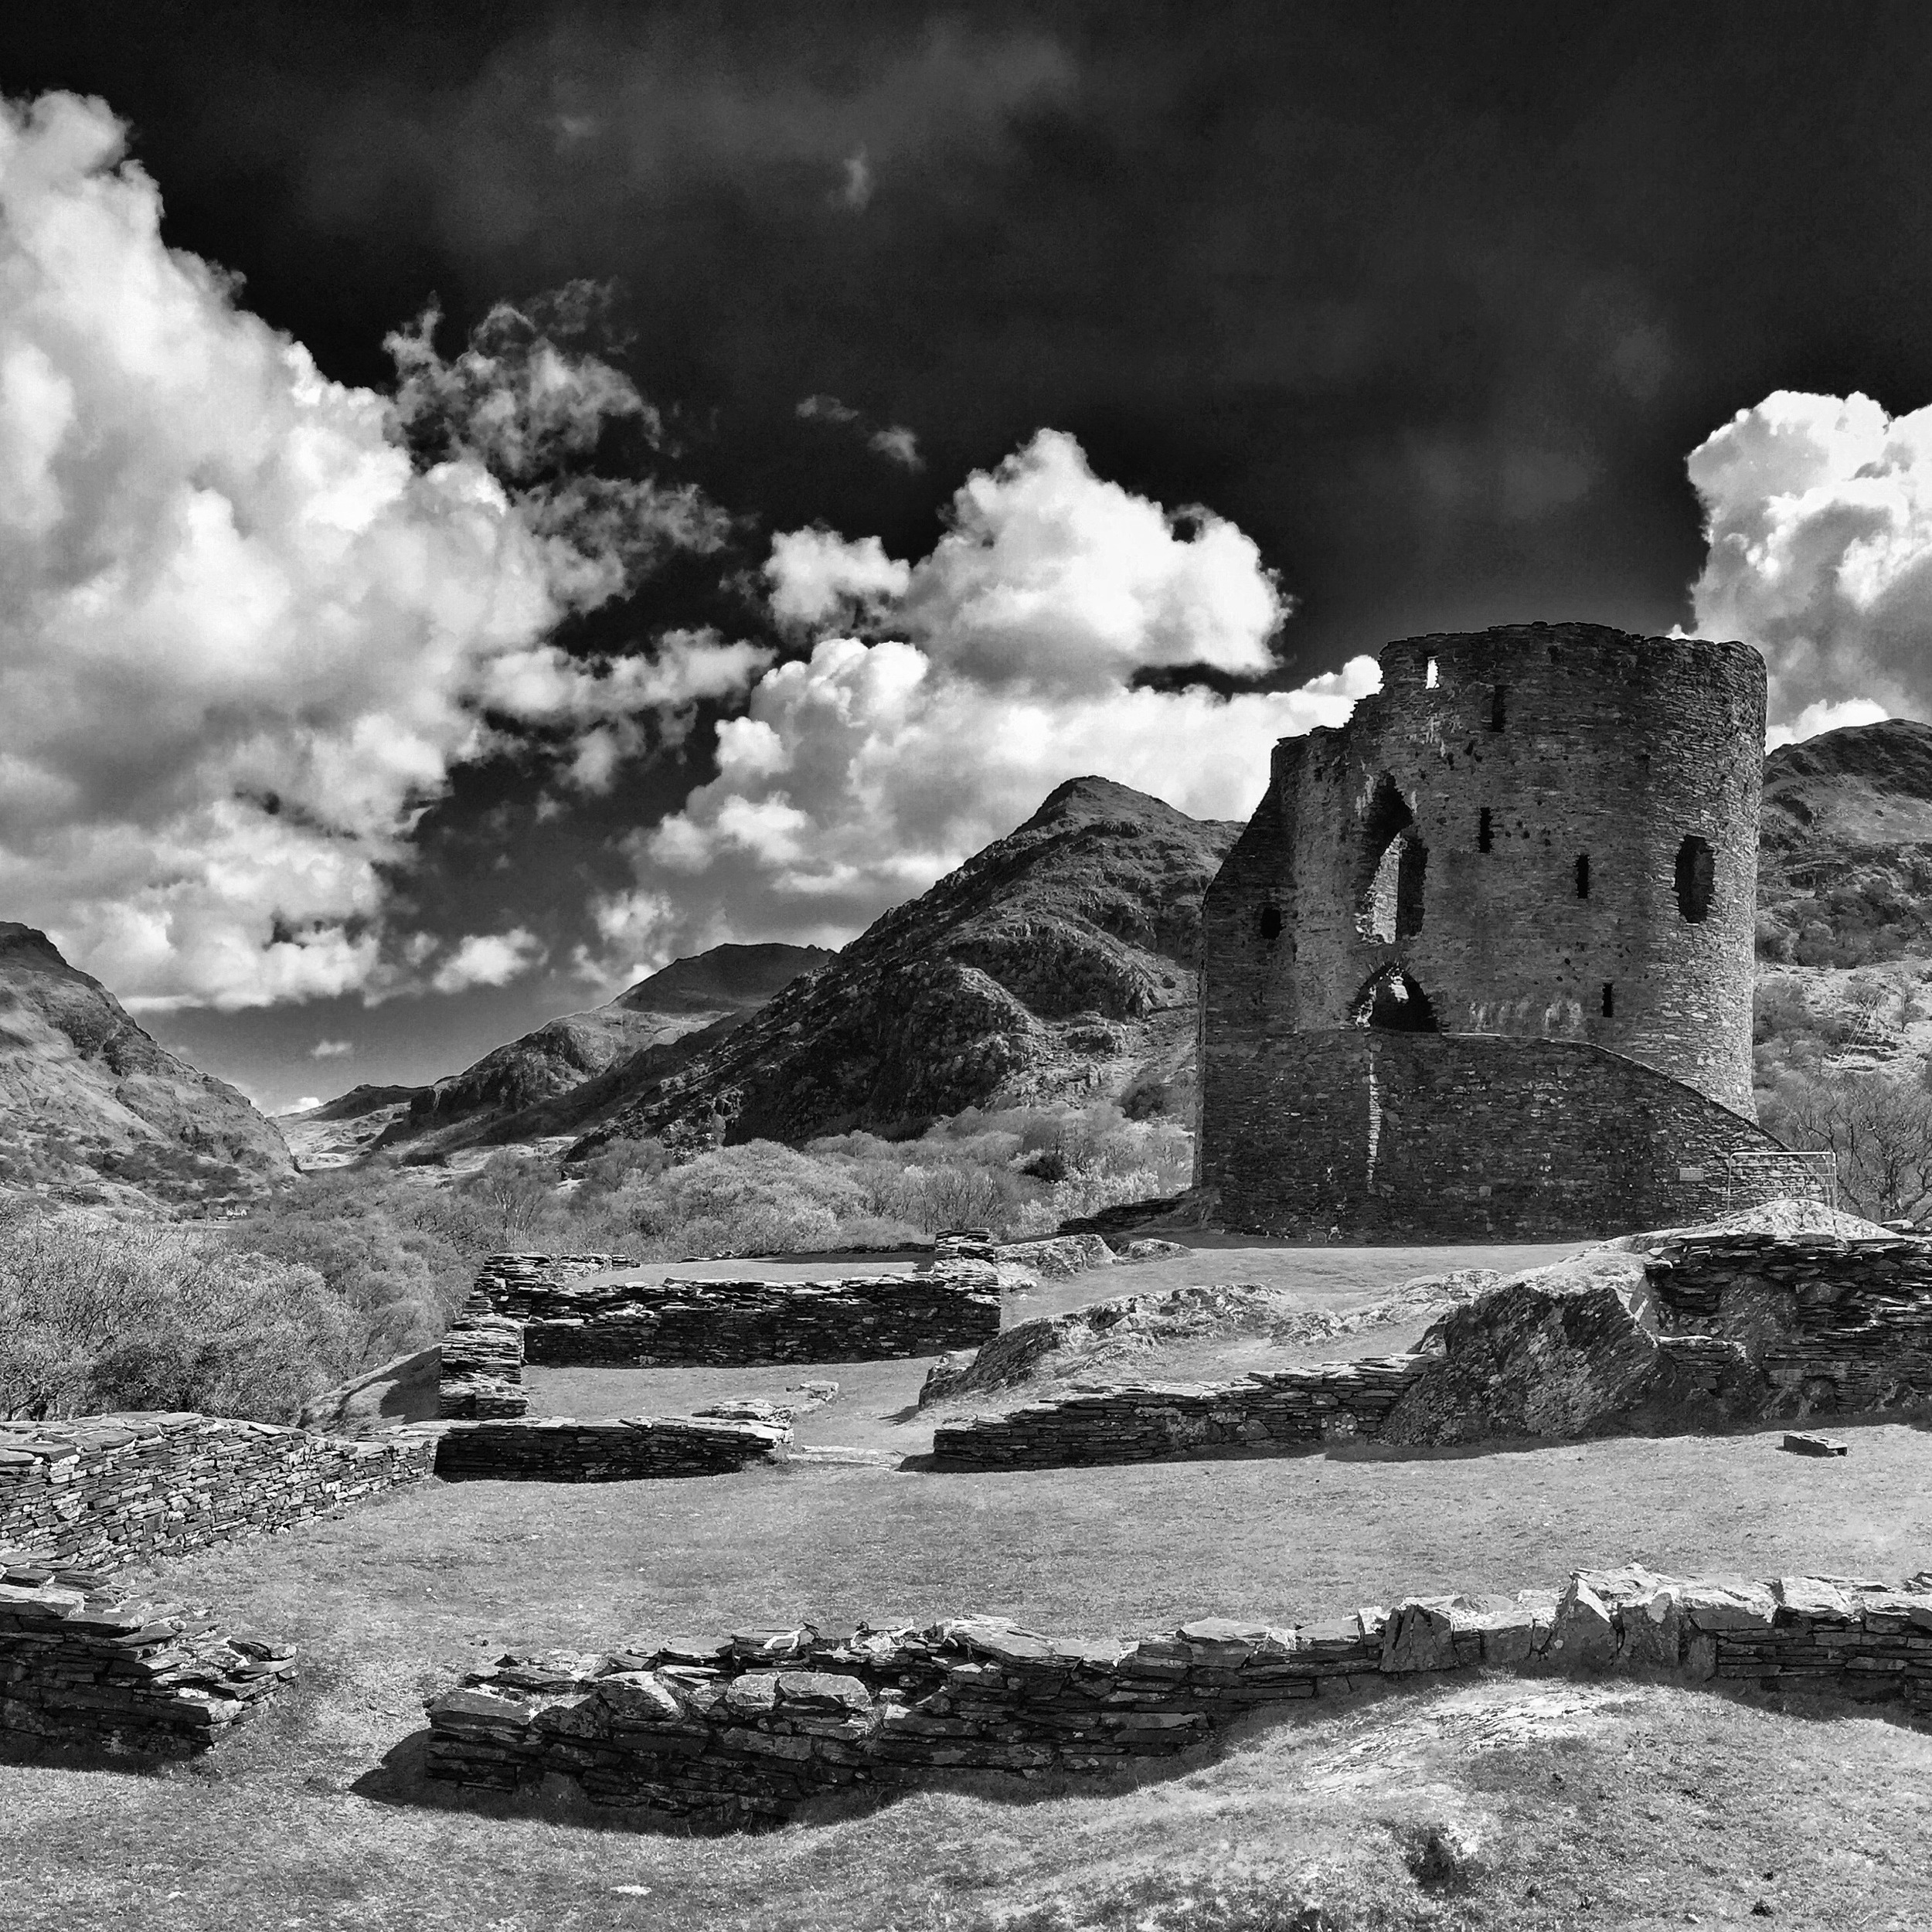
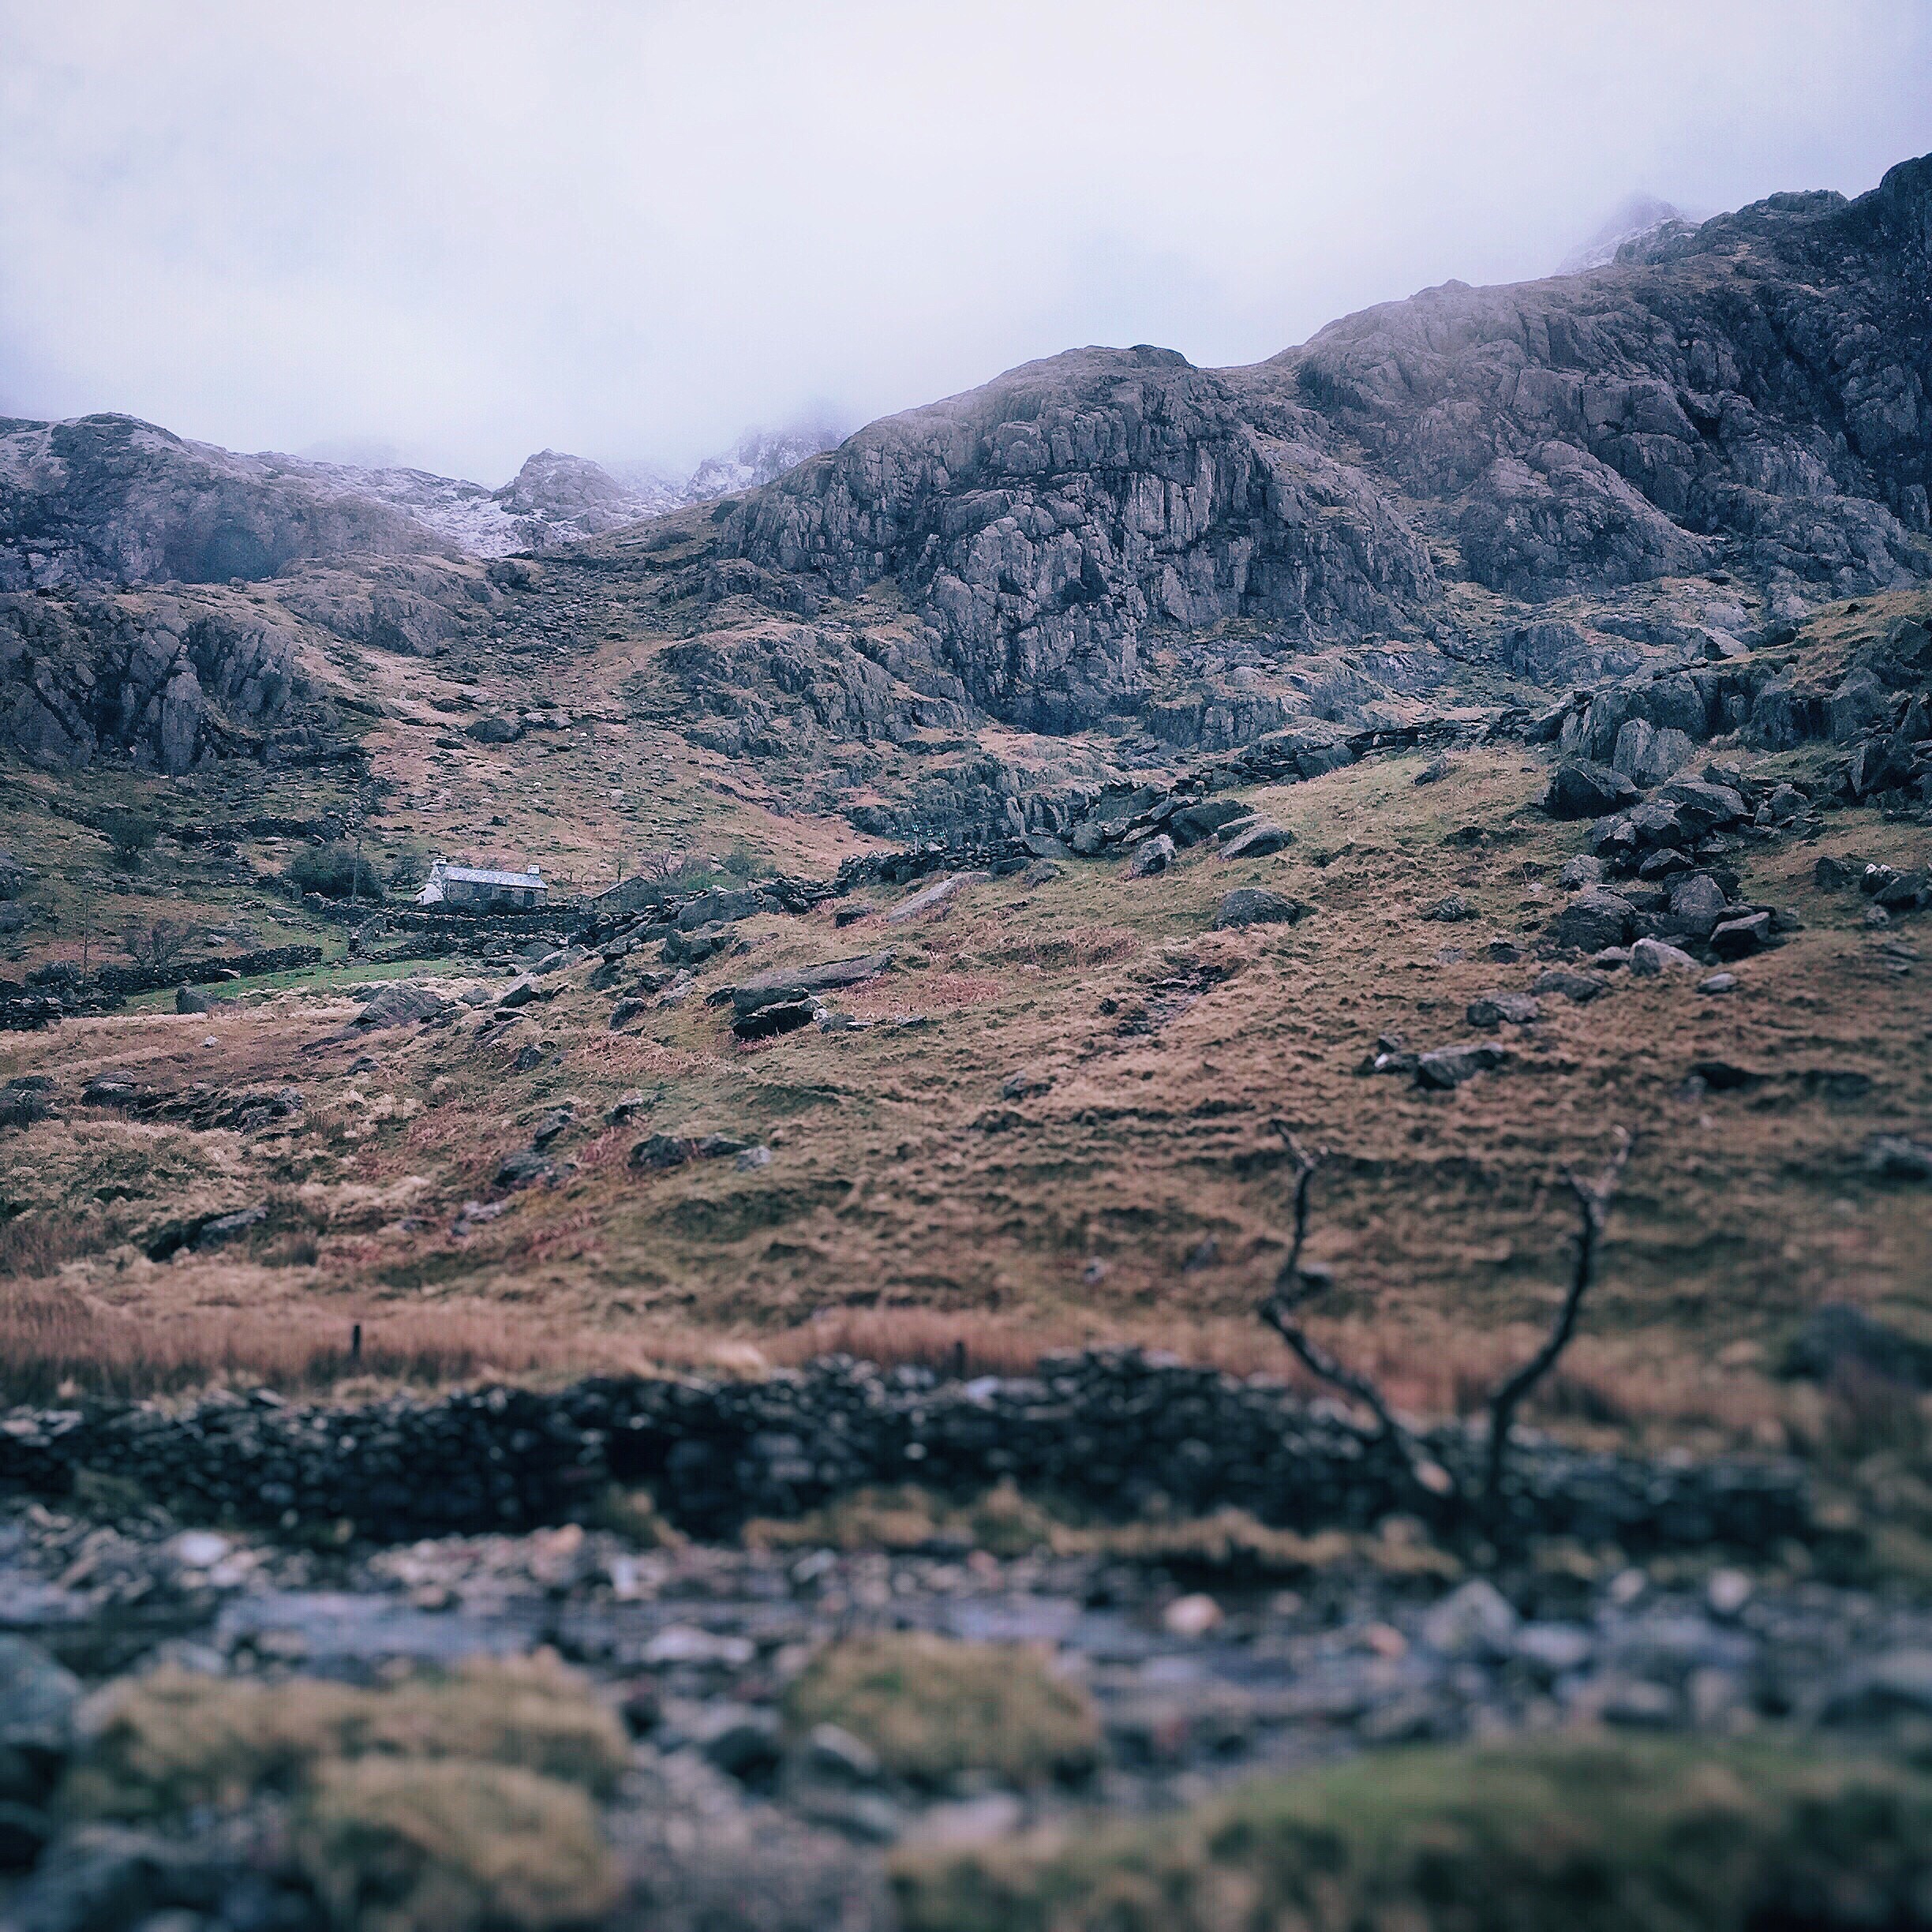
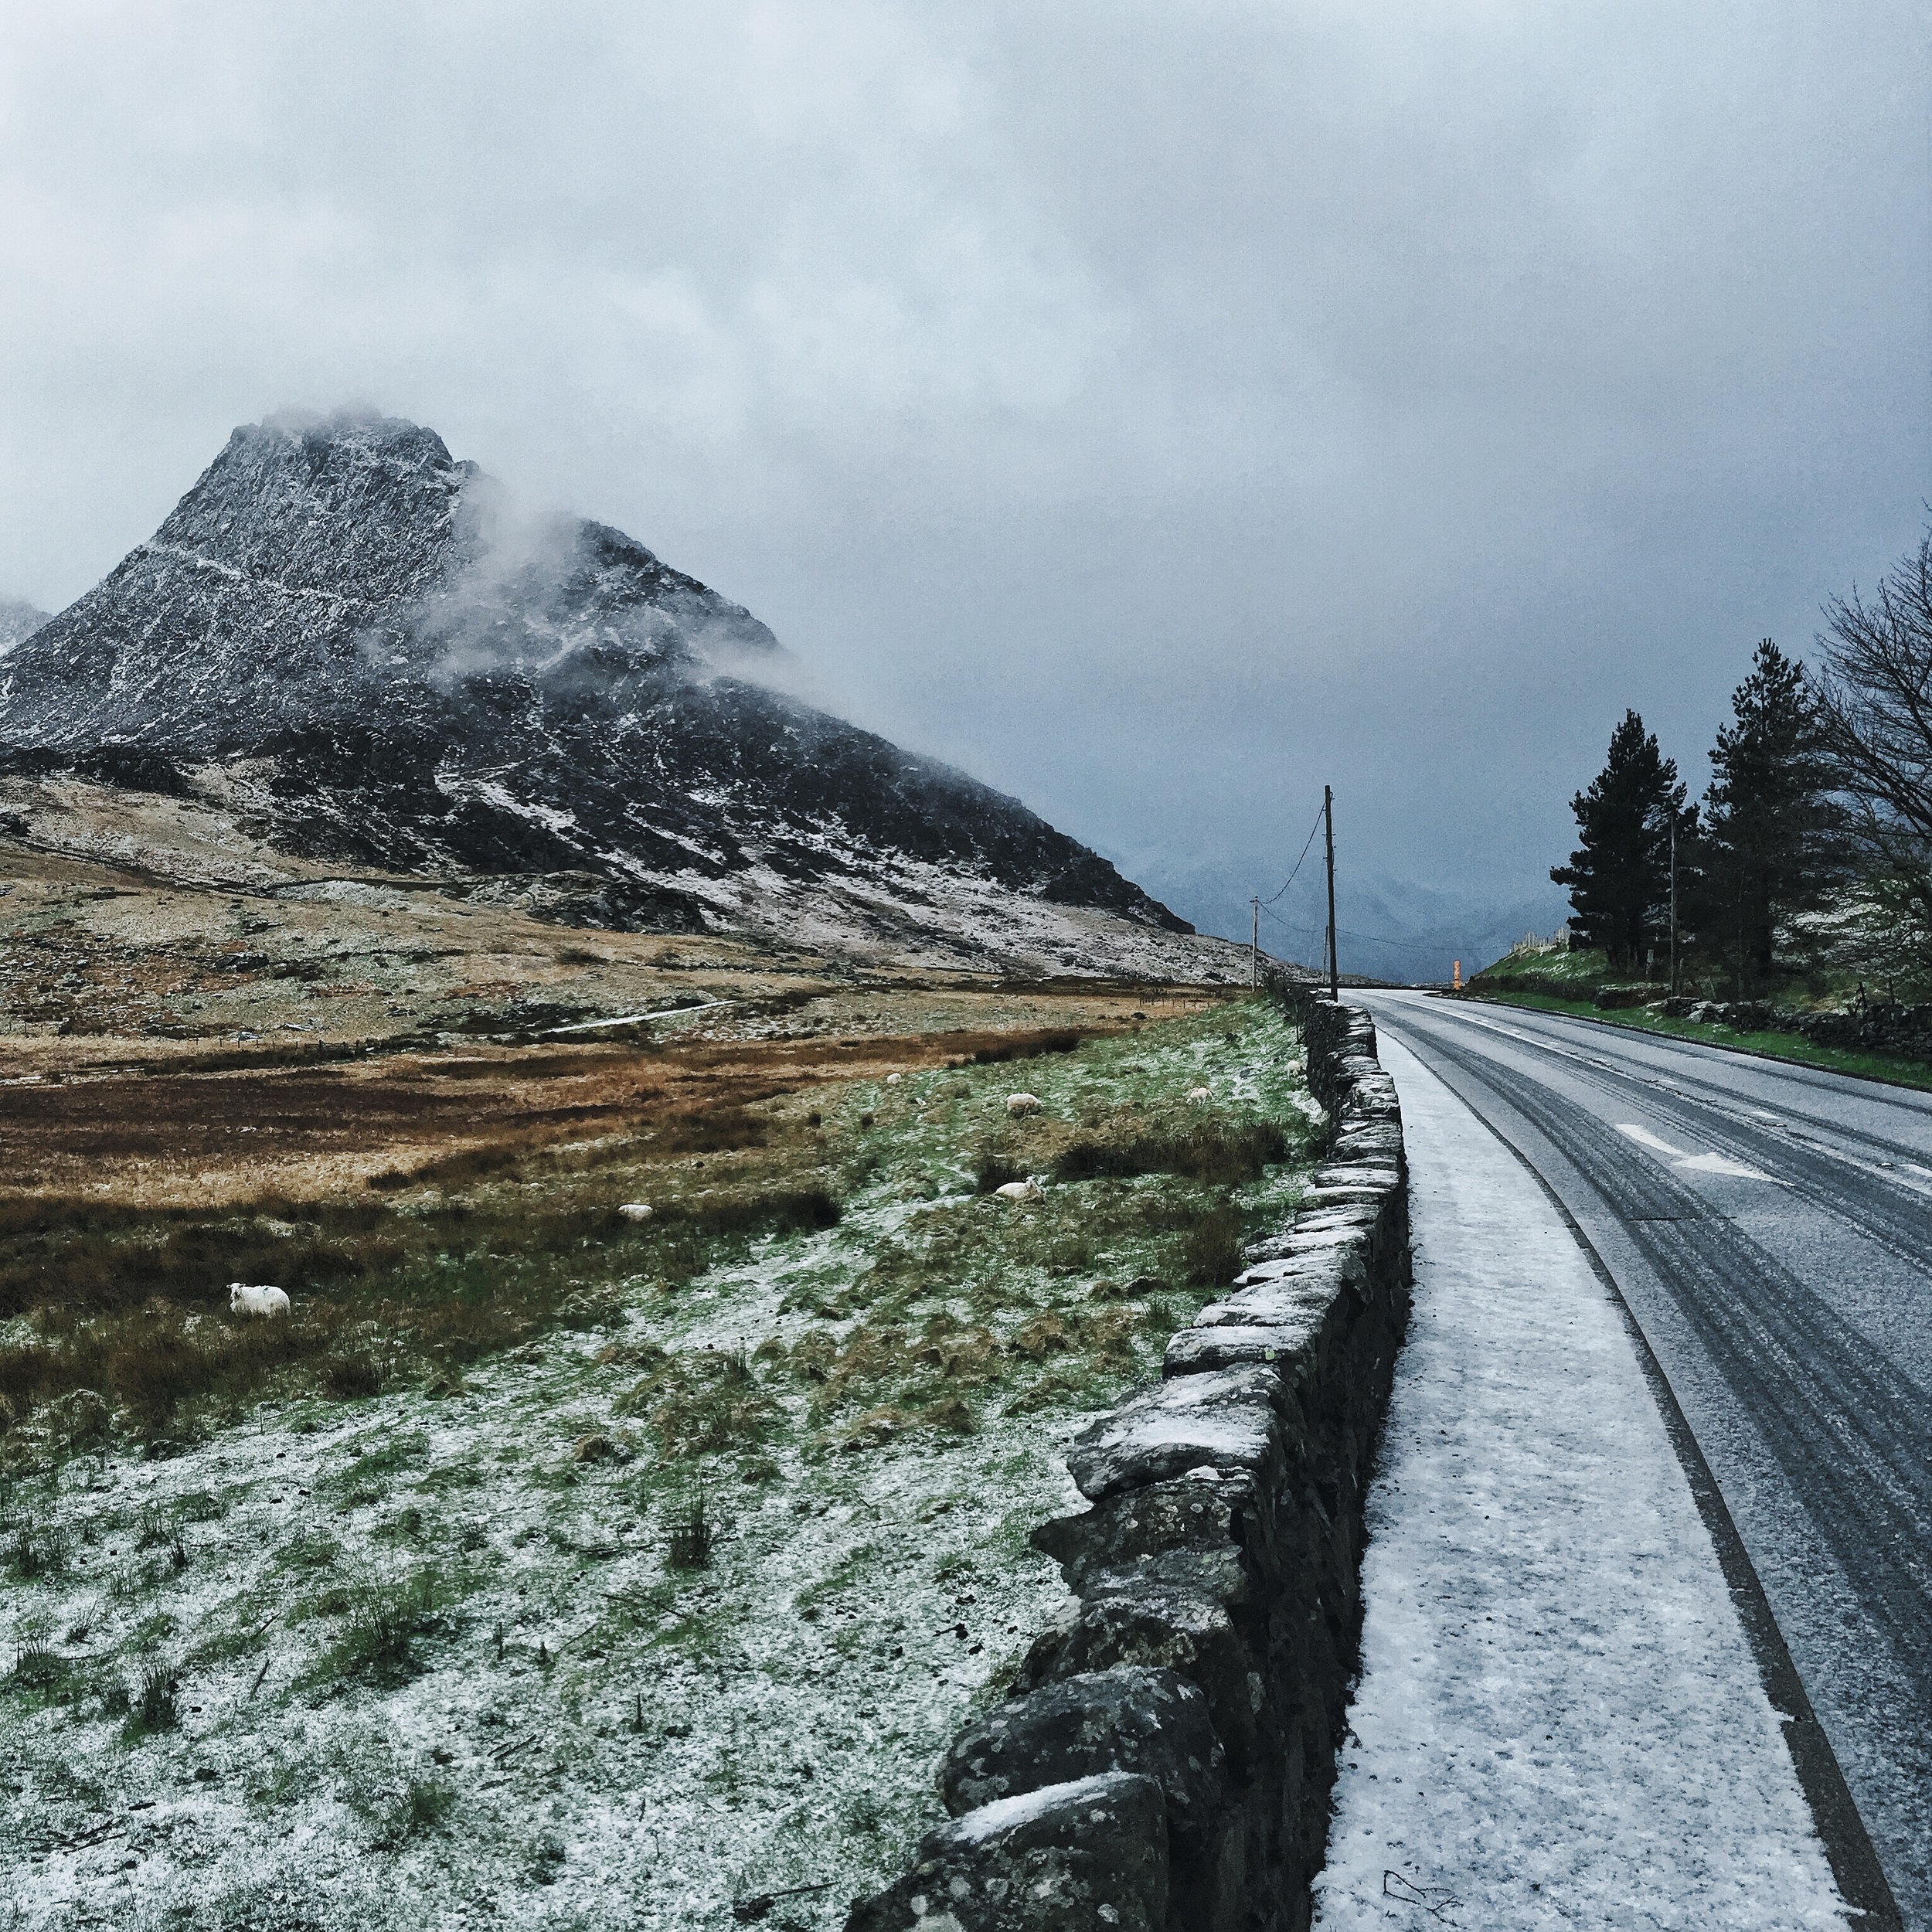
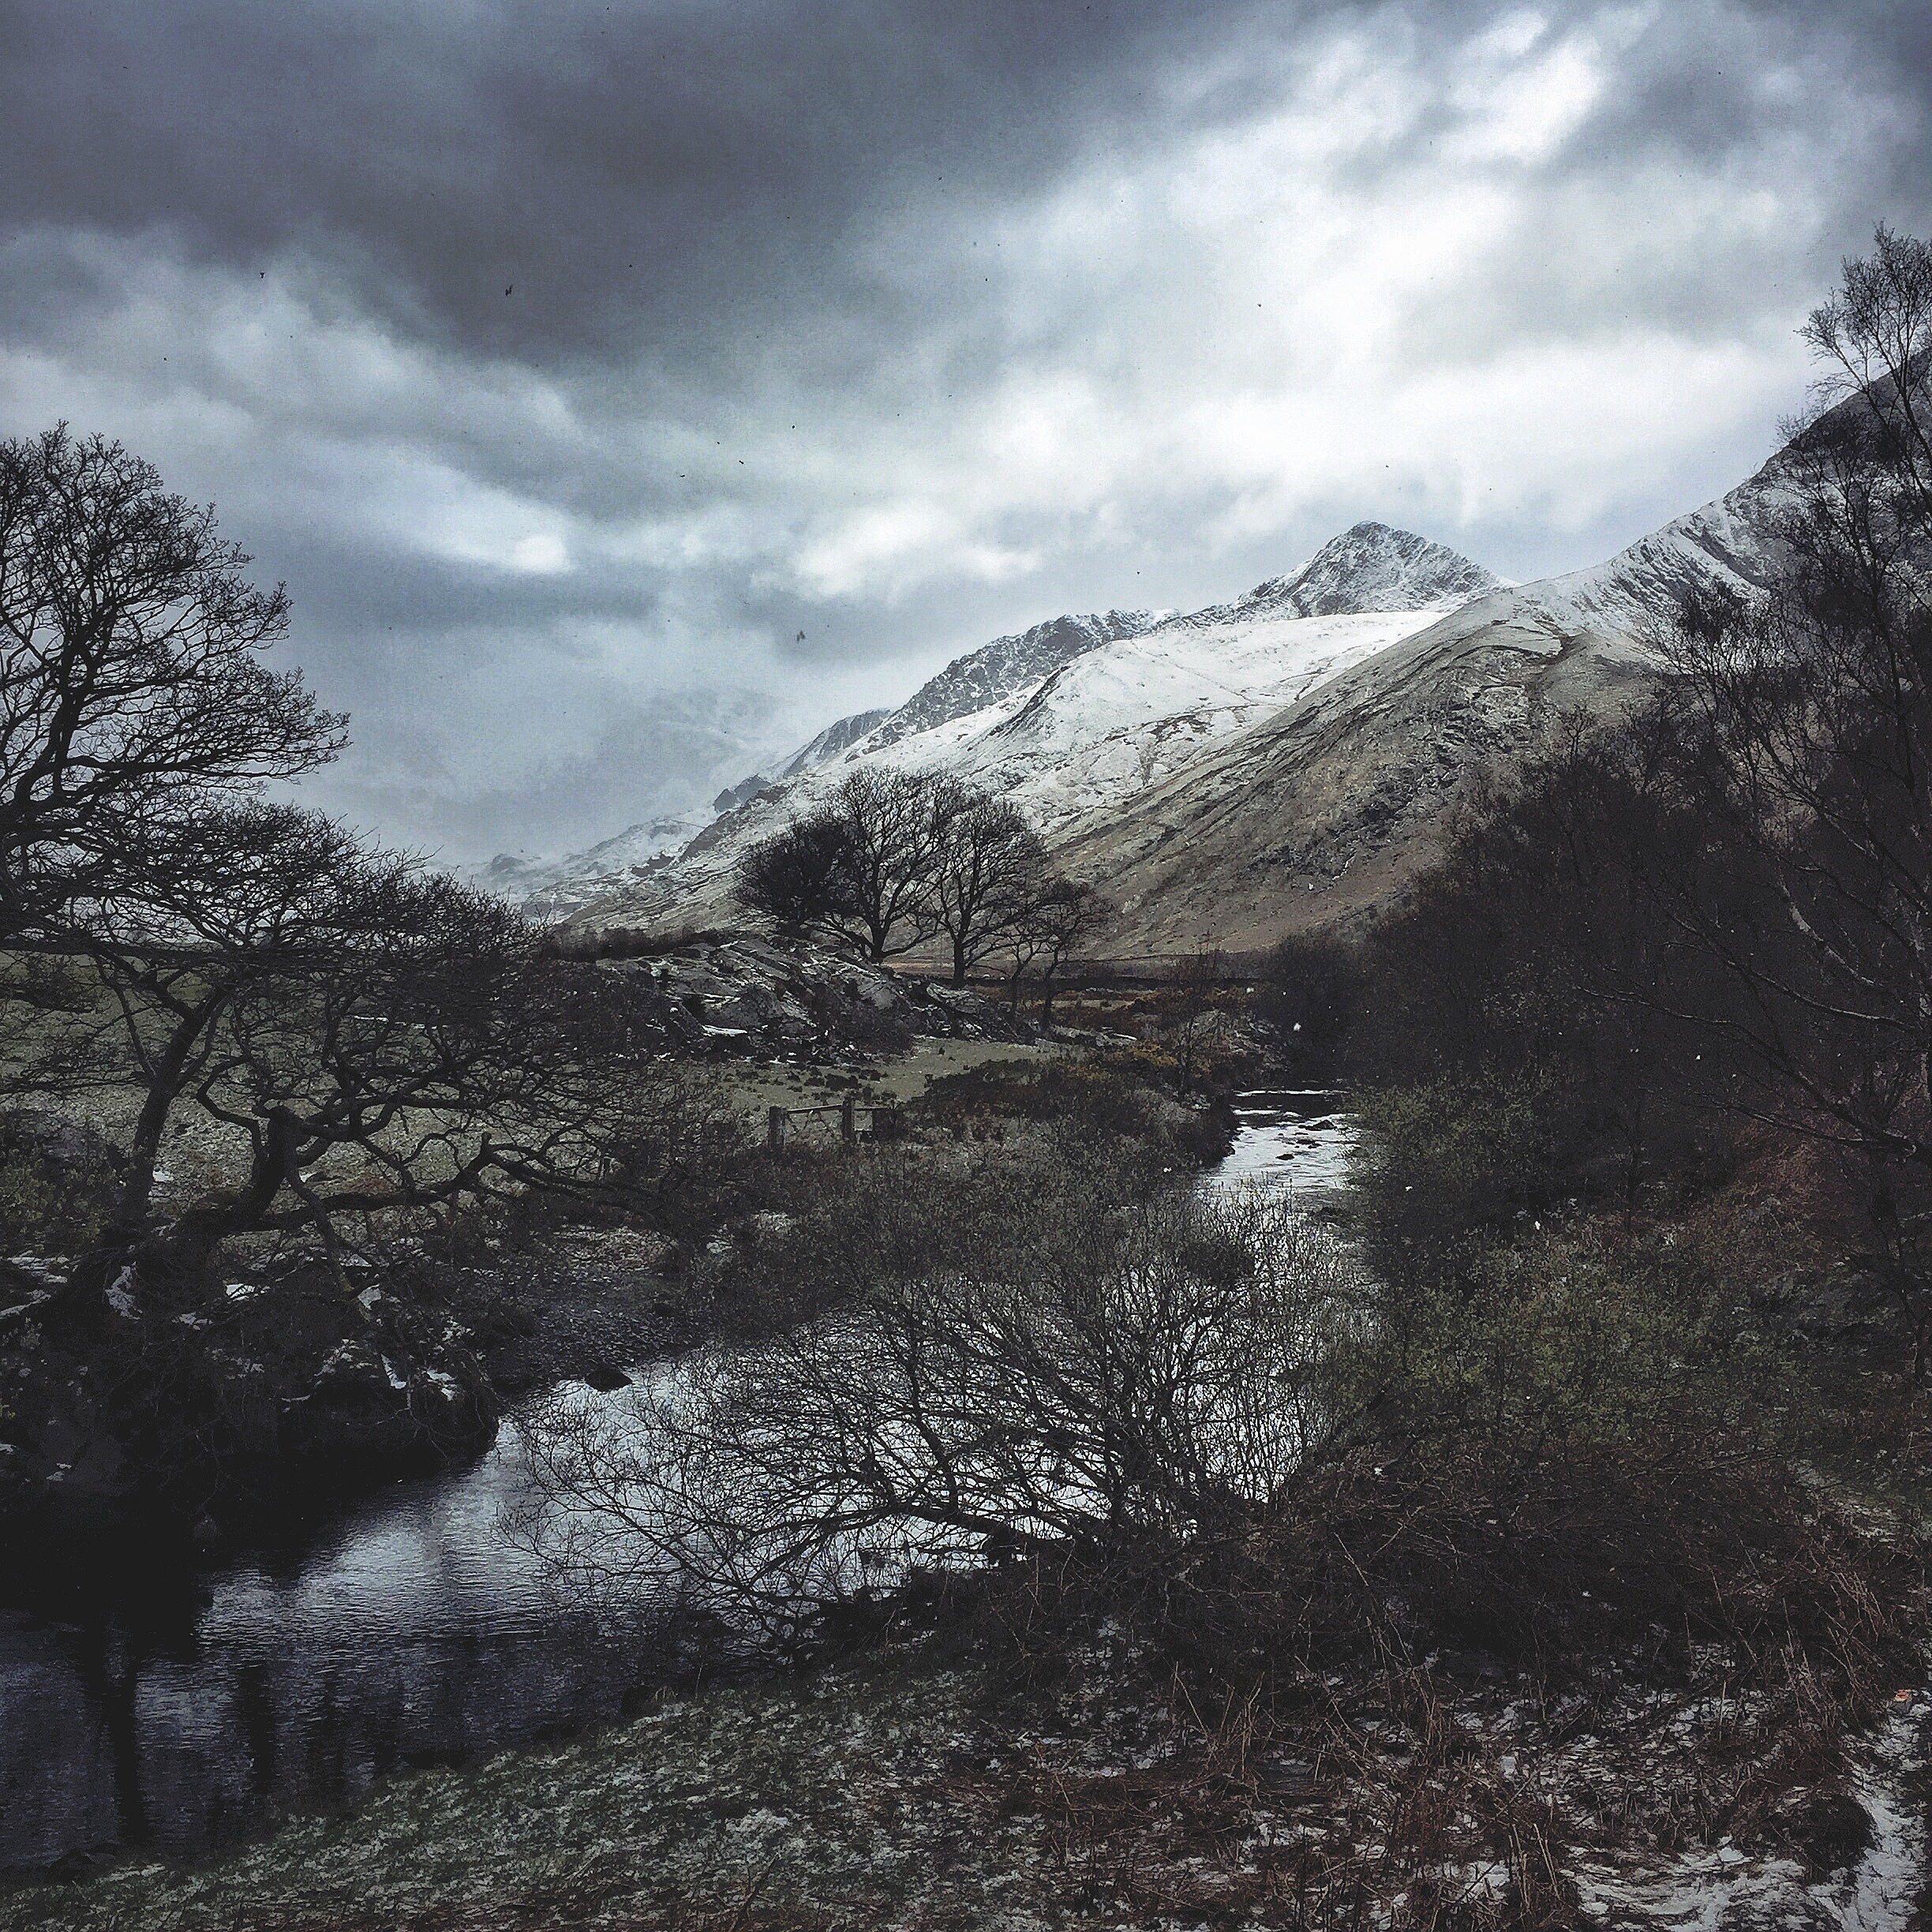
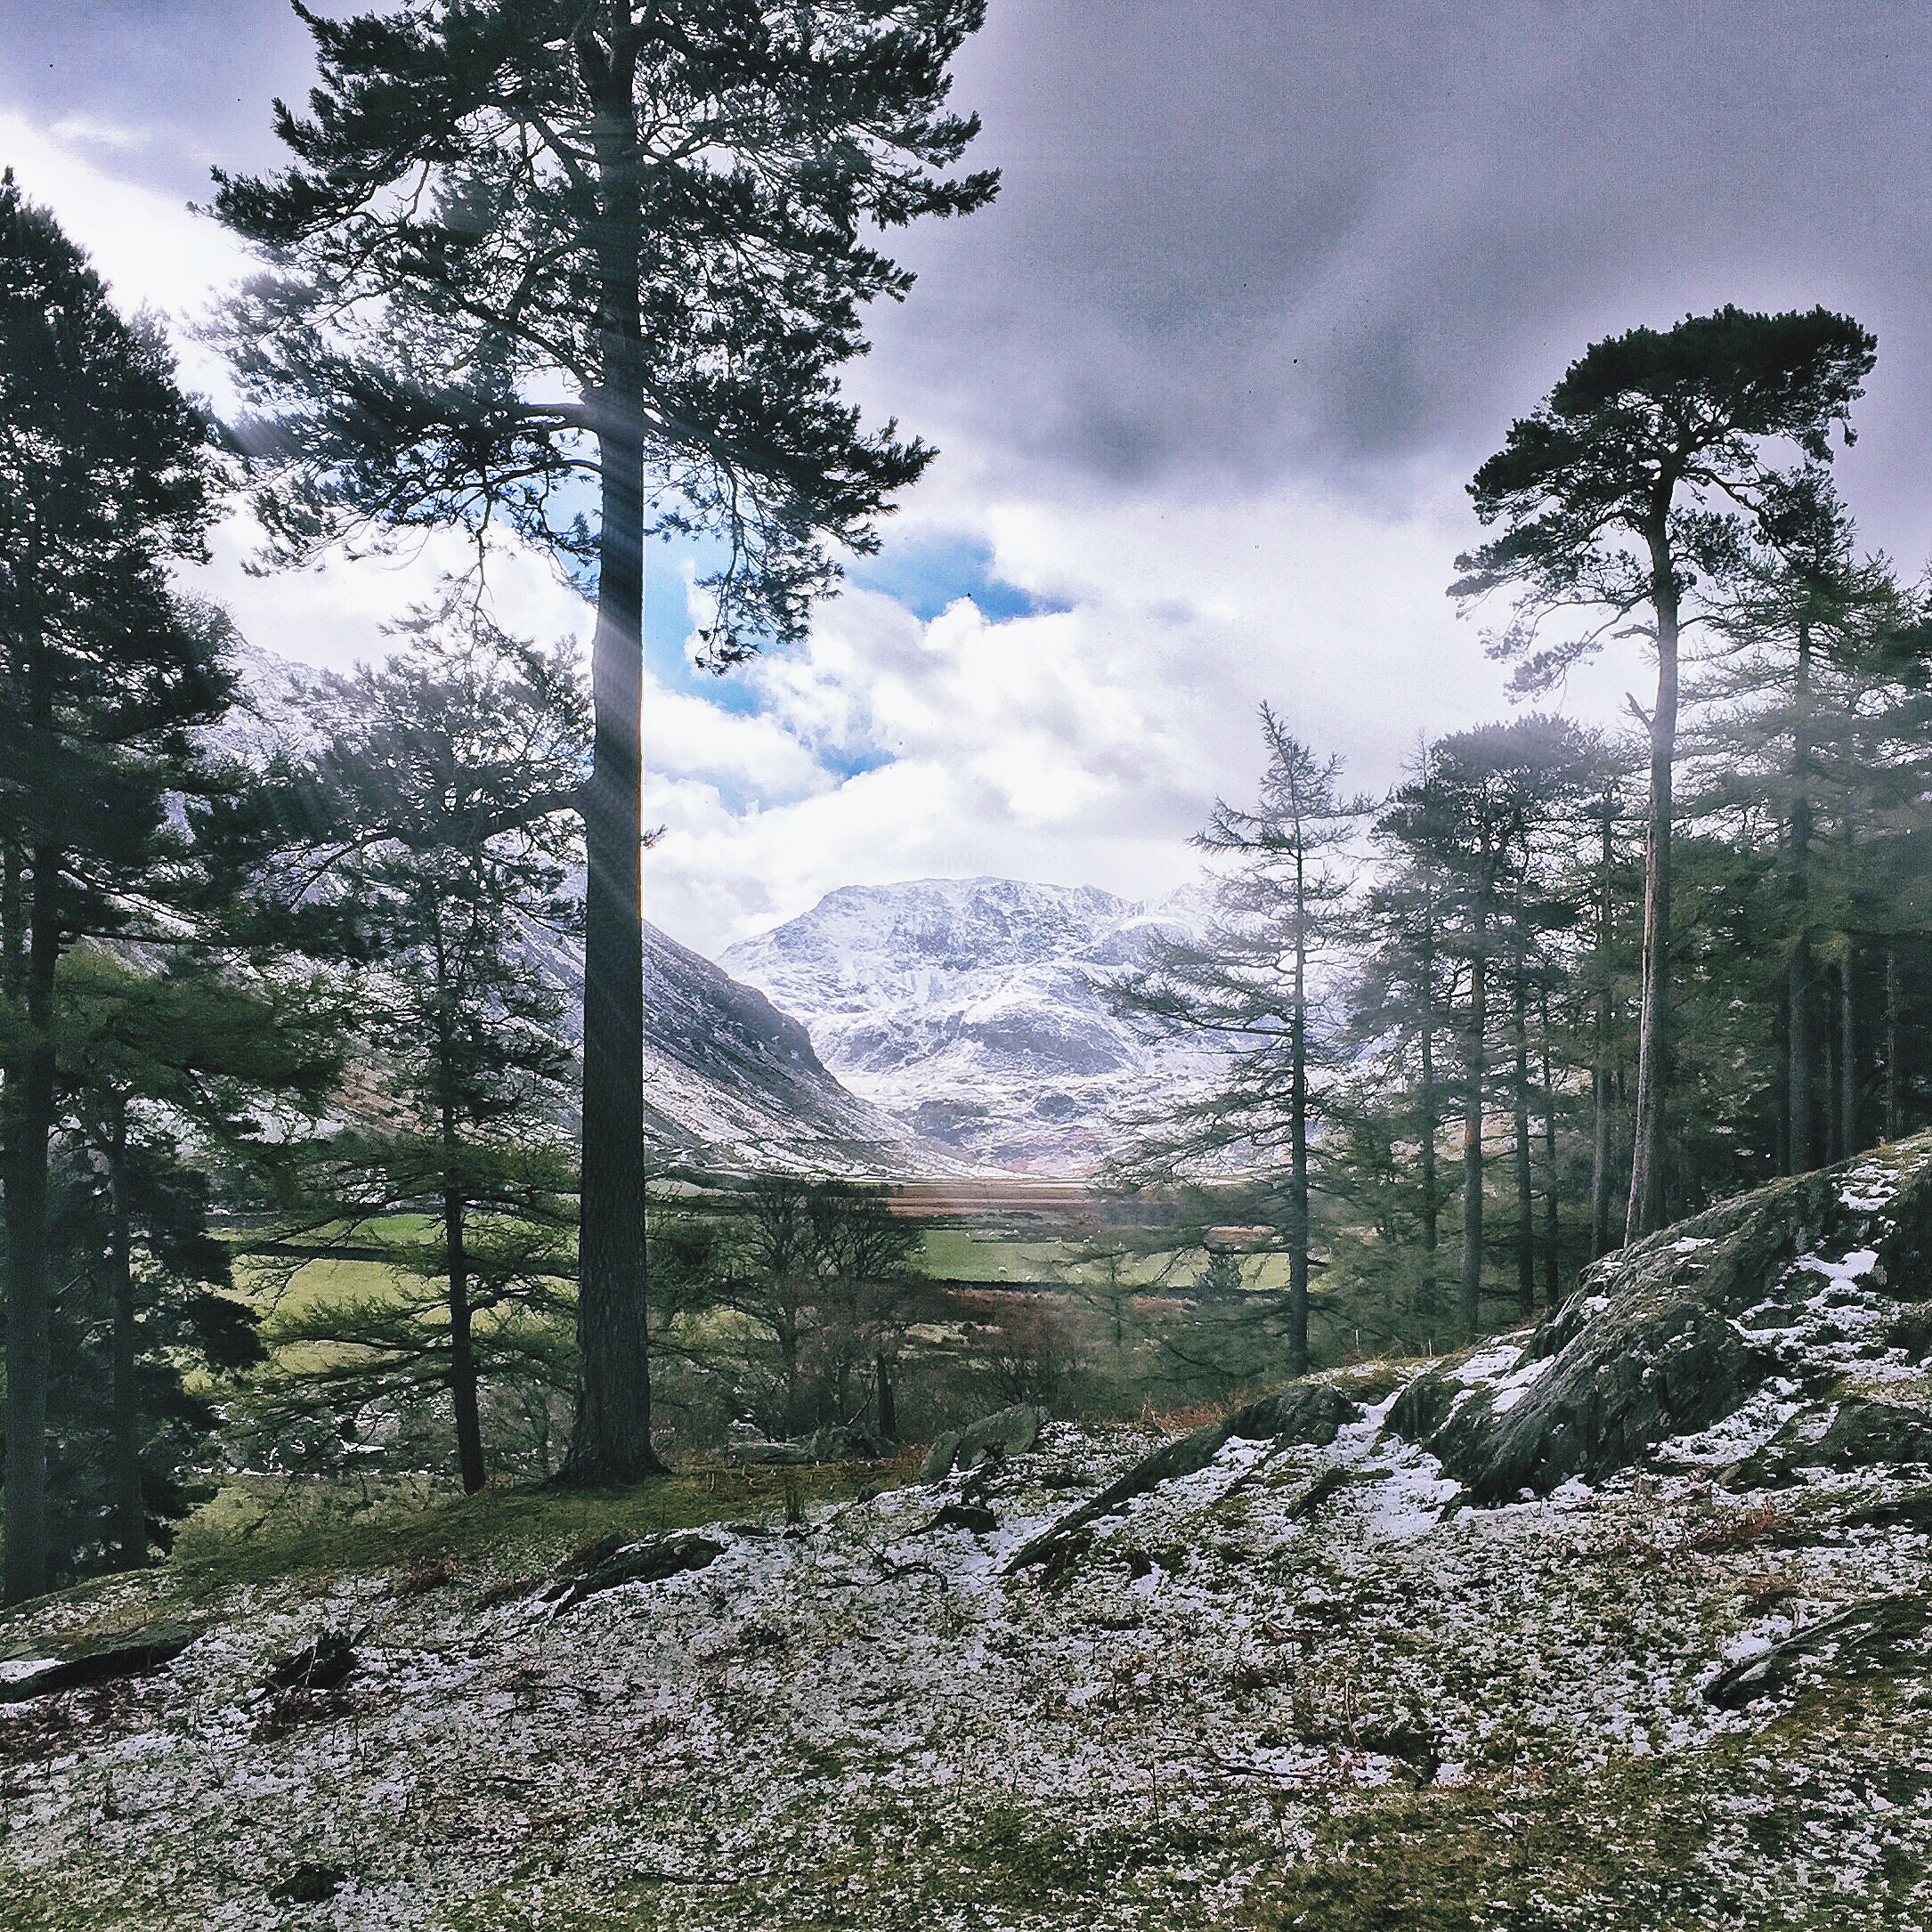
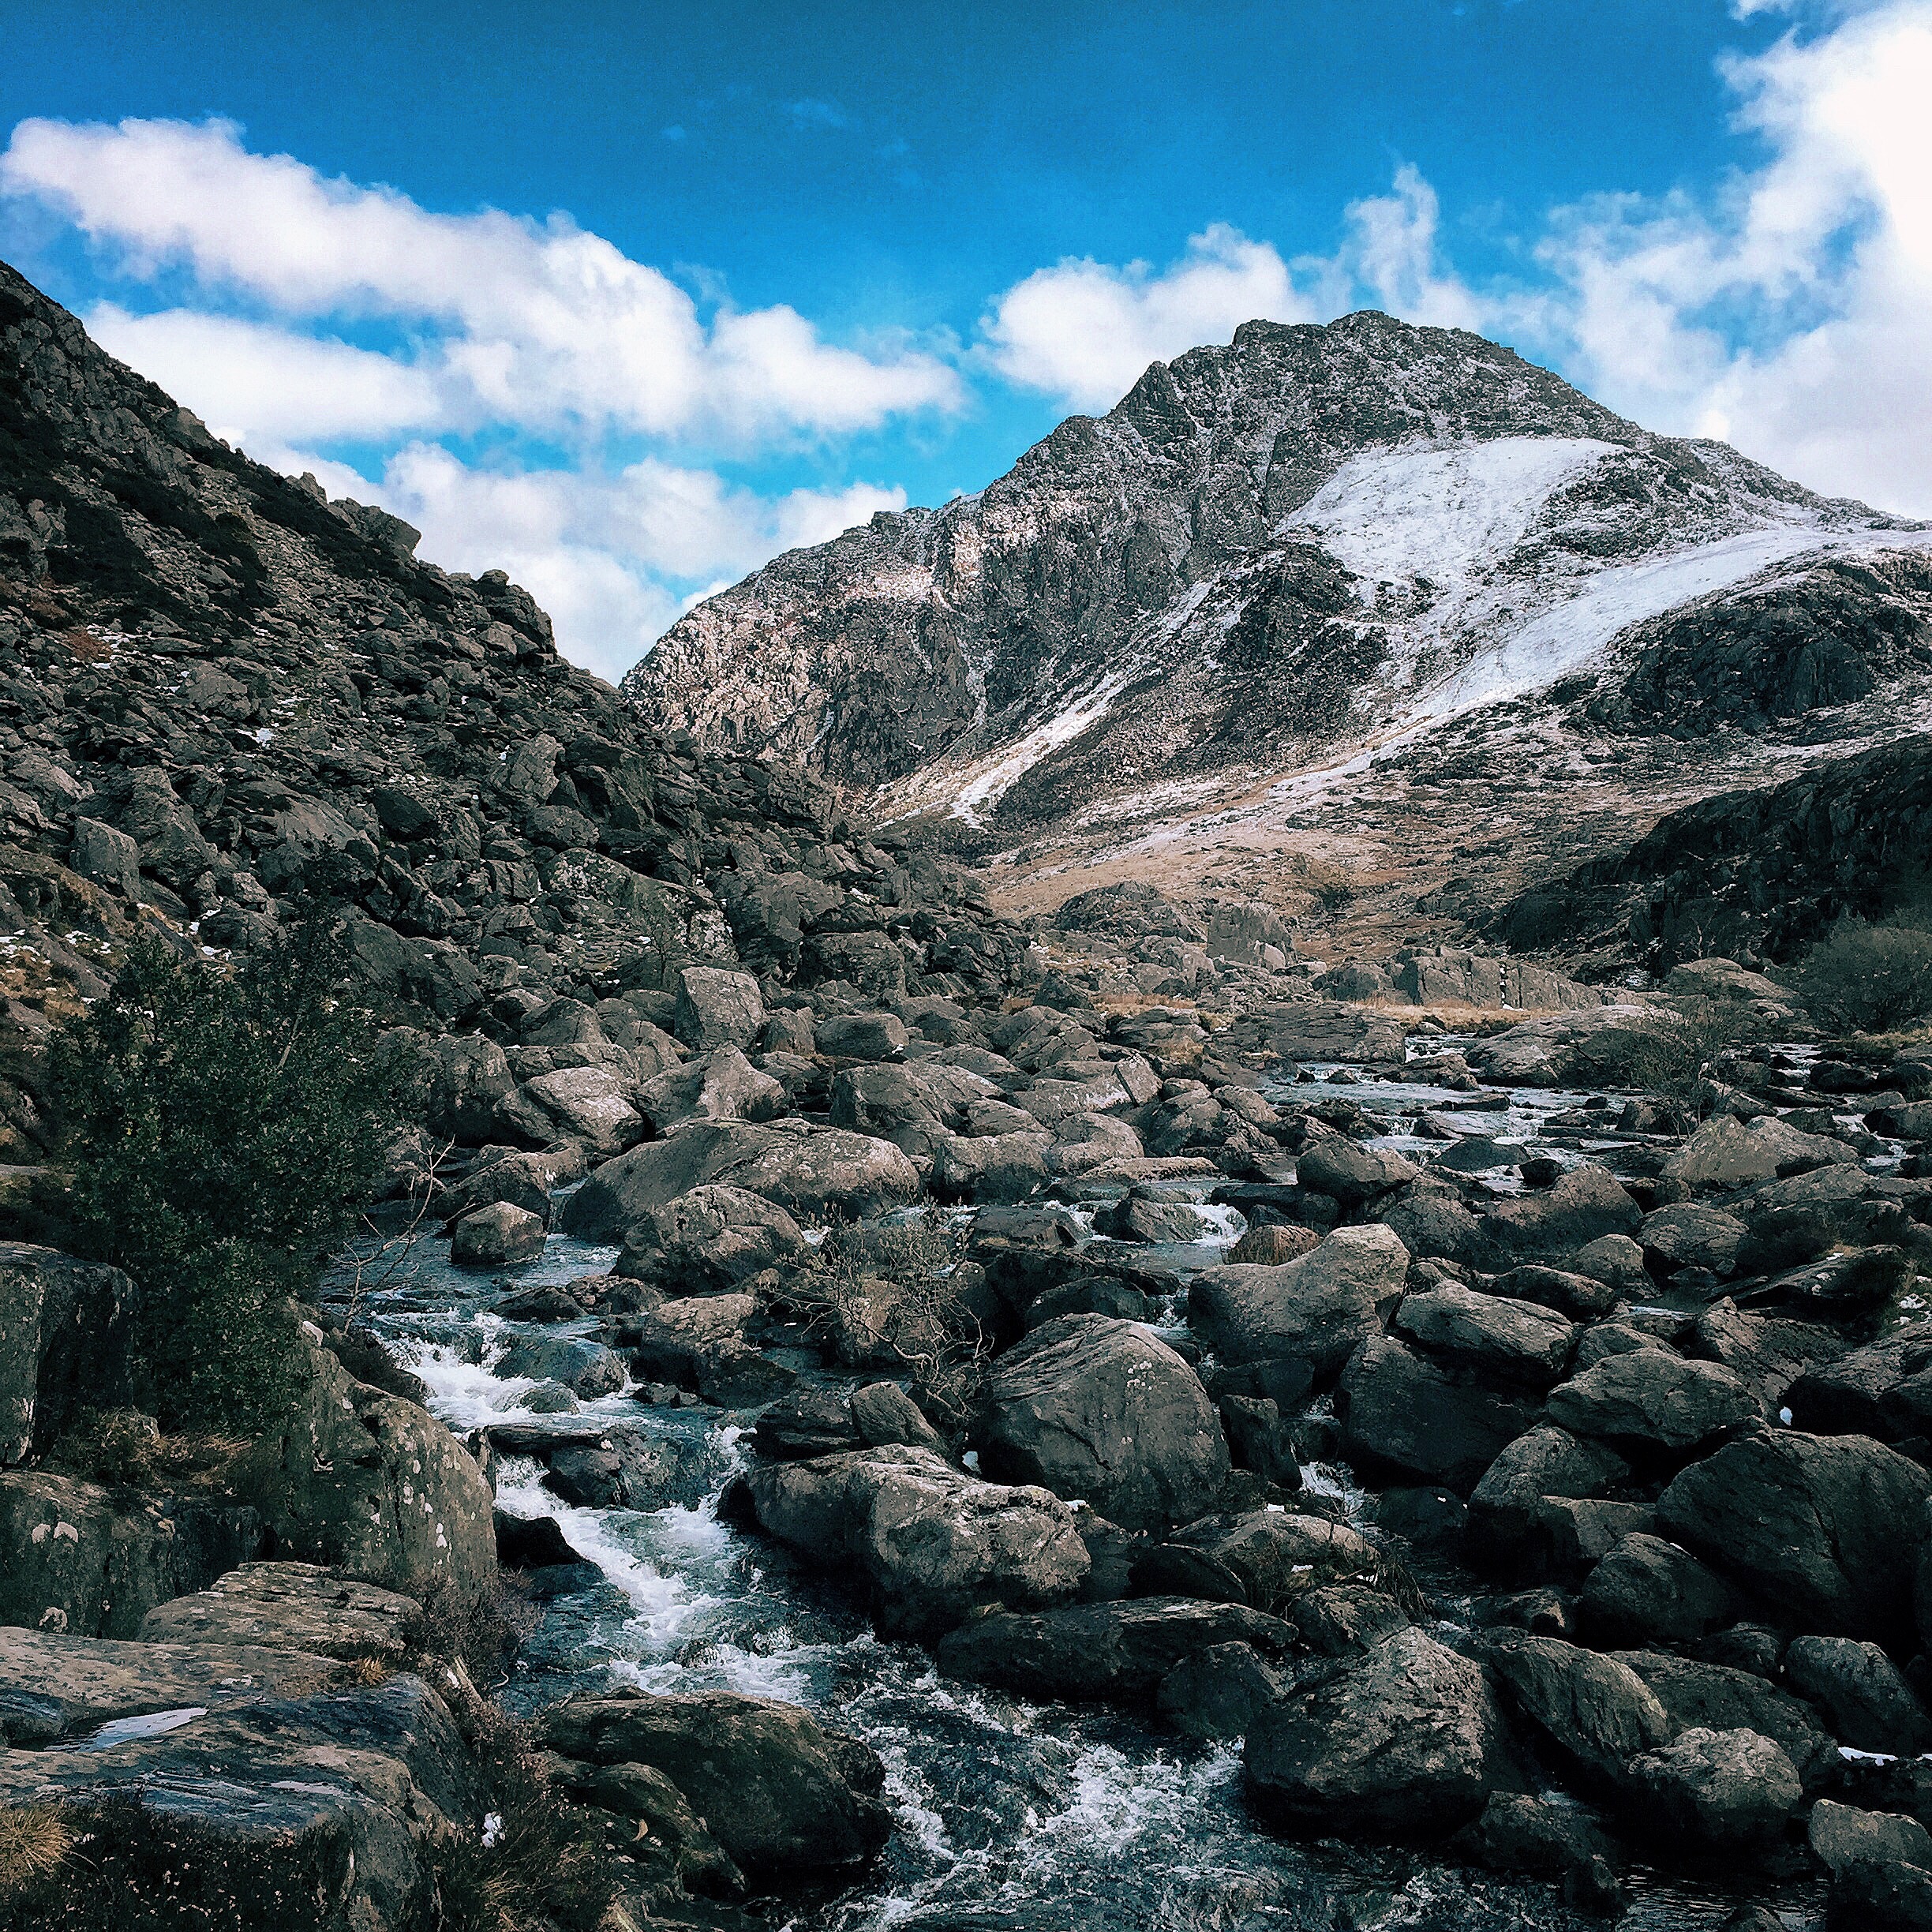
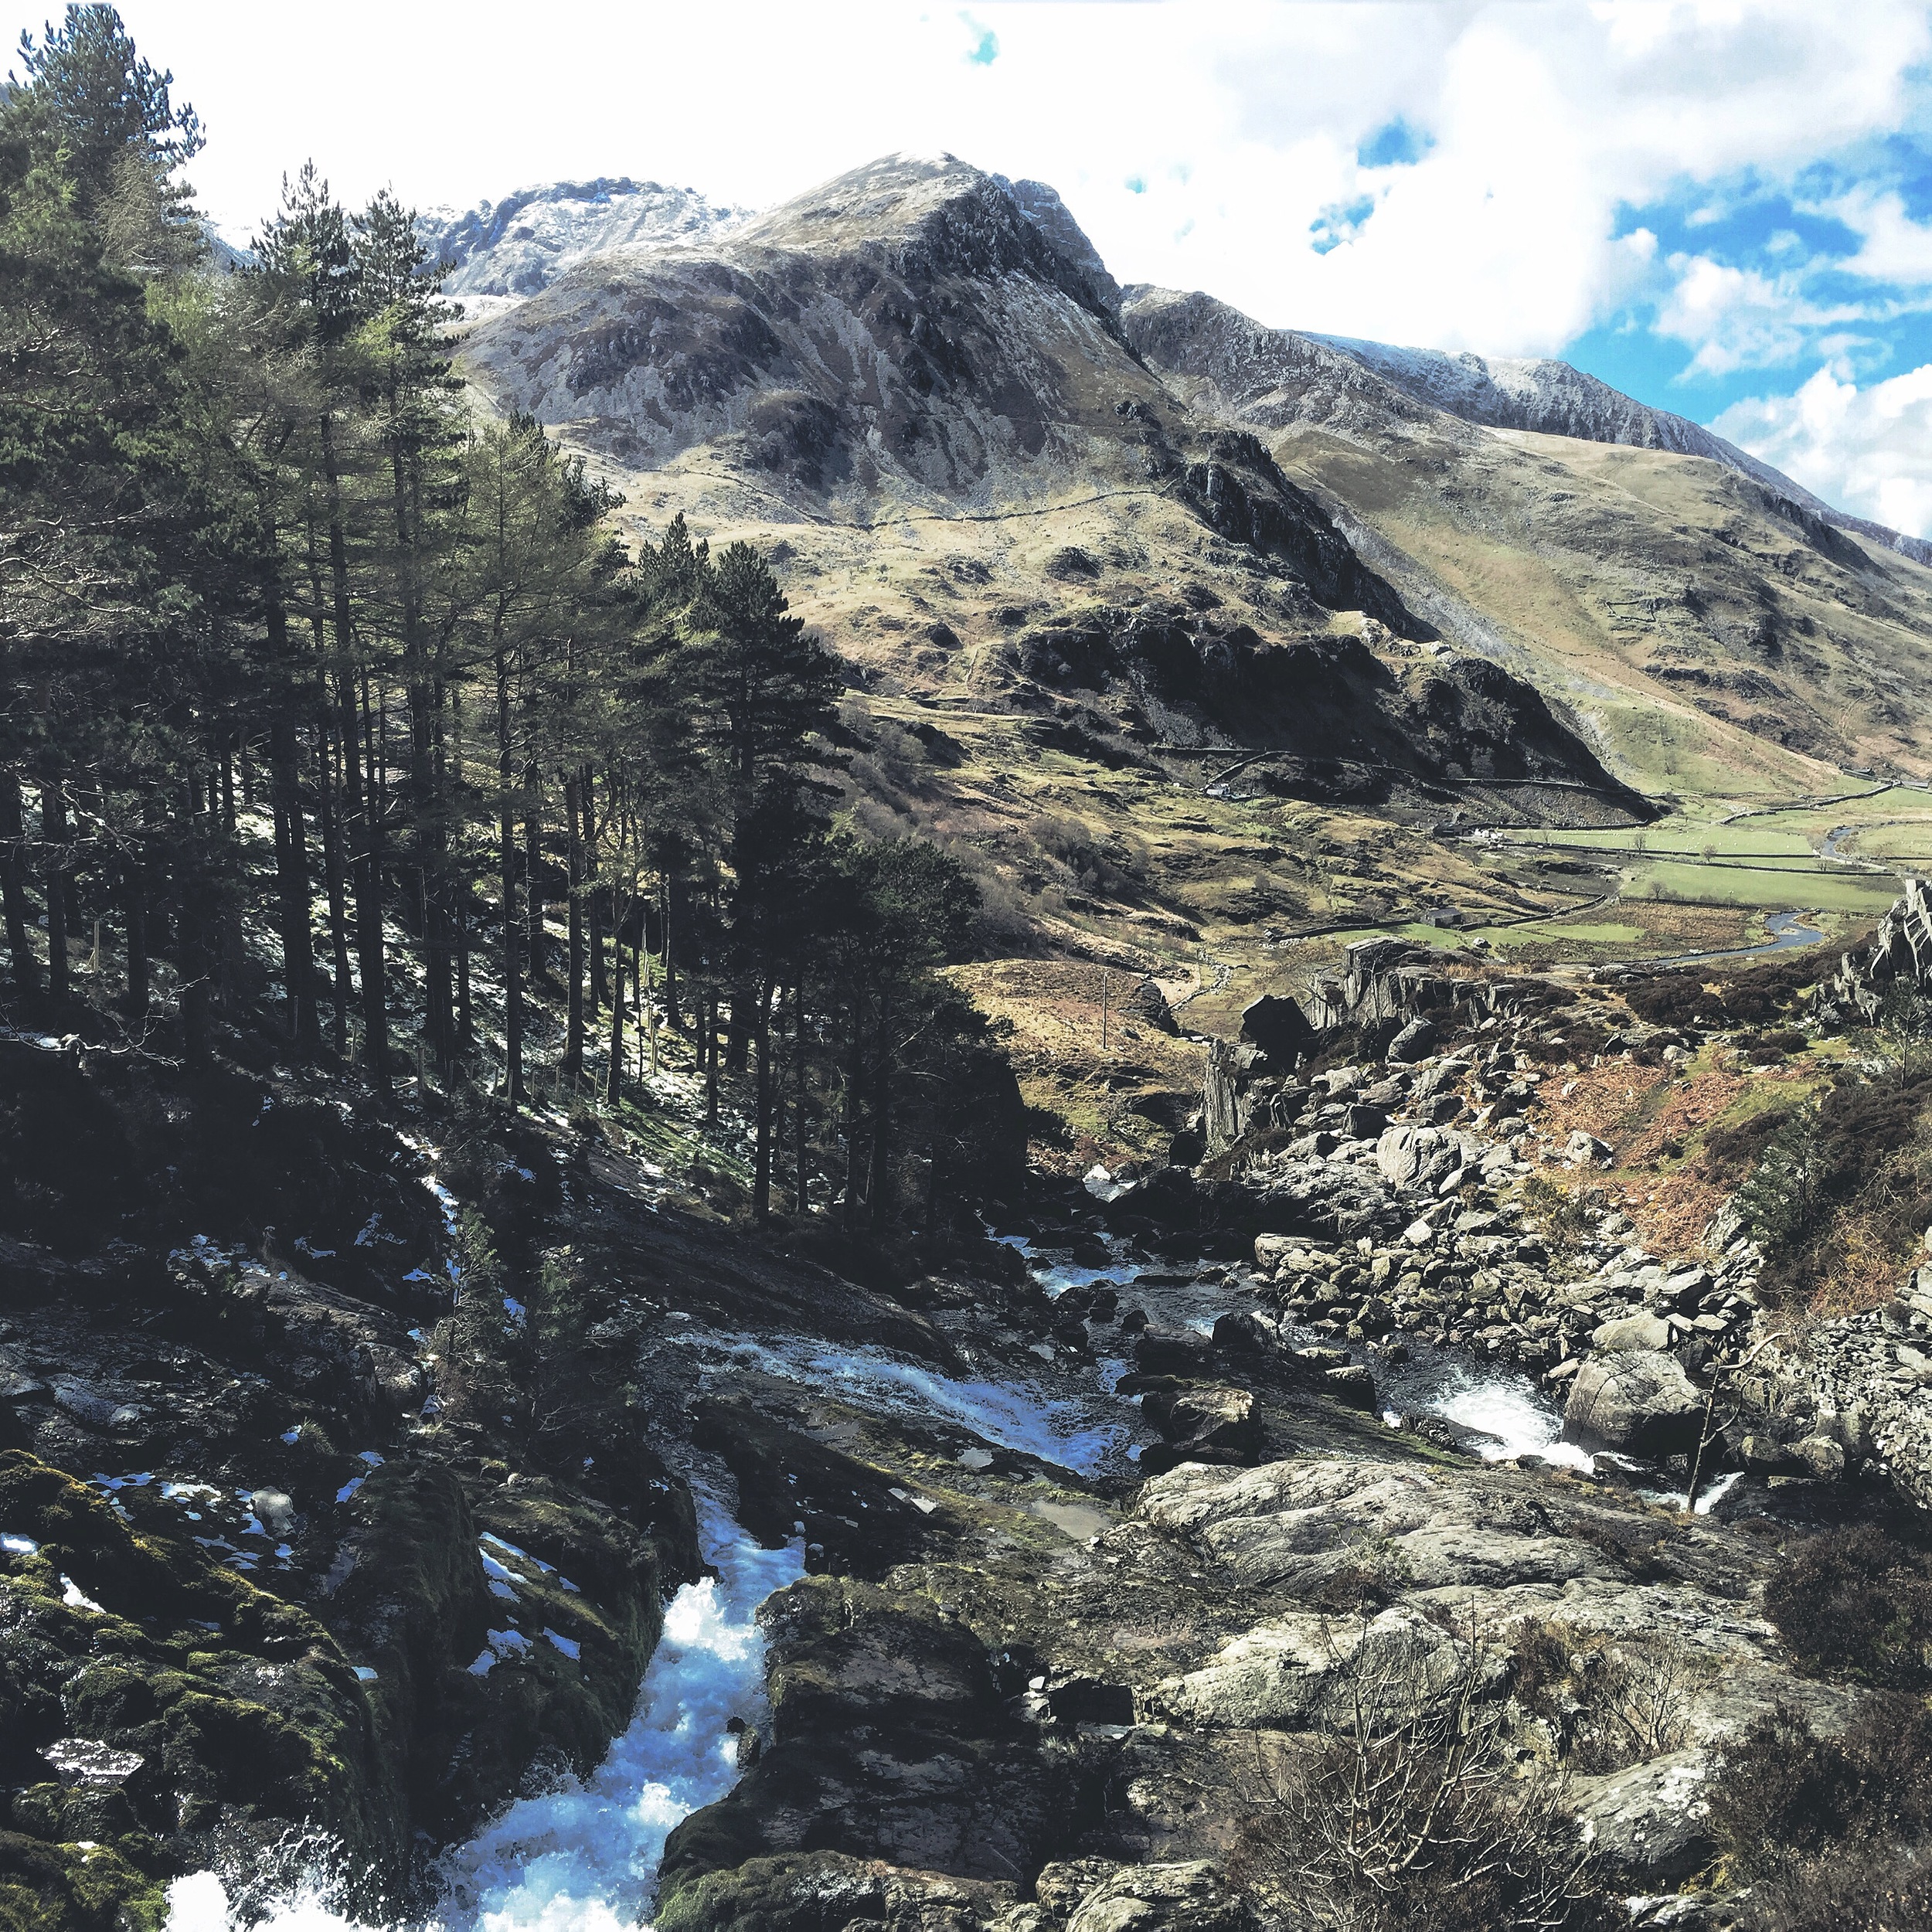
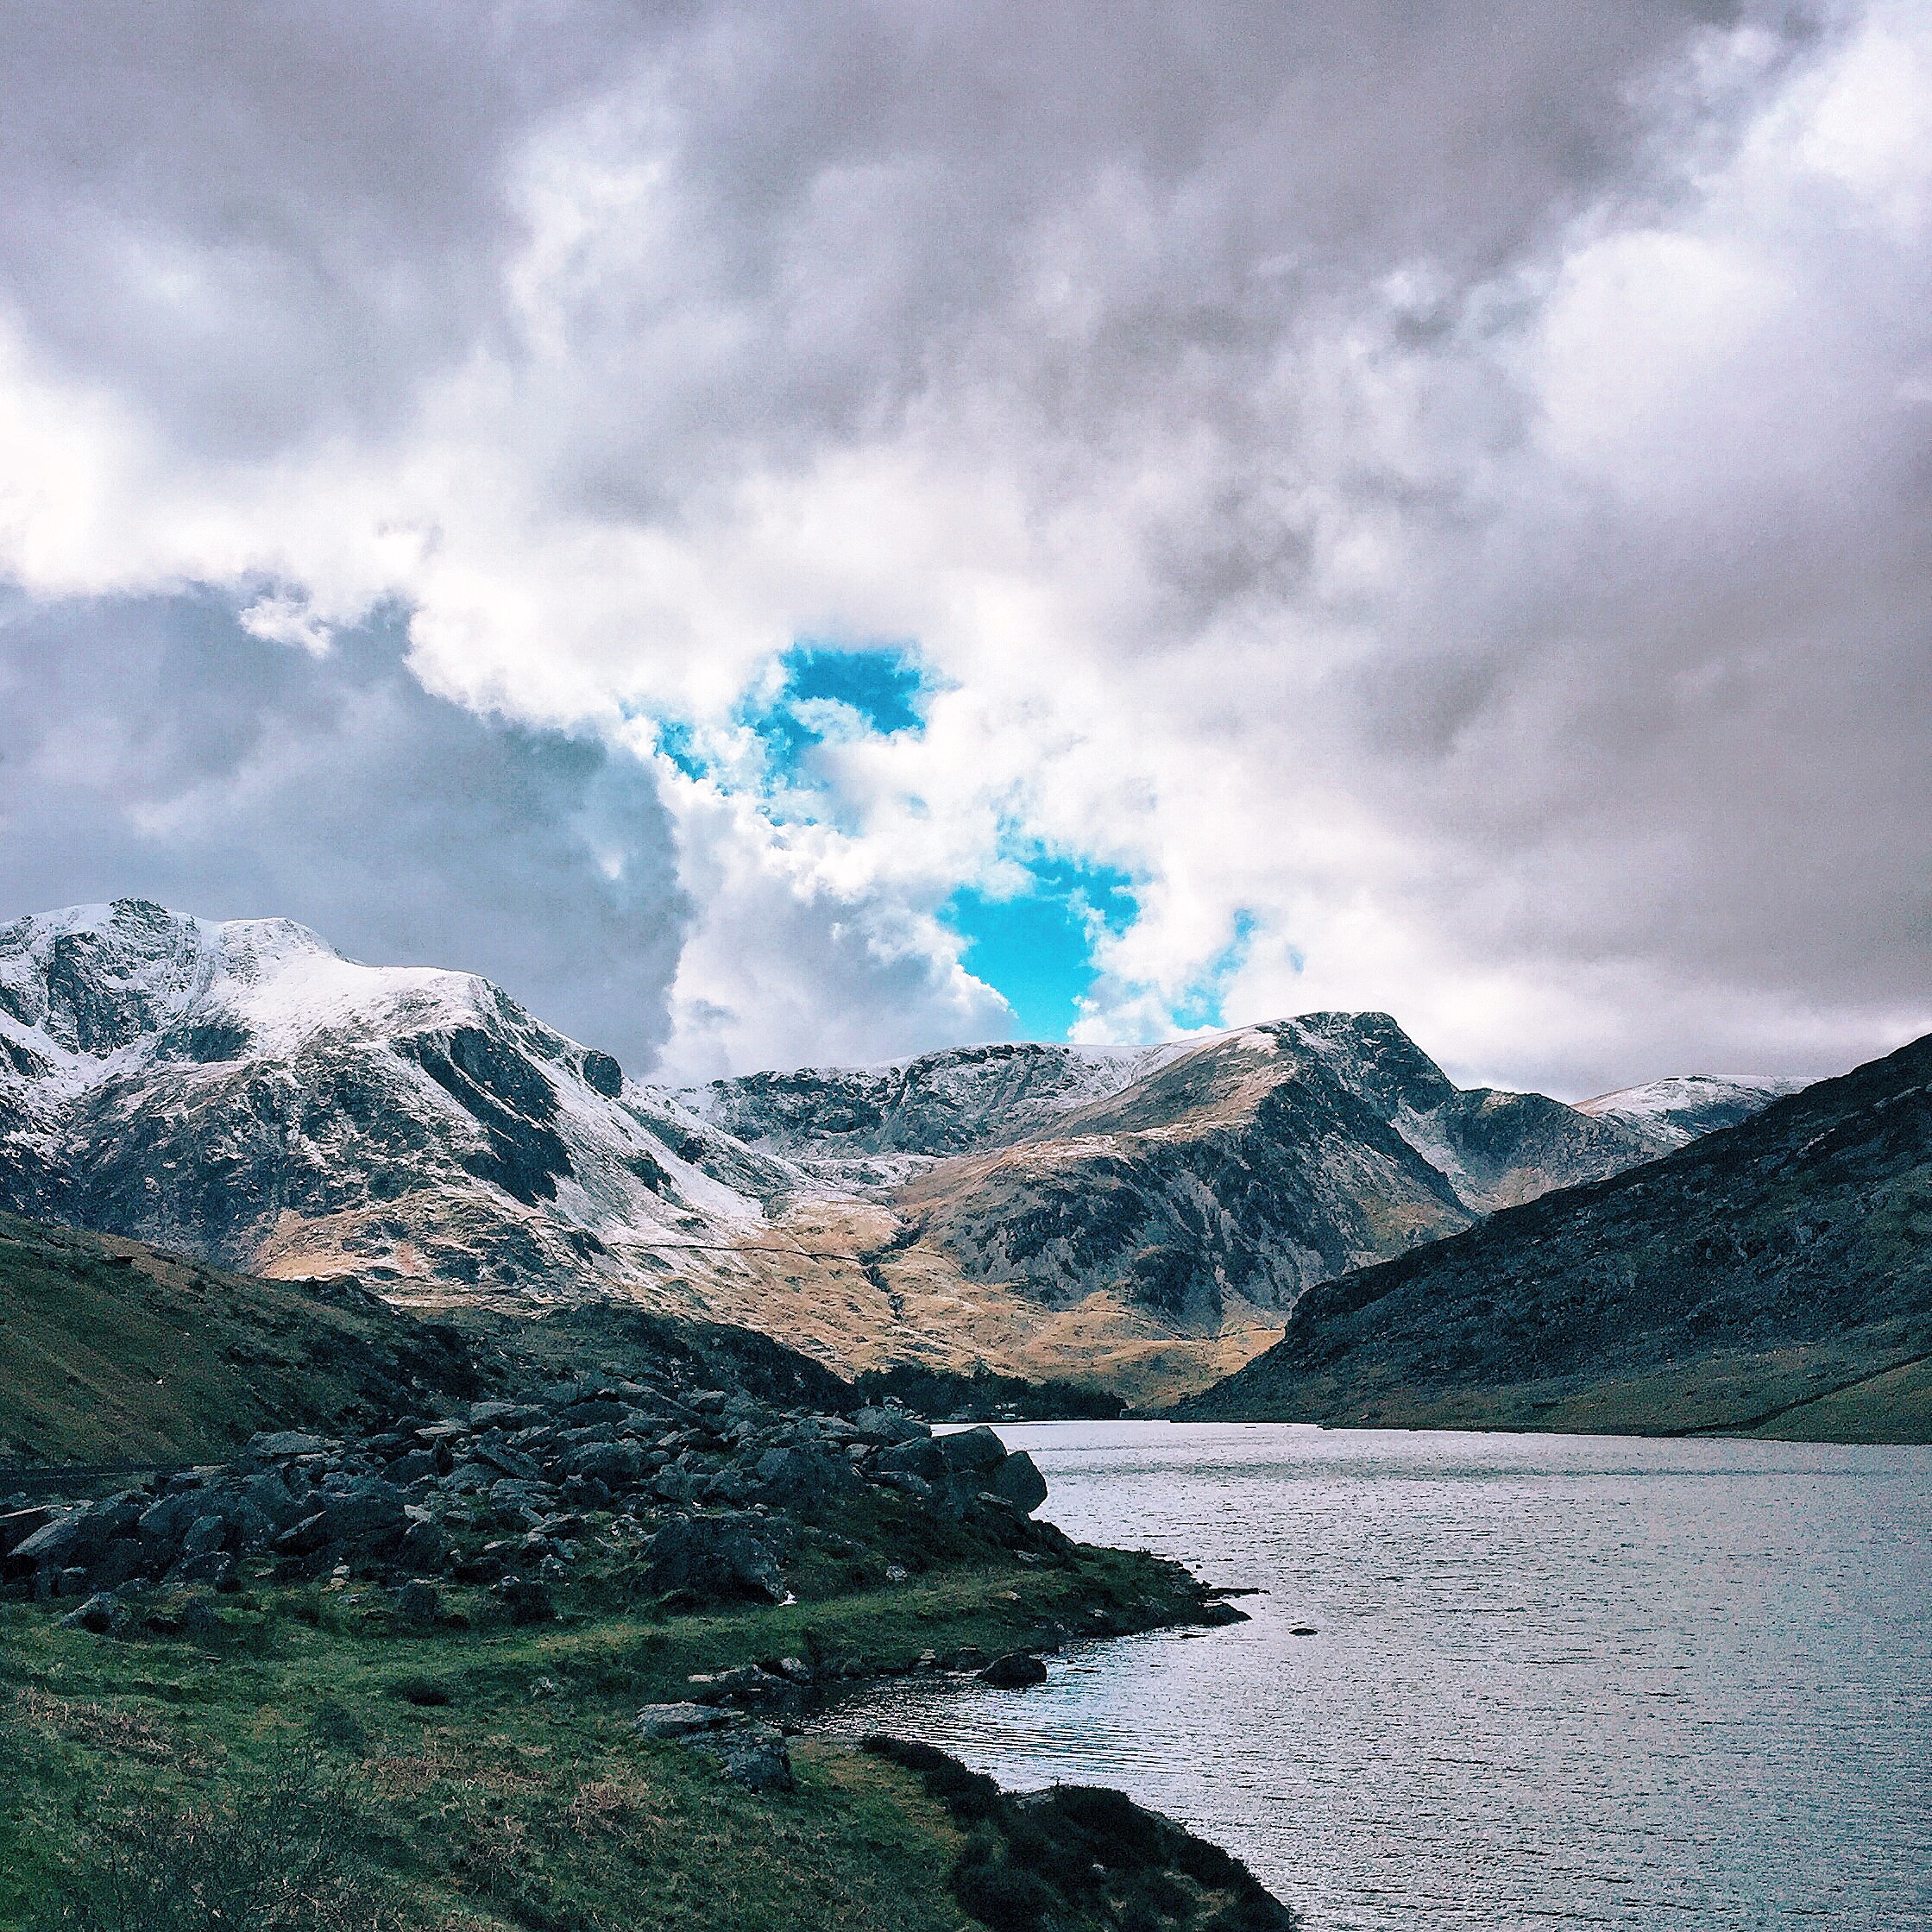
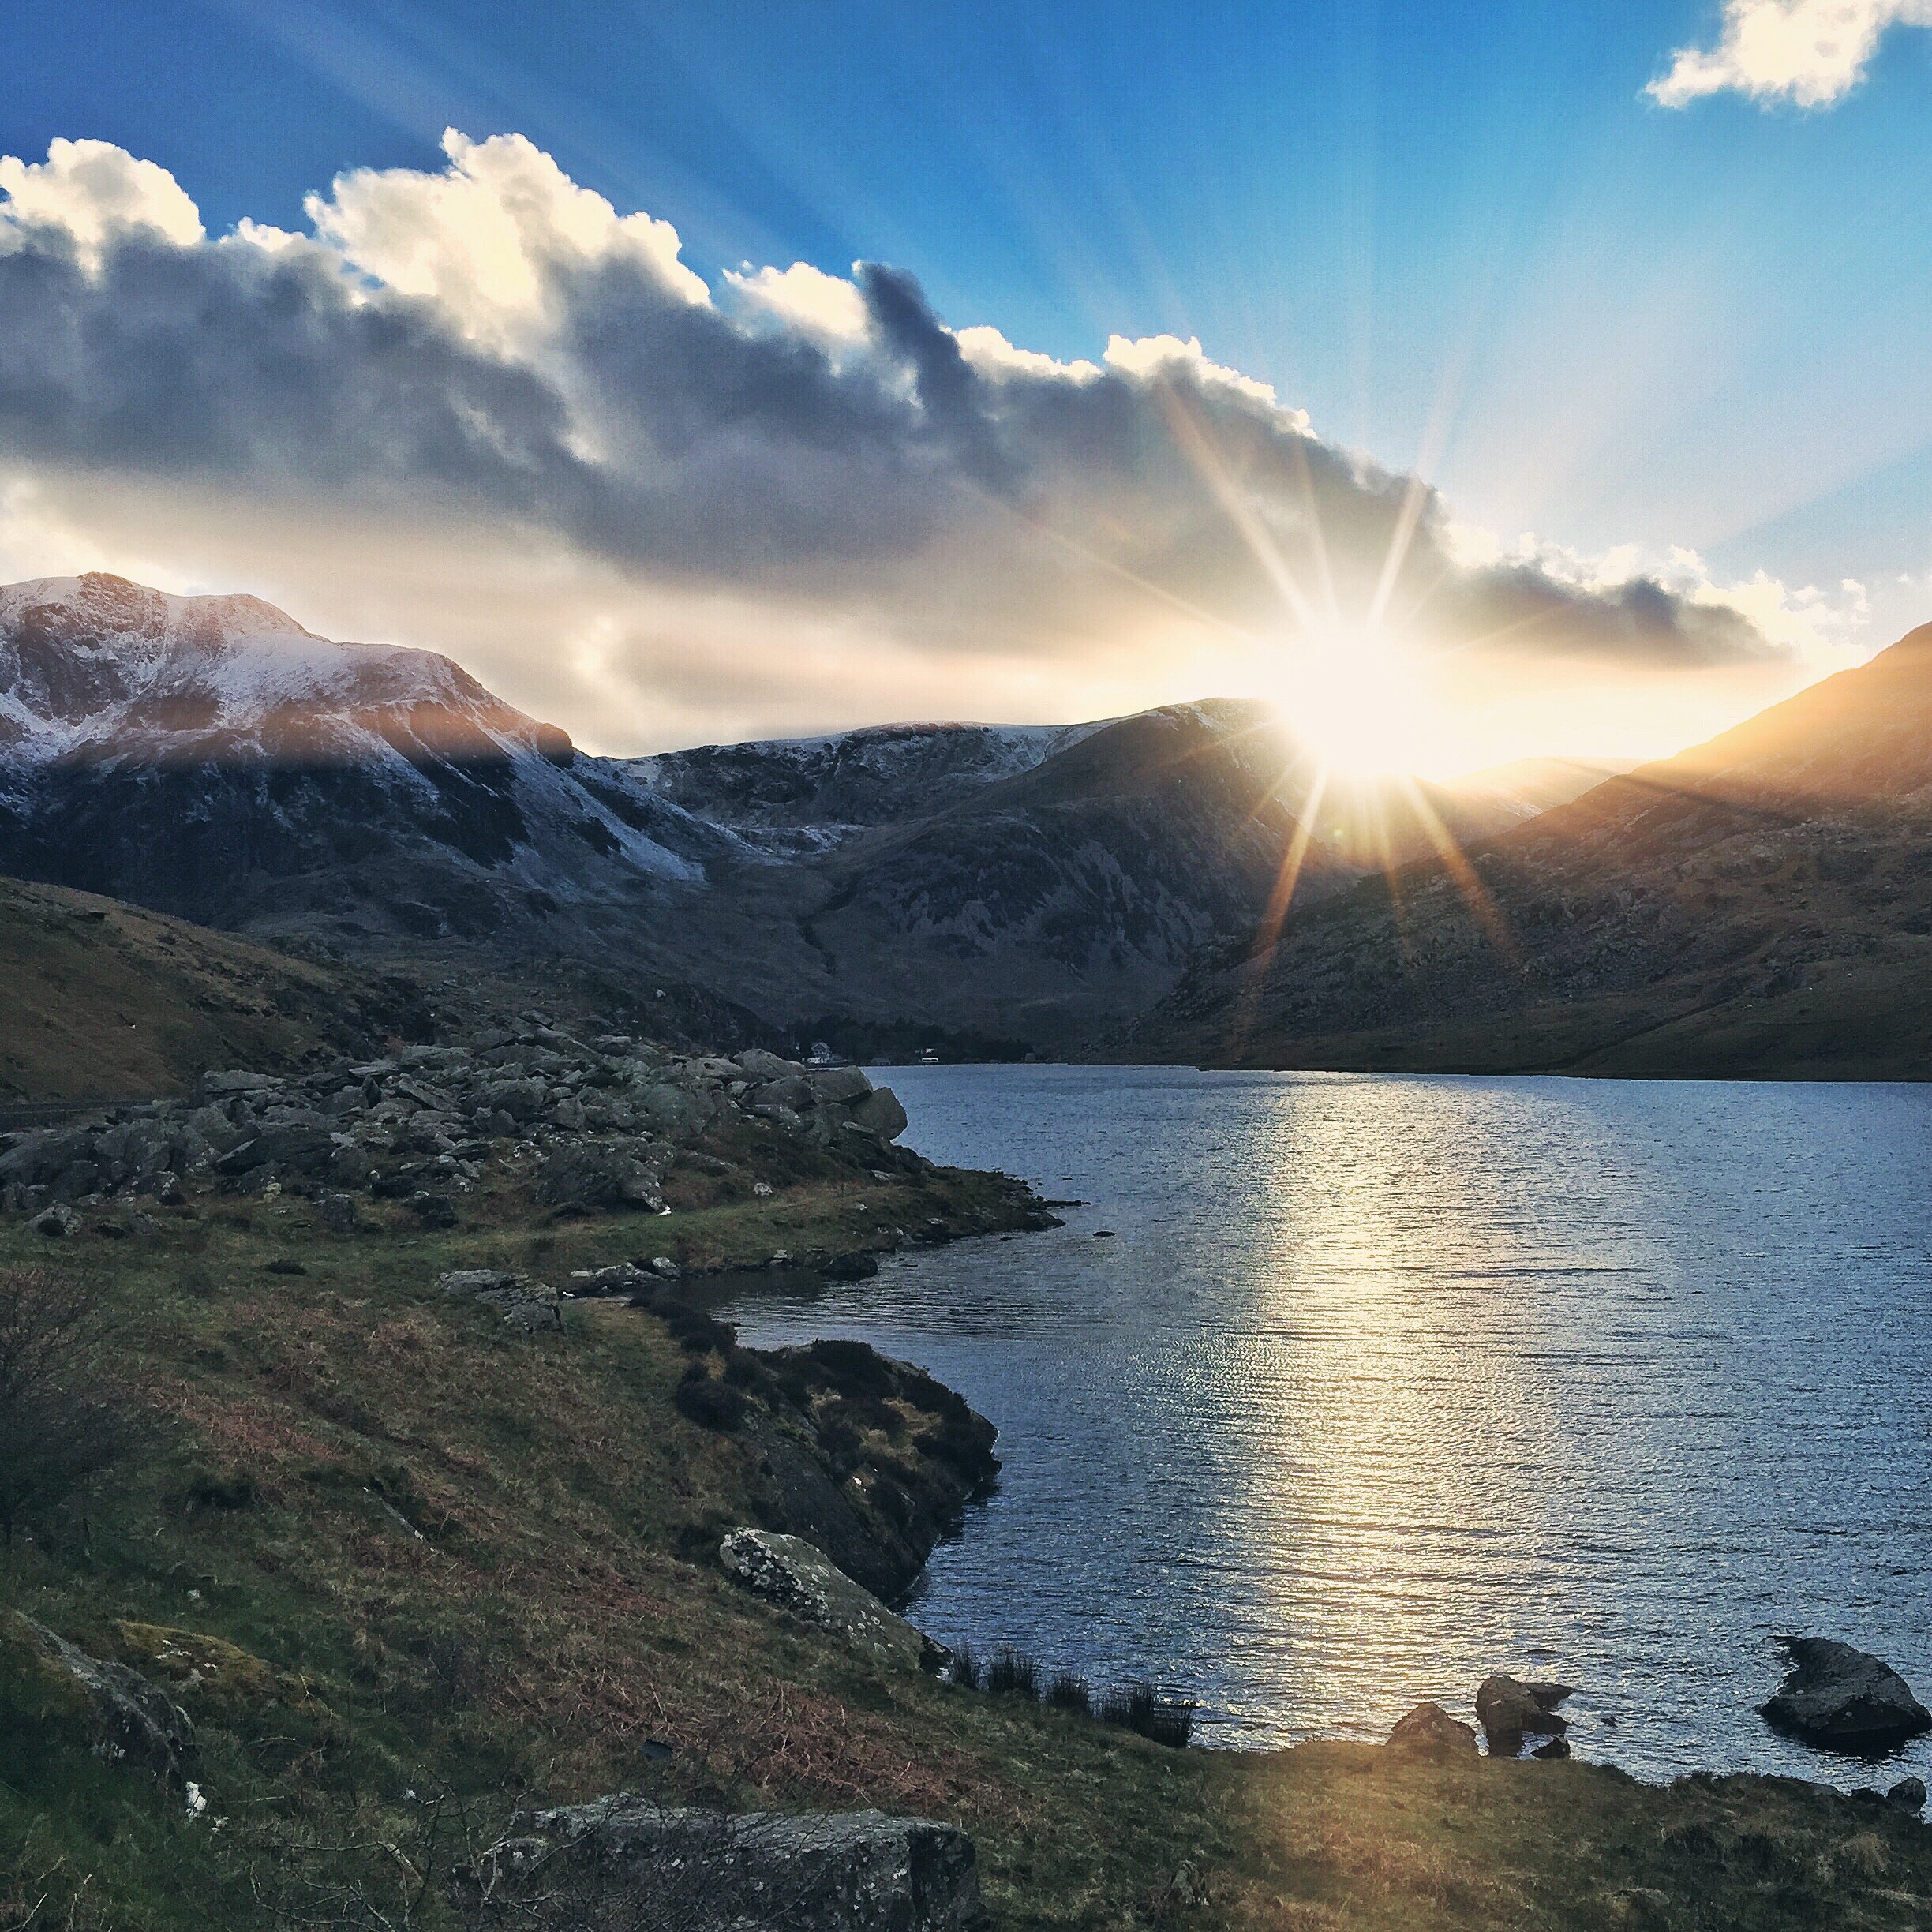
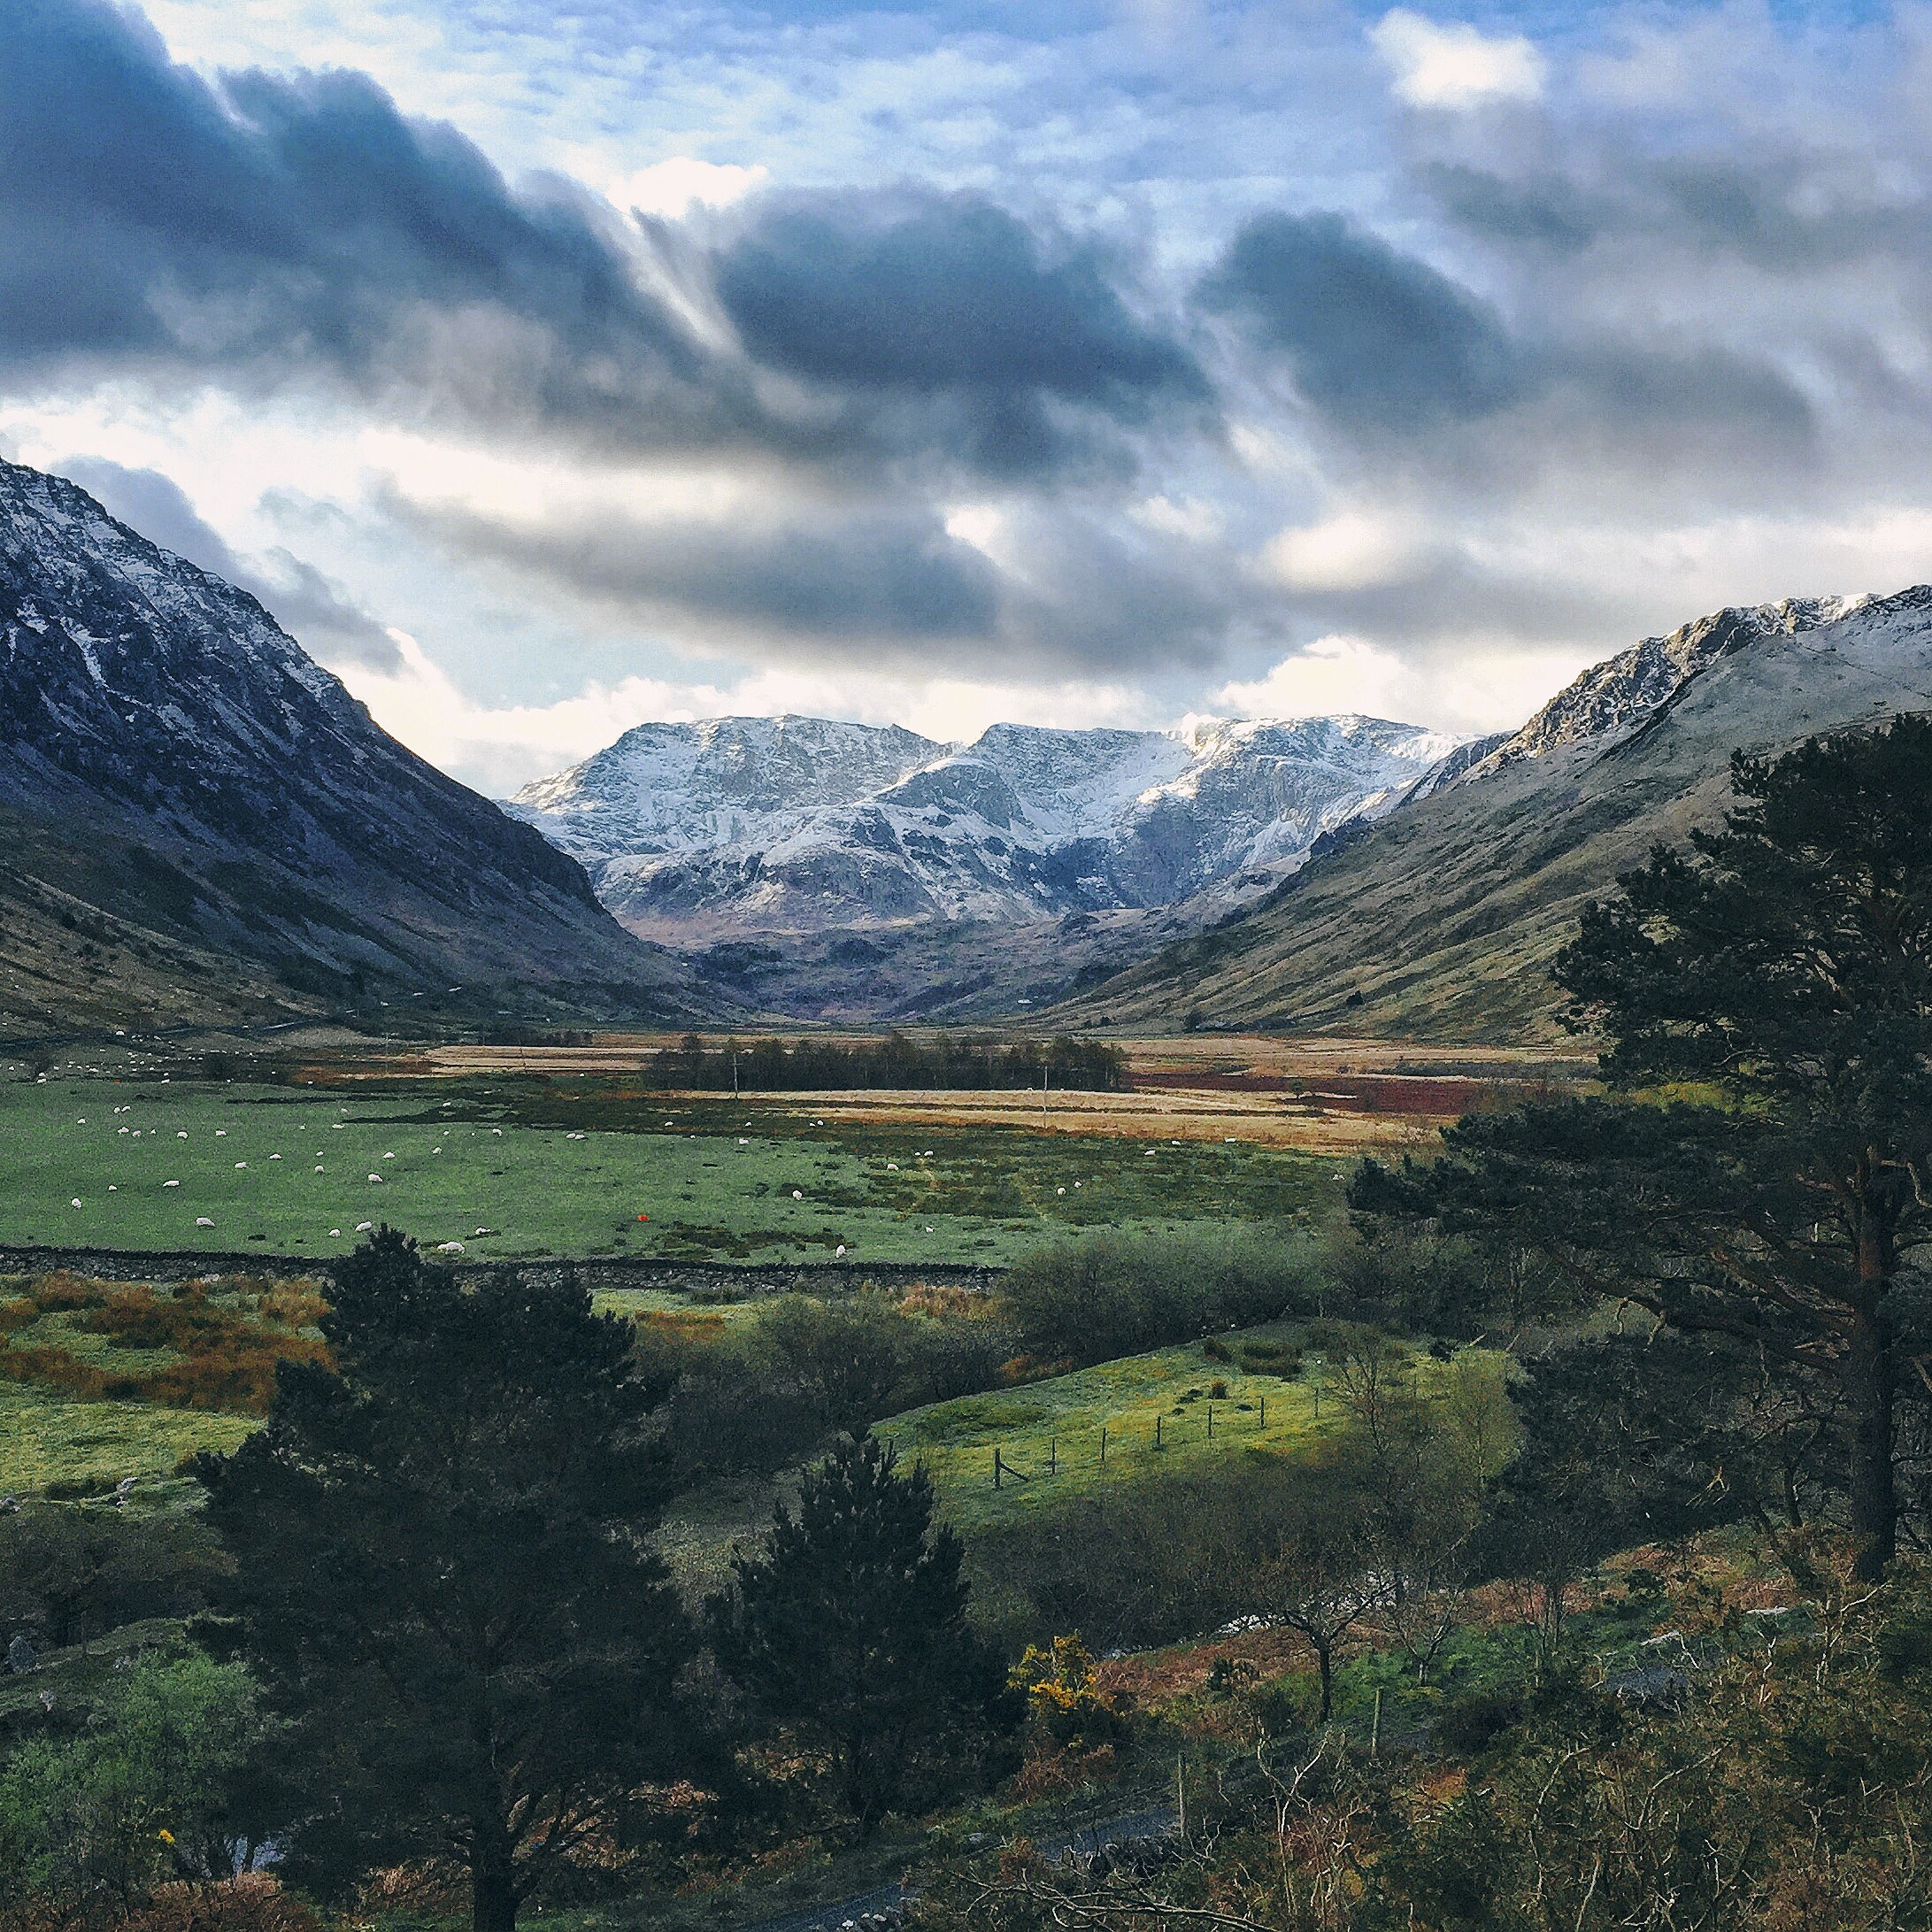
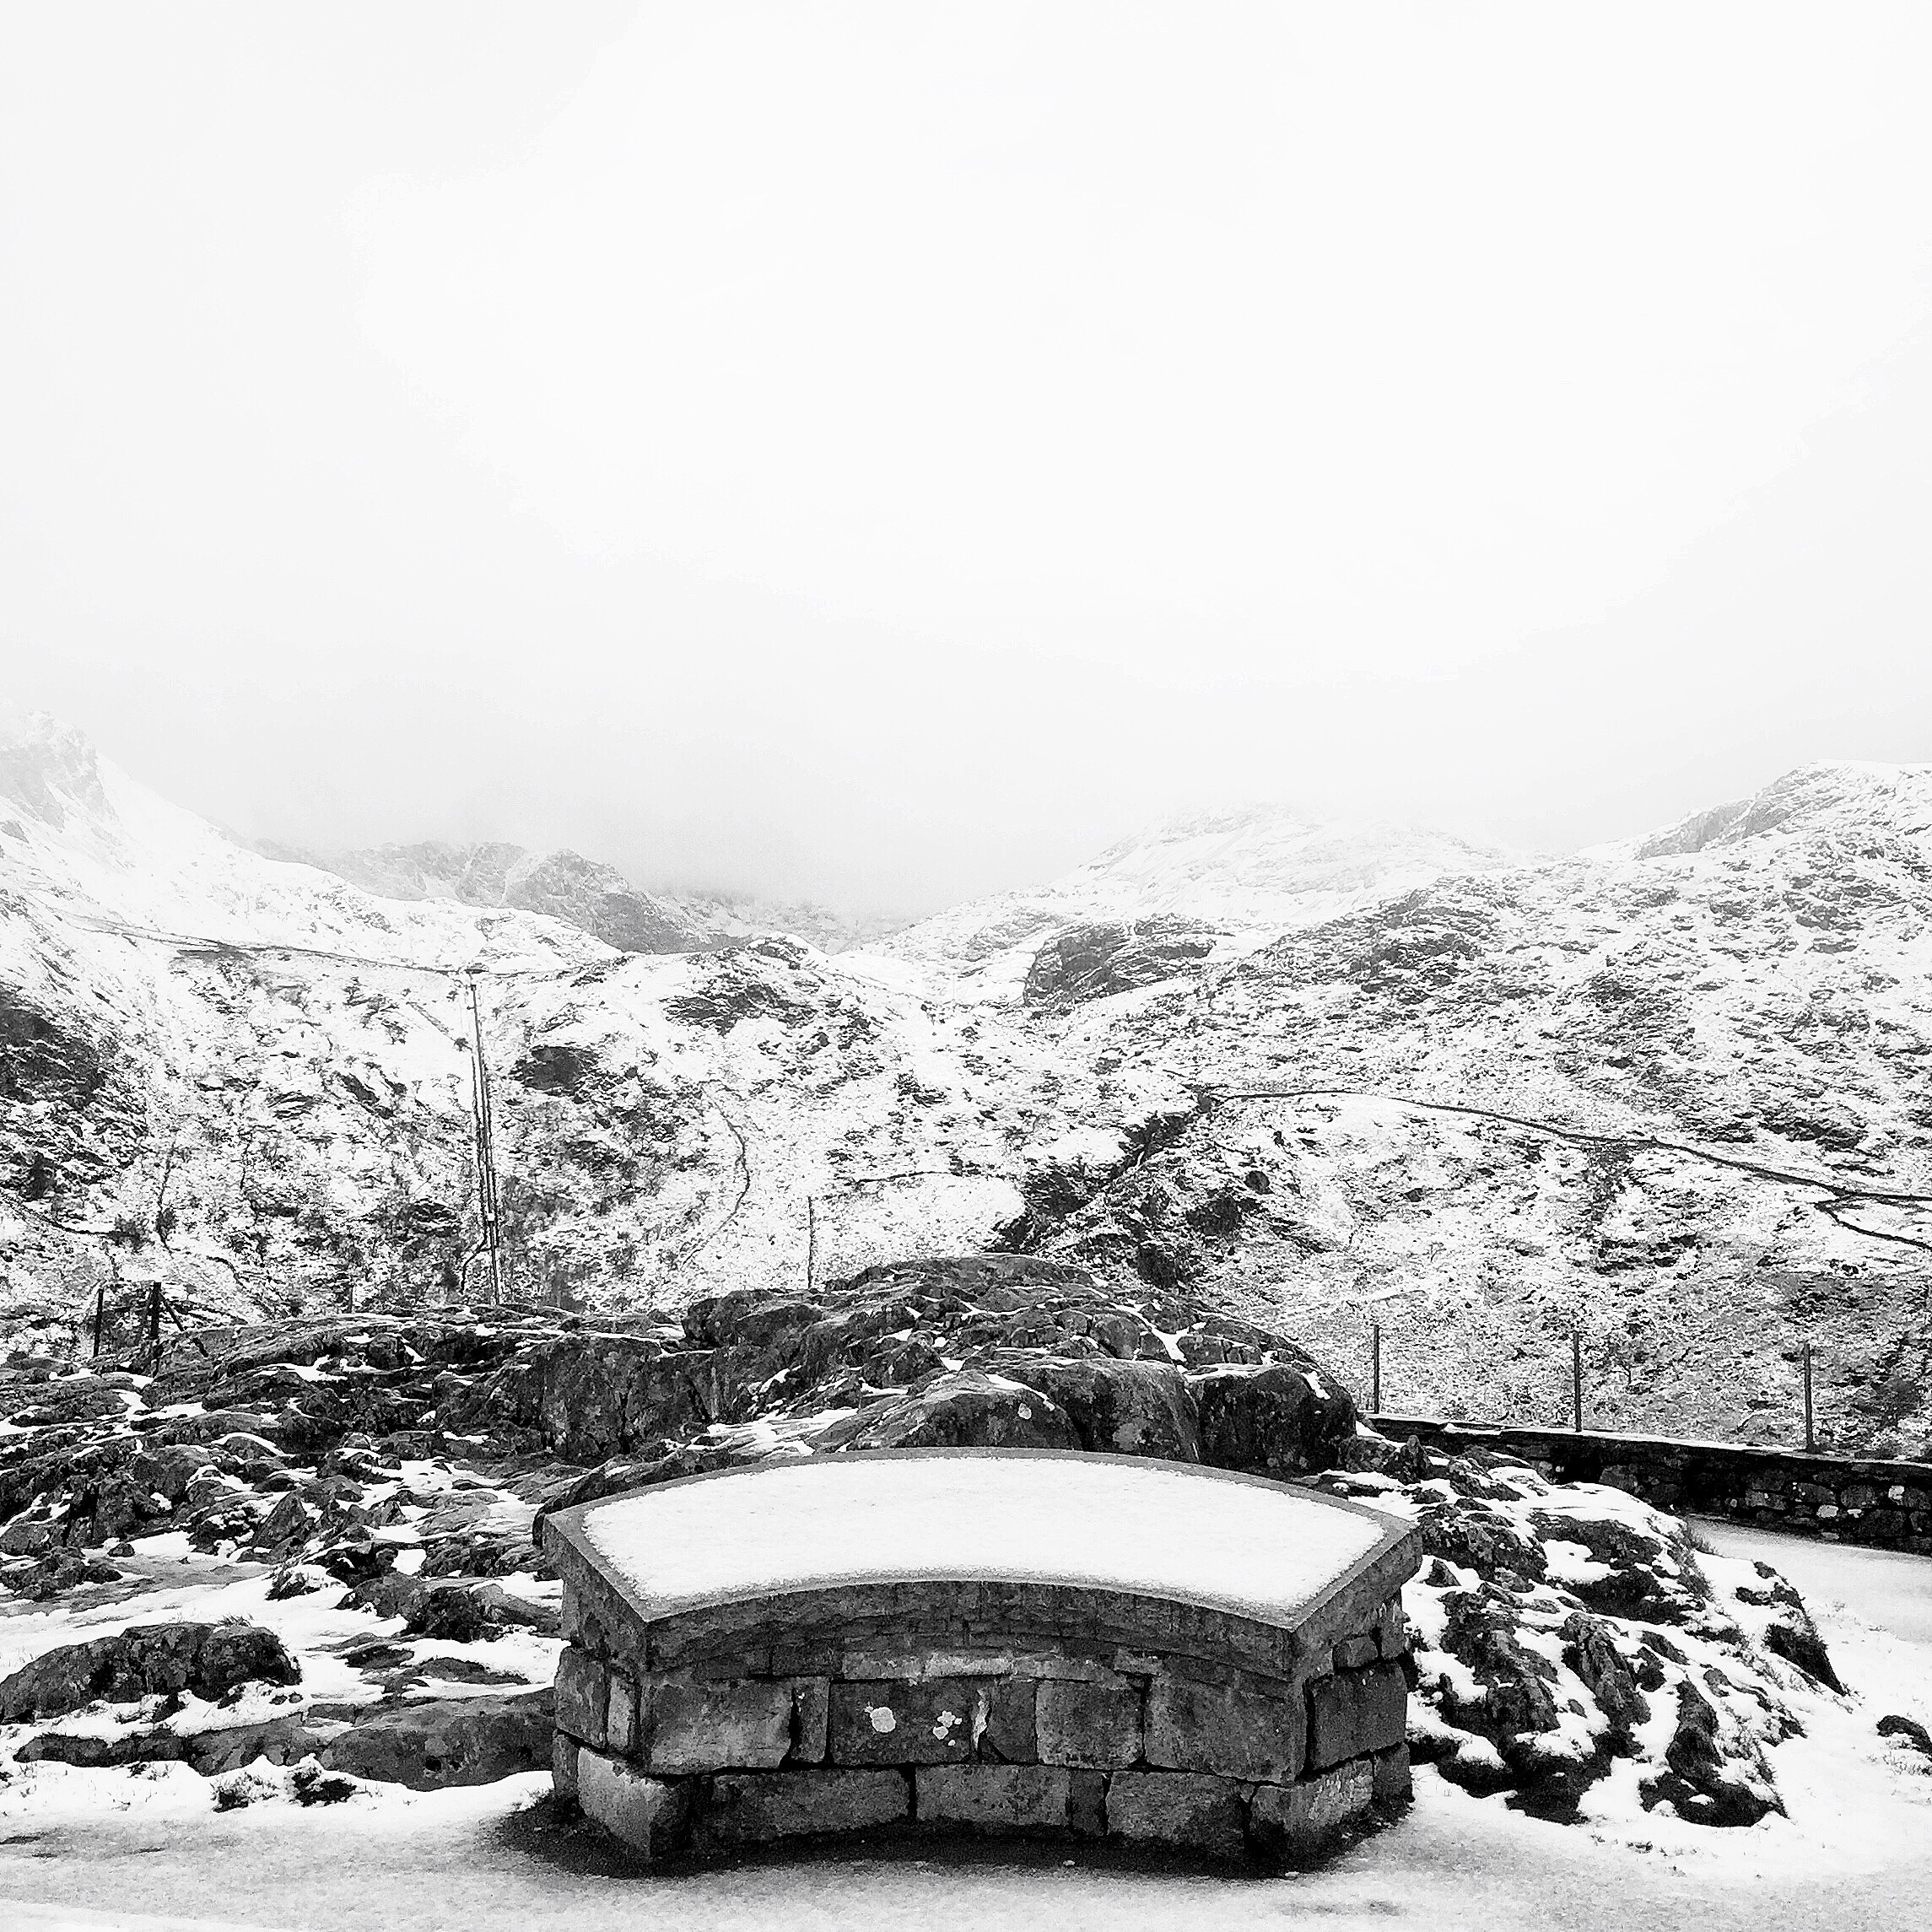
Learning to risk again: A Landscape Photography Trip
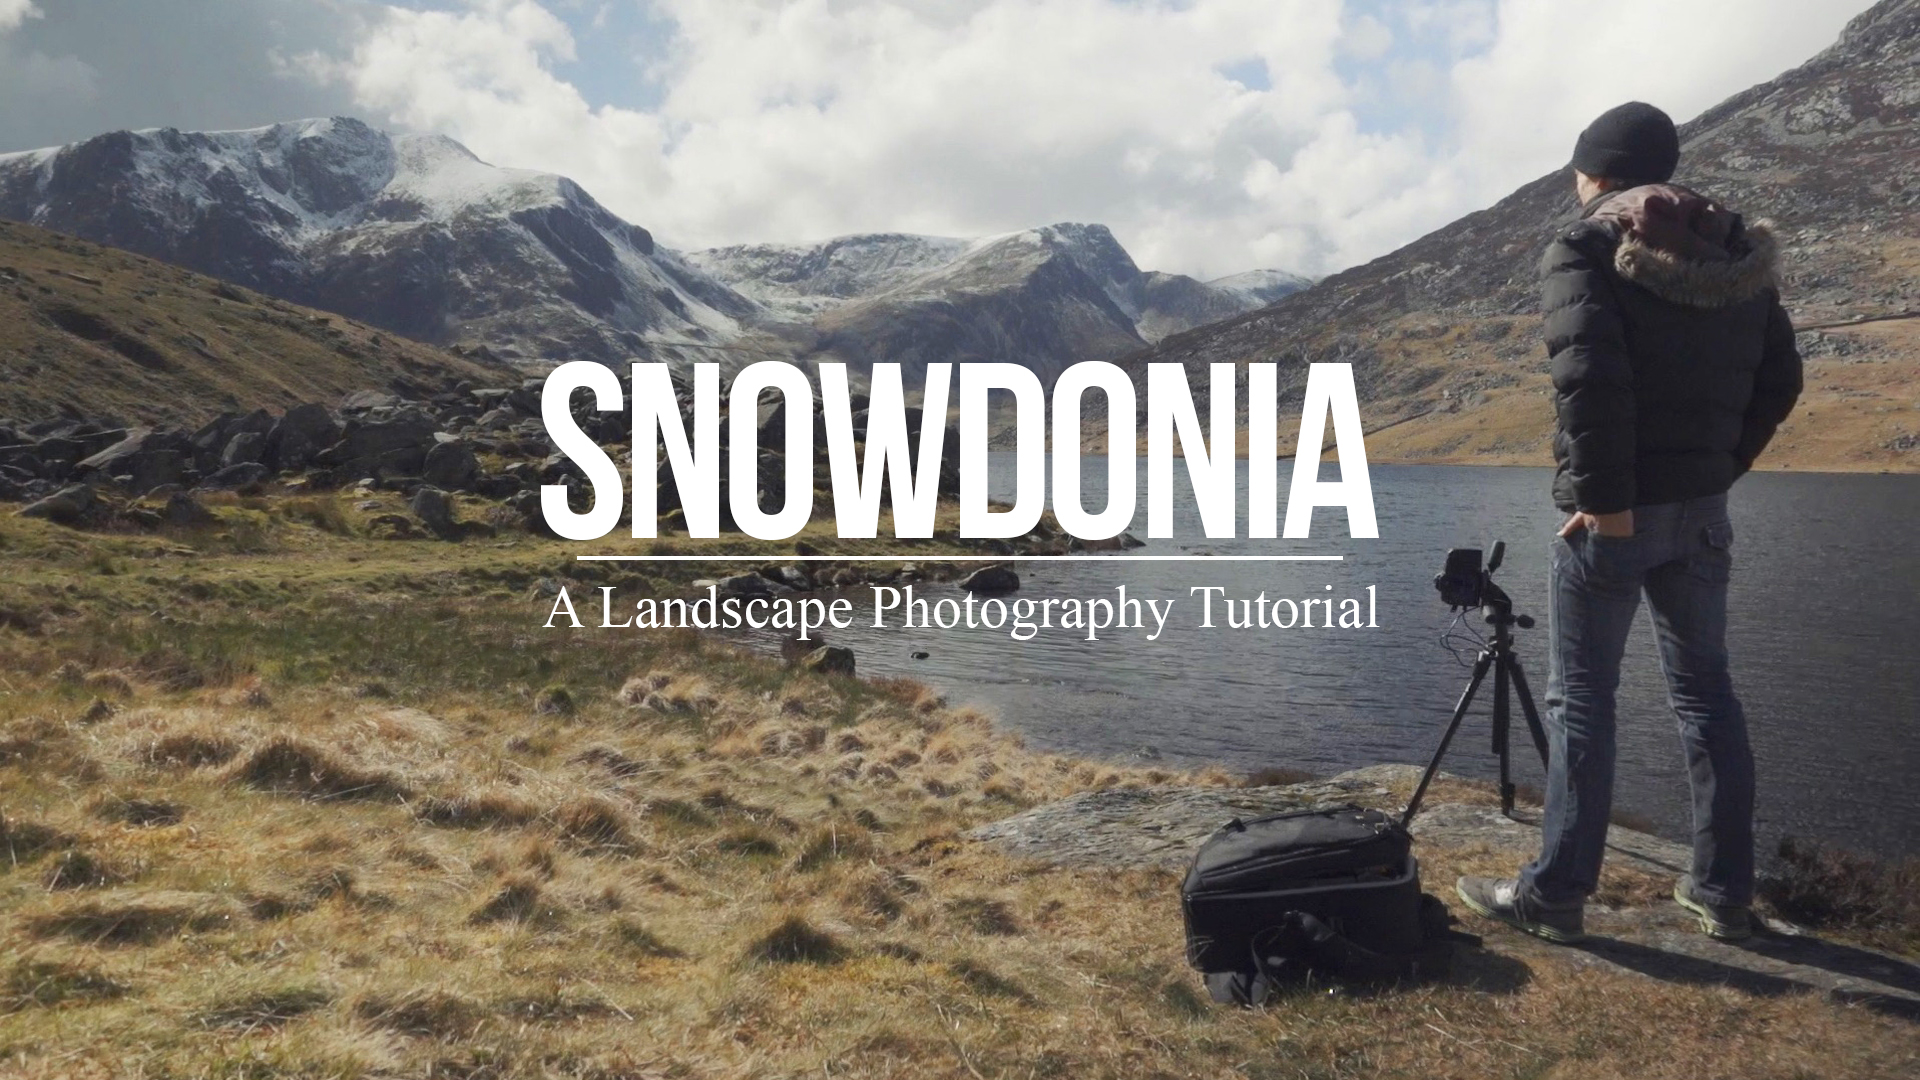
Last week I packed my bags and headed off for a few days to Snowdonia in Wales. The idea was to just leave and shoot something completely different, outside my comfort zone, to keep photography fresh for myself and take it out of the daily grind. There was no guarantee the trip wouldn't be a waste as I'm not a professional landscape photographer by any means, but I think the best creativity will always come out when you are taking risks.
When I got home I edited together this little road trip movie / photography tutorial from the journey with some of the things I learnt, so I'll shut up now and let the video speak for itself:)
I hope you enjoy:
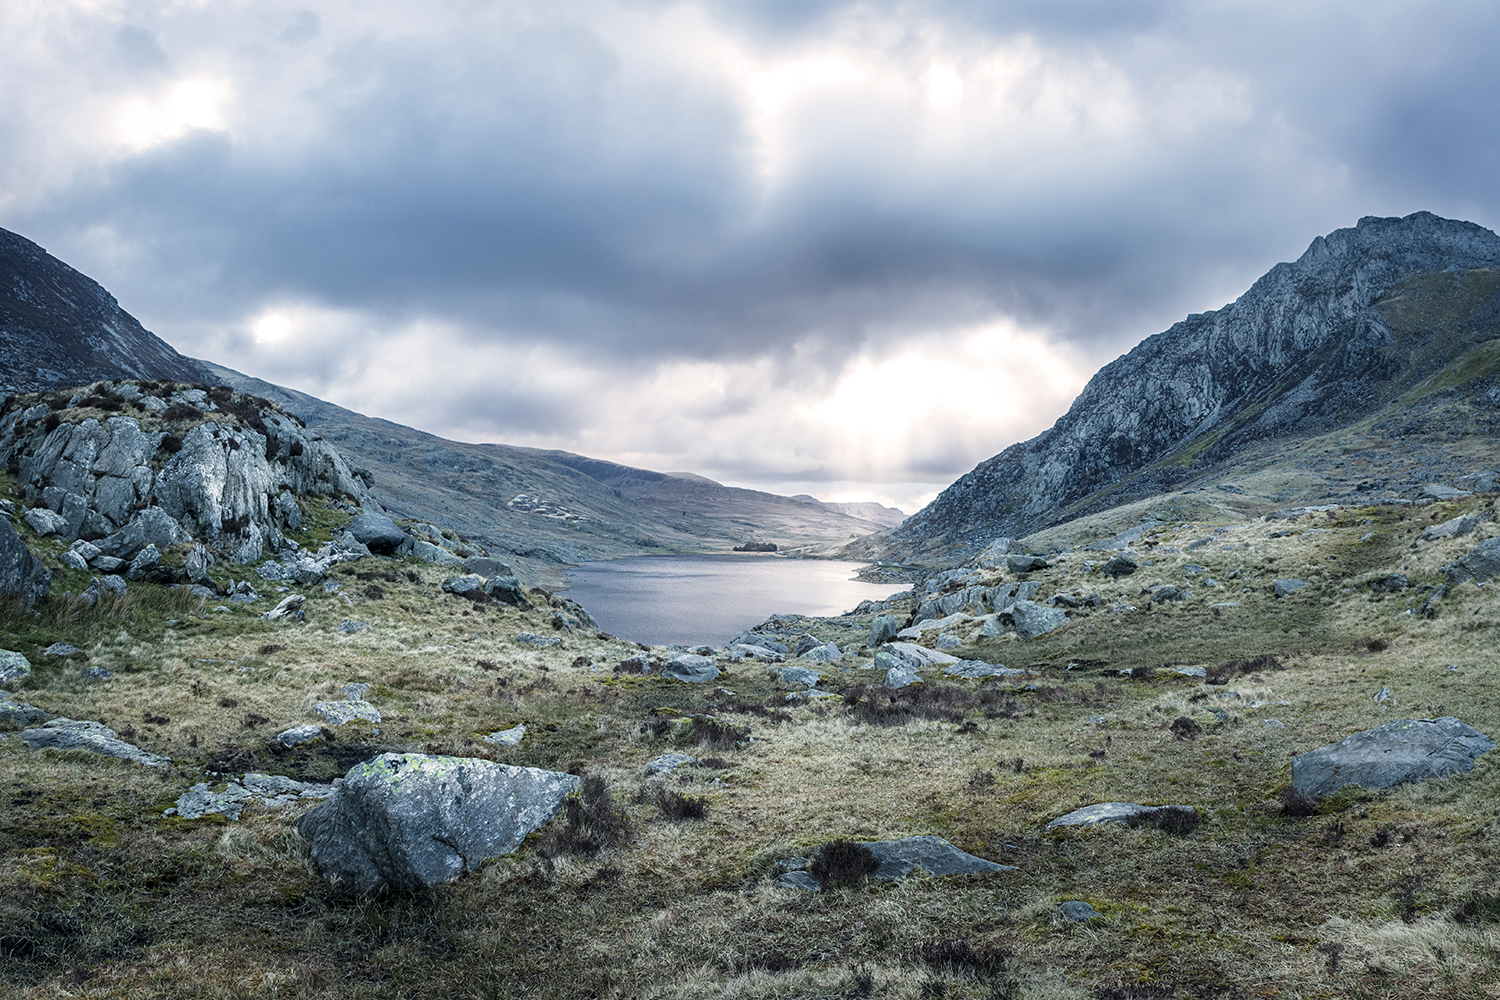
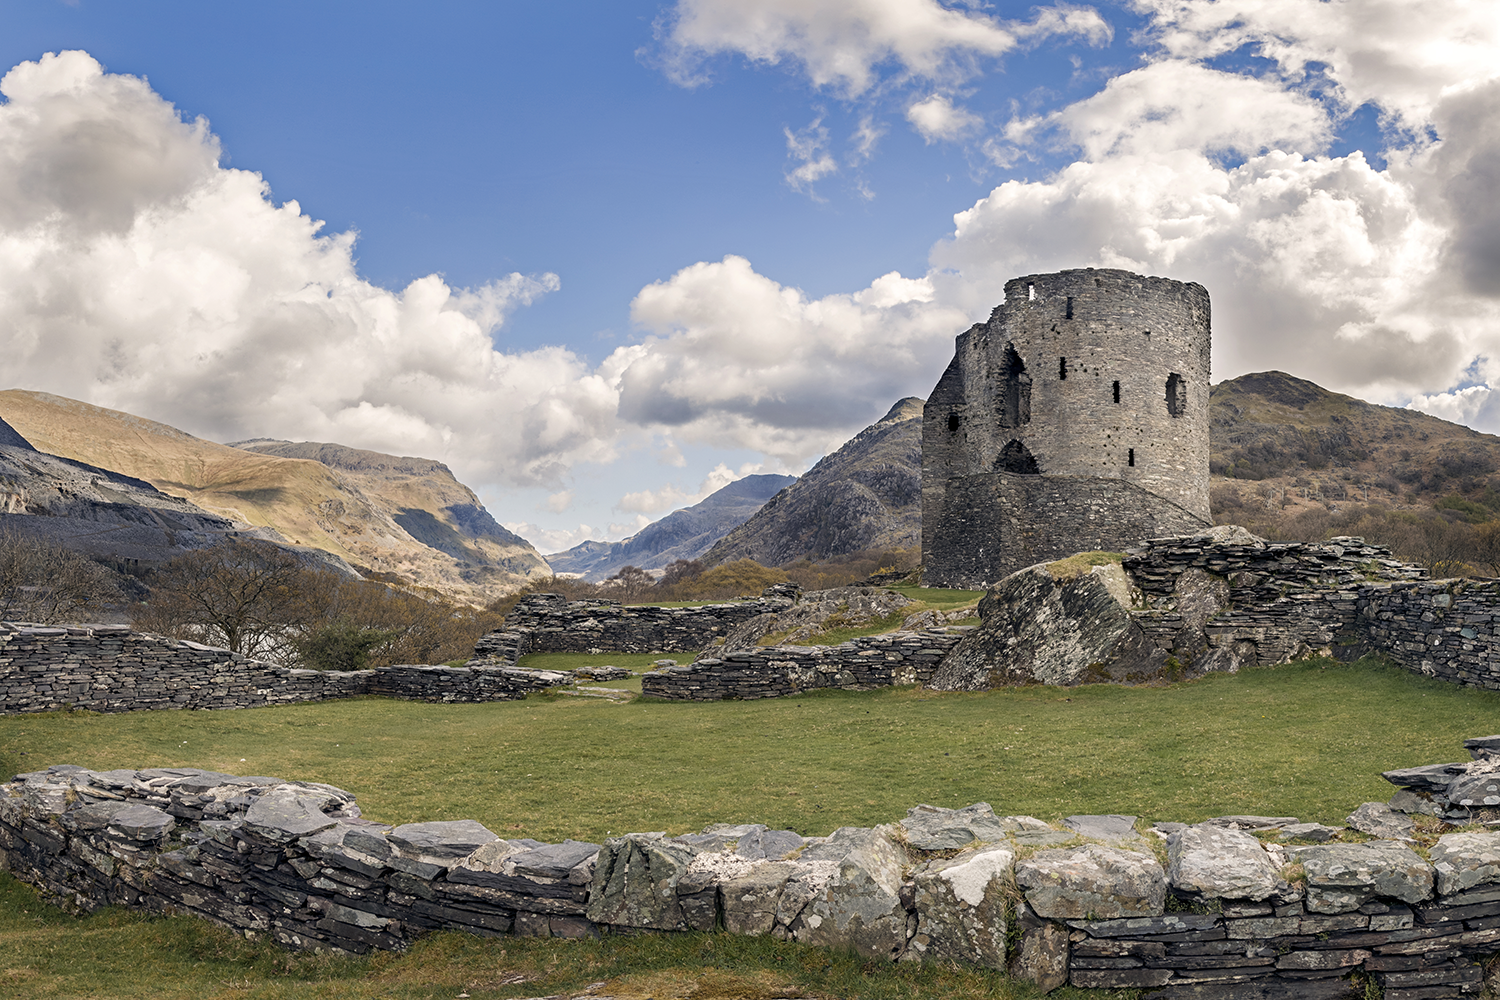
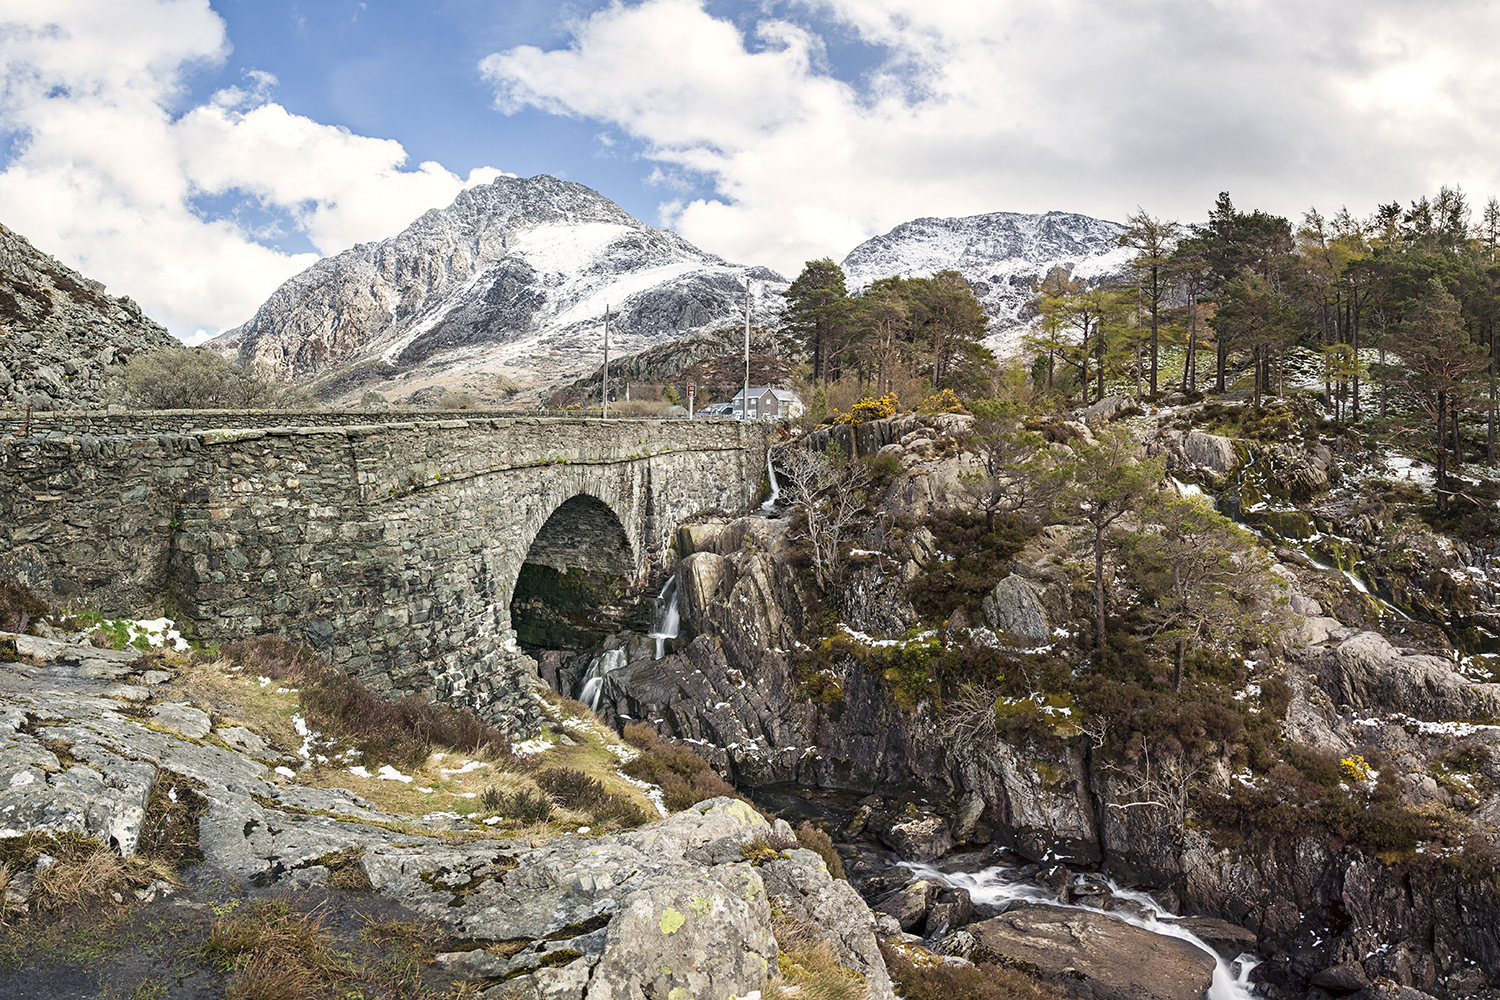
Here's a gallery of some of images I ended up with:

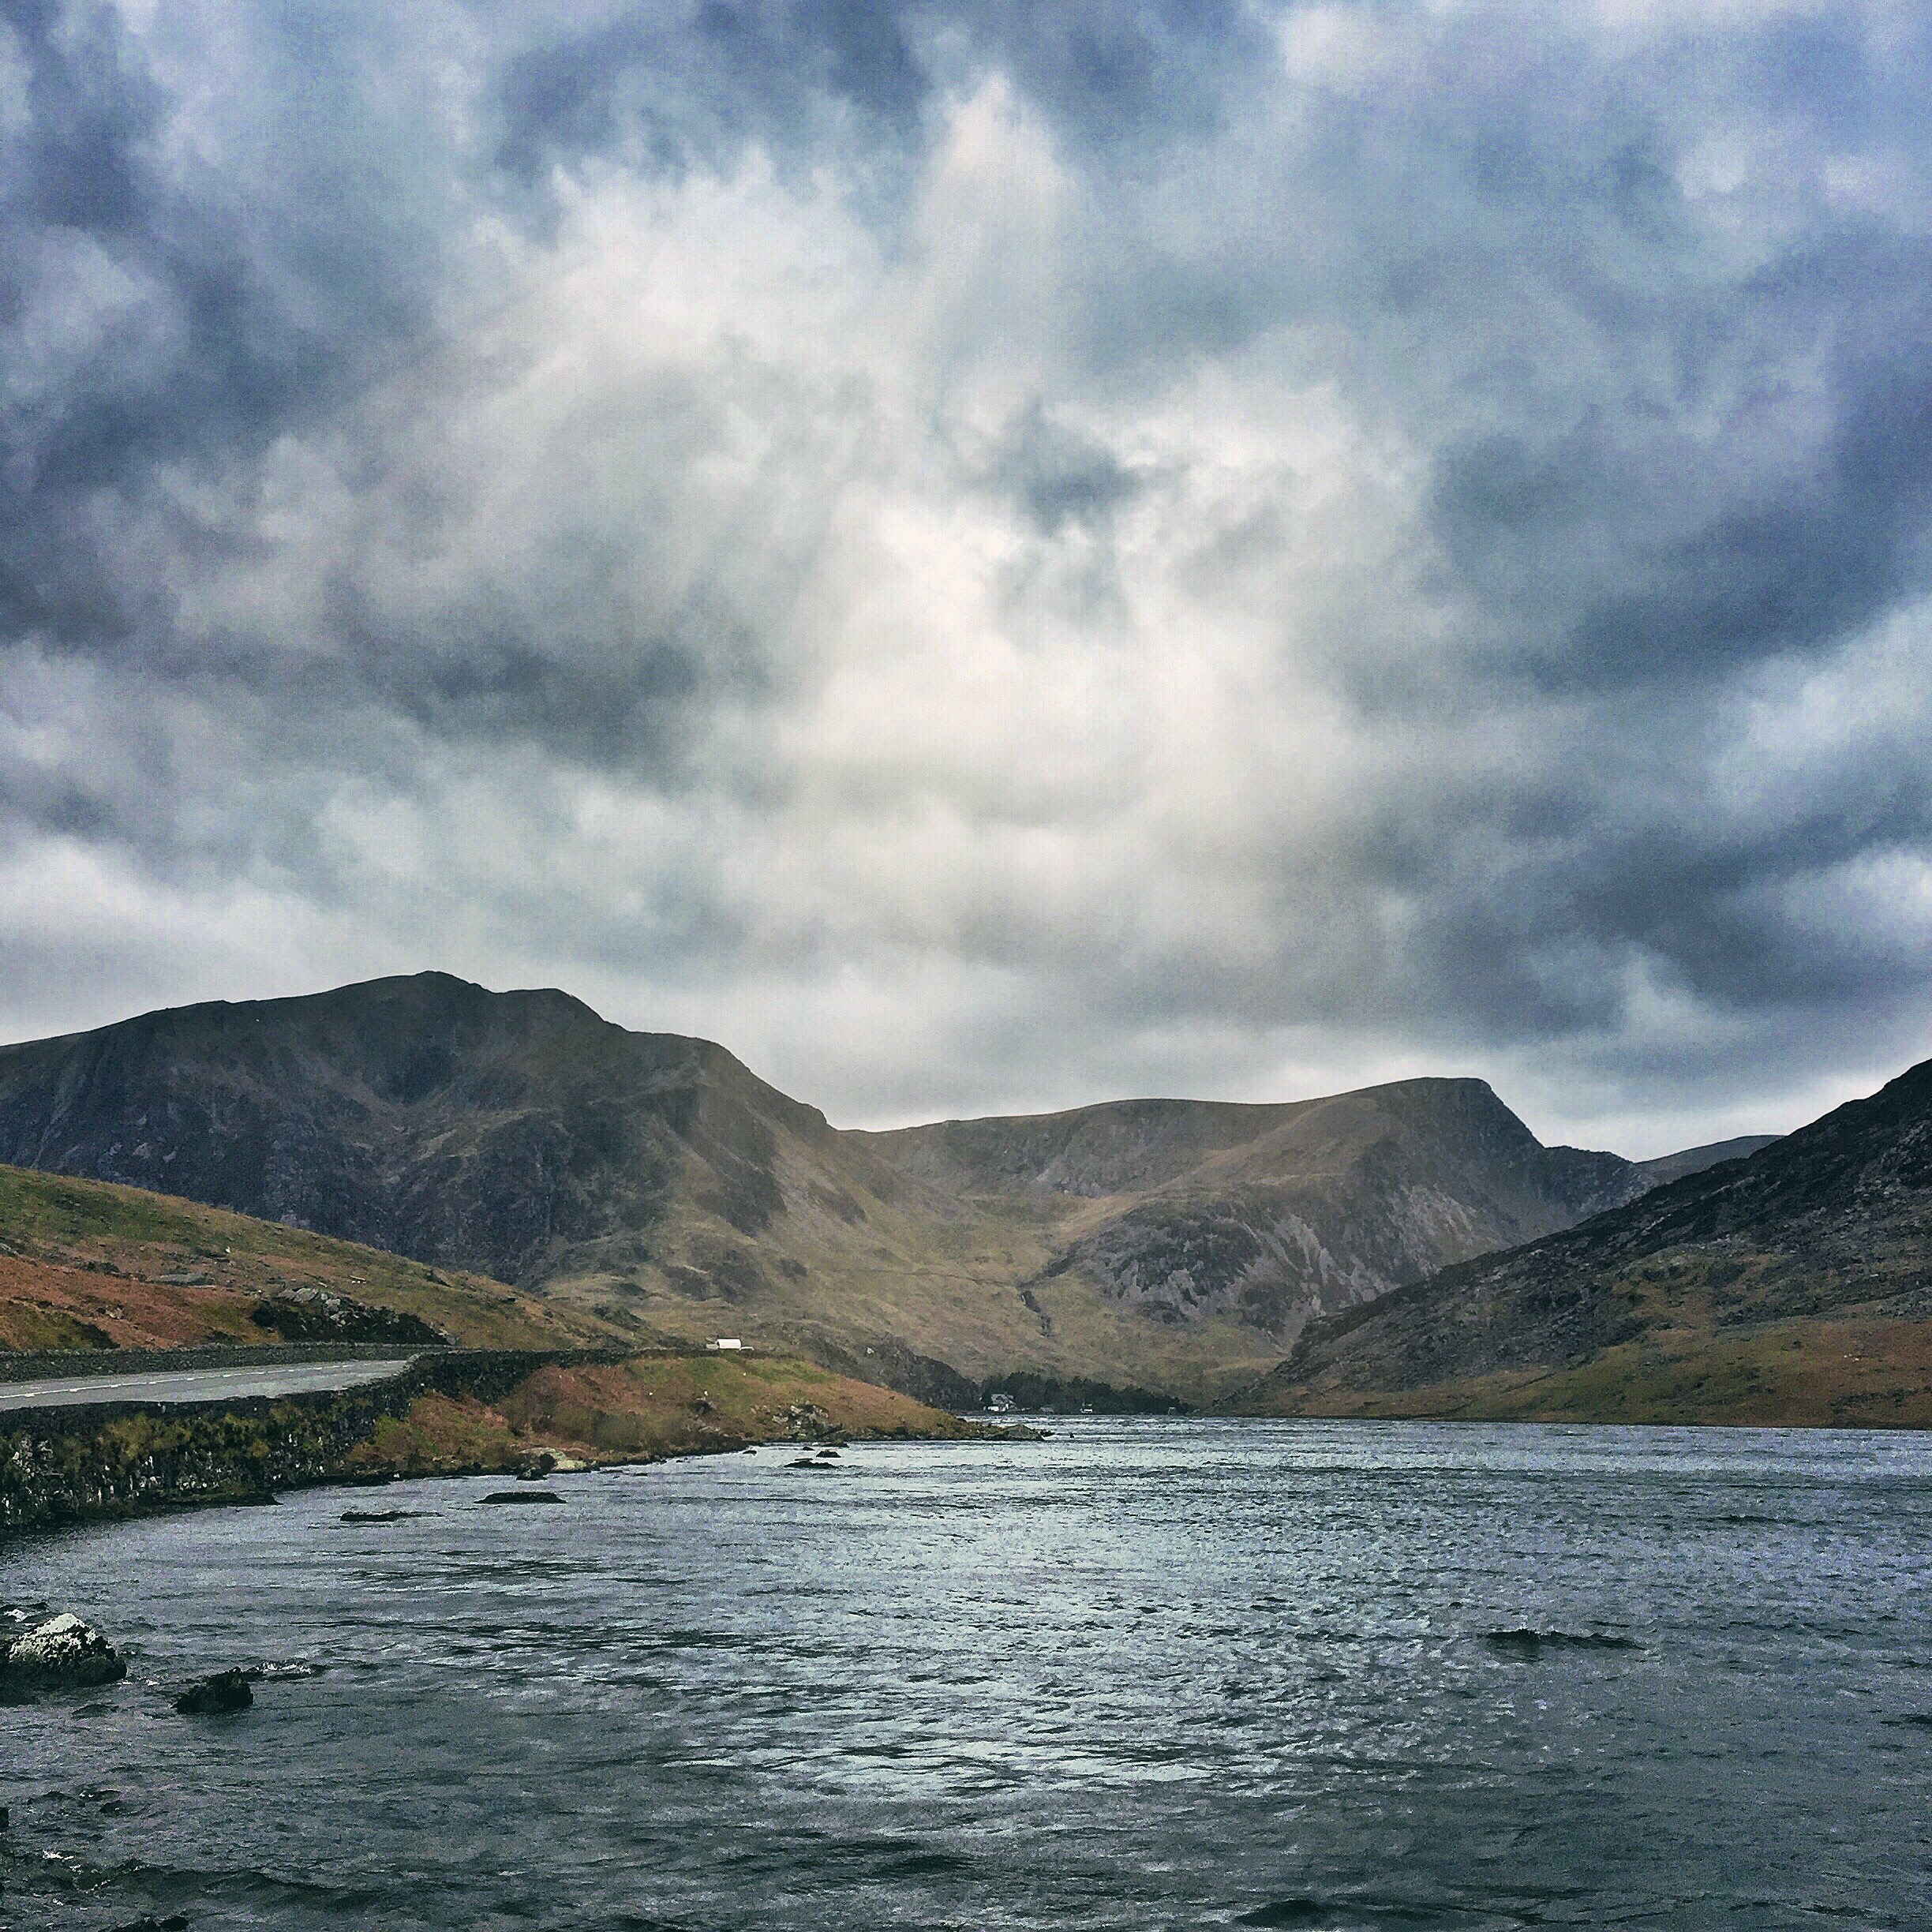
...and this is a selection of images I shot and edited on the iPhone 6 Plus while I was running around up there (editing apps used were Snapseed, Darkroom, Lens Distortions, Rays and Instagram):
Your turn.
Take Control and Shoot in Manual Mode (A beginners guide)
I've recently begun a photography Meetup group here in London, teaching people how to take better images. We had our first get together a fortnight back and one of the biggest questions I was asked is how to move from shooting auto, to shooting manual, and this is the right question to ask.
Don't get me wrong, it does take a little bit to get your head around, but so did learning how to change gears while driving. Now you never think about it. It's second nature.
So why would you want to learn to shoot in manual mode?
Well shooting manual allows you to make the decisions, not your camera. Ever wondered why when you are shooting in a dark room your images are blurry? Because you are letting your camera choose your settings. Are you getting very grainy images in some shots? That's your camera making decisions for you. Do you want to learn how to shoot stars at night, or light trails from cars streaking down a freeway? Then you have to take back creative control.
So let me see if I can break this down simply for you.
The first thing you need to understand is how a basic camera records light.
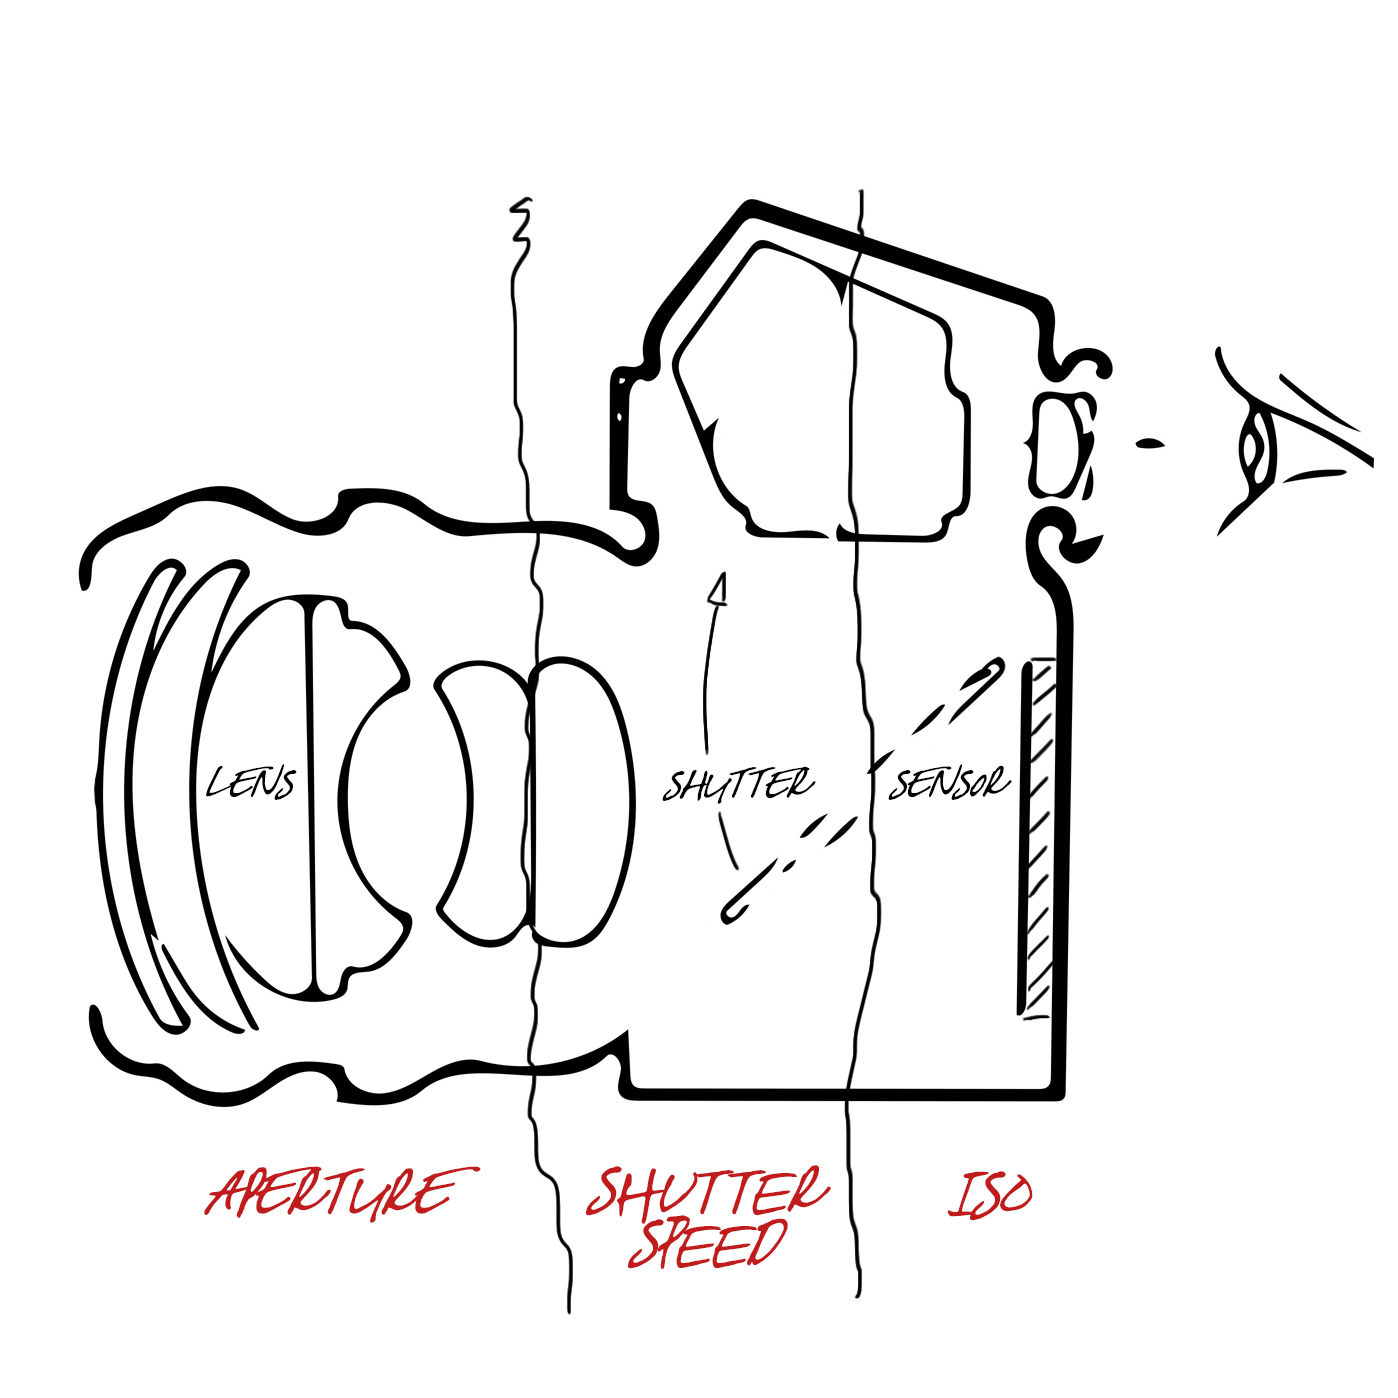
There are 3 elements which go in to determining how much light is recorded in any exposure you make:
APERTURE: This relates to the size of the hole which opens up in your lens to let light in. Normally Aperture is denoted as an F-number and describes how wide the lens is opening up to let light in. F22 is a fairly small aperture in your lens and won't let a lot of light in, where as a good quality lens may open up to F1.2 which will be a very wide aperture and lets a lot of light in.
SHUTTER SPEED: This relates to the length of time which the shutter opens within the body of the camera to expose the film or the sensor to the light coming in through the lens aperture. When you hear that click after pressing the shutter button, that is the sound of your shutter opening and closing to allow light to hit your sensor so it can capture an image. Shutter speed is given in increments of time from 1/8000 of a second being a very fast shutter which doesn't let a lot of light through, to 30 seconds which would expose the sensor to light for a long period of time.
ISO: This relates to you camera sensor, or your film stock. In the old days of shooting film people understood this well. If you knew you would be shooting on a bright sunny day you would buy less sensitive film, namely 100 speed. If you were going to be shooting in a low light situation you would buy 1600 speed film because it was very sensitive and captured more light coming in. The digital age has kept these numbers and we now talk about setting the sensitivity of our sensor for different lighting situations as our ISO number. The common ISO range is from 100 to 6400 in most modern cameras and the important thing to remember is that the higher your ISO number, the more sensitive your sensor is to light coming in.
Here is a diagram explaining these 3 elements within the camera:
Still with me?
Good.
This brings us to the Exposure Triangle:
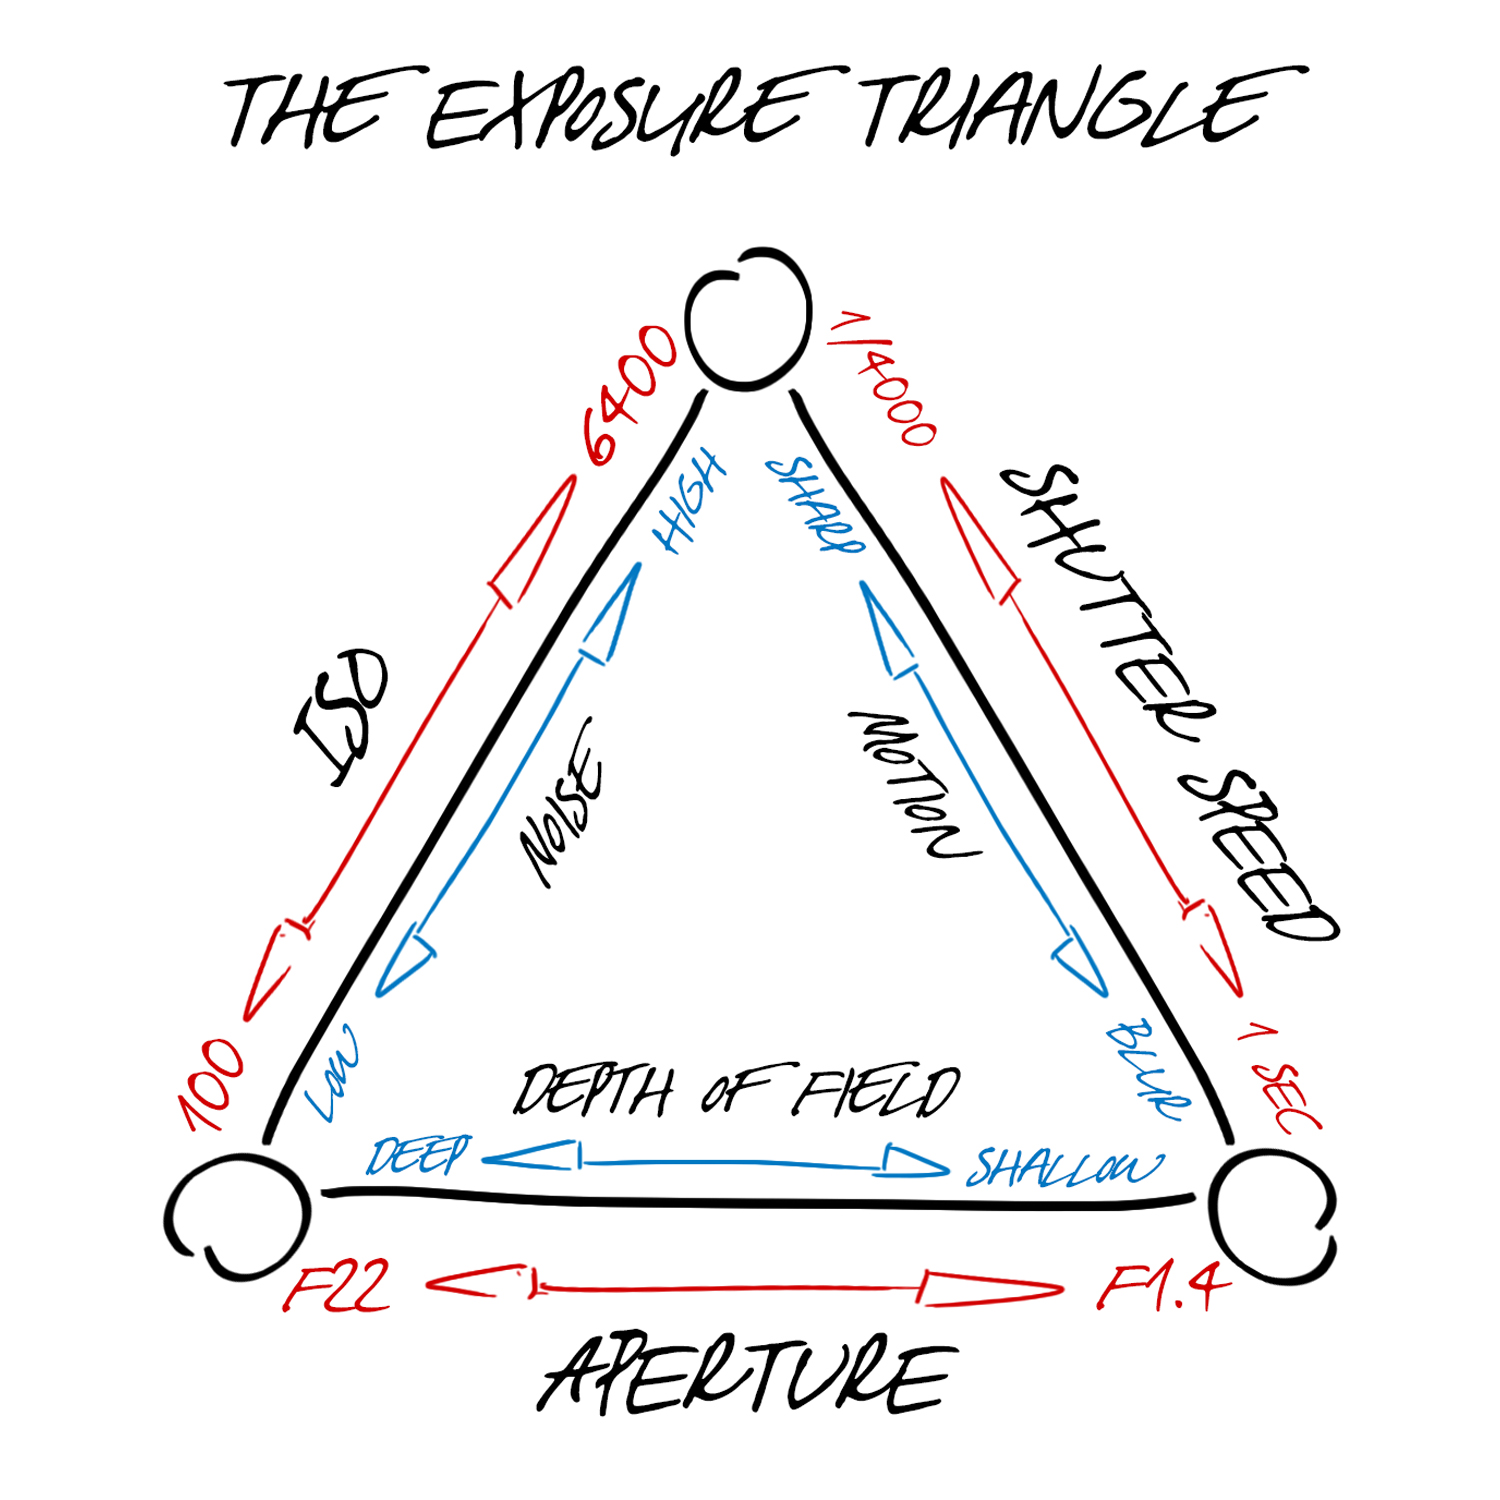
To take complete control of your camera by shooting in manual mode, you are going to be balancing the amount of light captured using the 3 elements we've been talking about: Aperture, Shutter Speed and ISO.
To do this well you need to know what effect each one has on the image you take:
APERTURE EFFECTS DEPTH OF FIELD: When you open up your aperture you are obviously letting in more light, but as a trade off you also create a more shallow depth of field. Depth of field describes how much of your shot is in focus.
A deep depth of field means that both the foreground and the far distance will all be in focus. This is used by landscape photographers who want the whole scene they are shooting to be sharp, so they may choose to capture a vista at f16 for example.
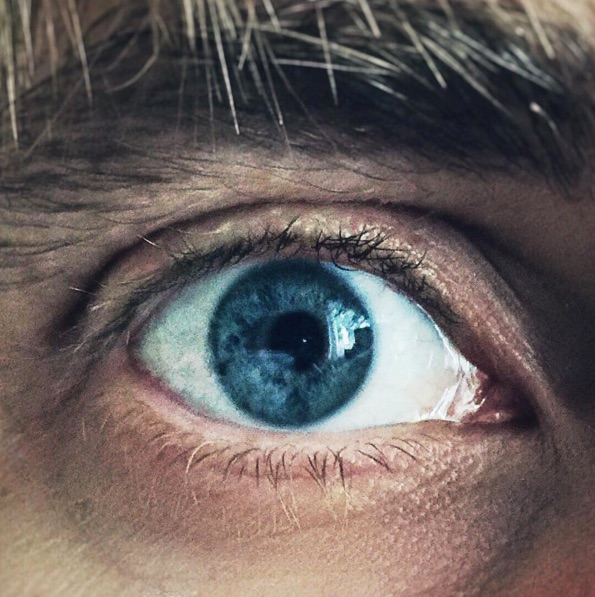
Conversely a shallow depth of field means that there is only a thin slice of focus. Ever wondered how photographers achieve nice blurry backgrounds in their portraits whilst keeping their subject sharp? They are opening their aperture up and shooting at f1.4 or similar. Obviously shooting like this you need to be very sure of your focus point as it's easy to have your subject out of focus.

Here is a fun shot I took of my wife recently on a 50mm lens, opening the aperture right up to f1.4 so I could just focus in on the eyes and let everything else fall out of focus. This is using a shallow depth of field:
SHUTTER SPEED EFFECTS THE APPEARANCE OF MOTION: When you speed up your shutter to block out light it also has the effect of freezing motion within the frame.
A fast shutter of 1/4000 of a second for example would be ideal for a sports photographer who wants to capture an athlete running at high speed and freeze the action in the frame while maintaining sharp detail.
On the other hand maybe you want to slow your shutter right down and create blur. For example, photographers who want to shoot light trails, or be creative with motion blur when shooting dancers will shoot at slower shutter speeds. It's important to make sure that you are shooting from a tripod when doing this or you will also capture your hands shaking holding the camera.
(This answers a very common question people have about getting blurry photos. What is happening is that in auto your camera is choosing to slow down your shutter speed in low light and so it's picking up the shake of your hands and creating a blurry image. The rule of thumb is that your shutter speed fraction should never be slower than the focal length of your lens. In other words if you are shooting with a 50mm lens, then you can't shoot slower than 1/50 of a second or you risk motion blur. If you are on a 200mm telephoto lens, which as you know is harder to hold steady, then you can't shoot slower than 1/200 of a second.)
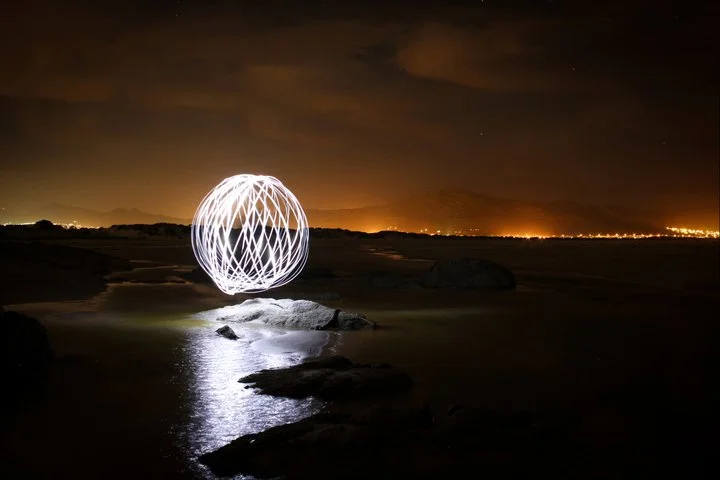
Here is a shot I took with a shutter speed of 30 seconds from a tripod with my friend Lennit swinging a single LED light around on a string:
ISO EFFECTS THE AMOUNT OF NOISE IN YOUR IMAGE: When you increase your ISO number to make your sensor more sensitive, you introduce noise or grain into your image. Different cameras are effected in different ways, and better cameras can be pushed further, but for this one you just need to remember that if you are pushing your camera to ISO 3200 to be able to shoot in a darker setting it will introduce noise, so be aware.
And that's it.
Those are the pieces to the 'manual mode' puzzle.
Now it's just learning to balance them to get the results you want in your images and the exposure you choose to create the look.
If you are going to open up your Aperture to get a shallow depth of field you will probably need to drop your ISO right down and speed up your shutter to compensate for the light coming in.
If you are going to speed up your shutter to freeze some action you will probably have to up your ISO and perhaps open your Aperture to get enough light in.
If you are getting too much grain in your image you will probably need to lower your ISO and try opening your Aperture right up, and slowing down your shutter speed a bit.
It's all a balancing act. Make your creative choices and then balance the elements to get the exposure you want.
Let me leave you with some scenarios and settings to solidify all this in your mind:
A portrait photographer wanting shallow depth of field:
- Aperture: f1.8
- Shutter Speed: 1/100
- ISO: 100
A landscape photographer wanting a deep depth of field shooting on a tripod in the evening:
- Aperture: f16
- Shutter Speed: 1/4
- ISO: 400
A sports photographer wanting to freeze the action in a well lit stadium:
- Aperture: f2.8
- Shutter Speed: 1/8000
- ISO: 200
An events photographer shooting a live band in a dimly lit venue:
- Aperture: f.2
- Shutter Speed: 1/100
- ISO: 1600
I hope that all makes sense, and that this info gives you enough courage to get out there and take control of your camera, and of your creativity.
Best of luck.
8 Tips for any Photographer, with any Camera
For the start of 2016 I'm giving you 8 tips on how to take and make better images. To prove that this has nothing to do with how much fancy gear you have, all these tips can be applied to any camera, and all the example images were shot and edited using only my phone.
Tip 1: Teach yourself to recognise good light.
I’m putting this up front because I can’t emphasise it enough, and it’s something you can practice every minute of the day, with or without a camera. Photography means, ‘writing (graph) with light (photo)’. Any camera you own is only a light proof box which captures light coming in. Some are fancy, some are simple, but this is always the essence. The single biggest tip I can give you is ‘learn to recognise and appreciate good light', then capturing it becomes the easy part. Is the light coming in through the trees in a beautiful way? What is the colour of the light? Is it bouncing off a reflective surface and doing something interesting? Is it creating unique shadows? If you can learn to see good light you are halfway to becoming a good photographer.

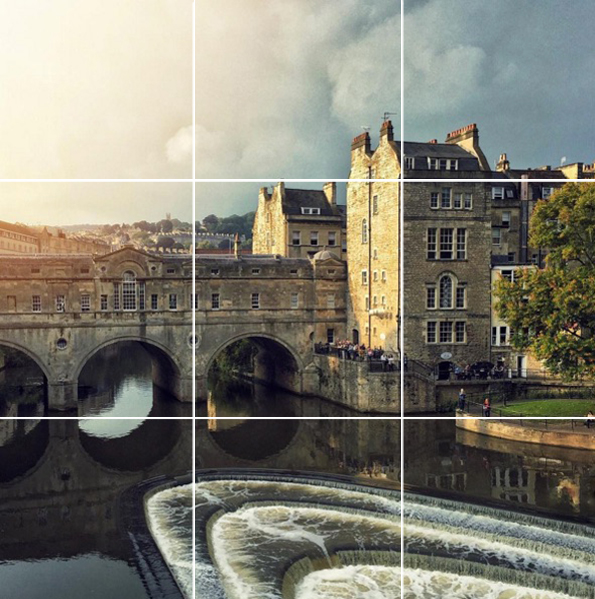
Tip 2: Compose your shot.
There are many schools of thought on how to compose a photograph, but a solid basic principle to start with is the good old ‘rule of thirds’. You want to imagine breaking your frame up into 9 blocks of equal size, and the easy way to do this is to mentally draw two vertical and two horizontal lines across the thirds of the frame. Now to use this pattern in your framing you either want to compose any interesting vertical or horizontal lines on these imaginary thirds, or you want to place any points of interest on one of the four intersections of these lines. It sounds complicated but the idea will click quite quickly if you give it a go, and it will serve to get you thinking about how shapes intersect and arrange within the frame. On top of this it will give you a more pleasing composition than just pointing your camera straight at a subject. The trick then is to learn this, and other techniques which get you thinking about arranging elements within the frame, and then learn when to break the rules. Here are a couple of examples of using the rule of thirds:

Tip 3: Content is king.
It’s almost a cliche at this point but it’s as true as ever. You have to ask yourself what you’re shooting. What is your subject? Is it interesting? Is it too obvious to say that shooting something engaging will make for an engaging photo? It may be redundant but if you think your shots are too boring, the problem may be this simple. Shoot something which tells a story, or freezes a moment in time. That day the kids were playing with that pile of leaves. That light setting over those hills. That guy on the street in that crazy hat. Remember that what you put in front of the lens will make the photograph, not the camera. You can’t blame the gear. Better cameras only make incremental differences to the quality of the capture, but it cannot make up for a boring subject. A boring scene shot on the best camera in the world is still only a boring photo, but a compelling scene shot on a mobile phone can win awards.
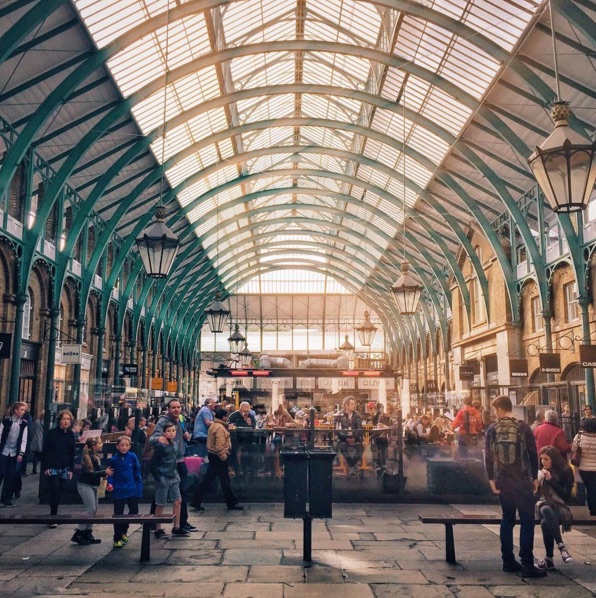
Tip 4: Don’t neglect your background.
You may be out shooting a particular person or thing, but your subject will only make up a portion of your frame. Ask yourself what you are filling the rest of the frame with. By rotating around your subject a bit you will totally change the background they are set against in the composition. How bright or dark is the background? What is the dominant colour of the background? Does it serve to separate them and highlight what’s going on, or does your subject get lost against the scene behind them? If your background isn’t working, notice it, and shift position. You have a subject, now move and frame them to place them in the scene.
Tip 5: Look at something from a different angle.
We are used to viewing things from 5-6 feet off the ground but you may discover a unique shot if you can find a way to get above your subject, or shoot it from below somehow. Perhaps you can get right up close, or shoot it from an interesting angle. Remember to think outside the box and experiment with where you place the camera to give us a fresh vantage point on a familiar subject.
Tip 6: Catch the detail.
On top of shooting people and places, notice the little things. Keep your eye out for the small details we all walk past everyday. By getting in close with your camera, you could be giving us a glimpse into a world we never stop to notice. Think about textures in the concrete, patterns on the leaves, insects, shapes in bark. Most mobile phones today will allow you to get very close and maintain focus, with the added bonus that you will force the background out of focus, giving you that sexy blur for your shot which people associate with higher end cameras. Give it a go.

Tip 7: Look for lines.
Everywhere we go we are faced with lines. Telegraphs poles. The horizon. Chem trails in the sky. Tree trunks. Roads. Think about how you can use these lines to point out your subject or create an interesting shape in the frame. Sometimes you can use these lines to literally point at your subject by placing them at the convergence of these lines within the frame. Sometimes you can use the lines to create a frame around the subject. Start to notice the lines around you, and use them to your advantage.

Tip 8: Wait for the decisive moment.
This is where all the tips above come together in a moment. Many times people will put the camera to their eye to take one picture. For example, Mom wants to snap a picture of her kids playing in a stream. She lifts the camera, clicks, and thinks ‘job done’. But what if you watch a little longer, adjust your position, look at what the light is doing, observe how your subjects are moving, and wait for the moment something magical happens? This is the difference between simply taking a picture or actually making a picture. Henri Cartier-Bresson, who is considered the father of street photography, coined the phrase ‘the decisive moment’ to express that confluence of events which make a good shot. He would camp out in a spot where he knew the light was good and the composition worked, and then wait for the magic to happen. Obviously we don’t all have the time to shoot like this, but maybe his attitude helps us take a small step away from a 'quick snap' mentality, towards actually creating a memorable image by staying with the moment and remaining aware of all the elements we’ve spoken about, to create a unforgettable photograph.

Best of luck.
Share what you come up with.
Happy light-writing in 2016!
(and if you enjoyed these shots, follow me on Instagram: @seantuck)
iPhoneography: Editing a Sunset with Apps
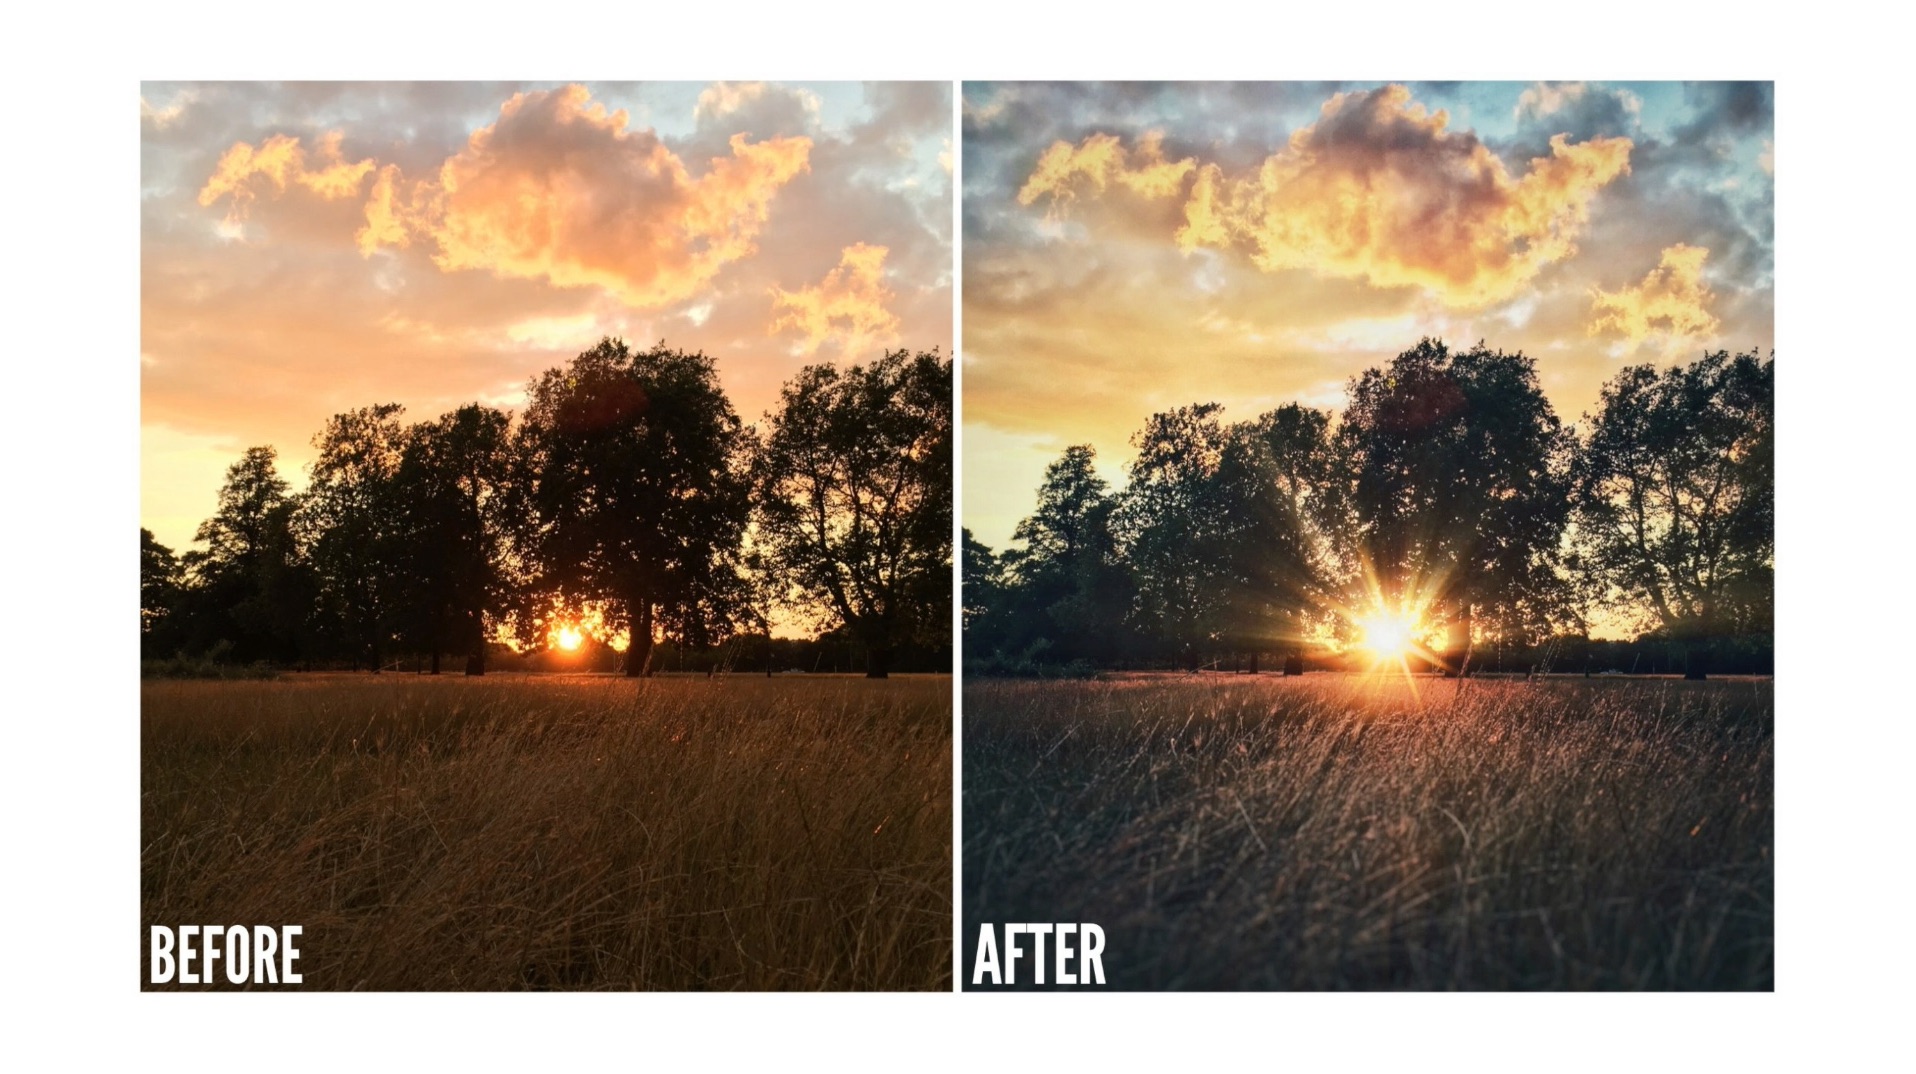

I head out for a walk every evening after the day's work to decompress. As part of this little routine I am setting myself the challenge of shooting, editing and posting something from my iPhone everyday.
A couple of people have recently asked me what sort of editing I do on the shots I post, so I created a video tutorial below. I'll keep this brief because the tutorial ended up being a little more verbose than I intended, but the following video should give you an overview of how to use the following apps: Snapseed, Rays, Lens Distortions and Darkroom (v.2).
My suggestion?
Get out there, shoot your own setting sun, grab a coffee, fire up this video, and edit along.
Thanks for watching.
I would love to see your shots and here about the apps you choose to use in the comments.
Happy app-ing.
A Post on Post
I often have people say, when taking a look at my pricing for headshots and portraits, 'I wish I could charge £150 for an hour's work'.
One hour?
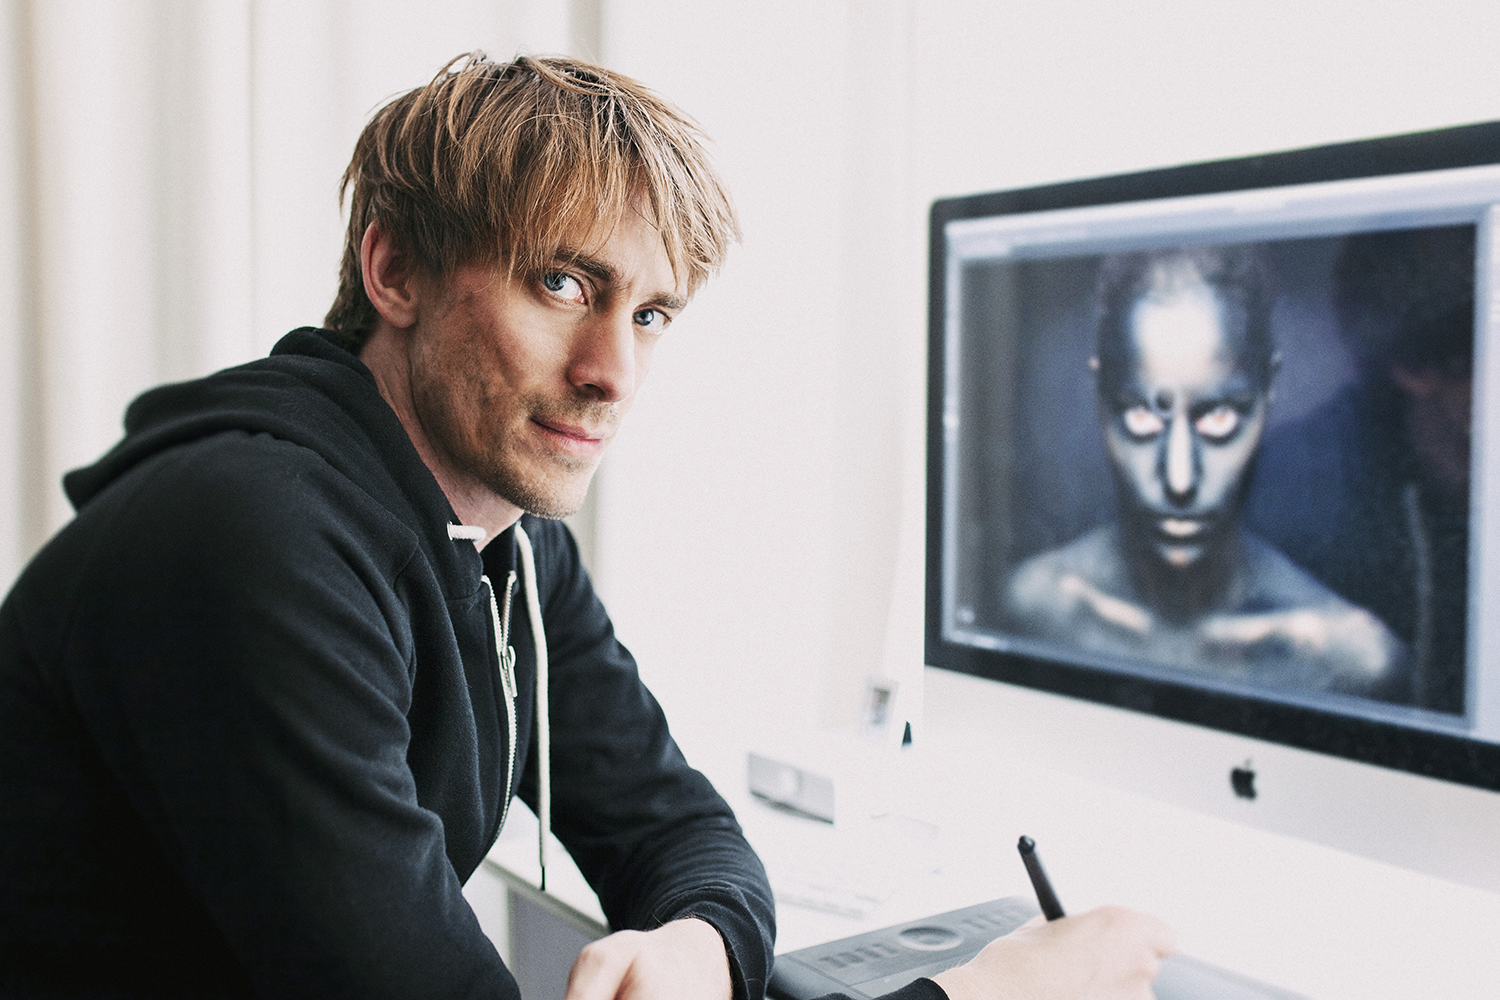
Sure the session itself will last in the region of an hour, but in some ways that's only where the work begins. If it was as simple as pointing a camera at someone and clicking the shutter to create a professional portrait, a lot more people would be professional photographers. There are a load of decisions and skills which go into producing a high end shot; from camera setup, to lighting decisions, background and setting considerations, coaching poses and expressions, and finally post production.
That's what I want to focus on here because it's always the most time consuming element, and often goes unseen.
An edit will typically take me around an hour per image, sometimes more. I can often take an image through up to 4 separate programs to finish it, depending on what I'm trying to accomplish, and the work I do here is as important to creating the look which defines my style as any other stage.
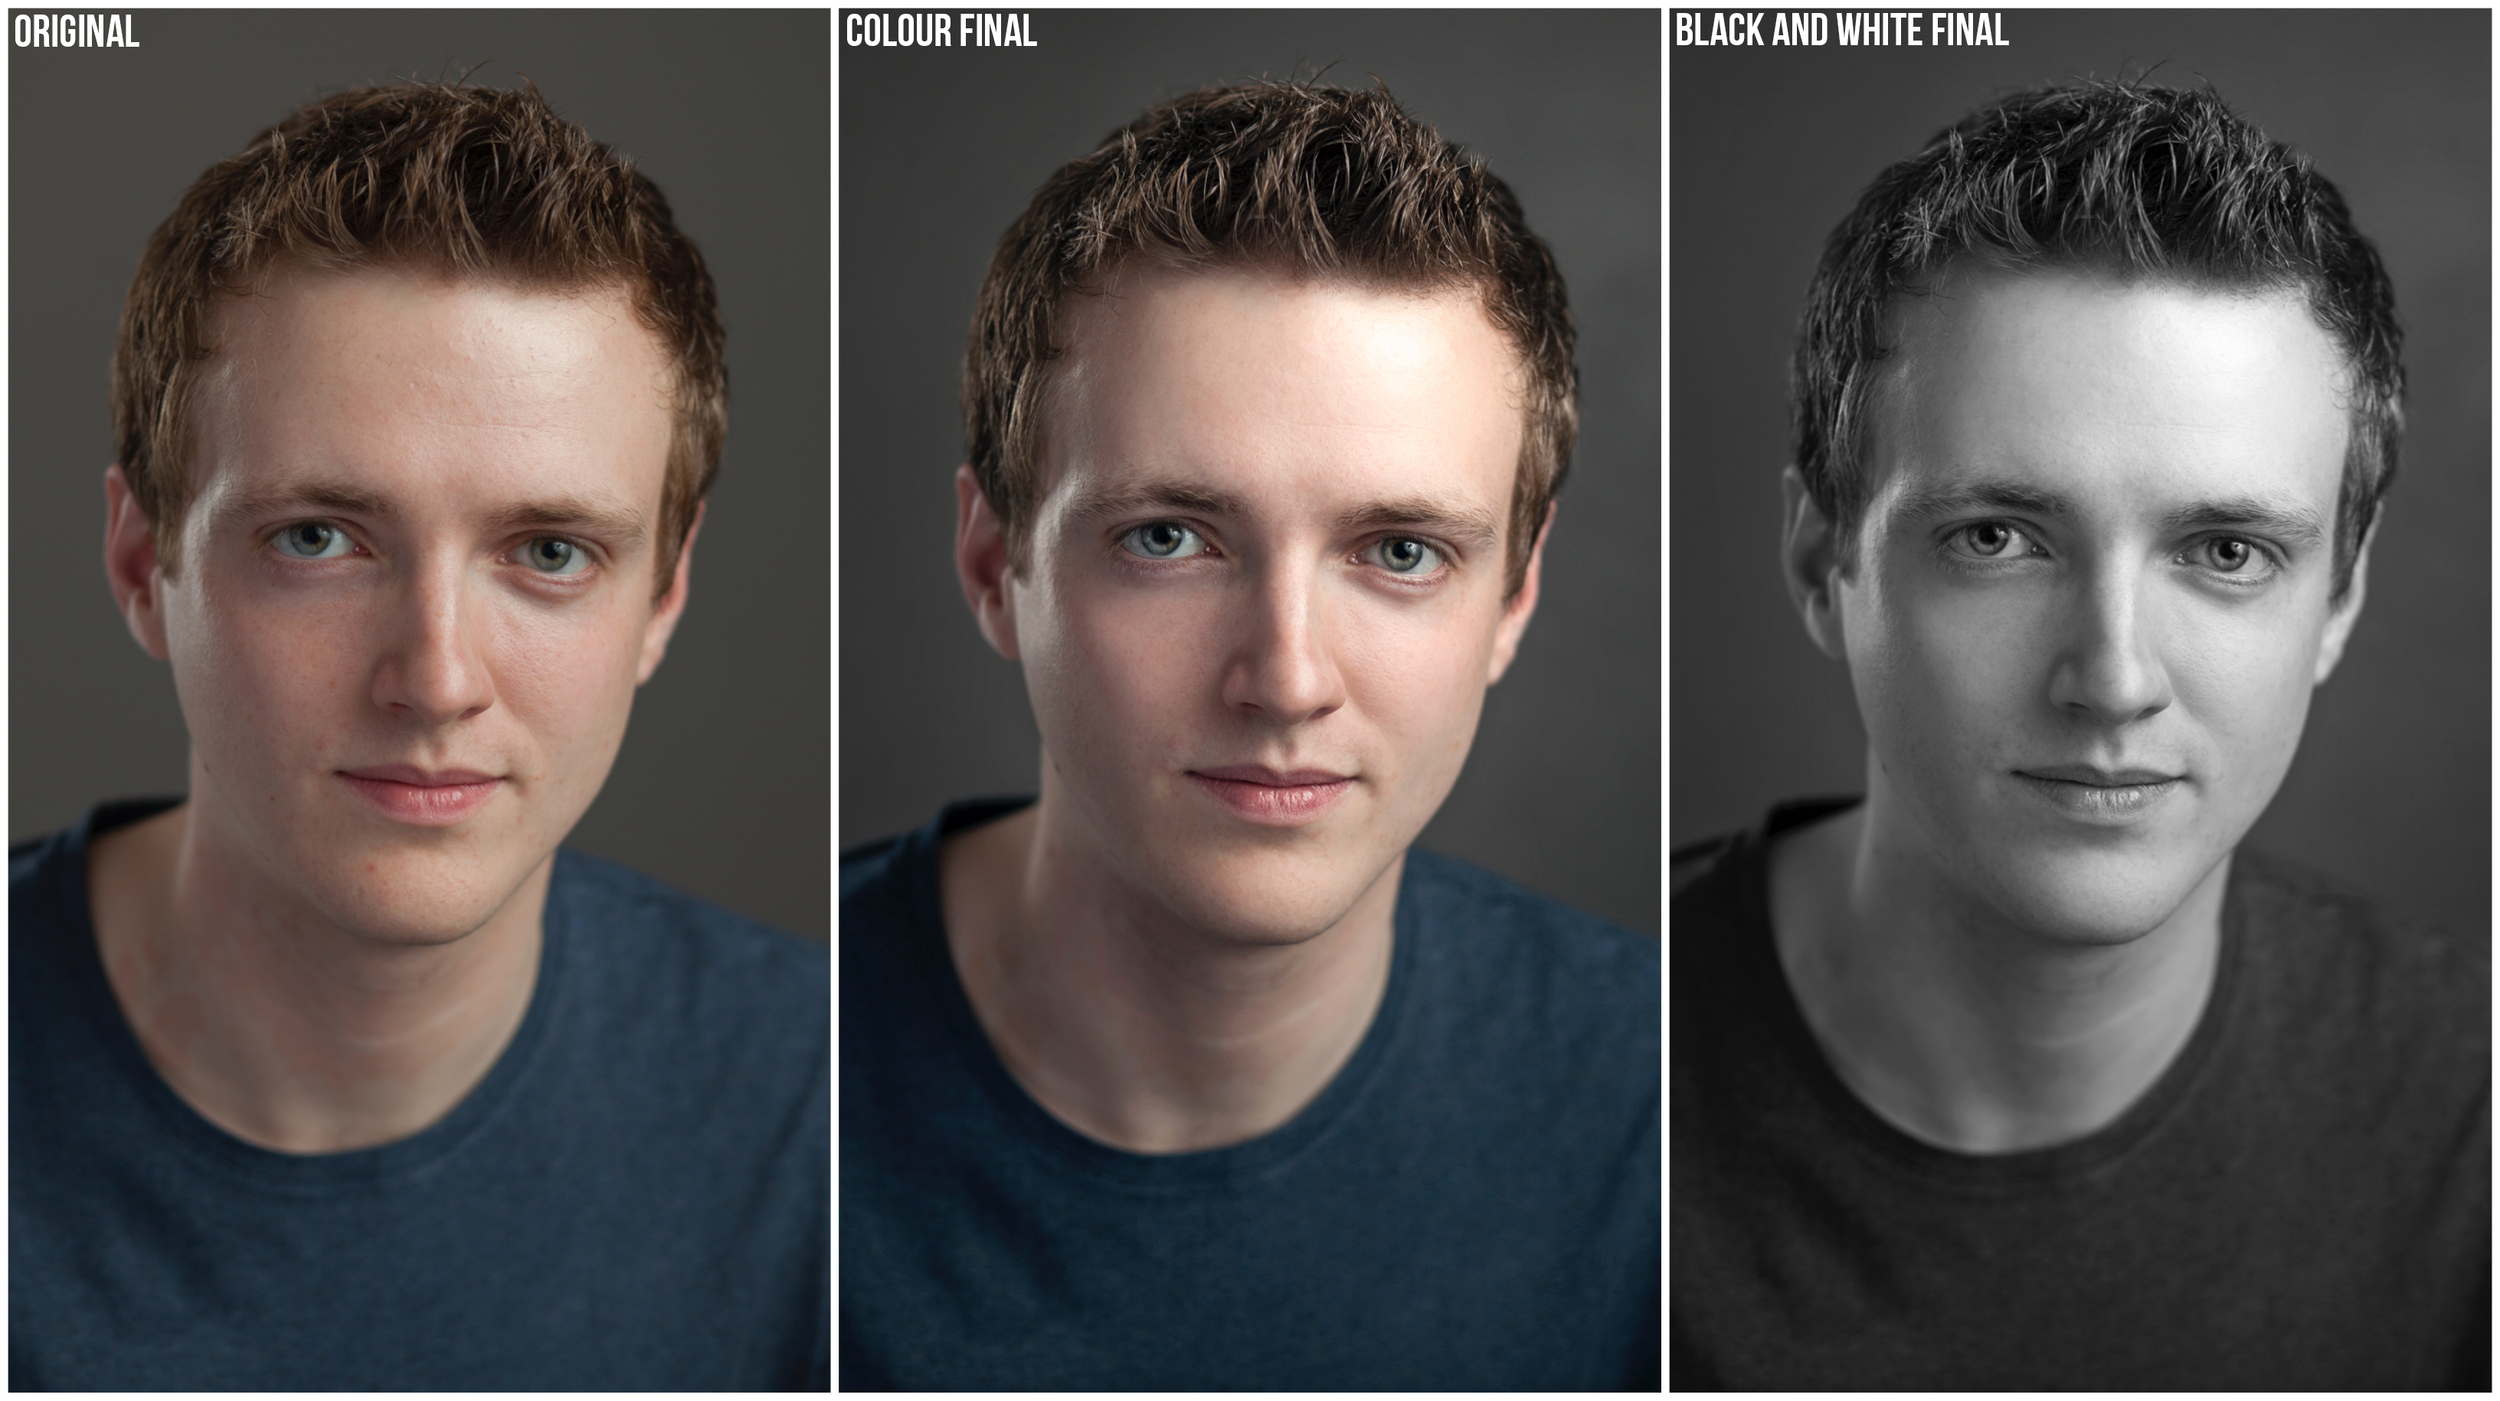
Let's take this most recent headshot shoot with RADA student, Finn as an example:
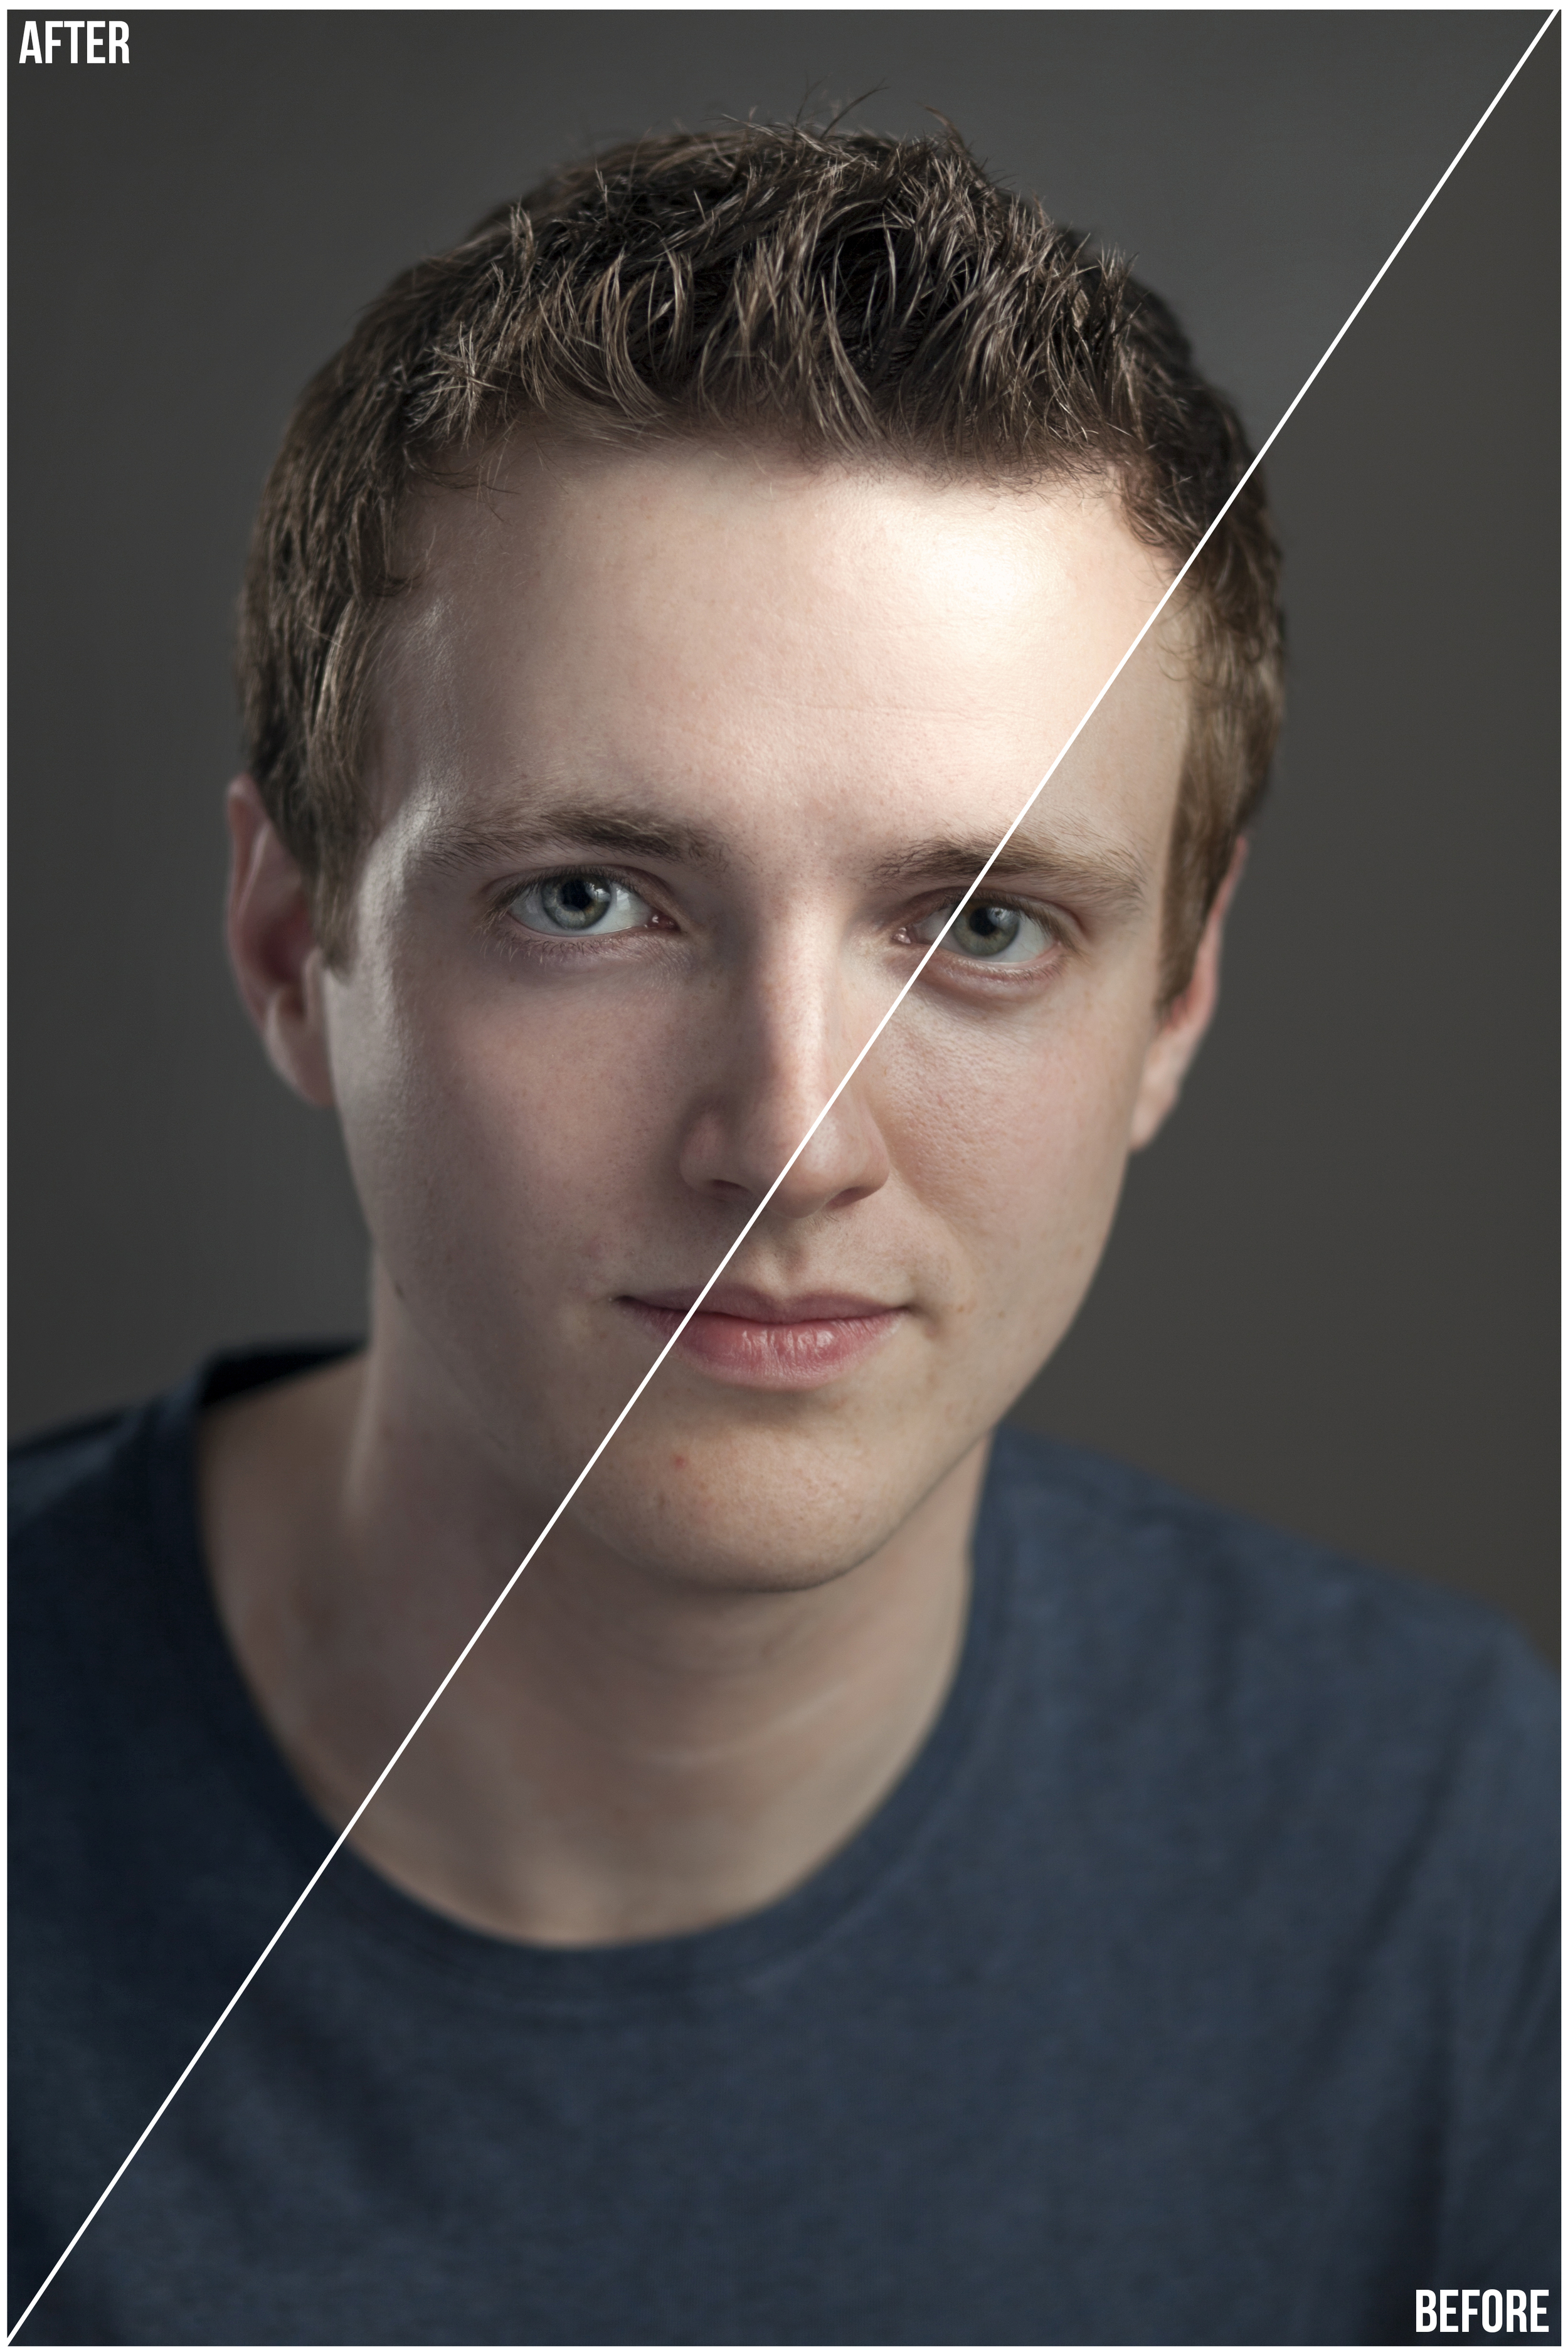
After importing the 200-300 images into Lightroom I will go to work selecting the best, and shortlisting the final 5. I will then work on white balance, exposure, shadow and highlight detail, clarity, vibrance and lens corrections so that I can export hi res images with good dynamic range. These will make clean canvases for the detailed work to follow in Photoshop. Here is a time-lapse of a typical edit in Photoshop to give you an idea of the behind-the-scenes work which goes into creating a professional portrait:
Coming out of Photoshop I should have 2 final versions to hand over; a Colour and a Black and White:
That means of course, taking in to account that I provide 5 retouches, each in Colour and BW versions, that you are actually paying for 6 hours minimum (1 for the shoot and 5 for the editing). This doesn't factor in the fact that shoots often run over time, edits can take longer, equipment set up and pack down takes a mo on it's own, and organising the shoot takes it's own time; but let's ignore that and say that actually I am now charging you £150 / 6 hours = £25 per hour.
This assumes of course that you were only paying me for time, but as many photographers have pointed out on many blogs over the last few years we have to cover costs like insurance, gear purchases and repairs, website hosting, taxes, internet, software, and the list goes on.
I don't tell you this to complain, but I hope this gives you a better idea of the hard work and skill which goes into creating the portraits or headshots you're parting with your hard earned cash to obtain. The session you are involved in is only really the tip of the iceberg.
I usually end up telling people who ask the question which started this post, that I'm very proud of the work I do to produce these images, and I stand by my pricing as I believe they are worth every penny.
Having peeked behind the curtain, I hope you now do too.
My run-and-gun video bag

So this is the bag I take with me everyday:
It's from a company called f-stop and this is one of their new Millar range. My philosophy with the gear I carry around daily is that I should be able to cover anything which comes up in whatever moment I come across, without having to carry a back-breaking amount of gear. I don't carry a DSRL with me because, to be brutally honest, my iPhone 6 Plus does a good enough job in capturing stills while I walk around, and I love the immediacy of being able to edit on the phone and post online on the go. Will this mean I will come across situations where I wish I had some decent glass on me to shoot stills? Sure. But my iPhone will cover most daily situations.
What it won't cover is video. The biggest reason for this, is that I only have the 16GB iPhone and I'm always running out of space, so video is not an option.
So back to the bag.
This is what's inside:
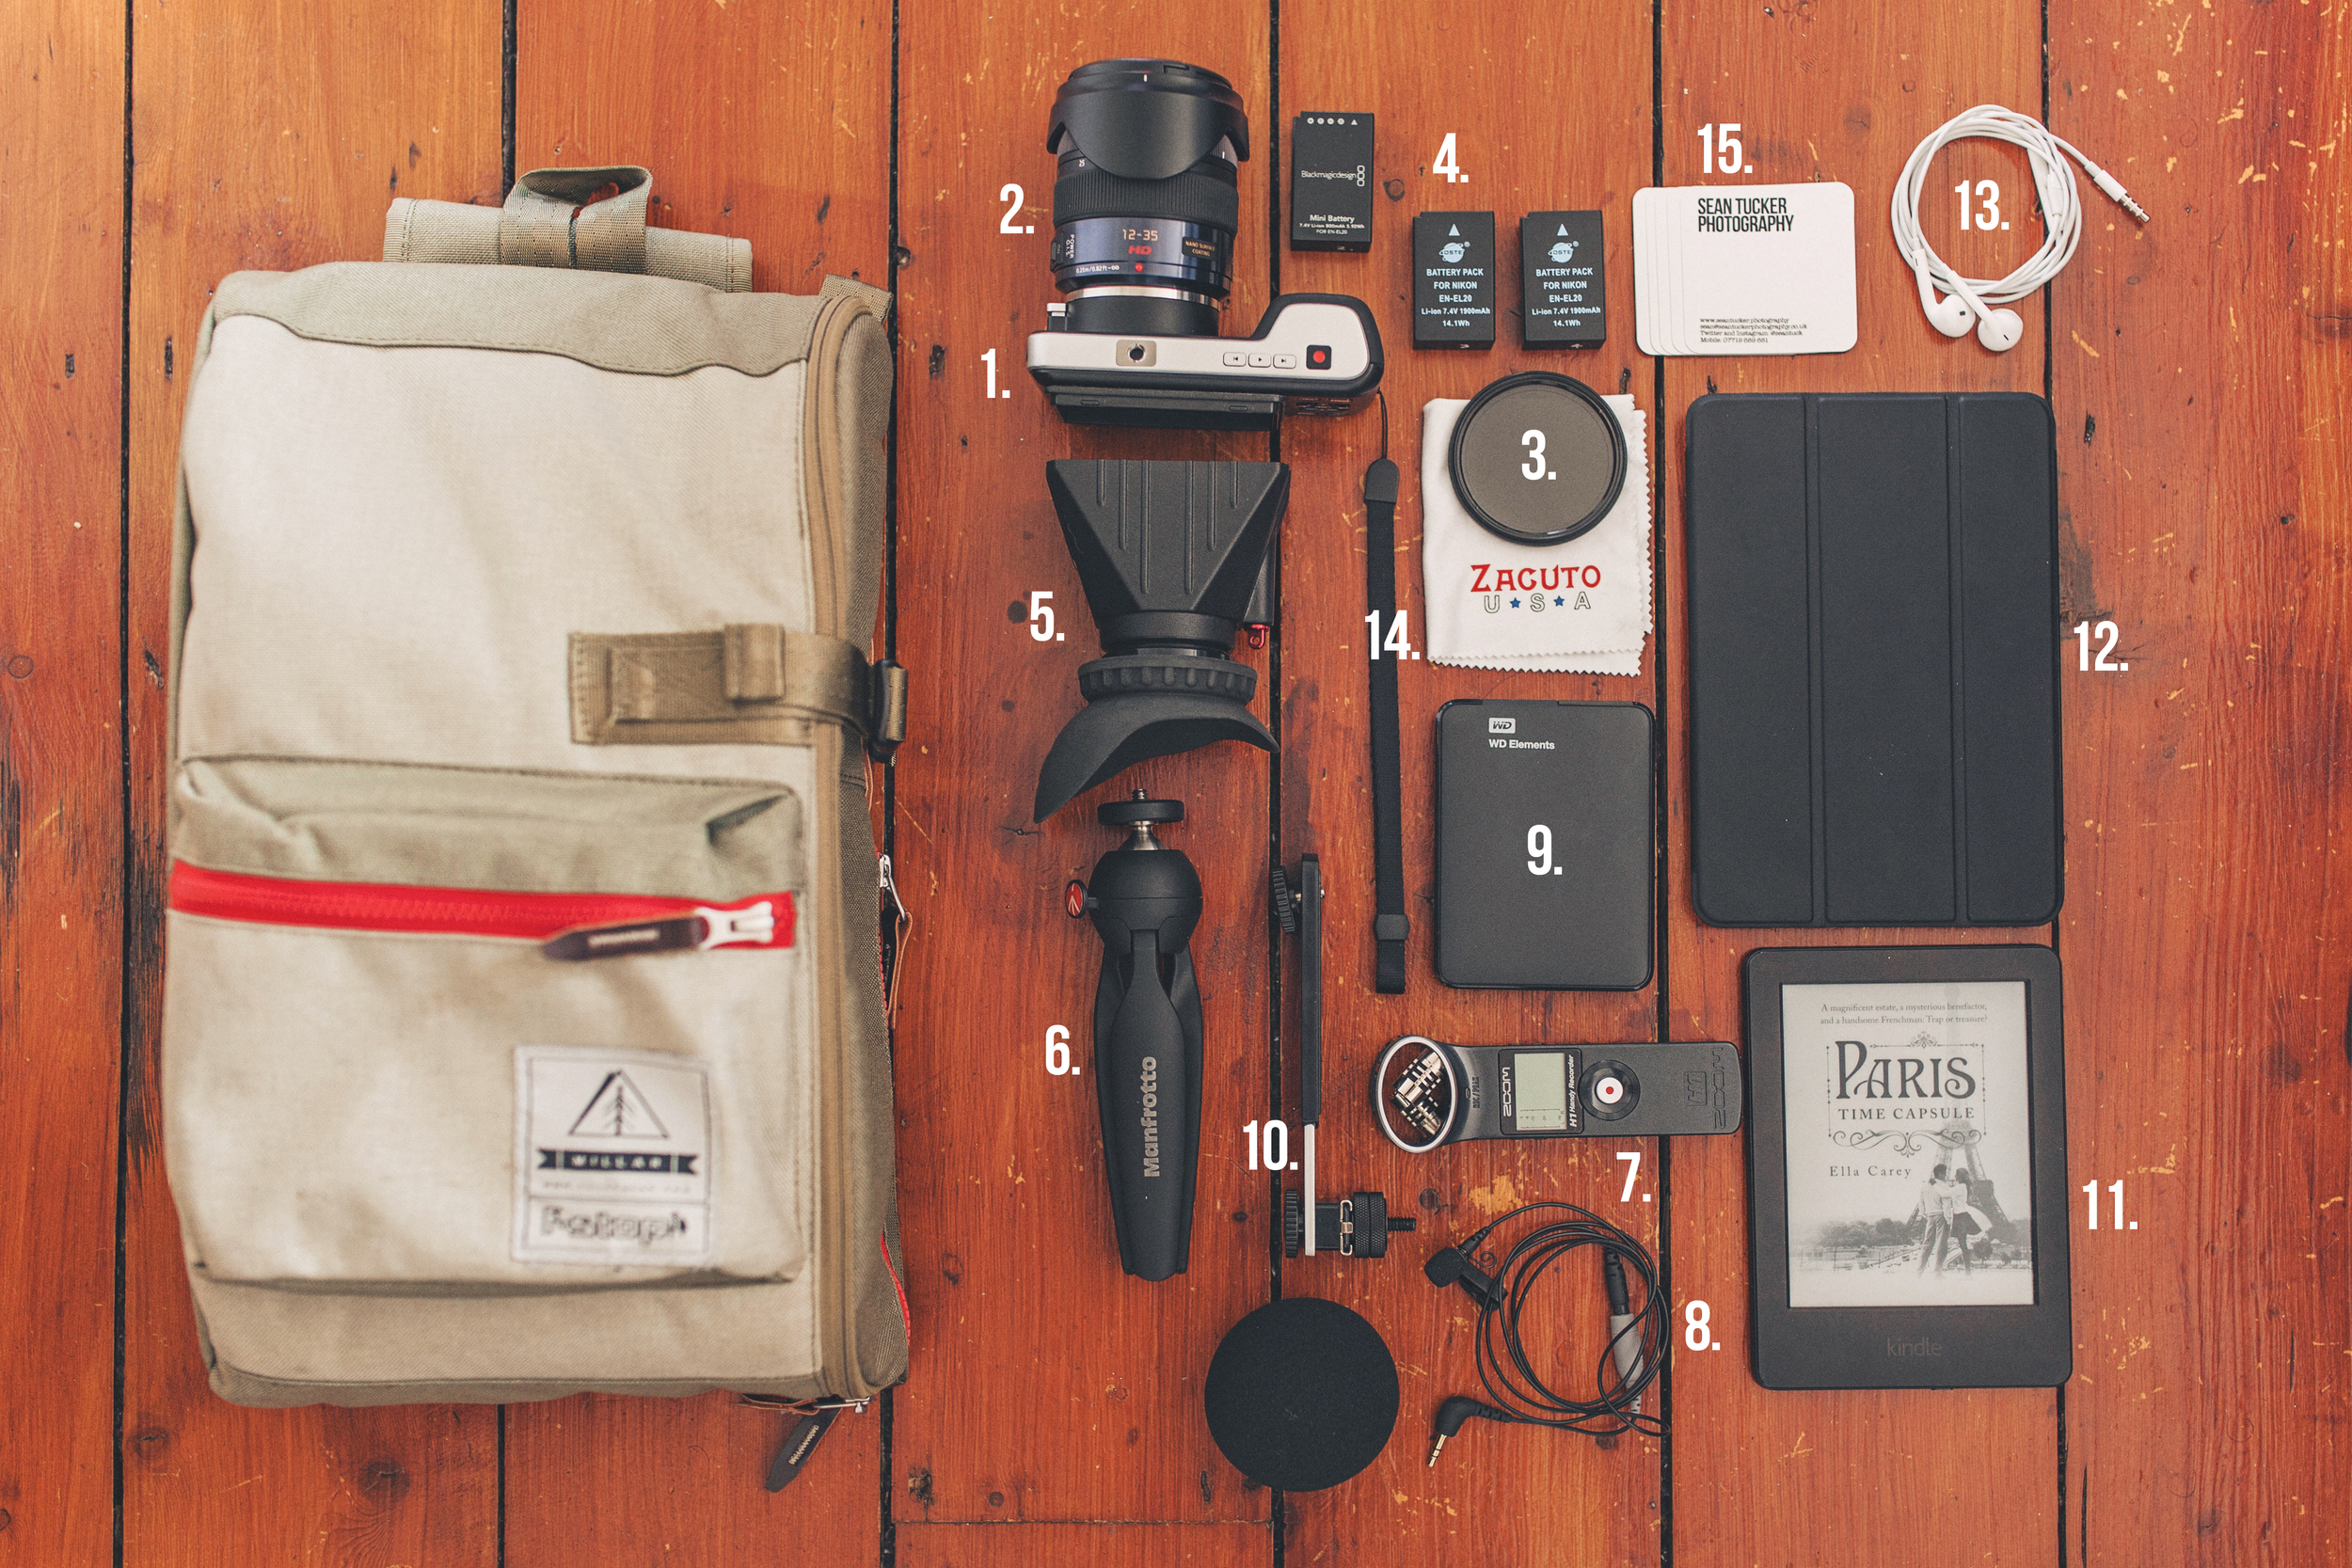
- The Black Magic Pocket Cinema Camera (with 64GB Sandisk Extreme Pro)
- Lumix 12-35mm f2.8
- Variable ND Filter (to control light and keep the aperture down)
- Extra batteries (EN-EL20's)
- Zacuto Z-Finder for BMPCC
- Manfrotto PIXI Tripod (which also doubles as a grip handle)
- Zoom H1 Audio Recorder (with pop filter)
- Rode Smart Lav (with Rode SC3 adapter)
- 1TB External Hard Drive
- Cold shoe adapter for mounting the Zoom off camera
- Kindle
- iPad
- Headphones
- Soft cloth
- Business cards
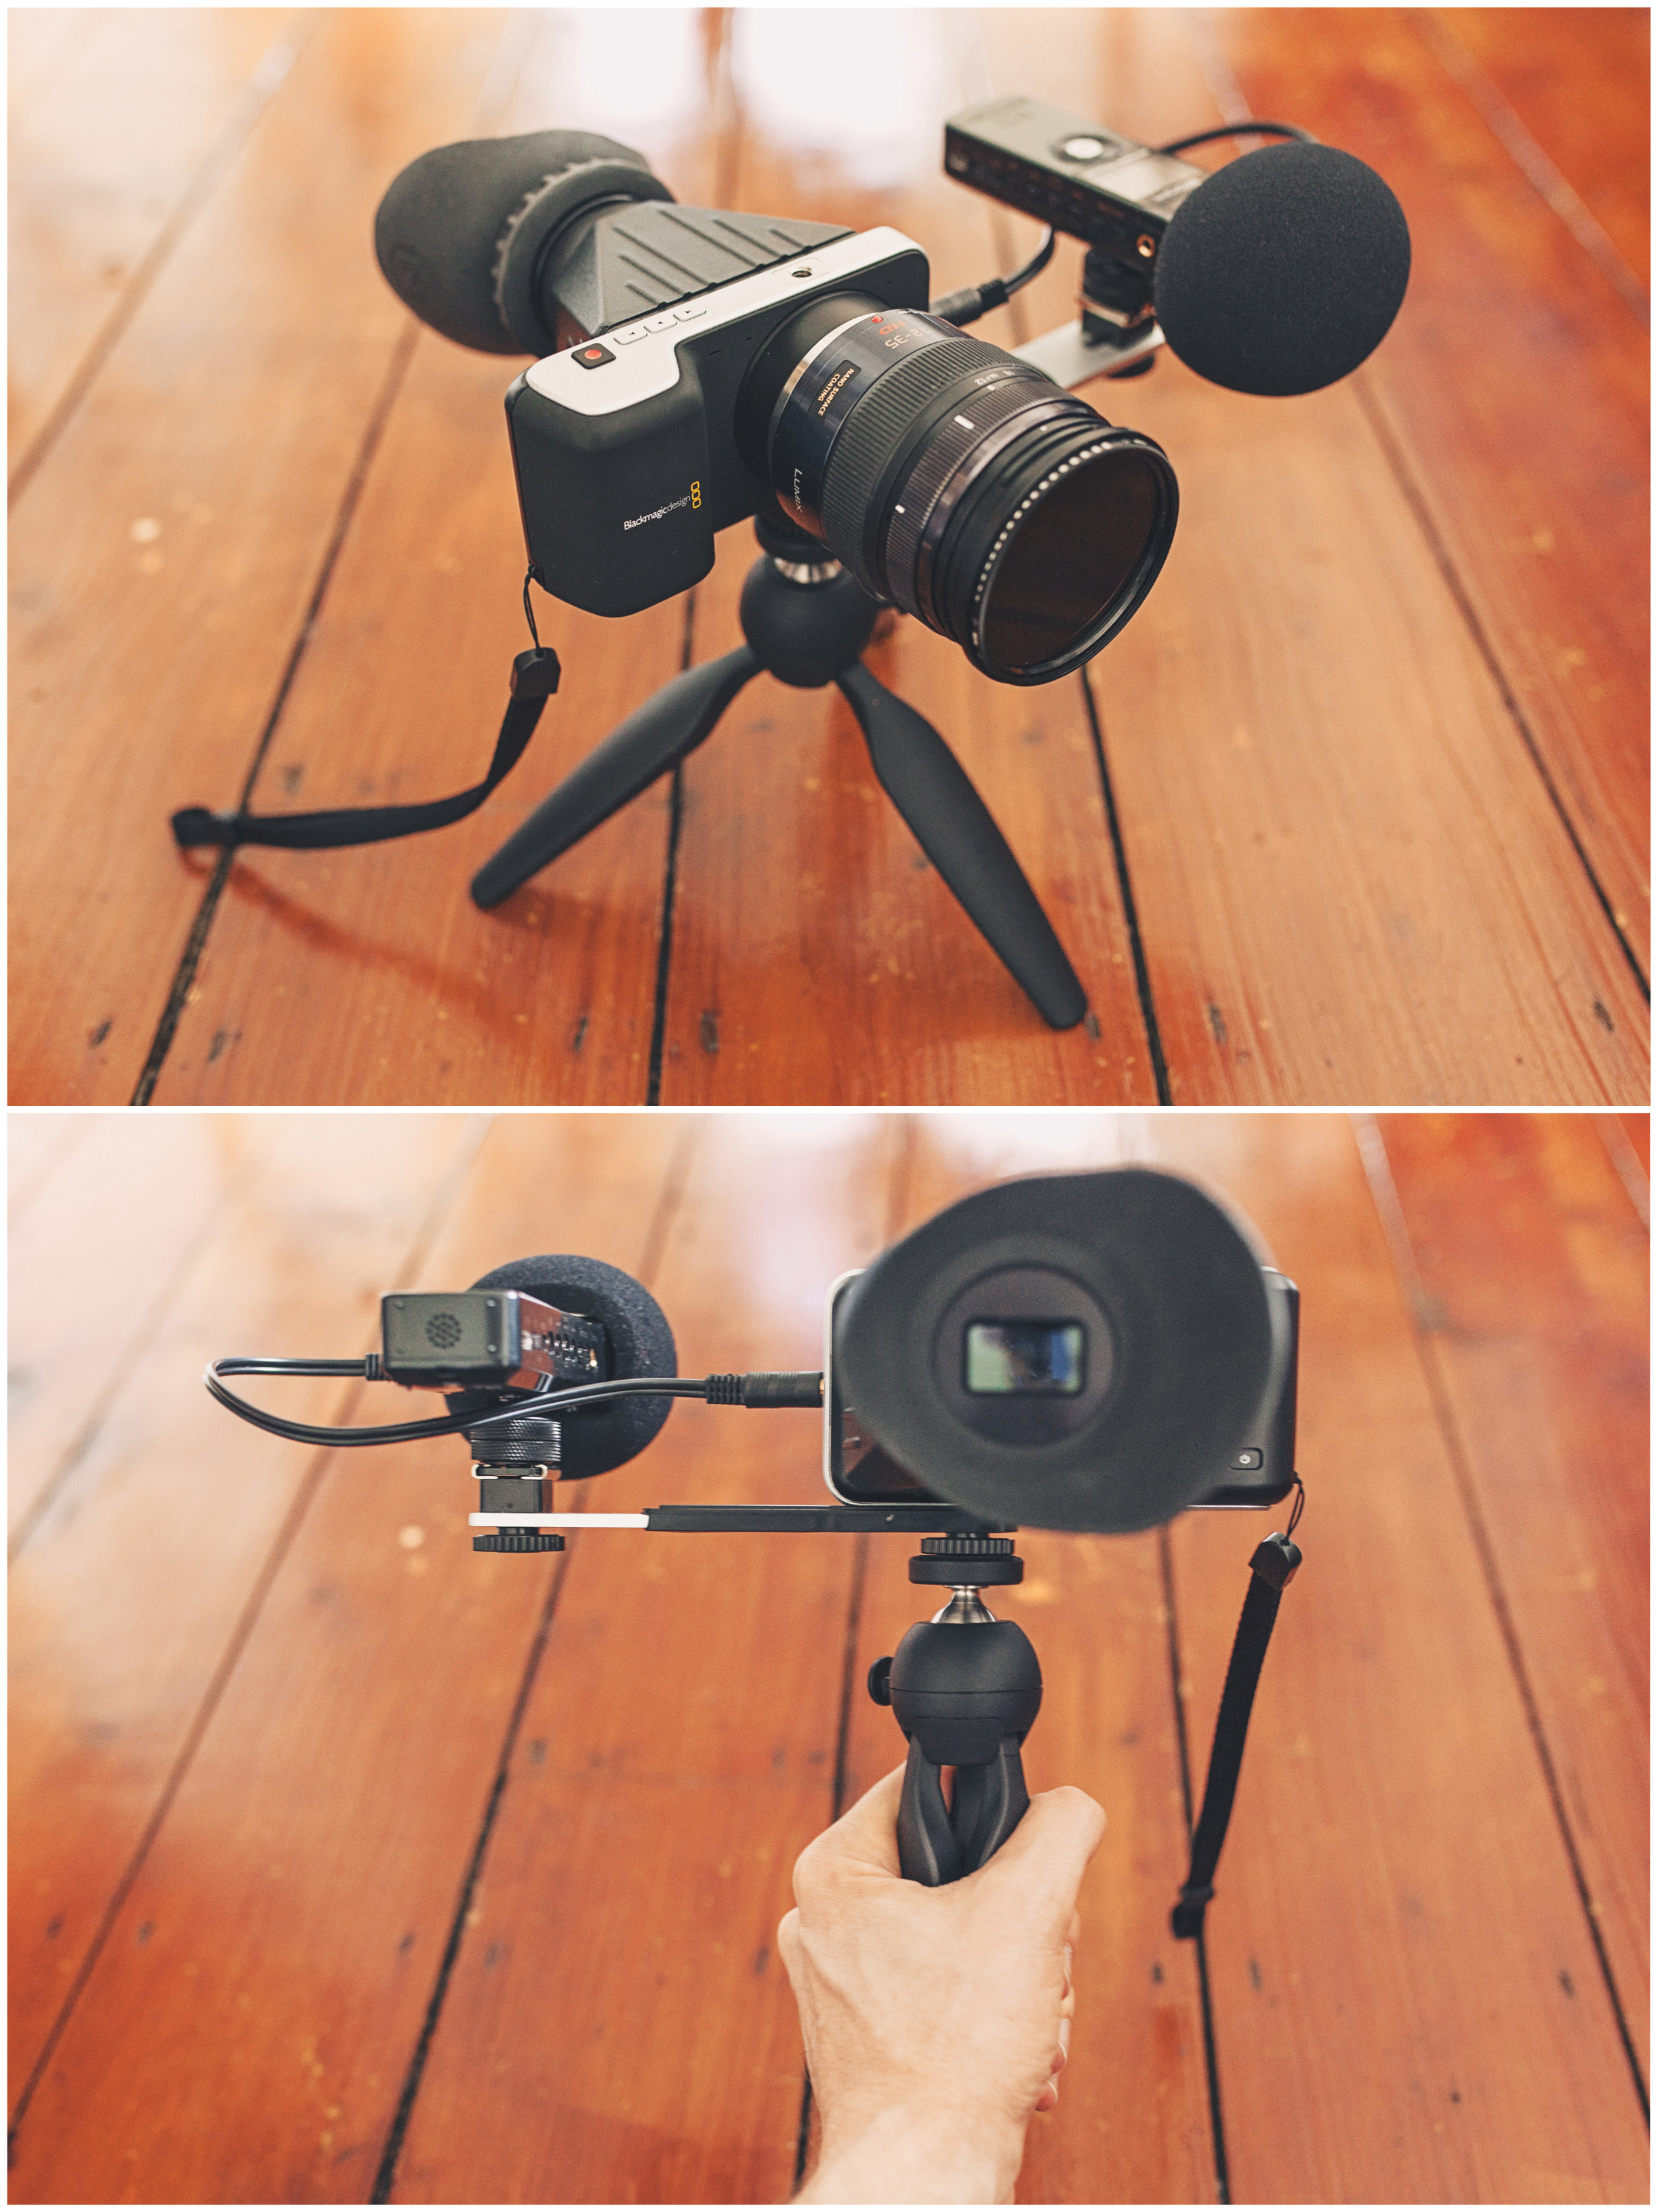
With this little kit I can be very mobile whilst producing super high quality video if the need, or want, arises. I use the Zoom H1 to jack audio straight into the side of the Black Magic Pocket, because the onboard mic is only really good for reference audio. The table top tripod means that I can rest the camera on a surface for stable shots, or fold the legs together and use it like a grip. When you have the viewfinder against your face and you're holding the grip as shown here, you can actually achieve pretty stable run-and-gun shooting due to the two body contact points.
Of course it would be nice to have a series of fast primes but that defeats the object of keeping the kit small. I find that 12-35mm (36-105mm taking the crop factor into account) gives me all the range I want, and I can achieve f2.8 in any situation, even direct sunlight, thanks to the variable ND filter, and that is plenty. Speaking of direct sunlight; I have found the Zacuto to be essential with this camera for keeping with screen visible.
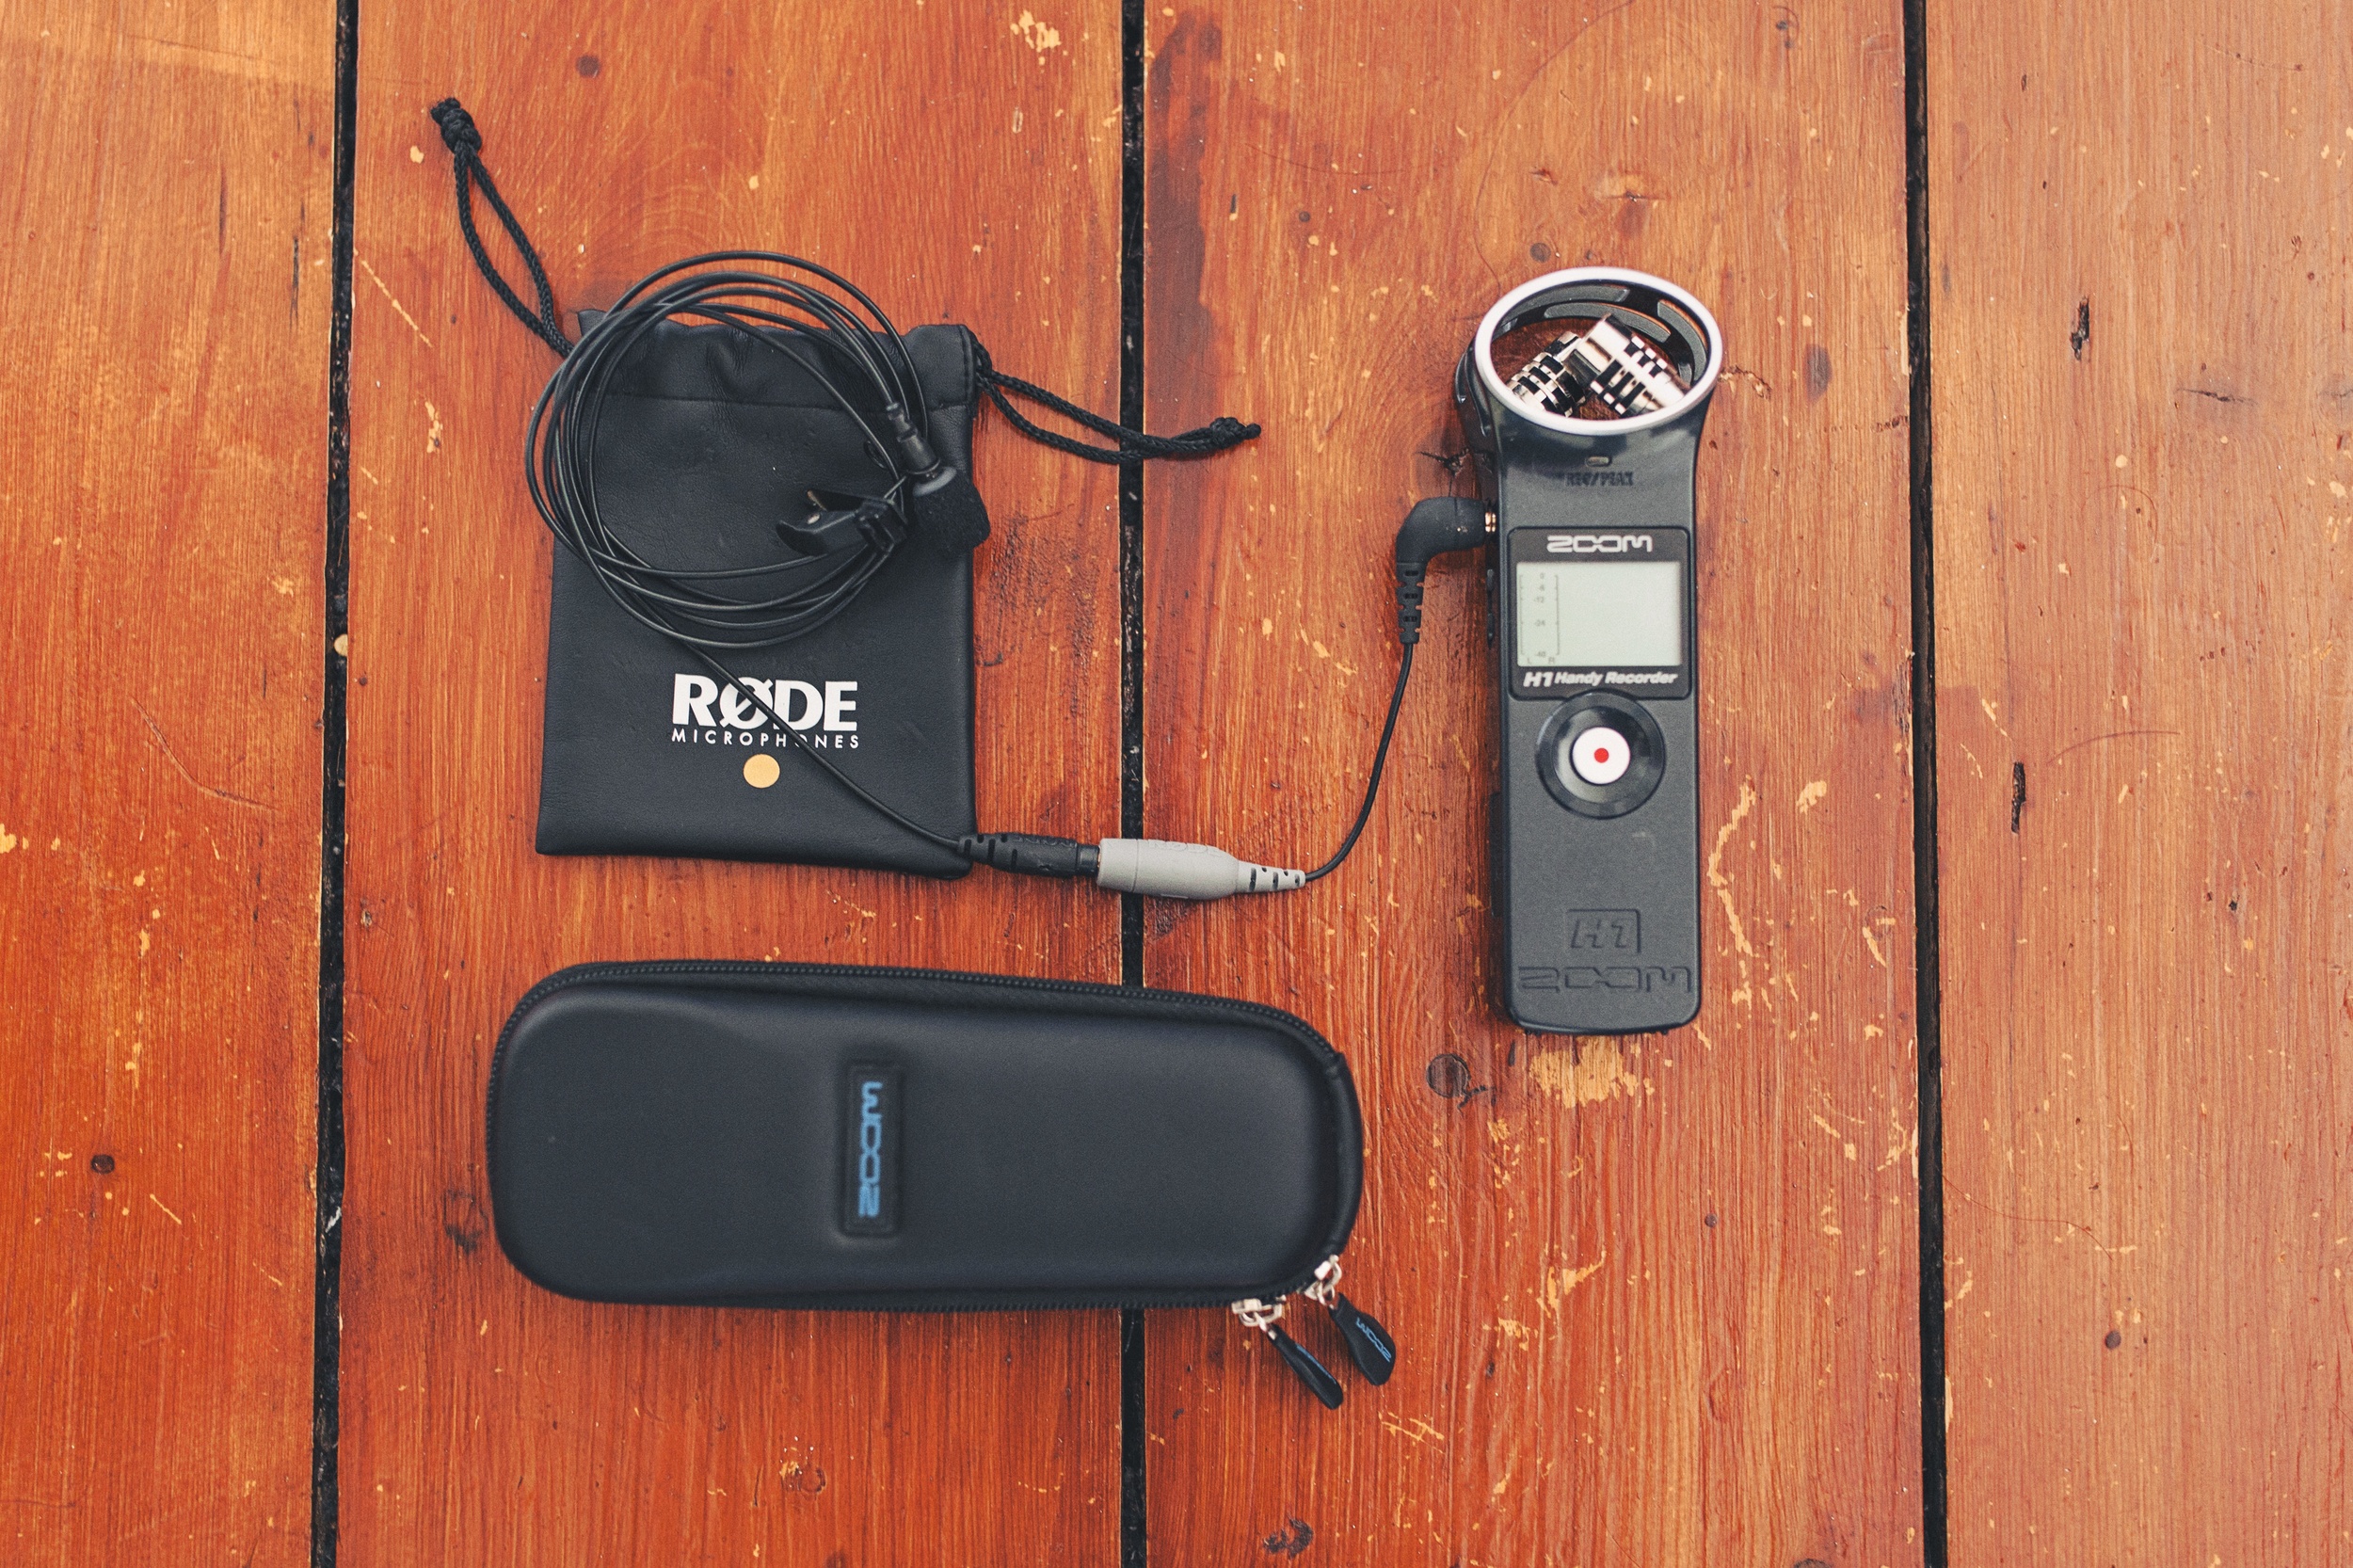
If I am recoding audio from someone speaking and really want to make sure I capture that well, then I pull out the Rode Smartlav.
By attaching the Smartlav to the Zoom H1 (you will need the SC3 adapter) and placing the Zoom in the pocket of whoever I happen to be interviewing, I can ensure that I won't miss a word. I have recorded audio like this in a loud club setting with people shouting and music blaring, and still been able to hear every word. I will need to sync audio in post, but this usually only takes a moment.
So for me this is a perfect little set up. The bag is small and light weight, even with all this kit; but if I found myself in a situation where I needed to film I am confident that I would be able to produce something of a very high quality. This would actually make the perfect roving reporter's bag in my opinion.
I'll leave you with a quick little video I shot with my wife in New York a couple of weeks ago, just on the spur of the moment because I had this set up with me:
Wells Blog
Duis mollis, est non commodo luctus, nisi erat porttitor ligula, eget lacinia odio sem nec elit. Maecenas faucibus mollis interdum. Nulla vitae elit libero, a pharetra augue.