How I made that shot: Moonika
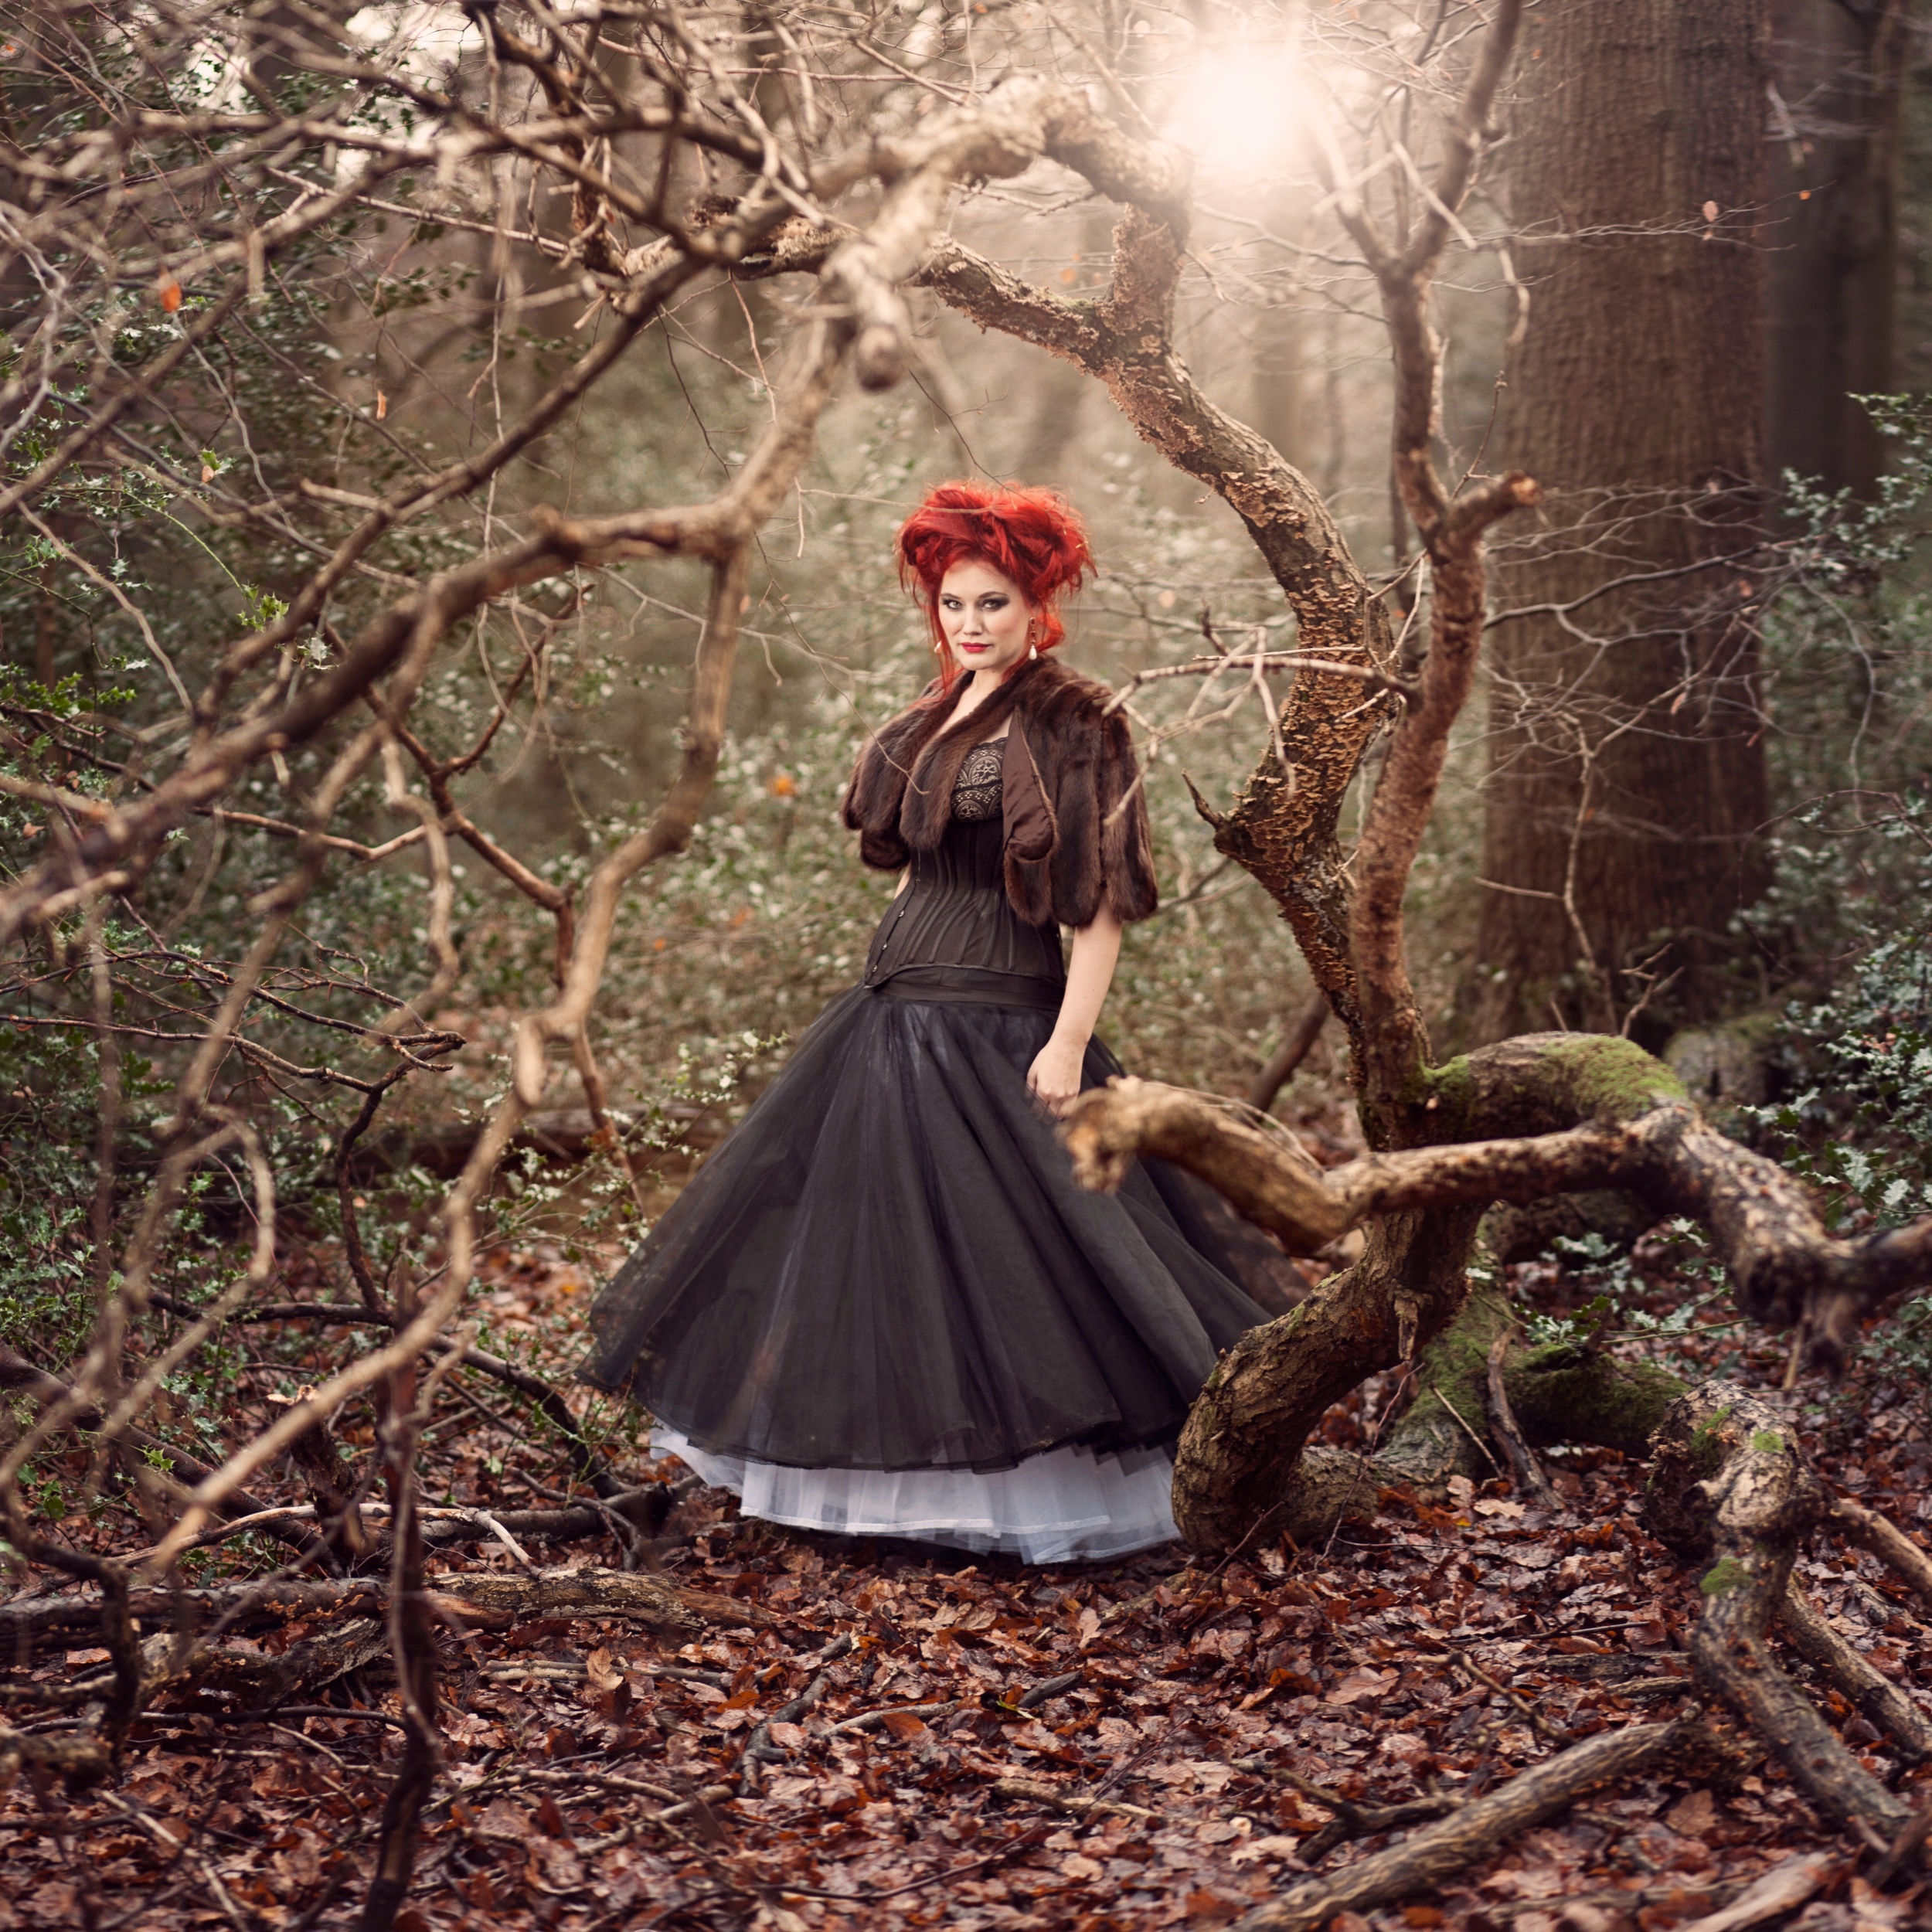
This is a shot I took recently of Moonika, and I thought I would show you how I pulled it off.
Moonika and her friend Lisa are costume designers for the stage here in London, and they contacted me to take some shots of the new pieces they had made. We decided to head out into the woods out back of Lisa's house to see if we could get some Tudor-style shots, for those of you familiar with the recent bodice-ripping Showtime series.
I knew in my head what sort of shot I wanted:
I was looking for a shot of the setting sun coming in through the trees while the subject strolls through the woods. I would bring along my Alien B800 light to act as a fill for the obvious shadows which the setting sun would cast, and then balance it all out to maintain a natural feel. I chose to use a Strip Box modifier because I wanted the light to have a reasonable even spread across Moonika's whole length, head to toe,, rather than the fall off I would have had if I used a 1m softbox placed at head height. I could have got the even spread with a large 2m softbox, but then I would have had a lot of light spreading across the floor as well. The strip box gave me the most control.
Unfortunately, as you can see from this 'behind the scenes' shot, the weather wasn't playing ball:
No sun.
Flat grey skies.
Not to worry.
I positioned her with her back to the sun anyway to get at least some rim light and lightly filled from the front with the strip box.
I'll get to how I accentuated the light in the edit.
We had done a bit of walking around and Lisa had discovered a fallen tree. I asked Moonika to stand in middle and positioned myself so it created a natural frame to the image with her standing center frame.
I also knew that I wanted to imitate a medium format look, with a full length square cropped shot, and a shallow depth of field. No small task with a DSLR.
My equipment was as follows:
Camera: Canon 5DmkII
Lens: Canon 85mm f1.8
I knew this combo would give me the shallow depth of field I wanted, but there was a bit more work to do to get the shot I wanted.
Now follow my logic here. If I want the square crop and depth of field which a Medium Format would give, I could get close with a few stitched shots from my 35mm full frame DSLR.
If I shoot 3 portrait-oriented shots, at a low aperture, and then stitch them together and crop the image square, I should be able to replicate some of the feel and depth I'm looking for. So I lined up my first shot with Moonika sitting in centre frame, and then warned her that I needed her to freeze for 3 consecutive shots, including one left and one right of the centre frame, with a small over lap between each so that photoshop would have something to stitch. Here are the raw shots out of camera:
And here is the shot after stitching the 3 shots together and cropping:
So I'm closer to the framing and depth of field I want.
Back to the lighting. What sun was making it in through the cloud cover was still highlighting her from behind, including her hair and shoulders, but not nearly as much as I wanted. It still looked a little flat.
So with the lighting I wanted in mind I went to work in Photoshop.
There is too much to go into detail about here, and it's a bit technical in places, but let me list the steps I took and you may pick up some tricks:
- I removed any obvious distractions with the Healing Brush and Clone Stamp tools.
- I dodged the highlights to accentuate shape using a Curves Layer set to Screen, and masking it in.
- I burned the shadows to accentuate shape using the Curves layer set to Multiply, and masking it in.
- I then went to work on colour using a combination of Curves, Colour Balance and Levels to get the feel I wanted. In short I was looking to warm up the whole image, and introduce some cooler tones to the shadows to create some colour contrast.
- I then used the Lighting Effects Filter to direct the light from the rear of the image. This layer only ends up being used at about 20% opacity but gives a nice starting point.
- I then created a fake sun in the background using the Lens Flare Filter on two layers, one small one at the centre point of my proposed sun, and one larger at a lower opacity to give the light some depth. These layers were both masked using the Apply Image function so that they only applied to the highlights of the image.
- I created some subtle rays for the sun by creating a curves layer with brightened mids and highlights, and boosted yellows, and then drawing rays extending out into the image on a mask layer. To blend everything I blurred the mask layer until I couldn't see any defined lines.
- I burned the edges of the image to pull the focus towards the centre, again using a masked Curves Layer set to Multiply.
- I boosted the Saturation of her hair with a masked Saturation Adjustment Layer.
- I further corrected the colour, as before, to create more feel after completing the light changes.
- To finish I sharpened the image using a High Pass Filter.
Here, once again, is the final image:
If you want to find out more about stitching images see my post on Bokeh Panoramas.
One Light: Using the Sun as a Rim Light
I've done a couple of shoots lately with beautiful outdoor evening light and I am falling in love with one particular setup, which is going in my shot arsenal from now on. It's nothing new or ground breaking, but it is very effective. Let me share it with you:
ISO100 f2.2 1/160 85mm
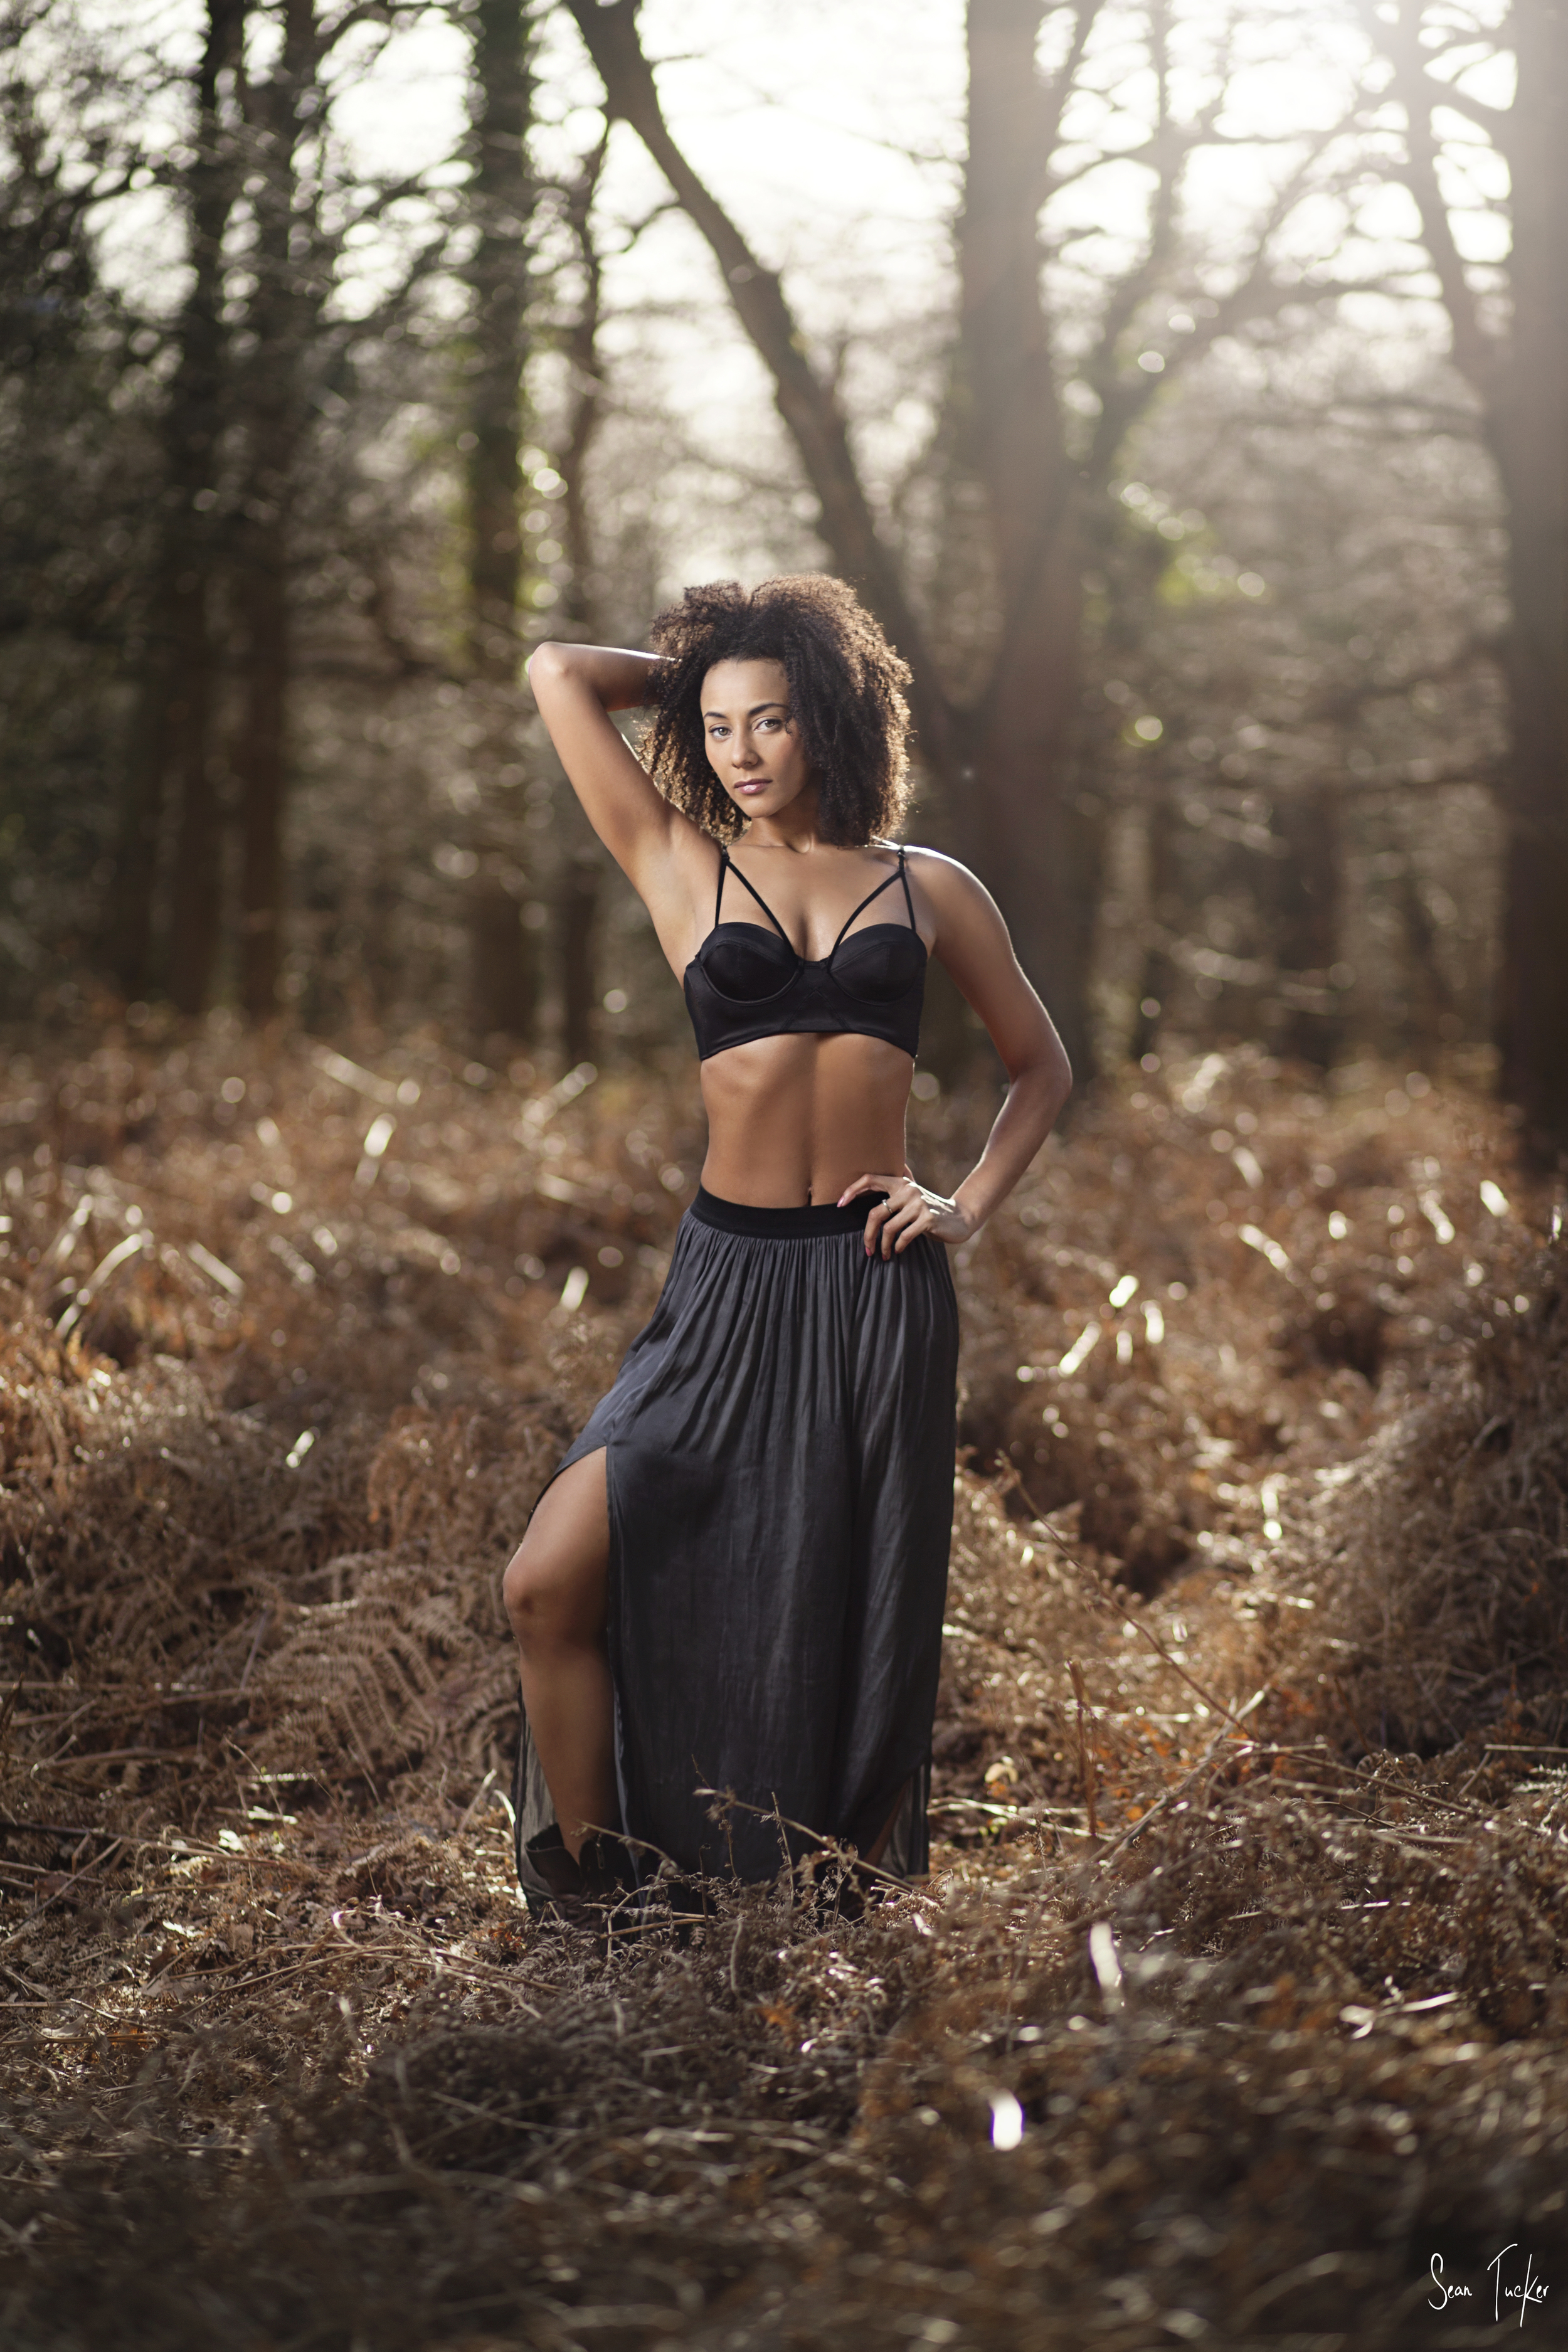
It's a one light set up, using the sun as a 'rim', or 'hair' light and a single strobe as fill. I think the effect, if balanced correctly, gives the professional feel of a studio, with the organic feel of an outdoor setting.
ISO160 f2.0 1/125 85mm
So how is it done?
It's actually very simple. I know many of you are likely afraid of flash, as I was for years, but getting this shot is really not too technical.
Firstly, this is how I position myself:
I make sure the sun is hitting the subjects shoulders and hair from behind. This means that in choosing the composition the direction of the sun directs where I point the camera, but I still need to position myself so that I have a pleasing background in the correct direction. I mostly shoot this shot with a shallow depth of field so it's more about finding something which will create a pleasing bokeh (lens blur) with good colour and little distraction.
The next step is to take a shot without the strobe to get a good 'ambient exposure'. I want the background to be slightly darker than than it appears to my eye in order for my subject to 'pop' off it when lit correctly with the strobe. I also want to keep the sun at bay and not let it's light become too over powering. To pull this off with a shallow depth of field I often need to use an ND filter (for the uninitiated this is basically sun glasses for your camera).
As I've mentioned before, to control the ambient light I need to focus on my shutter speed, where as my aperture is going to control my flash output.
A couple of things I need to be aware of when setting my exposure:
1. I cannot really shoot faster than 1/160 shutter speed because I will lose flash sync, which just means that my shutter fires faster than my strobe pops and it will leave a portion, or all, of my shot dark. Your camera my be different but I know this is the magic number for my 5DmkII. Just Google your camera make and 'sync speed' to find yours.
2. In bright sunlight I want my ISO as low as possible to help me maintain detail and control the light.
3. I want to make sure that if I need to slow my shutter speed down a lot to let in enough ambient light that I put the camera on a tripod to reduce camera shake and motion blur. The thumbnail rule is that your shutter speed should not be less that your focal length: in other words you shouldn't shoot handheld at slower than 1/50 on a 50mm lens, 1/100 on a 100mm lens etc.
Obviously once I have the ambient exposure dialed in correctly my subjects face will be dark and filled with shadow because the sun is hitting her from behind.
Enter my strobe.
In the BTS shot above I am using my Alien B800, Vagabond power pack and a 1m softlighter, but you can use a speedlight and a shoot-through umbrella if the ambient isn't too strong. Your speedlight won't be able to fill against full noon day sun, but it will work nicely with a muted setting sun.
Then I simply bring my light in close to make sure it's soft and dial it up until it provides a natural fill light to the setting sun. I already have my slightly darkened background, now I just need a good exposure on the skin to complete the light for the shot. I want to position it at 45 degrees above the models head and slightly off to one side to mirror the direction of the sun. I'm looking for a good catch light in the models eye, and I often use a small handheld reflector to add a second catch light in the lower portion of the eye as well.
ISO125 f2.5 1/100 85mm
Something to take note of: you'll find the smallest moves in the camera will control how much flare you allow into the lens. A slight bend at the knees can mean that you flood the lens with sun light, and as you straighten slightly you can kill it altogether. It's going to come down to taste, and some strong quad muscles, as to how much flare you want in your shot.
Here are few more examples:
ISO160 f2.0 1/125 85mm
ISO100 f1.8 1/160 50mm
ISO160 f2.0 1/125 85mm
Go try it for yourself, and post me links to your shots in the comments.
Thanks to the beautiful models:
Actor and Director, Lucy Drive: http://www.modelmayhem.com/548139
and Professional Dancer and Model, Beth Willetts: http://www.modelmayhem.com/824462
Bending Light
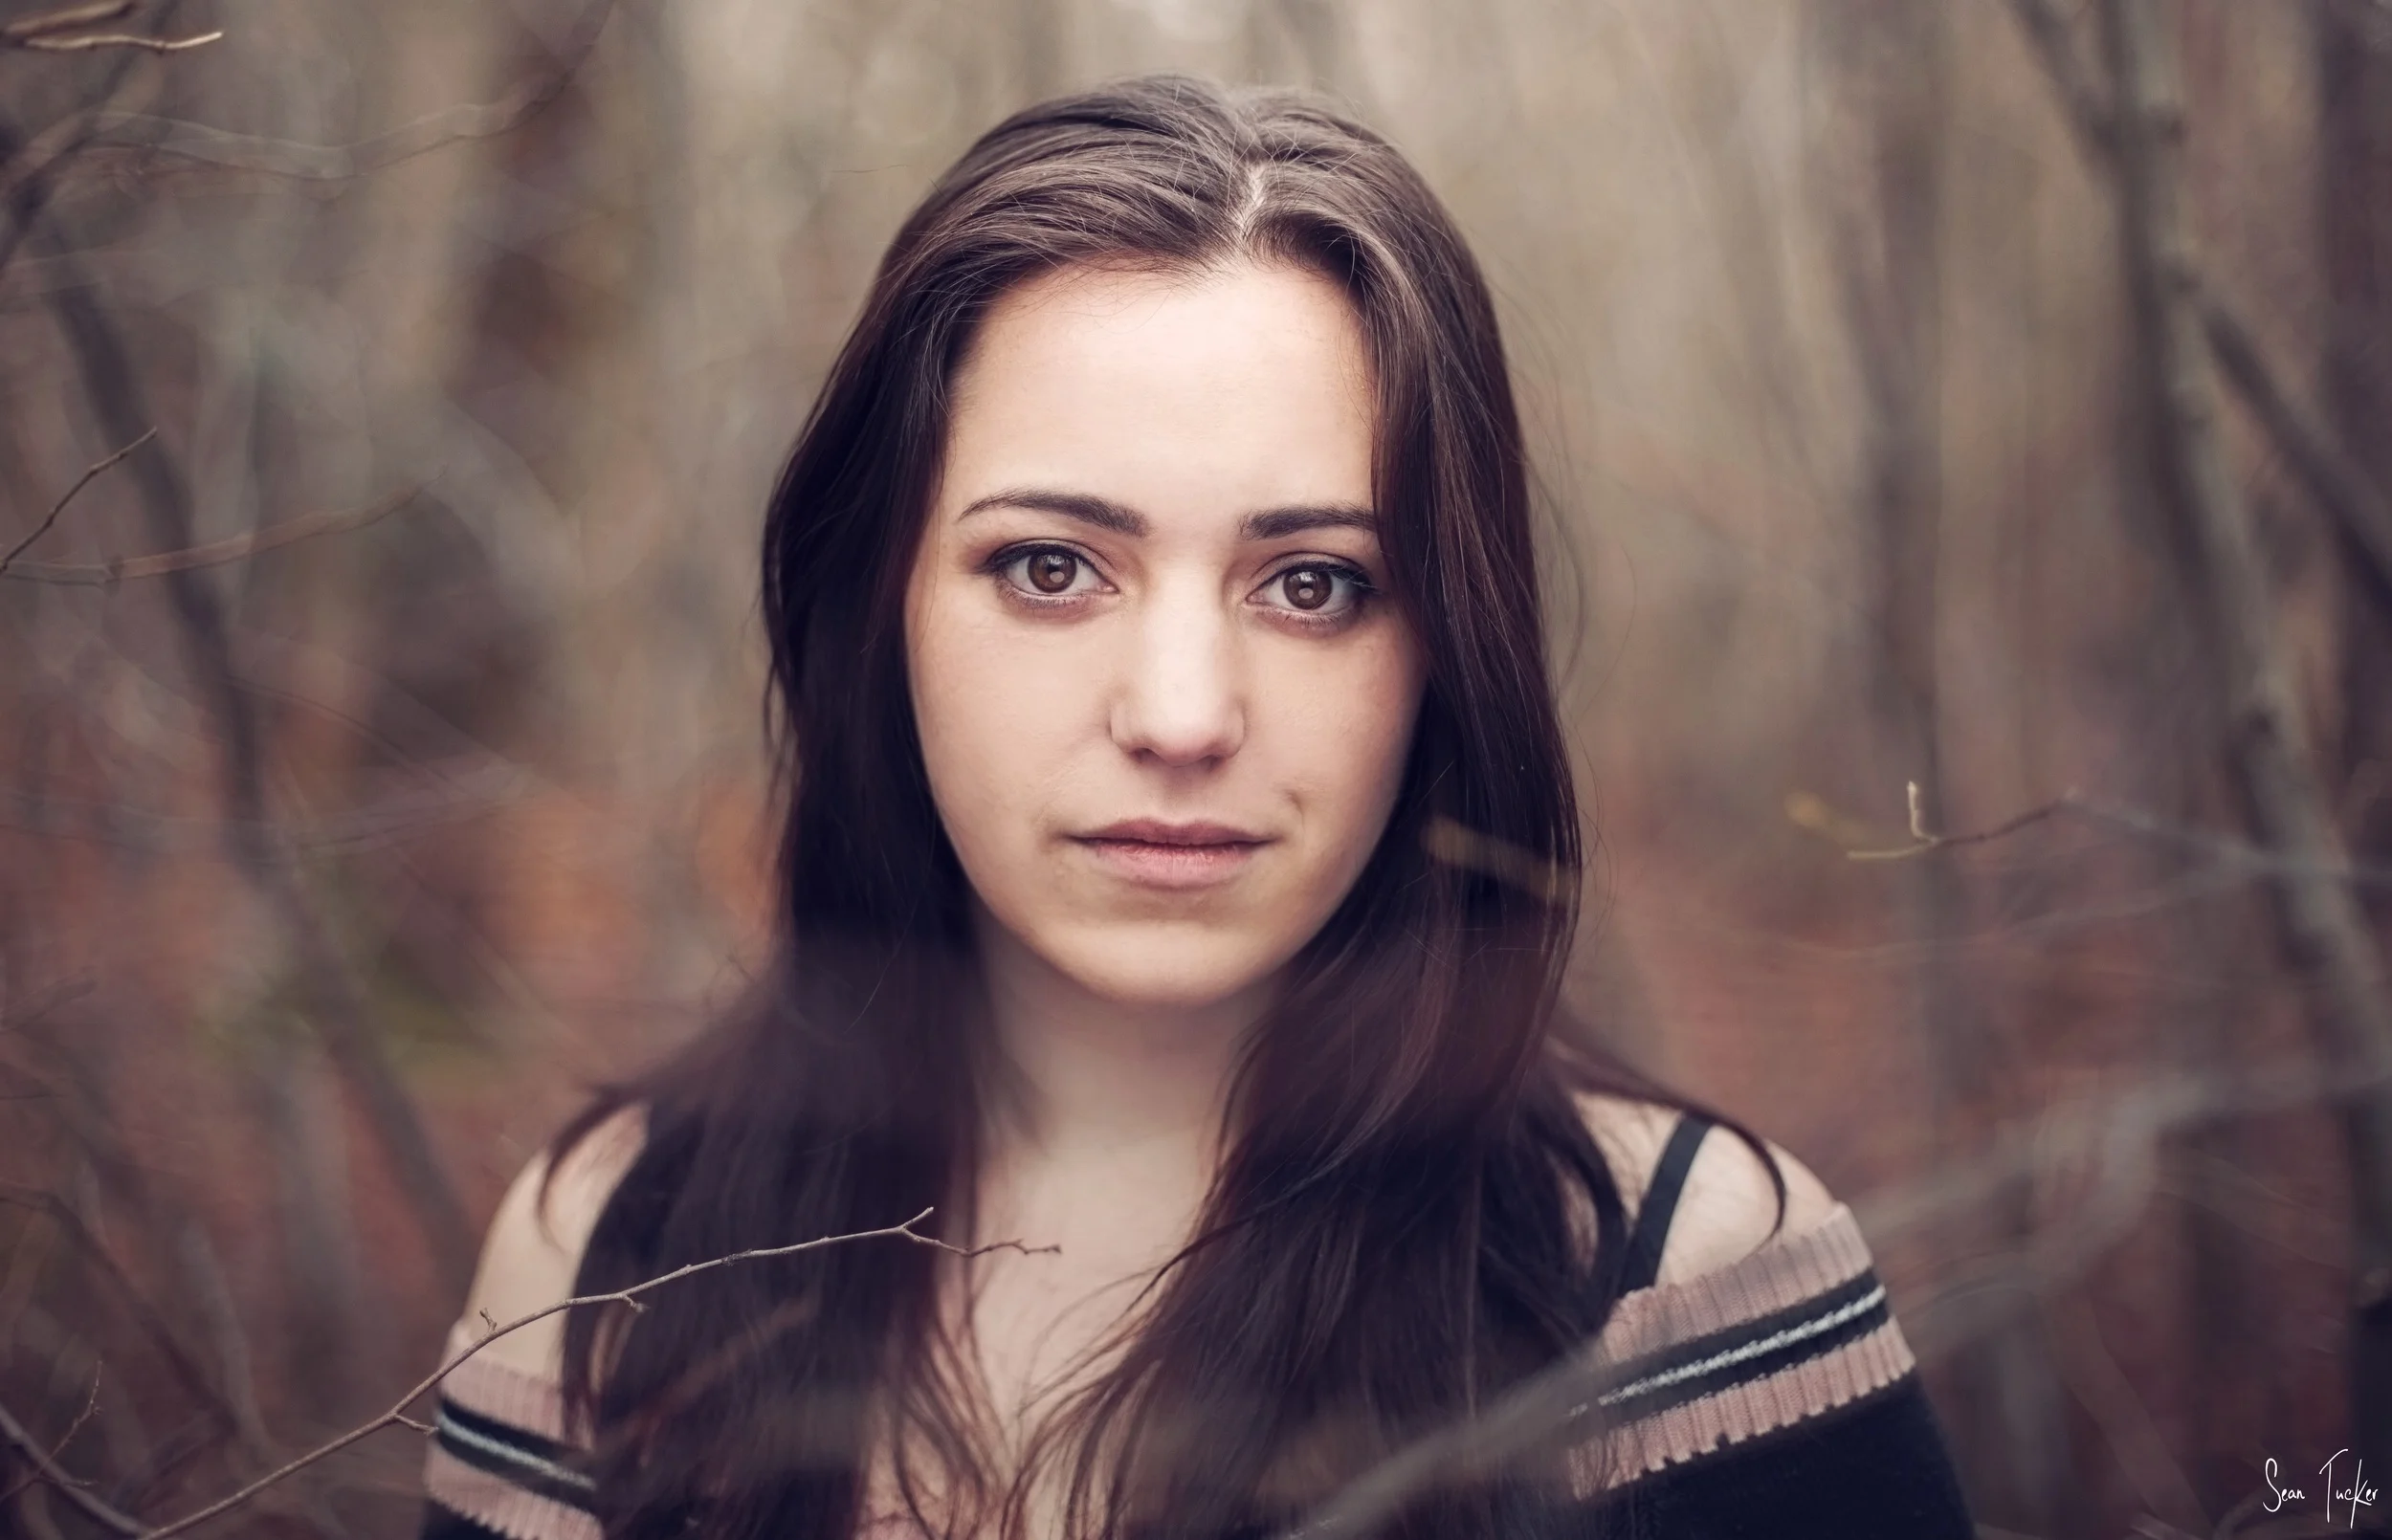
Last weekend Sarah and I headed into the woods to play with strobes and practice balancing them with ambient light. While we were scouting out the location and testing the ambient light, I got this shot of Sarah with a 50mm and a handheld reflector to give a nice catch light in the eyes:
Then we pulled out my Alien B800 and Vagabond battery pack. The main reason I was keen to do some testing was that I had recently bought a 1.8m softlighter. A softlighter is a large umbrella with a silver inlay which you shoot the light into for shape, but it also has a white diffusion panel over the front to soften the light up on the return journey. Being 1.8m big I assumed that this was going to give me a huge, soft, wrap around light source. The general rule with lighting is that the larger the light source relative to your subject, the softer the light. The sun for example, while bright, is only a tiny point in the sky relative to us, which is why it gives such harsh shadows. A big light source held close to the subject though will fill in shadows and give a soft, pleasing light.
So what I thought this big 1.8m light source would do was this:
But when I took a test shot what I actually got was this:
The light was soft, but it wasn't a big light source. In fact it barely covered head and shoulders. I was really confused for a while because this was breaking the rule I had learnt. It took me a few minutes but from what I could tell, this was what was happening:
Due to the fact that the umbrella is so shallow the light source was only bouncing off the centre and so creating a small light coming back through the diffusion panel. That diffusion panel may have been almost two meters big, but the light was only bouncing back through the very centre of it. The small reflection size, and the concave shape of the umbrella meant that I was left with a shot which looked like it had been lit with a snoot and a bit of ambient back lighting. I think it's actually a flaw with this particular product (Walimex 180cm Reflex Umbrella). Ideally the umbrella should have a deeper concave shape, so the light can sit further away from the inside surface, and so spread light over the whole surface and come back through the diffusion panel as large a source as possible.
Don't get me wrong, I actually like the shot. It was a happy accident and I stayed there shooting for a few minutes and got some great shots with that set up. But it wasn't what I had planned. I still wanted a bright ambient hair light from the sun, filled with a big soft light from the front.
So how did I get there?
Well first I had to slow down my shutter speed to let in more ambient light. The rule is, when balancing ambient light with strobes, that shutter speed controls your constant ambient light, and your aperture controls your strobes. Slowing down my shutter speed, means keeping the shutter open for longer and allowing more constant light in to the sensor. It doesn't effect the strobe though because it only fires momentarily within that shutter duration anyway.
I still had the same problem with the softlighter though. So I decided to pull the diffusion panel off the front and hang it spread out in the tree branches off to camera right. I then took my light and pulled it back so that the light would fall full across the surface of the diffusion panel without spilling past the edge:
This now meant that I had my large soft light from the front to fill. As a trade off I lost the shape of the light somewhat because Sarah was now only being lit by a bare strobe firing through a flat diffusion panel instead of being shaped by light returning from a concave umbrella, but it gave me the balance that I needed to get the shot I wanted. Which was this one:
So I used the sun coming in through the trees as a hair light, or rim light, and just balanced the strobe to fill in the front of Sarah's face. The trick with this kind of photography for me is to keep it looking as natural as possible, and I like the result of this one.
There are million ways to light. Once you get a sense for how it moves and behaves you can get a vision for what you want, and then work out how to get it. There are a slew of modifiers to help you get there too, from snoots to softboxes, umbrellas to beauty dishes, even just a white wall, or in my case, a diffusion panel hung from a tree. The point is to experiment and learn to bend the light through your lens and onto your sensor to get the shot you want.
Wells Blog
Duis mollis, est non commodo luctus, nisi erat porttitor ligula, eget lacinia odio sem nec elit. Maecenas faucibus mollis interdum. Nulla vitae elit libero, a pharetra augue.


