Shooting Camera-Shy Clients
A couple of weeks ago I was asked to shoot an engagement session.

A friend of mine from school days (which I don't mind admitting is a while ago now) got hold of me because he had seen some shots I had posted on Facebook. This is one of the few times Social Media has led to actual work for me. I know it really helps some photographers, and I make the effort and put in the time, but it doesn't often pay dividends for me.
More about that in a future post perhaps.
That said, this time it did pay off.
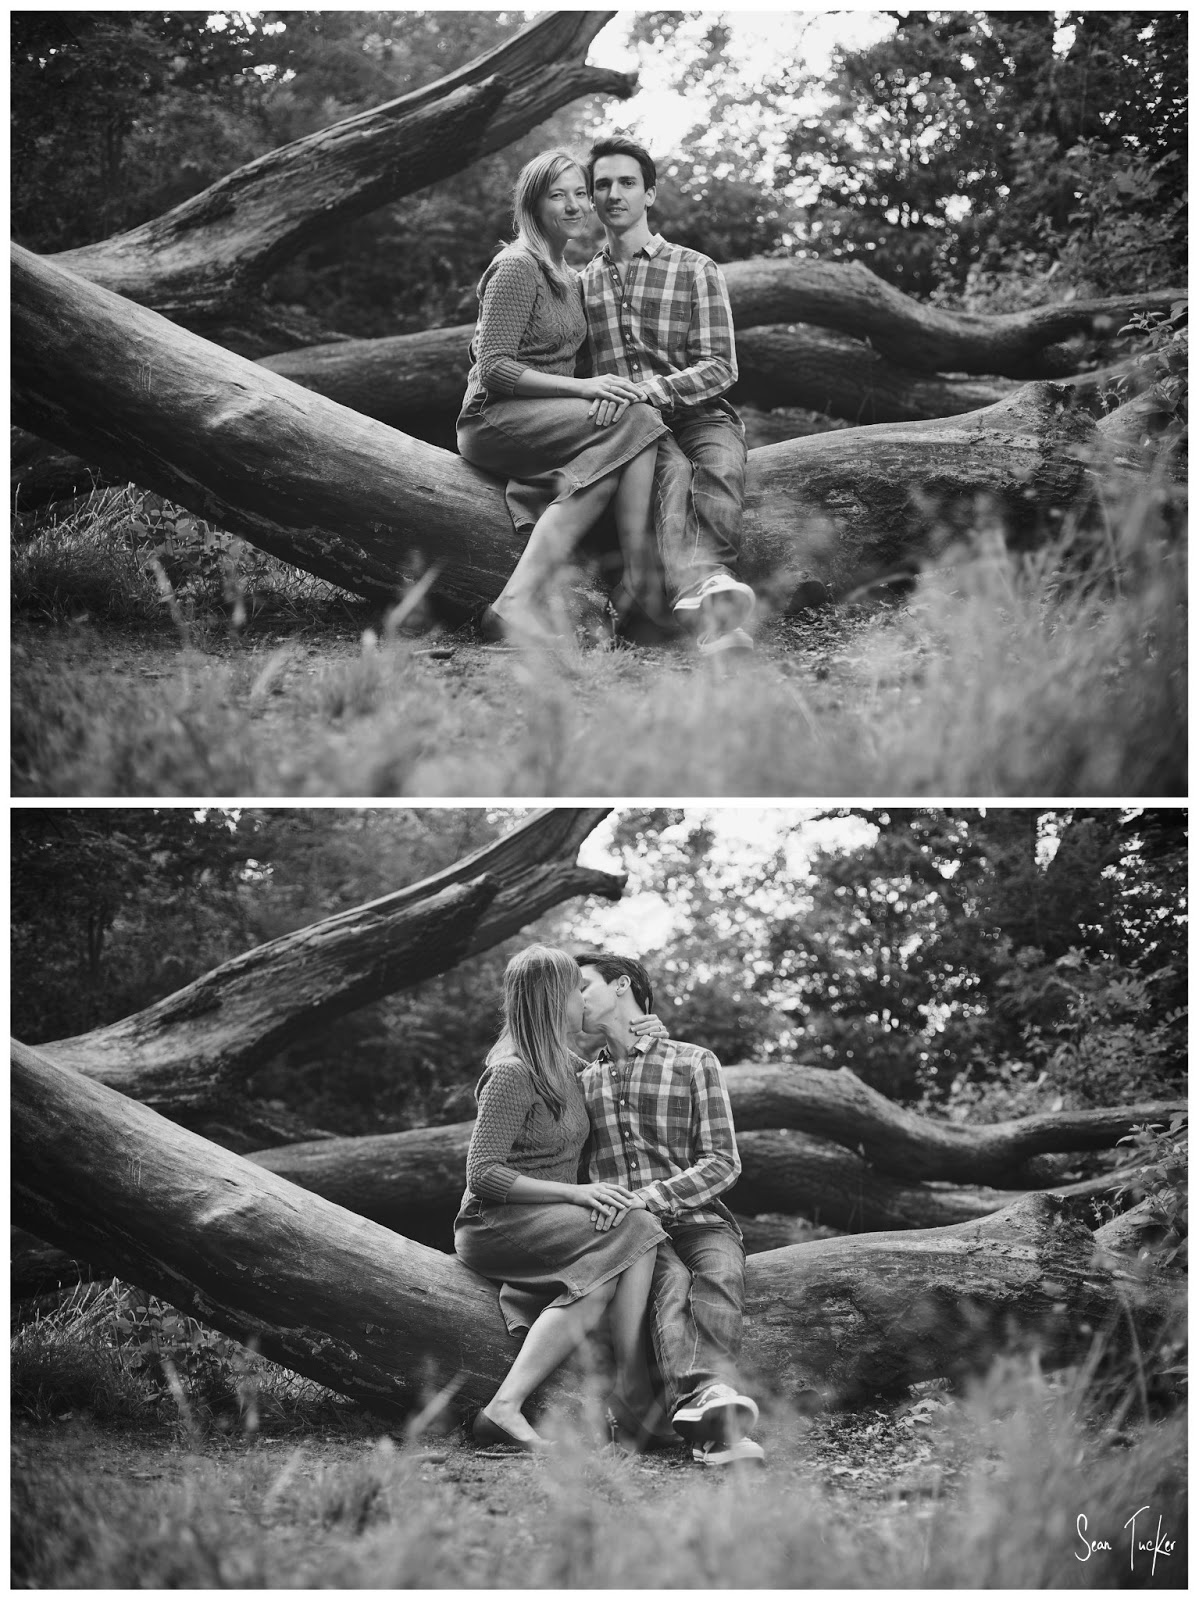
We agreed to meet at Hampstead Heath in North West London, because it was full of outdoor options and happened to be close to where they lived.
I arrived a little early and settled in for a coffee while I waited. I fired up my iPad and googled around for images other people had taken in the area so I could familiarise myself with interesting shooting spots. This is something I now make a habit of doing. It's a way to give myself some space relax before shooting, as well as doing a bit of a virtual reccie of the area. Looking through other people's shots also inspires me and puts me in a 'shooting headspace'.
The couple arrived right on time and we got to talking as we strolled up the hill and onto the Heath.
And that's when she dropped it. The bride-to-be turned to me and said, "I just want you to know, I really don't like having my photo taken."
Ah.
Now what?
I mean you called me right? You wanted photographs.
It's a strange phenomenon, and it happens a lot around weddings, that couples who really dislike being in front of cameras feel the need to put themselves there anyway because, well, you have to. Everyone does.
So you are faced with people who simultaneously desperately want good photos of themselves, whilst wishing they didn't have to be in them.
They were a lovely couple and we got on pretty well right from the get go, but I knew that I was going to have to work hard to make them both feel comfortable in order for them to come across naturally in the images. I find that a camera picks up discomfort very astutely. The frozen moment gives you the opportunity to more finely observe an awkward stance or expression, and then cruelly preserves it in time.
So I would have to put them at ease.
As the photographer that is my job. I am the one who lives in this space. Photography and cameras are my comfort zone (although I still don't like being in front of them that much either). It's my job to welcome them in to this space, like it would be my job to make them feel comfortable when visiting my home.
I can do this in a few ways:
Act like I know what I'm doing.
I kept telling them, "I'm good at this. I'll make it easy on you. This will be quick and painless, and even fun." That way they know that I, as the professional, will absorb all the pressure. It feels good to be in the hands of a professional in any sphere. If my computer breaks and I take it in to a technician who tells me that he is great at what he does, and he will get my computer working again soon, I feel instantly more at ease. His confidence gives me confidence in him. Admittedly, sometimes I have to fake that confidence myself, but I know it's worth it because the shots will show a more relaxed and natural subject.
Let them know they are doing a great job.
I had to learn early on that I couldn't look at the shot I had just taken and frown. They would assume I was frowning at them. Truth is I was usually frowning at the fact that I had just stuffed up the lighting, but they would assume that I was a professional and that they were more likely the problem. Being in front of a professional photographer's lens is a very vulnerable place to be. Remember that. Cover your mistakes and give them the impression things are going well, even while you're working out a way to make that true. Most importantly, let them know they are doing great.
Spark conversations which makes them talk easily.
I got them talking about their wedding and plans for the future, even while I was posing them. This is when they both became more animated and began to act more like they were just sharing plans with a new friend. At rare moments I think they even forgot they were being shot and those were the moments I tried to grab.
Use the 'testing the lighting' trick.
I do this often. I get my subjects to pose somewhere and tell them to just relax for a couple of minutes and chat to each other while I 'dial in the lighting'. What they don't know is that I am shooting the whole time, hoping to capture less guarded moments with shots they assume don't count. I have gotten some of my most natural moments this way. It's an old trick, but a goodie.
I'm sure you have a load more tricks, and I would love to hear them, but either way, it is your job to put your subjects at ease. Create a professional atmosphere, swallow your own insecurities, absorb the pressure, and make them feel at home
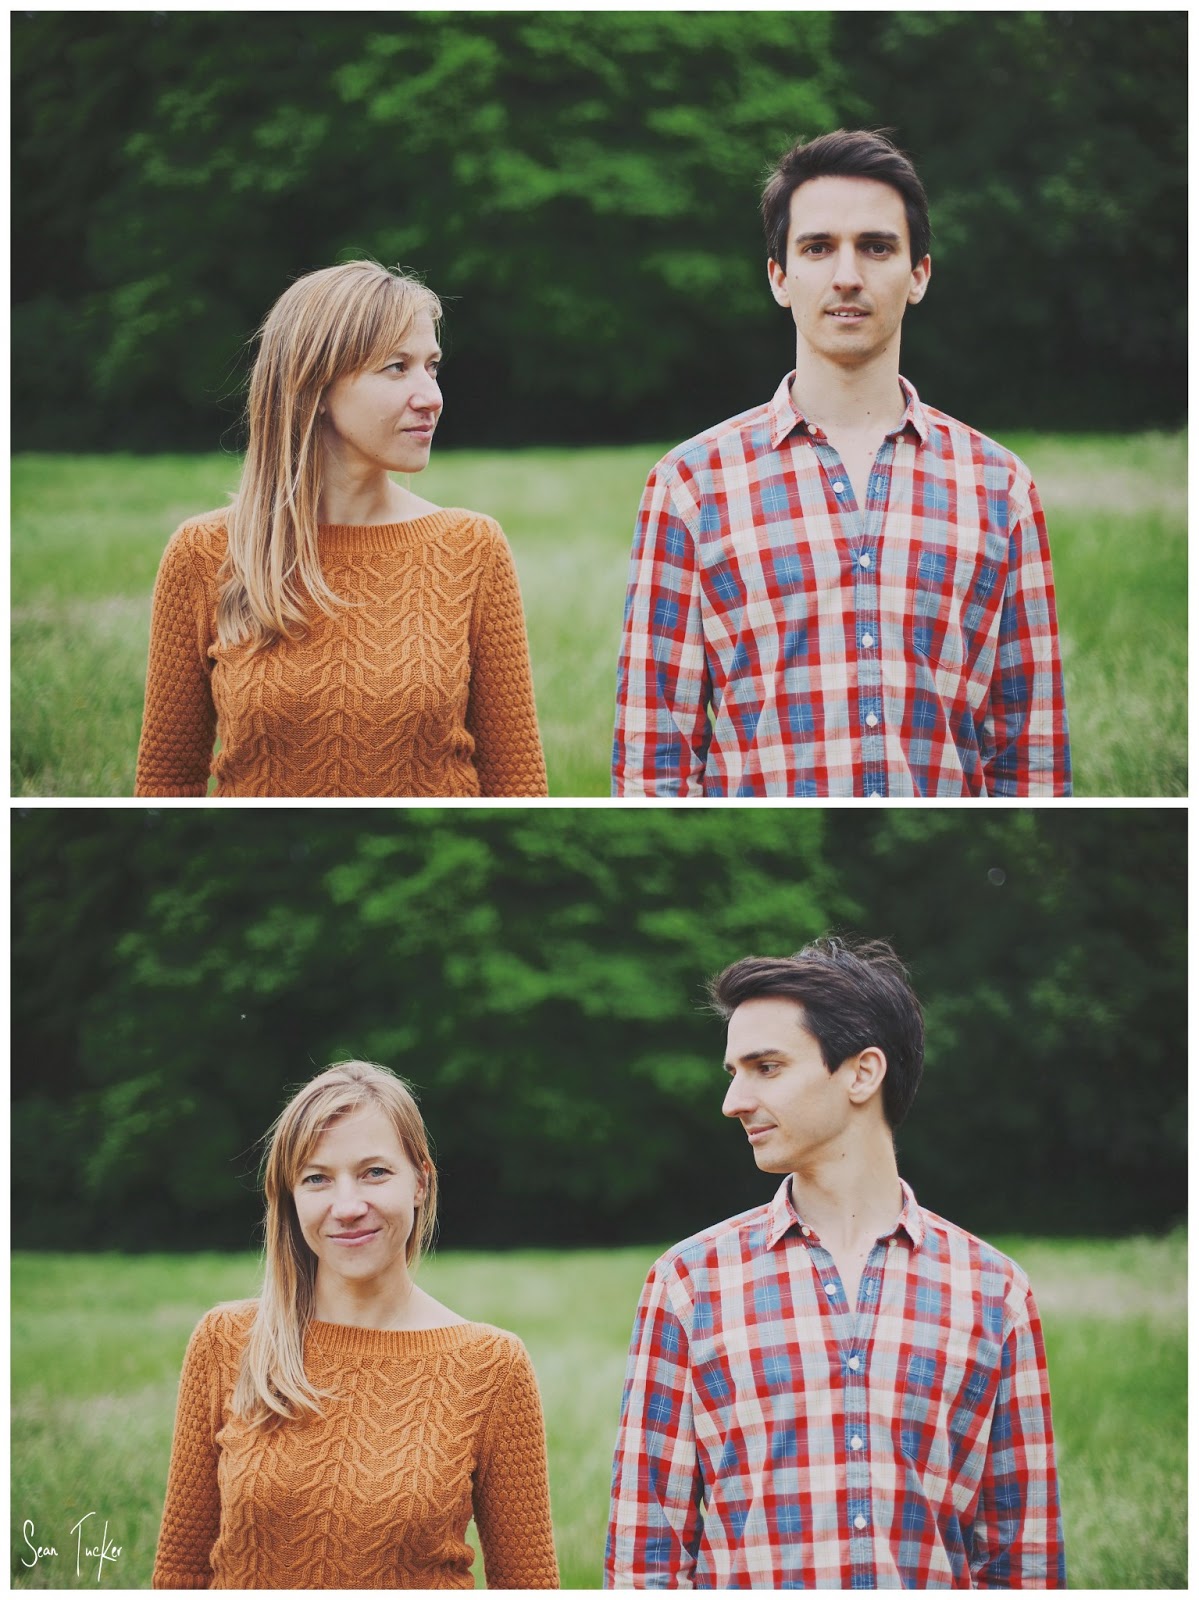
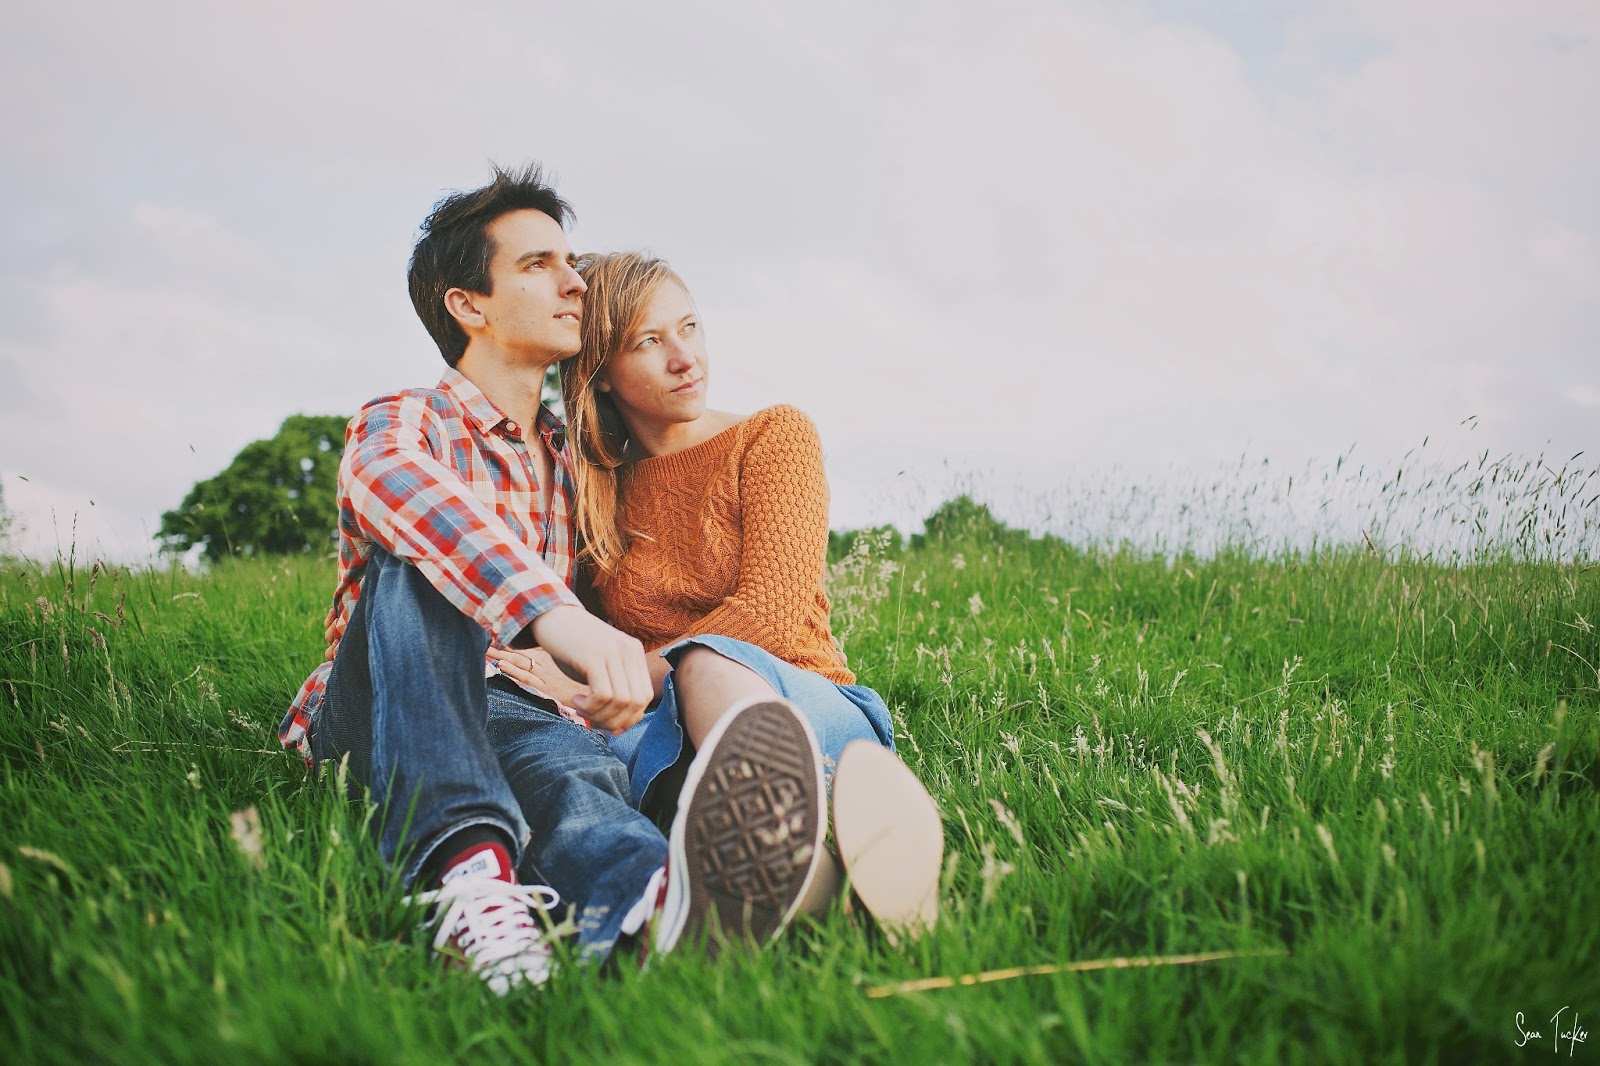
Here are some more shots from the day:


Bokeh Panorama
...also known as "The Brenizer Method" because this technique has been popularized by New York Wedding Photographer, Ryan Brenizer.
The idea behind the shot comes from a creative bit of problem solving. The question which needs answering is "How do I build a shallow depth of field (lots of focus blur) into a wide angle shot"? As you will probably know, when you shoot with a wide angle, everything is usually in focus. When you shoot at a longer focal length your background compresses, and you get a pleasing blur, or 'Bokeh', which serves to really separate your subject from it's surroundings.
So how do I build 'long focal length blur' into a 'wide angle shot'?
Well the answer is, "Shoot your scene by stitching together a series of images shot with a longer focal length, and low aperture, to make up your wide angle." This way you can create a shot with plenty of context, but your subject will now 'pop' off the out-of-focus background.
There are many techniques for this shot, but personally I usually use my 85mm f1.8, because I want both a lens which will compress the background, and has a low potential aperture (sub f2).
You need to start by composing the scene in your head. You obviously won't be able to do this through the lens as you normally would, so you need to imagine the borders of your shot. The trick then is to shoot in such a way that you piece together your total shot one frame at a time. It's vital to keep a track of the areas you've covered, which means you always have to have the big picture in your minds eye. Some people shoot in a spiral out from their subject. Some people shoot in a grid. You'll have to find the technique which works for you, but it's important that you cover all the areas of the total image otherwise you will have 'holes' in your final stitch which you'll have to deal with in post.
When you are ready to shoot you need to make sure all your settings are manual so they don't change from shot to shot. Remember you are shooting pieces of a whole image, not individual shots. Here's a check list to get yourself ready for the shot:
- Put your camera in Manual mode.
- Select the appropriate ISO depending on the ambient light.
- Set your aperture as low as your lens will allow so that your depth of field will be as shallow as possible.
- Dial in your shutter speed until you have the right amount of light for your subject. If you are shooting a person make sure the skin is exposed correctly.
- Set your white balance.
- Then focus your lens on the subject and click your focus to manual (you don't want your lens refocusing between shots).
- Plant your feet firmly and burn that final image into your mind.
Then build your shot one image at a time. I begin with the head and torso of my subject, then the legs, and then I begin to fill in the scene around him/her by shooting a spiral outwards from the body on all sides.
Here is a recent Bokeh Pano I shot with a French Model in Bermondsey:

And these are the raw shots out of the camera which went into making it up:

The number of shots you need to take will vary depending on the setting. I have shot some with 8-9 frames, and then some with 60+ frames, which was quite an ask for my version of Photoshop Elements to stitch together. You will also notice that I am making sure to create some overlap between the shots so as to ensure I have no holes in the final image.
After this I open up photoshop and run file/automate/photomerge, and then select all my images and let photoshop go to work. Sometimes it does a great job, sometimes there is some work which needs to be done afterwards to fix areas where the stitching hasn't worked.
A quick tip: if you are shooting a series of these Brenizer shots, just shoot a black frame (with your hand over the lens) between each set so that you can easily identify the first shot of each batch when you come to the editing stage.
This technique really allows for a quality image. Due to the combined resolution of all the shots you've used, you could blow this image up to the size of a billboard if you wanted to. Not to mention the fact that no lens in the world could actually get this shot, because it would have to be a 15mm f0.4 or something like that; and they don't exist... yet.
Get out there and give it a go!
Here are a few examples of other recent Bokeh Panos I've shot:


To end off, here is Ryan Brenizer himself speaking about the technique and demonstrating its use:
Wells Blog
Duis mollis, est non commodo luctus, nisi erat porttitor ligula, eget lacinia odio sem nec elit. Maecenas faucibus mollis interdum. Nulla vitae elit libero, a pharetra augue.