Bending Light
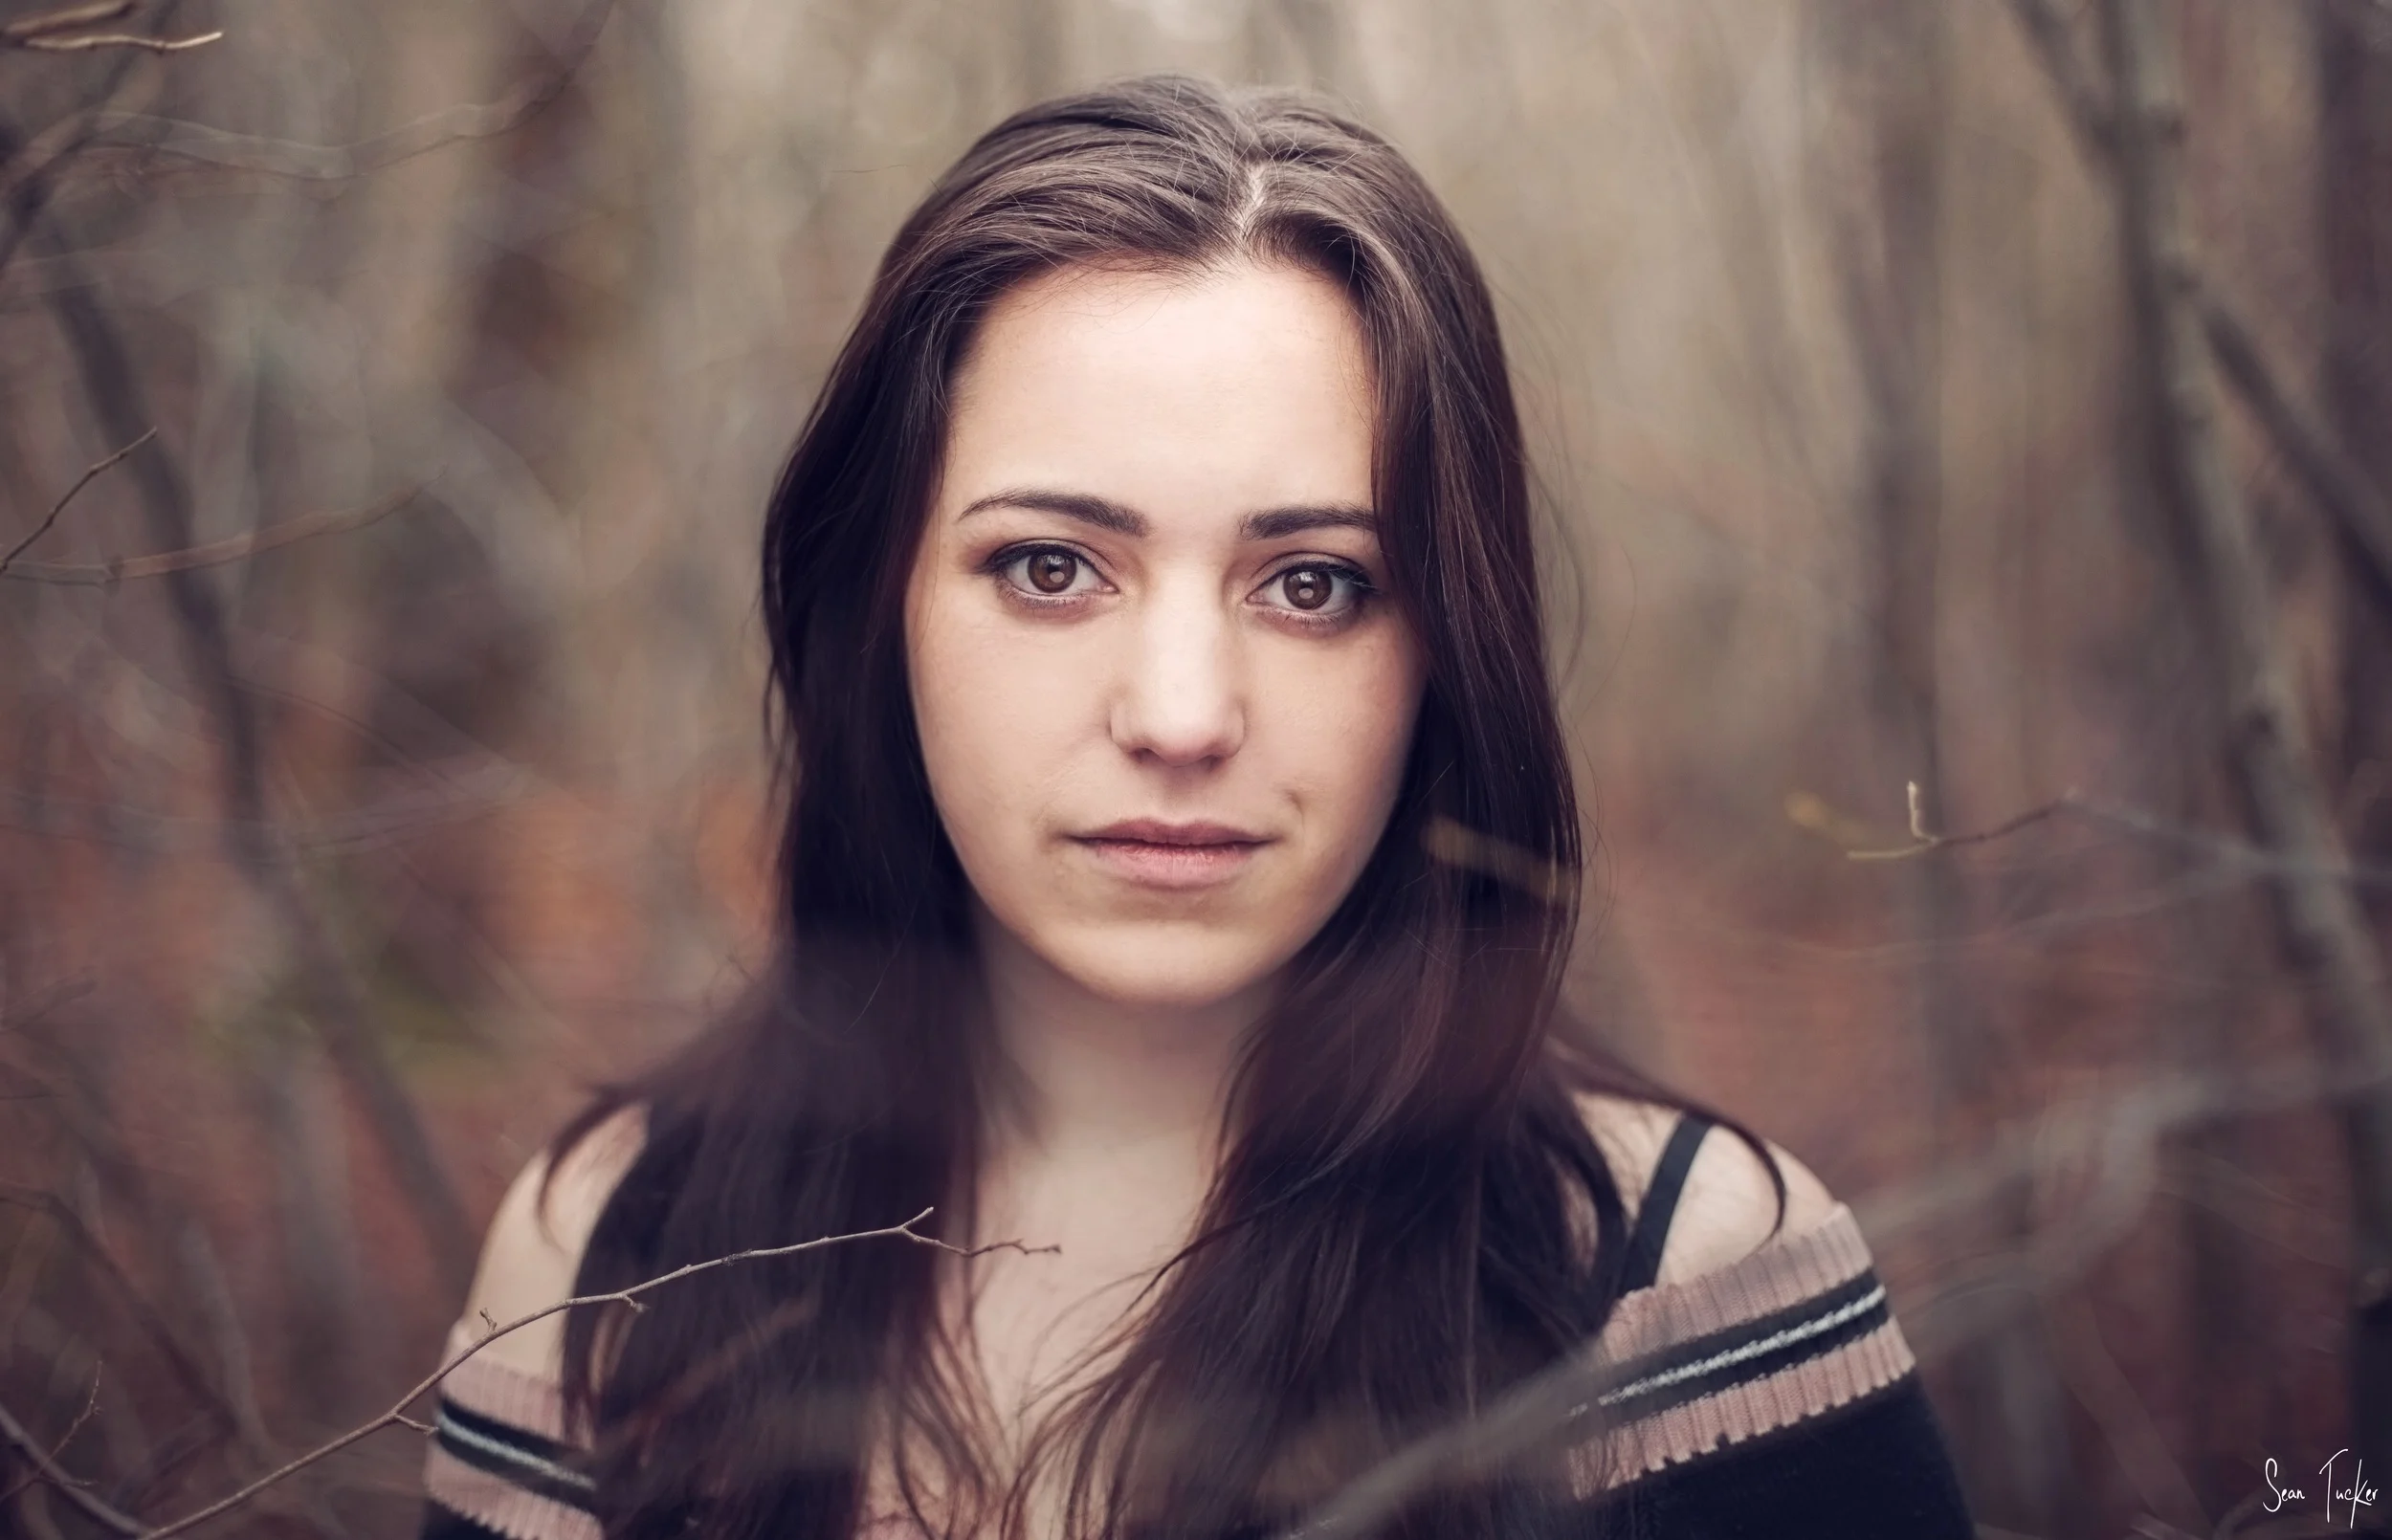
Last weekend Sarah and I headed into the woods to play with strobes and practice balancing them with ambient light. While we were scouting out the location and testing the ambient light, I got this shot of Sarah with a 50mm and a handheld reflector to give a nice catch light in the eyes:
Then we pulled out my Alien B800 and Vagabond battery pack. The main reason I was keen to do some testing was that I had recently bought a 1.8m softlighter. A softlighter is a large umbrella with a silver inlay which you shoot the light into for shape, but it also has a white diffusion panel over the front to soften the light up on the return journey. Being 1.8m big I assumed that this was going to give me a huge, soft, wrap around light source. The general rule with lighting is that the larger the light source relative to your subject, the softer the light. The sun for example, while bright, is only a tiny point in the sky relative to us, which is why it gives such harsh shadows. A big light source held close to the subject though will fill in shadows and give a soft, pleasing light.
So what I thought this big 1.8m light source would do was this:

But when I took a test shot what I actually got was this:

The light was soft, but it wasn't a big light source. In fact it barely covered head and shoulders. I was really confused for a while because this was breaking the rule I had learnt. It took me a few minutes but from what I could tell, this was what was happening:

Due to the fact that the umbrella is so shallow the light source was only bouncing off the centre and so creating a small light coming back through the diffusion panel. That diffusion panel may have been almost two meters big, but the light was only bouncing back through the very centre of it. The small reflection size, and the concave shape of the umbrella meant that I was left with a shot which looked like it had been lit with a snoot and a bit of ambient back lighting. I think it's actually a flaw with this particular product (Walimex 180cm Reflex Umbrella). Ideally the umbrella should have a deeper concave shape, so the light can sit further away from the inside surface, and so spread light over the whole surface and come back through the diffusion panel as large a source as possible.
Don't get me wrong, I actually like the shot. It was a happy accident and I stayed there shooting for a few minutes and got some great shots with that set up. But it wasn't what I had planned. I still wanted a bright ambient hair light from the sun, filled with a big soft light from the front.
So how did I get there?
Well first I had to slow down my shutter speed to let in more ambient light. The rule is, when balancing ambient light with strobes, that shutter speed controls your constant ambient light, and your aperture controls your strobes. Slowing down my shutter speed, means keeping the shutter open for longer and allowing more constant light in to the sensor. It doesn't effect the strobe though because it only fires momentarily within that shutter duration anyway.
I still had the same problem with the softlighter though. So I decided to pull the diffusion panel off the front and hang it spread out in the tree branches off to camera right. I then took my light and pulled it back so that the light would fall full across the surface of the diffusion panel without spilling past the edge:

This now meant that I had my large soft light from the front to fill. As a trade off I lost the shape of the light somewhat because Sarah was now only being lit by a bare strobe firing through a flat diffusion panel instead of being shaped by light returning from a concave umbrella, but it gave me the balance that I needed to get the shot I wanted. Which was this one:

So I used the sun coming in through the trees as a hair light, or rim light, and just balanced the strobe to fill in the front of Sarah's face. The trick with this kind of photography for me is to keep it looking as natural as possible, and I like the result of this one.
There are million ways to light. Once you get a sense for how it moves and behaves you can get a vision for what you want, and then work out how to get it. There are a slew of modifiers to help you get there too, from snoots to softboxes, umbrellas to beauty dishes, even just a white wall, or in my case, a diffusion panel hung from a tree. The point is to experiment and learn to bend the light through your lens and onto your sensor to get the shot you want.
Shooting Business Headshots
I was recently asked to shoot, what would turn out to be, a Headshot Marathon.

By day I am a product photographer for a big ecommerce company in London. I have plans to do a series of posts on shooting and editing product images, so make sure to subscribe to the blog if you're interested.
In the meantime though I thought I would talk about a recent assignment at work. I was asked to shoot headshots for the company staff which turned out to be a challenging experience.
Let me get the technical side out of the way first because I know some people will be interested:

As you can see my light set up was fairly simple. I placed one soft key light on camera right using a 1m softlighter, one hair light on camera left to give some hair and jaw line shape, and one background light which is hiding behind the fill reflector. This is the lighting diagram:
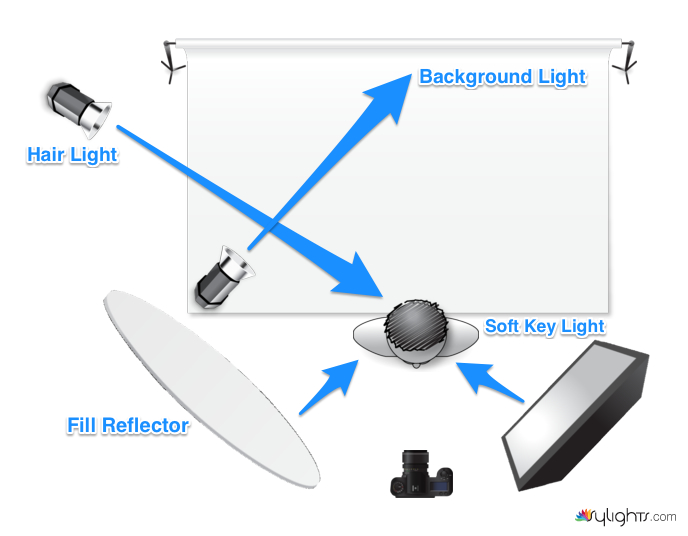
My camera (5DmkII) settings were 85mm, iso 100, f2.8, 1/125.
So now that you know the technical stuff I wanted to talk about the experience of having to fire through 70 plus headshots in a couple of hours.
I share the technical stuff briefly because that really wasn't the challenge on the day. The tough part of this assignment was the fact that I was given between 30-60 seconds with each person, and most really weren't that keen to have their photo taken. How was I going to get a rapport going, relax the subject, set up the shot, dial in the lighting, organise a pose, and capture, in half a minute, all the while having the distraction of their friends and colleagues looking on and cracking jokes, making the subject just want to run a mile?
Well it didn't start off well to be honest.
The first few I took I immediately felt the pressure of making this experience as painless as possible for my reluctant subjects, and I rushed the shots. I have a strong empathy for people, and feel uncomfortable myself if I am the source of their discomfort as a photographer. I feel this failing often when shooting portraits with people and know I need to overcome it, and this day turned out to be a bit of a breakthrough. After I had cracked through the first 4 or 5 headshots, I had a moment of epiphony.
I may have thought I was being compassionate by rushing them through, but I was actually doing these people a disservice.
It was a case of short term / long term goals. In the short term I could have argued that I was helping them by making the process as brief as possible; but in the long term I was taking pictures which were not as good as they could be. The pictures would last. The discomfort they felt would only be extended by seconds and it could mean the difference between an image they like of themselves, and one they never use or look at willingly again. The answer is not to rush and get them out of the firing line of my lens because they are squirming a bit, the answer is to keep the big picture in mind and help get them a great image which they will get a lot of mileage out of.
That doesn't mean I should just ignore their discomfort though.
After getting the first 10 or so done, I found myself quickly developing a 'shtick'; a routine with each person which would quickly relax them, give them the info they needed, and keep them from overthinking the whole thing.
It went something like this:
"Hi.
Don't worry. We'll make this quick and painless for you. I promise it will be worth it. We've been getting great images all morning.
Can you just write your full name on this sheet for me so I can match your name to the image afterwards?
Thanks.
Take a seat up on the stool for me and face your shoulders towards this light here."
Gesture to the key light.
"Turn your face to me a little.
Great."
Take a shot.
"See it's not that painful."
Take a second shot as they inevitably smile at that comment, even if just to be polite. Now you have the ball rolling.
"These are looking great."
Make small adjustments between shots to work on the pose and expression, keeping it light and casual. If the subject is very rigid and struggling then I would try this little trick:
"Ok lets try this. Close your eyes. I'm going to count to 3 and on '3' you are going to open your eyes and look right into my lens. 1. 2. 3."
The trick with this is to catch the eyes in the moment between their widest and before they settle. I find there is a moment of honesty before your face works out how to cover for you. It may sound odd, but I find it works for me. Give it a go.
"That was really good. Thank you. I'll let you know when the images are ready. You've been great."
That takes me to nearly a minute and the good thing is I have been giving clear directions, taking shots, and reassuring the subject the entire time. I found that the less dead space there was, the less opportunity there was to feel self conscious. As the session continued I was coming up with banter which hit more often and phrases which got my suject to the expression I wanted more efficiently. It was a great, compact learning experience to have to get through so many, so quickly, not that I hope to repeat it soon.
If you want to see a master of Headshot Photography check out Peter Hurley's DVD The Art Behind the Headshot for some amazing tips on posing your subject and getting the best expression out of them.
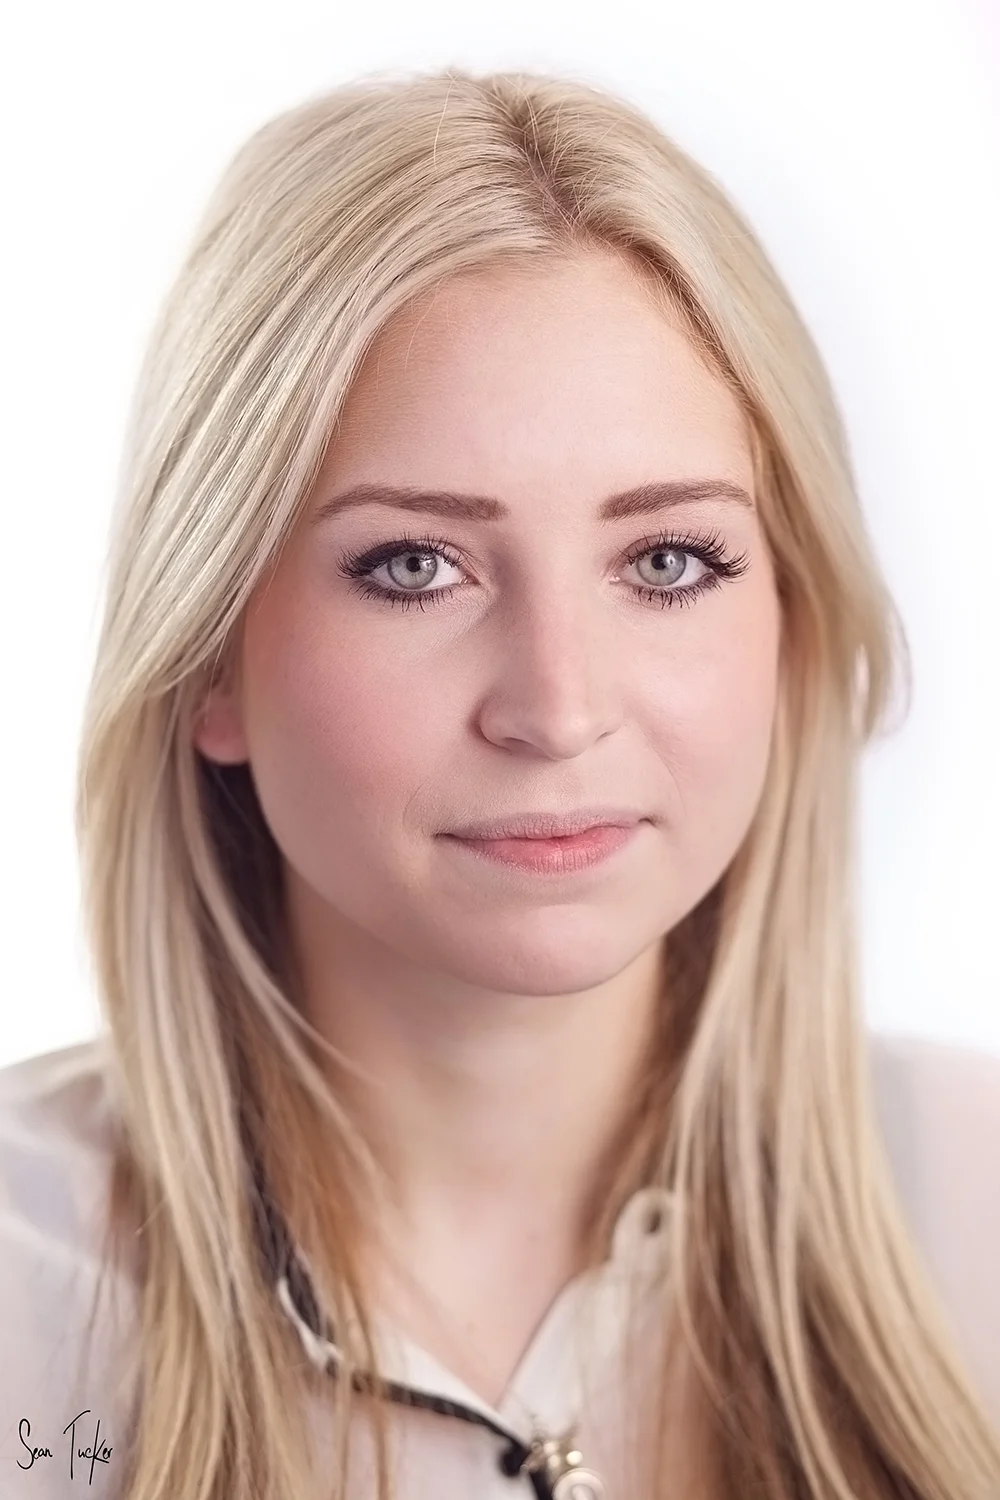
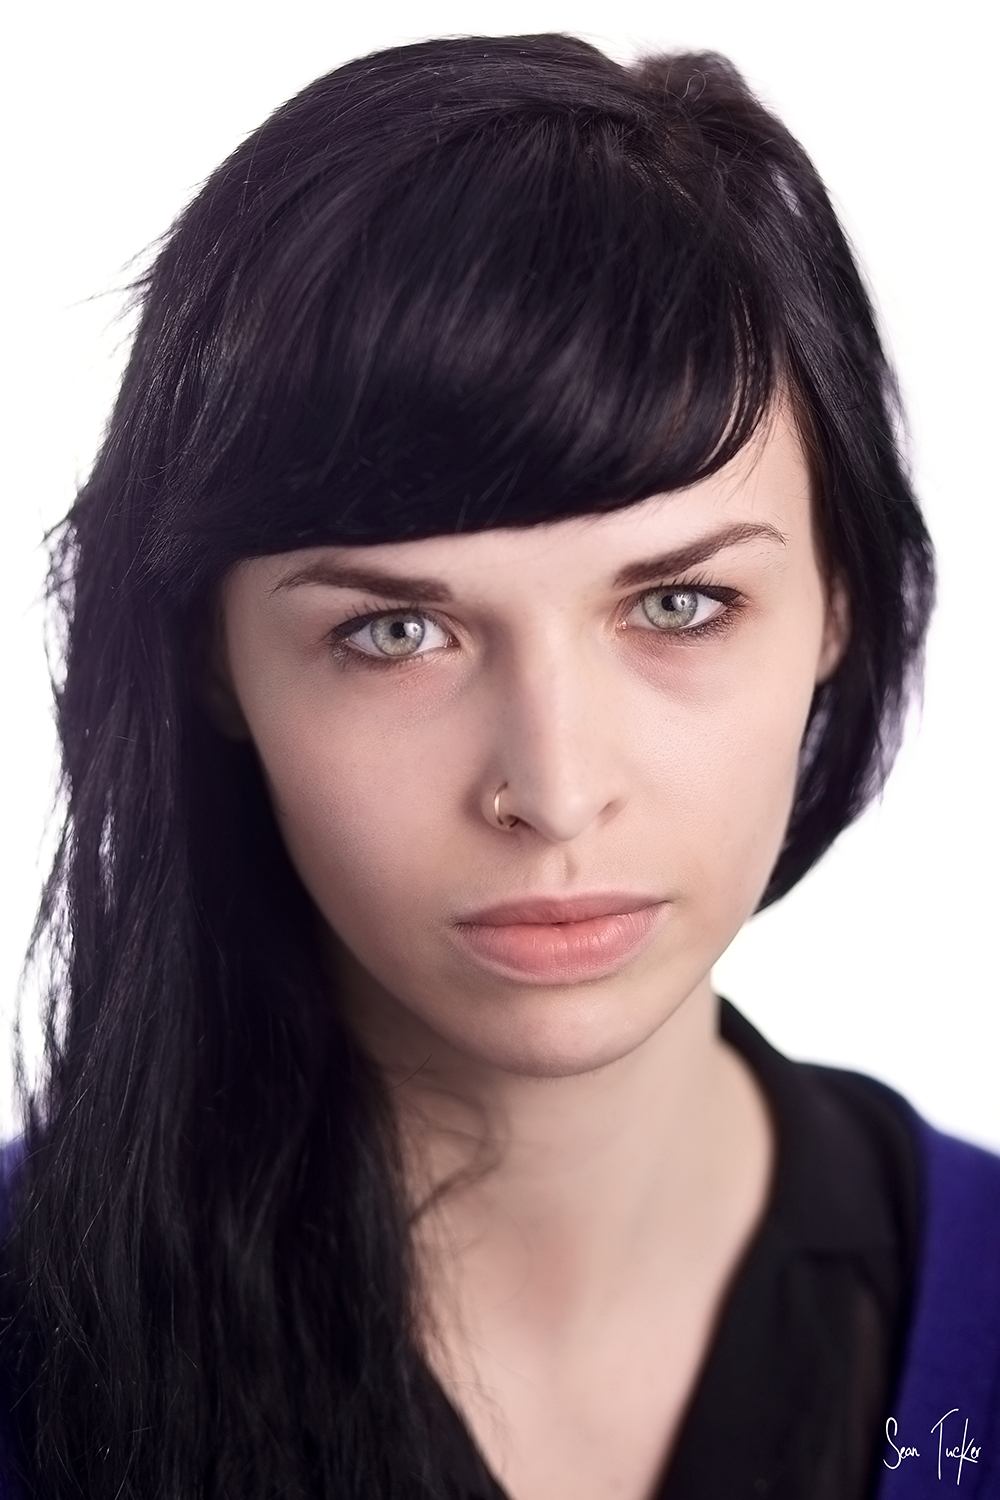
Here are some more shots from the day:


Wells Blog
Duis mollis, est non commodo luctus, nisi erat porttitor ligula, eget lacinia odio sem nec elit. Maecenas faucibus mollis interdum. Nulla vitae elit libero, a pharetra augue.