35mm: Focal Length Series
So this is the challenge I have given myself: to head out on a series of Photomissions where I am only allowed to use one focal length per session. I will walk the same route each time; between Waterloo Station and Oxford Circus Underground and shoot using only one prime lens along the route to see what I can catch, and report back the experience and challenges of shooting with that particular focal length. I'm hoping to cover 24mm, 35mm, 50mm, and 85mm.

This time it's my
35mm f2 prime.

NOTE: I am shooting on a full frame camera. If you're shooting on a cropped sensor camera (APS-C sensor) then these comments will apply more to a 24mm prime.
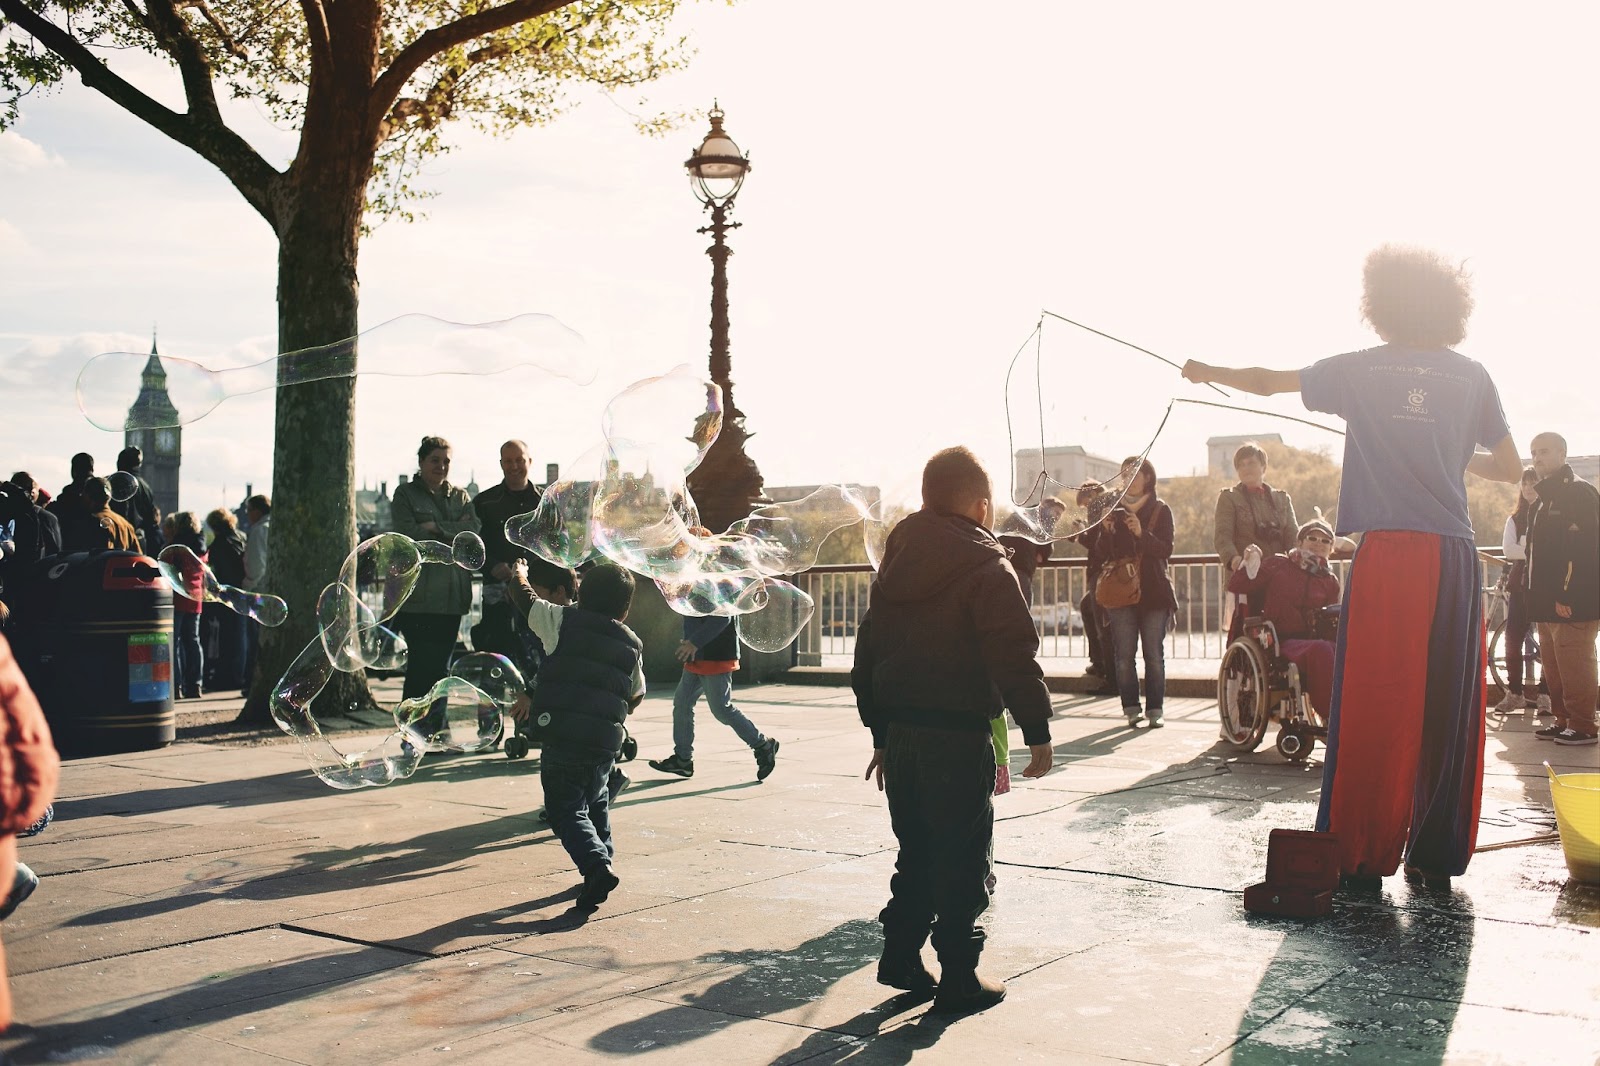
It was a beautiful sunny afternoon when I set off from Waterloo, maybe a little too sunny. I was a bit early for the 'golden hour', which is only arriving about 7:30pm in the UK at the moment, but I decide to make the most of it anyway.
The first thing I noticed, not having shot on this lens for while, is how wide true 35mm is. I was instantly faced with a problem when shooting on the street; if I wanted to capture subjects I would have to get right in their face to do it. I couldn't stand off at a distance and shoot without people noticing. I would have to make myself obvious. Some photographers are good at this, but I'm not one of them, yet. In fact it got me thinking at one point that good photographers are really half technique, and then half sheer balls to get themselves in a postion to get the interesting shots. I think I'm still too self conscious, which is something I have to work on.
So I ended up shooting more 'scenes' than 'subjects', which is maybe the point of this focal length.
I know many photojournalists swear by the 35mm focal length. They suggest that shooting an event with a long focal length, from across the street, will give your viewer a sense of separation from the action, because, perhaps subconciously, they know the shot was taken far from the action. If you chose to use a 35mm to capture the action there is no choice but to get in it's face, and you carry your viewer into the midst of the action with you.
What I did love about this focal length is the context it gives you. It allows you to place your subject in it's surroundings. I am most used to shooting portraits close up at 50mm or 85mm, which means that my background usually becomes insignficant bokeh, rather than meaningful context. I enjoyed getting the shots back home and looking around the corners of the image and seeing faces and details I didn't notice in the second I snapped the shutter.
I was concerned that I would be stuck with a lot of image distortion with the extra width, but it really wasn't bad. I didn't end up correcting any of it, and 35mm seems to be the last prime on the way down to wide that gives you a relatively pleasing persective which isn't distracting.
The 35mm f2 I was using is one of the 'cheap plastic' primes from Canon, but I was really surprised by how sharp it was. It performed very well in different light conditions, and there was a lot of high contrast 'light and shade'. If you're thinking about rushing out and buying one I really would recommend it, but just note that you do have to 'baby' these lenses a bit to get them to last the years, because the build quality isn't that great, but if you're willing to love it, it will give you some great shots at a really affordable price.
This is a focal length I definitely want to play with more, although I will have to strap on a pair to do it well.
Challenge accepted.
Here are some more of the shots:


...and a selfie:)

Bokeh Panorama
...also known as "The Brenizer Method" because this technique has been popularized by New York Wedding Photographer, Ryan Brenizer.
The idea behind the shot comes from a creative bit of problem solving. The question which needs answering is "How do I build a shallow depth of field (lots of focus blur) into a wide angle shot"? As you will probably know, when you shoot with a wide angle, everything is usually in focus. When you shoot at a longer focal length your background compresses, and you get a pleasing blur, or 'Bokeh', which serves to really separate your subject from it's surroundings.
So how do I build 'long focal length blur' into a 'wide angle shot'?
Well the answer is, "Shoot your scene by stitching together a series of images shot with a longer focal length, and low aperture, to make up your wide angle." This way you can create a shot with plenty of context, but your subject will now 'pop' off the out-of-focus background.
There are many techniques for this shot, but personally I usually use my 85mm f1.8, because I want both a lens which will compress the background, and has a low potential aperture (sub f2).
You need to start by composing the scene in your head. You obviously won't be able to do this through the lens as you normally would, so you need to imagine the borders of your shot. The trick then is to shoot in such a way that you piece together your total shot one frame at a time. It's vital to keep a track of the areas you've covered, which means you always have to have the big picture in your minds eye. Some people shoot in a spiral out from their subject. Some people shoot in a grid. You'll have to find the technique which works for you, but it's important that you cover all the areas of the total image otherwise you will have 'holes' in your final stitch which you'll have to deal with in post.
When you are ready to shoot you need to make sure all your settings are manual so they don't change from shot to shot. Remember you are shooting pieces of a whole image, not individual shots. Here's a check list to get yourself ready for the shot:
- Put your camera in Manual mode.
- Select the appropriate ISO depending on the ambient light.
- Set your aperture as low as your lens will allow so that your depth of field will be as shallow as possible.
- Dial in your shutter speed until you have the right amount of light for your subject. If you are shooting a person make sure the skin is exposed correctly.
- Set your white balance.
- Then focus your lens on the subject and click your focus to manual (you don't want your lens refocusing between shots).
- Plant your feet firmly and burn that final image into your mind.
Then build your shot one image at a time. I begin with the head and torso of my subject, then the legs, and then I begin to fill in the scene around him/her by shooting a spiral outwards from the body on all sides.
Here is a recent Bokeh Pano I shot with a French Model in Bermondsey:

And these are the raw shots out of the camera which went into making it up:

The number of shots you need to take will vary depending on the setting. I have shot some with 8-9 frames, and then some with 60+ frames, which was quite an ask for my version of Photoshop Elements to stitch together. You will also notice that I am making sure to create some overlap between the shots so as to ensure I have no holes in the final image.
After this I open up photoshop and run file/automate/photomerge, and then select all my images and let photoshop go to work. Sometimes it does a great job, sometimes there is some work which needs to be done afterwards to fix areas where the stitching hasn't worked.
A quick tip: if you are shooting a series of these Brenizer shots, just shoot a black frame (with your hand over the lens) between each set so that you can easily identify the first shot of each batch when you come to the editing stage.
This technique really allows for a quality image. Due to the combined resolution of all the shots you've used, you could blow this image up to the size of a billboard if you wanted to. Not to mention the fact that no lens in the world could actually get this shot, because it would have to be a 15mm f0.4 or something like that; and they don't exist... yet.
Get out there and give it a go!
Here are a few examples of other recent Bokeh Panos I've shot:


To end off, here is Ryan Brenizer himself speaking about the technique and demonstrating its use:
Shooting on Brief
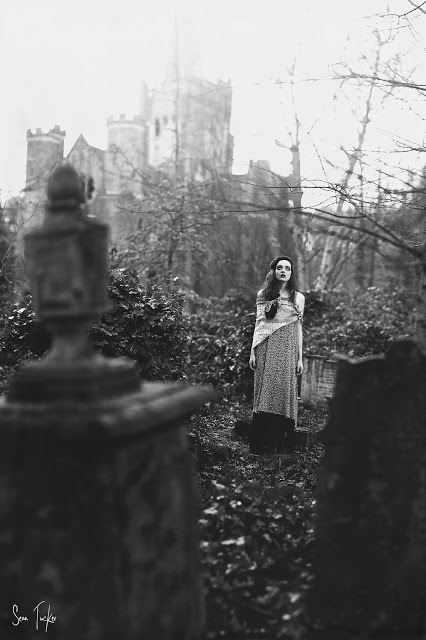
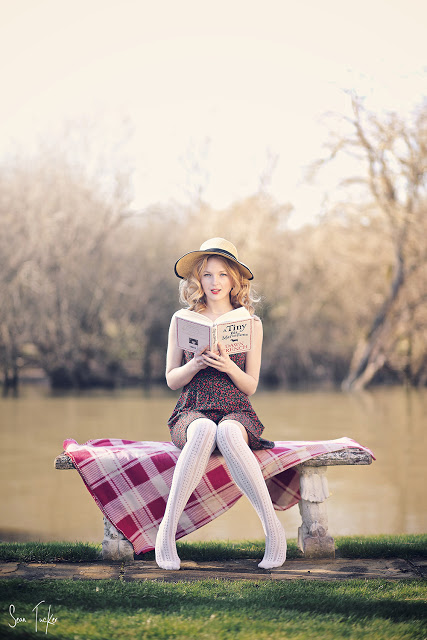
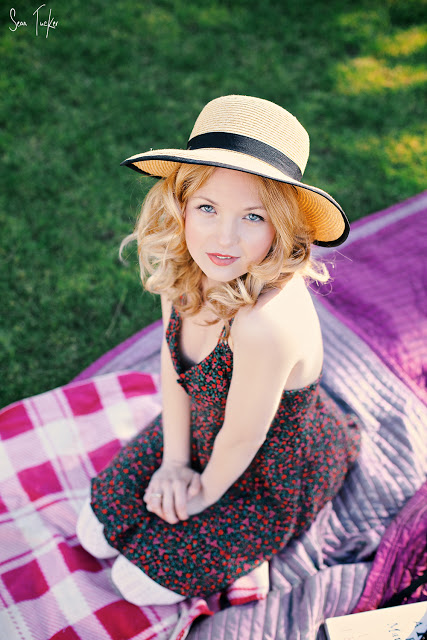
I mentioned in a recent post that Brooke contacted me to do a shoot with her. She had quite a strong vision for what she wanted to accomplish. In her words, she wanted a "Lolita" feel to the shoot. I haven't seen the movie myself but, between a quick google image search, and reference shots Brooke sent me via email, I quickly had a decent mood board full of shot ideas.
What a pleasure.
It meant that I wouldn't have to pull every shot out of thin air on the day, with an expectant subject looking at me, waiting for visual inspiration to strike. She had done the work for me. She knew her look, and she understood what she wanted. It was then just left for me to interpret it and make the technical choices to get the shots she was looking for. I know this won't happen every time, or even very often, but it showed me how much better a shoot can be when shooting for a client with a clear vision.
On a practical level I obviously wanted this reference material with me on the shoot.
Pinterest turned out to be a ready solution.
The week before I set up and shared a Pinterest board with Brooke where we could both pin images to use as a guide on the day. I downloaded the app to my phone which meant that I could pull up the different images we had pinned as we were shooting to use as inspiration, and to ensure we were getting the kind of shots we agreed on. It was like having a portable mood board.
Perhaps embarrassingly, this is the first time I've shot like this (with this much planning and purpose I mean), and it made for a much less stressful, and more productive, shoot. I often have those quiet moments of inner panic where I am trying to work out what the hell to shoot next, and what the client will think of my next crazy shot idea; but using this method I had all that covered before I even arrived.
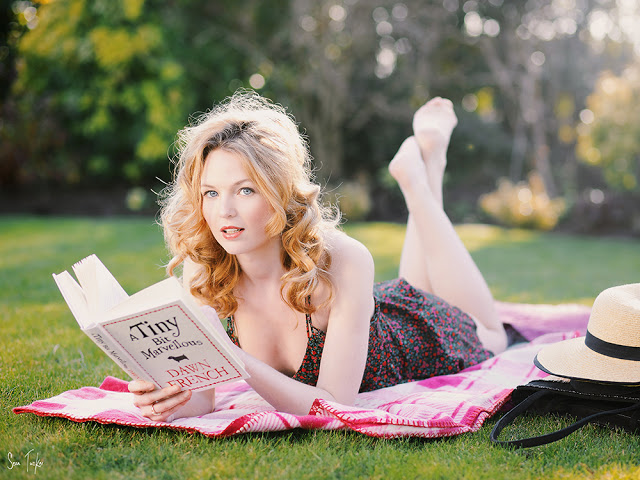
Not only this, but Brooke could see exactly what we were aiming for as we were setting up for the next shot, and she could instantly know how to pose and hold herself, rather than me having some secret vision I was slowly trying to direct her towards. It really greased the wheels and meant we got all these shots done (and more besides) in under an hour.
I am hoping to make this part of my work flow for all briefed shoots in the future.
It really works.
For the technical stuff; these shots were all taken with my 5DmkII and either my 50mm f1.4 or 85mm f1.8 lenses. The only additional light used was a large reflector with mixed silver and gold to bounce the sunlight back in as fill. Shot 3 is a Bokeh Panorama, which I will get to explaining in a post soon.

Wells Blog
Duis mollis, est non commodo luctus, nisi erat porttitor ligula, eget lacinia odio sem nec elit. Maecenas faucibus mollis interdum. Nulla vitae elit libero, a pharetra augue.